
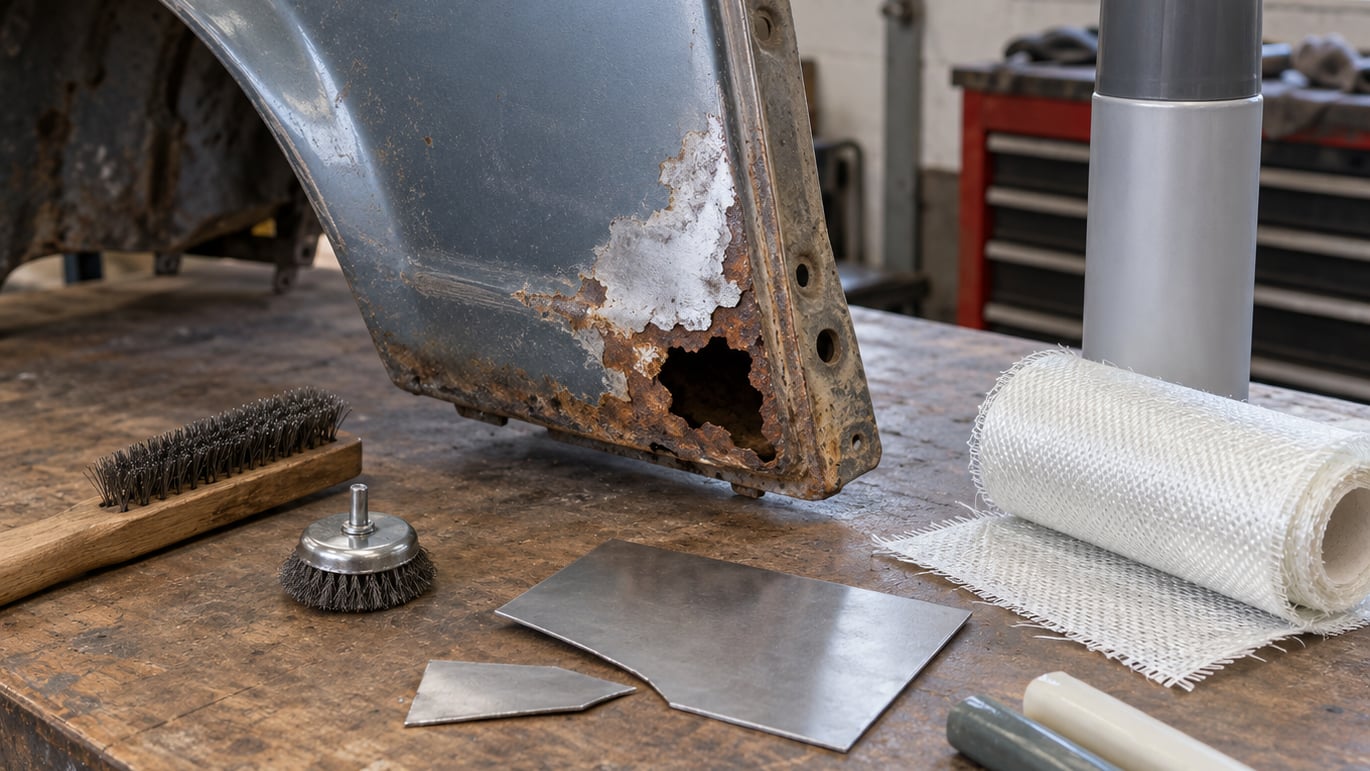
You can fix a rust hole without welding by grinding the damage back to bare metal, bridging the gap with a stiff backing patch or mesh, filling it with reinforced filler or two-part epoxy, then sealing it under primer and paint. A weekend of work handles a fist-sized hole in a rocker panel or floorboard. The catch is honesty about lifespan: a cold repair holds for years on a sound panel and fails within months on one that is still corroding from behind.
This guide walks through how to fix a rust hole without welding, method by method, and flags the panels where a welder or body shop is the only safe answer. If the hole is the visible end of a much bigger problem, stop after the first step. Before you touch a car with surface rust that has not gone through yet, how to treat surface rust before it spreads is the easier job.
Table of Contents
- What You Need
- Step-by-Step: Fix a Rust Hole Without Welding
- Common Mistakes
- When a Rust Hole Cannot Be Repaired Without Welding
- Frequently Asked Questions
- Can you fix a large rust hole without welding?
- What is the best material for a rust hole repair without welding?
- Will a fiberglass patch stop rust from coming back?
- How long should a no-weld rust repair dry before painting?
- Can body filler be used to repair a rust hole?
- Is a bonded metal patch strong enough for a car body?
- Conclusion: Start With a Smaller, Safer Repair
What You Need
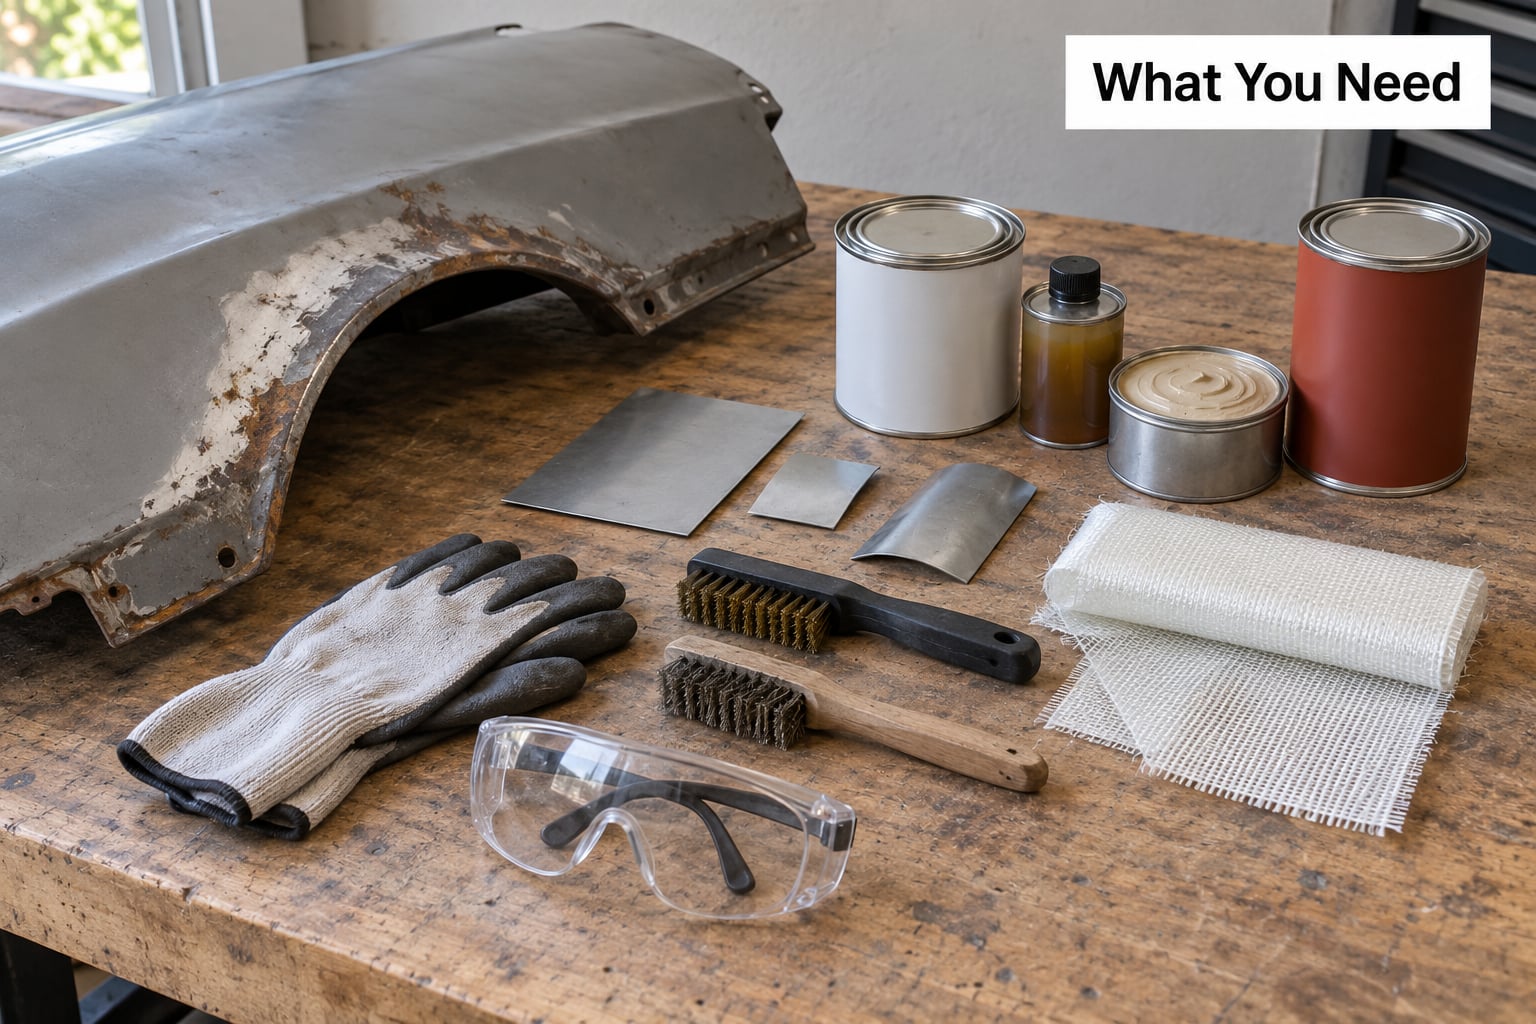
The list is short and most of it is consumable. Gather it all before you start, because the one thing that ruins these jobs is stopping halfway to find a bottle of thinner.
- Safety gear: nitrile gloves, eye protection, a respirator for grinding indoors, and a vacuum or shop vac with a fine nozzle.
- Stripping tools: a wire wheel on a grinder or drill, 80-grit sandpaper or flap disc, a flat sanding block, and a plastic body hammer plus body file for reshaping edges.
- Cutting tools: a cut-off wheel or aviation snips for trimming away perforated metal, plus a marker to plan the cut line.
- Backing options: self-adhesive aluminum-backed mesh patch, galvanized or aluminum body mesh, or fiberglass cloth with matting resin.
- Filler: short-strand fiberglass-reinforced filler, standard polyester body filler, or two-part metal epoxy putty. Most jobs want at least one of the first two.
- Consumables: metal degreaser or brake cleaner, cavity wax, body filler hardener if the putty is not two-part, self-etching or epoxy primer, and paint.
- Application tools: a flexible spreader or putty knife, mixing sticks, masking tape, and clamps or tape for holding a patch.
One warning before anything else. If the hole is in a frame rail, a suspension or seat mount, a hinge pillar, a rocker pinch weld, or a floor pan sitting over a fuel tank, stop reading and get a shop to look at the car. Those areas carry load, hold the body together, or sit in a sealed cavity you cannot treat. Our used-car rust inspection guide lists the spots where a patch is never the answer.
Step-by-Step: Fix a Rust Hole Without Welding
1. Inspect the Rust Hole and Check for Structural Damage
Start by deciding what kind of damage you are looking at, because the method depends entirely on it. Surface rust is a stain you can scrub off. Pinholes are pits the size of a pencil eraser. A rust hole is metal that has fully perforated and will not hold a patch edge on its own. Structural rot is a hole with soft, spreading, or crumbling metal around it.
Push a fingernail or a small screwdriver into the metal around the hole. Firm metal means you have a repairable cosmetic panel. Metal that moves, dents without resistance, or flakes in layers means the corrosion is still eating the panel and needs to be cut out. Measure the hole and check a hand’s width around it in every direction, because rust thins metal long before it opens a hole.
Also look underneath with a light. Light coming through the panel tells you the rust has already eaten through from the inside, which is the normal case on a floorboard. No light tells you the metal behind the hole may still be intact.
2. Remove the Rust and Stabilize the Surrounding Metal
Strip the area back to clean, bright metal. Take the paint off a full hand’s width beyond the visible rust first, because rust stains and creeps further than the discoloration suggests. A wire wheel on a grinder goes fastest on flat panels, and 80-grit sandpaper or a flap disc finishes the edges and corners a wheel cannot reach.
Vacuum constantly, including inside the hole. Abrasive dust left behind will mix into the filler and weaken the bond. Wear a respirator when you do this indoors, because metal dust is genuinely unpleasant to breathe.
Now test for success. Bare bright metal, no orange dust when you drag a clean cloth across it, no flaking. If a brown smear keeps appearing, keep going. Filler will not stick to rust no matter how many hours you let it cure, and this is the single most common reason a cold repair fails within a year.
Trim away perforated metal with a cut-off wheel and knock the remaining sharp edges inward a few millimeters with a body hammer and dolly. That small inward lip gives the filler something to key into instead of a razor edge to shrink away from. Success check: the metal around the hole feels uniformly firm, with no springy or hollow-sounding areas.
3. Choose a No-Weld Repair Method
Pick the smallest method that suits the hole. Bigger is not better, and the viral shortcuts that dominate social video, ramen noodles packed into the hole, expanding spray foam, a cut-out patch of foam board, all fail because they bridge nothing and carry no load.
- Self-adhesive metal patch. Best for small holes in a flat panel you can reach from both sides. Realistic ceiling is about 1 inch, and it lasts years when the panel is clean inside and out.
- Mesh plus fiberglass filler. The best all-round no-weld option, and the one most people end up using. Reliable on a rocker, floorboard, or quarter panel up to 2 to 3 inches as long as it has a solid backing.
- Two-part epoxy putty. Strong, but not a gap spanner. Meant for pinholes, small pits, and sealing seams up to about half an inch.
- Body filler alone. Fills scratches and shallow surface damage only. It is not structural, and it fails fast on an actual hole.
- Rust converter. Stops active surface corrosion before you cover it, but it rebuilds no metal and fills no hole at all.
What separates a repair that lasts from one that does not is treatment of the back face. Rust that reaches a hole has usually already spread inside the panel, and a patch over the outside will fail from behind while looking perfect. If you can reach the inside, wire brush it, treat it with a converter or epoxy coating, and finish with cavity wax. If you cannot reach it, factor that into your expectations before you start.
On lifespan, DIY experience is genuinely mixed, and it depends on prep. The optimistic camp says a fiberglass filler repair done right lasts years, and that the weak point is the missing weld. Others describe filler patches holding a year or two. Two to five years is a reasonable expectation for a well-prepared non-structural patch, and months for one applied over live rust.
4. Fit and Bond the Metal or Fiberglass Patch
Degrease the bare metal and a generous margin around it, then let it dry fully. Mask off the surrounding paint before you touch anything. Handle clean metal with gloves, because skin oils are enough to contaminate a surface and cause a crease or a failed bond later.
For a self-adhesive patch, cut it oversize so it sits an inch or more of metal beyond the hole on every side. Peel the backing, press it on hard from the center outward, and work out the bubbles with a spreader. Success check: no visible edge lifting, and the metal under the patch has no give when you press it.
For mesh and fiberglass, coat the bare metal with mixed filler first and let it tack up so the mesh or cloth sits in a slightly sticky layer rather than sliding around. Cut mesh with tin snips so the edges overlap sound metal by at least an inch, and stagger a second layer so seams do not line up. Success check: the mesh is fully embedded with no dry, unwetted areas.
Mix two-part epoxy putty on a scrap board with equal parts resin and hardener by length, not by blob, and work it within the stated pot life, usually three to five minutes. Press it into the hole, slightly proud of the surface, and level it with a spreader. Do not touch it again until the manufacturer cure window has passed, typically several hours for filler and 24 hours for epoxy.
Clamp, tape, or weight the repair when the panel is thin enough to flex, and support the back so the filler is not bridging unsupported. Success check: press firmly along the whole patch and you feel no flex, no soft spot, and no hollow sound when you tap it.
5. Finish, Seal, and Protect the Repair
Block-sand the cured repair with 80 grit, staying inside the bare metal patch, then feather the edge outward with 150 to 180 grit until you can run a fingernail across it with no catch. Finish with 220 grit for paint-ready, and do not sand so far that you expose the mesh or cut through the filler to a thin edge. A V-shaped groove in a patch is what lets water in later.
Clean the dust off with a tack cloth, then coat with self-etching primer followed by an epoxy primer, or at minimum a good rust-inhibiting primer. Primer is not optional here. It is the barrier that keeps moisture and oxygen off bare steel, and skipping it is the reason a repair looks perfect for a year and then starts weeping rust stain down the panel.
Paint or coat the repair, then repeat the cavity wax or anti-chip coating on the back face. Cure the coating per its own instructions rather than the filler’s, since paint and wax often need longer or more warmth than the filler did.
Test the finished repair with a hose after the paint has hardened, not before. Run water across the panel and check the inside and the edges for seepage. If you want this repair to survive a winter, preventing rust on a car in a snowy climate is the follow-up worth reading.
Common Mistakes
Almost every failed no-weld repair traces back to one of these.
- Filling over active rust. Brown dust reappearing on your cloth means stop and strip further. Fix: sand until the metal is bright, treat the back face, then fill.
- Using body filler as the structural repair. Polyester filler spans about a quarter inch before it sags and stays slightly flexible. Fix: back the hole with mesh or a metal patch and use filler only to level the surface.
- Making the patch too small. A patch that stops at the edge of the hole debonds immediately. Fix: overlap sound metal by at least an inch on every side, two for a floor or rocker.
- Skipping the backing entirely. Fix: nothing bridging a gap can carry road vibration. Always back it.
- Sanding too early. Green filler sands into gummy dust instead of powder. Fix: wait for the full cure window and use the manufacturer’s clock.
- Touching bare metal with bare hands. Fix: nitrile gloves from the moment it is clean to the moment it is primed.
- Applying one thick layer. Thick filler shrinks and cracks as it cures. Fix: build in two or three thin layers.
- Ignoring the corrosion around the hole. A perfect patch in a rust belt area will fail at the boundary. Fix: treat a full hand’s width beyond the damage, every time.
- Trusting a foam or noodle hack. Expanding foam, a folded napkin, and cut-out foam board are not repairs. Fix: patch the metal, then fill.
When a Rust Hole Cannot Be Repaired Without Welding
Some holes are a body shop job, and pretending otherwise risks the car. Welding new steel in is the correct answer for structural and load-bearing areas, and it is cheaper than replacing a car that eventually fails inspection or comes apart at a joint.
The clear no-go list: frame rails and crossmembers, suspension and subframe mounts, seat rails and seat belt anchors, door hinge pillars, roof pillars, and any pinch weld where a bolted panel was spot-welded at the factory. Add cab corners and rocker panel ends where the steel is already gone, and floor pans or fuel tank straps with no way to reach the inside.
Size matters too. Past about three inches, or where the metal around the hole will not hold a screw or a bolt, a cold repair is decoration. So is anything on an exhaust component, a brake or steering part, or a patch in a spot that carries weight. A state safety or emissions inspection can also fail a badly patched structural area, so if the car needs to pass inspection, find out before you spend a weekend on it.
The honest summary from the trade is simple. Cut the rusted metal out and weld in new steel for longevity, and treat a filler patch as a semi-permanent hold that buys you time. On a beater car with a solid panel and a good backside to reach, that is a very reasonable trade.
Frequently Asked Questions
Can you fix a large rust hole without welding?
A large hole can be covered without welding, but only as a semi-permanent repair. Past about three inches, or where the surrounding metal is soft, a cold patch will not hold under road vibration. Larger damage, especially in a rocker panel or floorboard, is better handled by cutting out the rot and welding in a steel patch panel.
What is the best material for a rust hole repair without welding?
Short-strand fiberglass-reinforced filler over a mesh or self-adhesive metal patch is the best all-round choice, because the reinforcement carries load while the filler handles contouring. Two-part epoxy putty is better for small pits and seams but will not span a gap. Ordinary body filler alone works only on shallow surface damage.
Will a fiberglass patch stop rust from coming back?
No, a fiberglass patch covers the outside only. If the corrosion is still active behind the panel, it will keep spreading and push the repair off from the inside. Clean and treat the back face with a rust converter or epoxy coating and finish with cavity wax before you patch, or the repair is on borrowed time.
How long should a no-weld rust repair dry before painting?
Follow the filler’s own cure window, not a guess. Polyester filler is usually sandable in 30 to 60 minutes but needs several hours to harden fully, while two-part epoxy generally wants about 24 hours. Sanding before full cure gives gummy dust instead of powder. Apply primer once the repair is firm and cool to the touch.
Can body filler be used to repair a rust hole?
Body filler alone cannot. It spans only a fraction of an inch and stays slightly flexible, so it sags out of a real hole and never carries load. Use it to level a surface, not to rebuild one. Back the hole with mesh or a metal patch, fill with reinforced filler or epoxy putty, then use body filler only for the final contour.
Is a bonded metal patch strong enough for a car body?
On a non-structural panel with sound metal and a clean back face, yes, and it can last years. It is not adequate for frame rails, suspension mounts, seat anchors, pinch welds, or any area carrying load. Bonded patches also depend on surface preparation, so clean metal and proper overlap are what make the difference, not the brand of patch.
Conclusion: Start With a Smaller, Safer Repair
Start with the honest inspection, not the filler. Push on the metal, look at the back face with a light, and measure how far the softness spreads beyond the hole. That single check decides whether you are looking at a weekend job or a body shop quote.
If the panel is sound, strip to bright metal, treat the inside, and choose the smallest method that covers the damage with a full inch of overlap. Then respect the cure clock, prime it properly, and seal the back face. Done that way, a no-weld repair holds for years. Skipped, it holds for a season.