
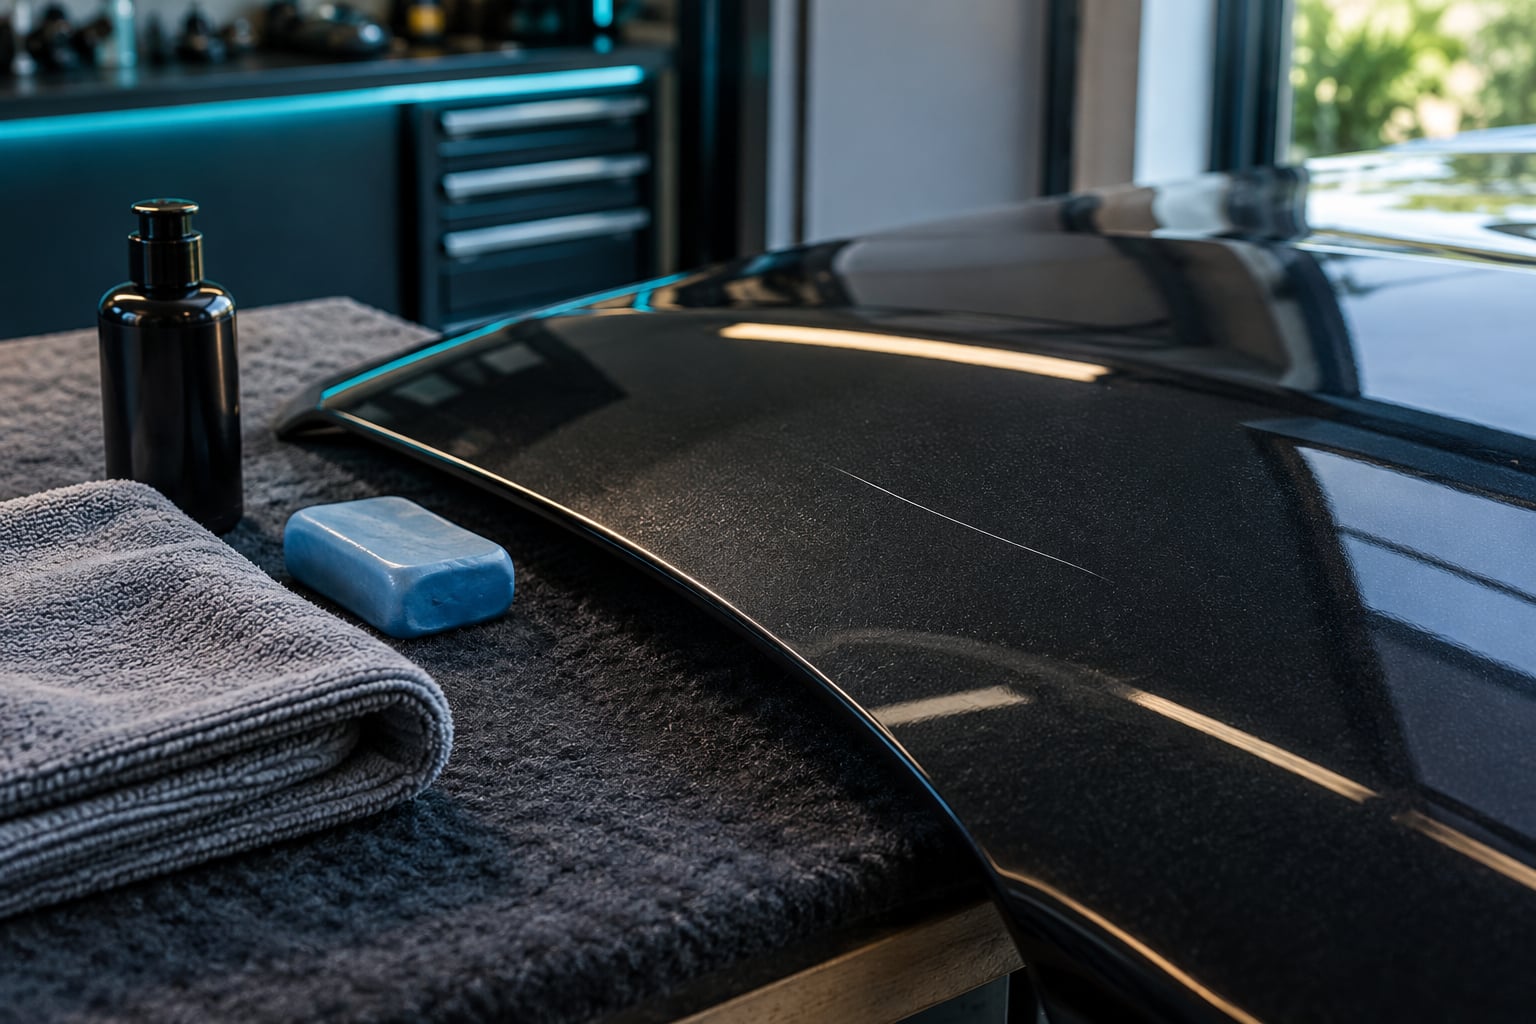
Knowing how to remove scratches from a car comes down to one test. Run a fingernail across the mark: if the nail glides over without catching, the damage sits in the top clear coat and a polish will flatten it out. If the nail catches, the scratch reached colour, primer or metal, and it needs touch-up paint or a body shop. Most light marks are a thirty-minute job once the car is washed.
That one test decides everything that follows. Skip it and you either waste an afternoon buffing a scratch that will never budge, or you grind through clear coat that does not grow back.
The full job takes about an hour for light marks once the car is washed, plus drying time between steps. Difficulty is low for clear-coat work and moderate once you are matching paint by code. Everything below runs from least to most aggressive, so stop at the first method that solves the problem.
Table of Contents
What You Need
Gather what the scratch actually needs, not the whole shelf. A key scratch and a swirl mark from washing share almost nothing.
To inspect: a bright directional light, a clean microfiber towel, and a 10x loupe or phone macro lens if you want to see the edge of the mark. Work somewhere with controlled light rather than leaning over the car in a parking lot.
To clean: pH-neutral car shampoo, two buckets with grit guards, and dry microfiber towels. The grit guard in the rinse bucket is what stops the grit you just washed off ending up back in the clear coat.
To decontaminate: a detailing clay bar with clay lubricant, for bonded fallout and road film that a wash leaves behind.
To polish light scratches: a hand polish and applicator pad for small marks, or a dual-action polisher with a soft finishing pad and a separate cutting pad if you are correcting a whole panel. Skip the machine on a panel with thin or aged clear coat.
To touch up deeper scratches: touch-up paint matched to your paint code, automotive primer if bare metal shows, matching clear coat, isopropyl alcohol, nitrile gloves, and 800 to 1500 grit wet sandpaper for leveling. Masking paper or cardboard keeps overspray off the rest of the panel.
Find the paint code before you need it. It sits on the VIN plate on the door jamb, in the owner manual, or on a stamped plate inside the door frame of an undamaged panel. Matching by eye rarely works on metallic paint.
One working-condition rule covers everything else: use a panel that is cool to the touch and out of direct sun. Warm paint polishes faster and thinner, and product applied to hot paint dries into the surface before you can work it.
Step-by-Step: How to Remove Scratches from a Car
1. Identify the Scratch Type
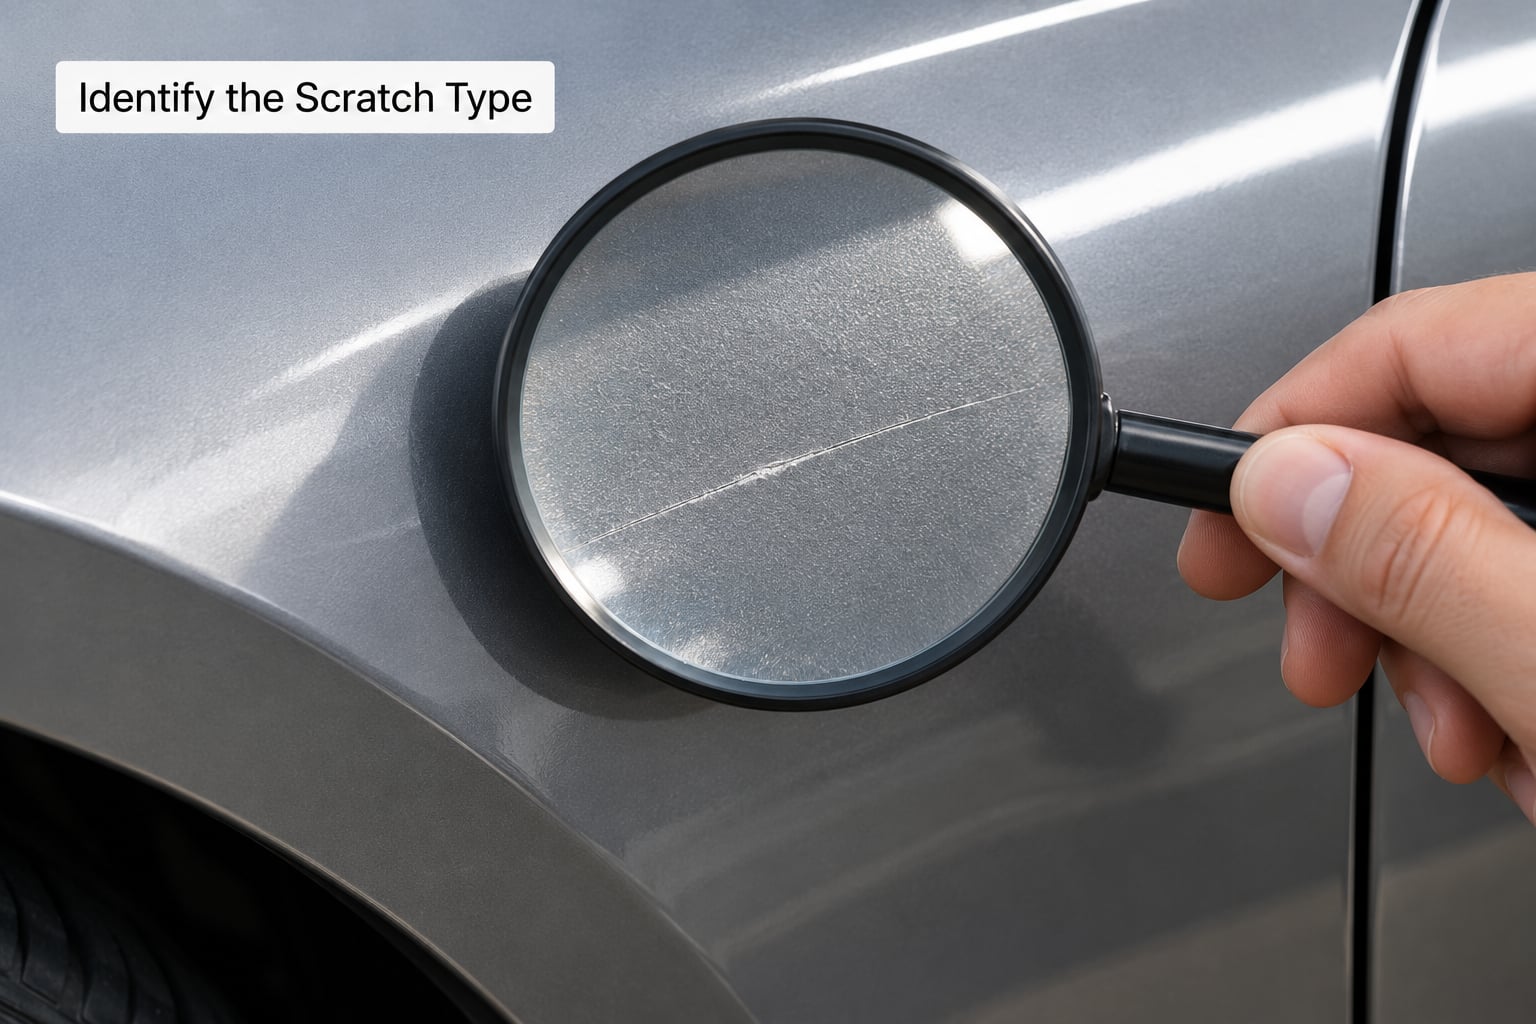
Wash the area first if it is dirty, then look at it under an angled light. Angle matters: a scratch that vanishes when you shine straight down on it is almost always clear-coat level, while anything that still catches a hard shadow has real depth.
Run your fingernail across the mark, not along it. Across the scratch, gentle pressure, three or four passes.
| Layer | How it feels and looks | Nail catches? | Correct fix |
|---|---|---|---|
| Clear coat | Shallow line, colour intact, may only show at an angle | No | Polish or compound |
| Colour or base coat | White, grey or primer grey inside the line | Yes | Touch-up paint, then clear coat |
| Bare metal or plastic | Sharp channel, shiny metal or dark plastic, sometimes rusty | Yes, deeply | Prime and repaint, or a body shop |
Paint on most modern cars is three layers: clear coat on top, the colour coat that gives it the shade, and primer over the metal underneath. Each scratch stops at one of those boundaries, and the boundary it stops at is what decides the repair.
Detailers on r/Autobody and r/ToyotaTacoma treat the fingernail test as the gate for good reason: it is fast, free and it matches what a polish can physically reach. If the nail catches, no amount of compounding moves the mark.
2. Wash and Decontaminate the Paint
Wash the panel before you touch it with anything abrasive. Dirt, dried wax and road film sitting on the surface act like sandpaper once a compound goes over the top, and that is how a swirl mark becomes a scratch.
Use the two-bucket method: shampoo in one bucket with a grit guard, plain water in the other. Rinse from the top down, dry with a clean microfiber towel, and keep the pressure washer or hose away from the panel edges where grit hides.
Verify the surface is clean before you move on. Drag a clean microfiber towel across the damp panel; if it feels gritty, the wash is not finished. A thin layer of iron fallout or road film will still cut a polishing pad, so decontaminate until the towel glides.
3. Treat Persistent Surface Contamination Before Removing Scratches
Sometimes a mark that looks like a scratch is not one. Bonded fallout, sap overspray and road film sit on top of the clear coat and smear under a towel instead of catching a fingernail. If the mark reacts to a clay bar, it is contamination and no amount of polishing is needed.
Spray clay lubricant over a section about the size of your forearm, keep it wet, and run the clay flat with light pressure. Lift it straight off, then re-wet and go again until the surface feels like glass. Never work a dry bar on dry paint.
Two cautions. Keep the lubricated area small and the layer of lube thin, because excess lube smears instead of cutting. And skip aggressive clay work right around fresh damage, where the loose edges of a deep scratch can catch the bar and lift more clear coat than you started with. For sticky organic stains like sap, use a targeted method instead, like our guide to removing tree sap without damaging the paint.
4. Polish Light Clear-Coat Scratches
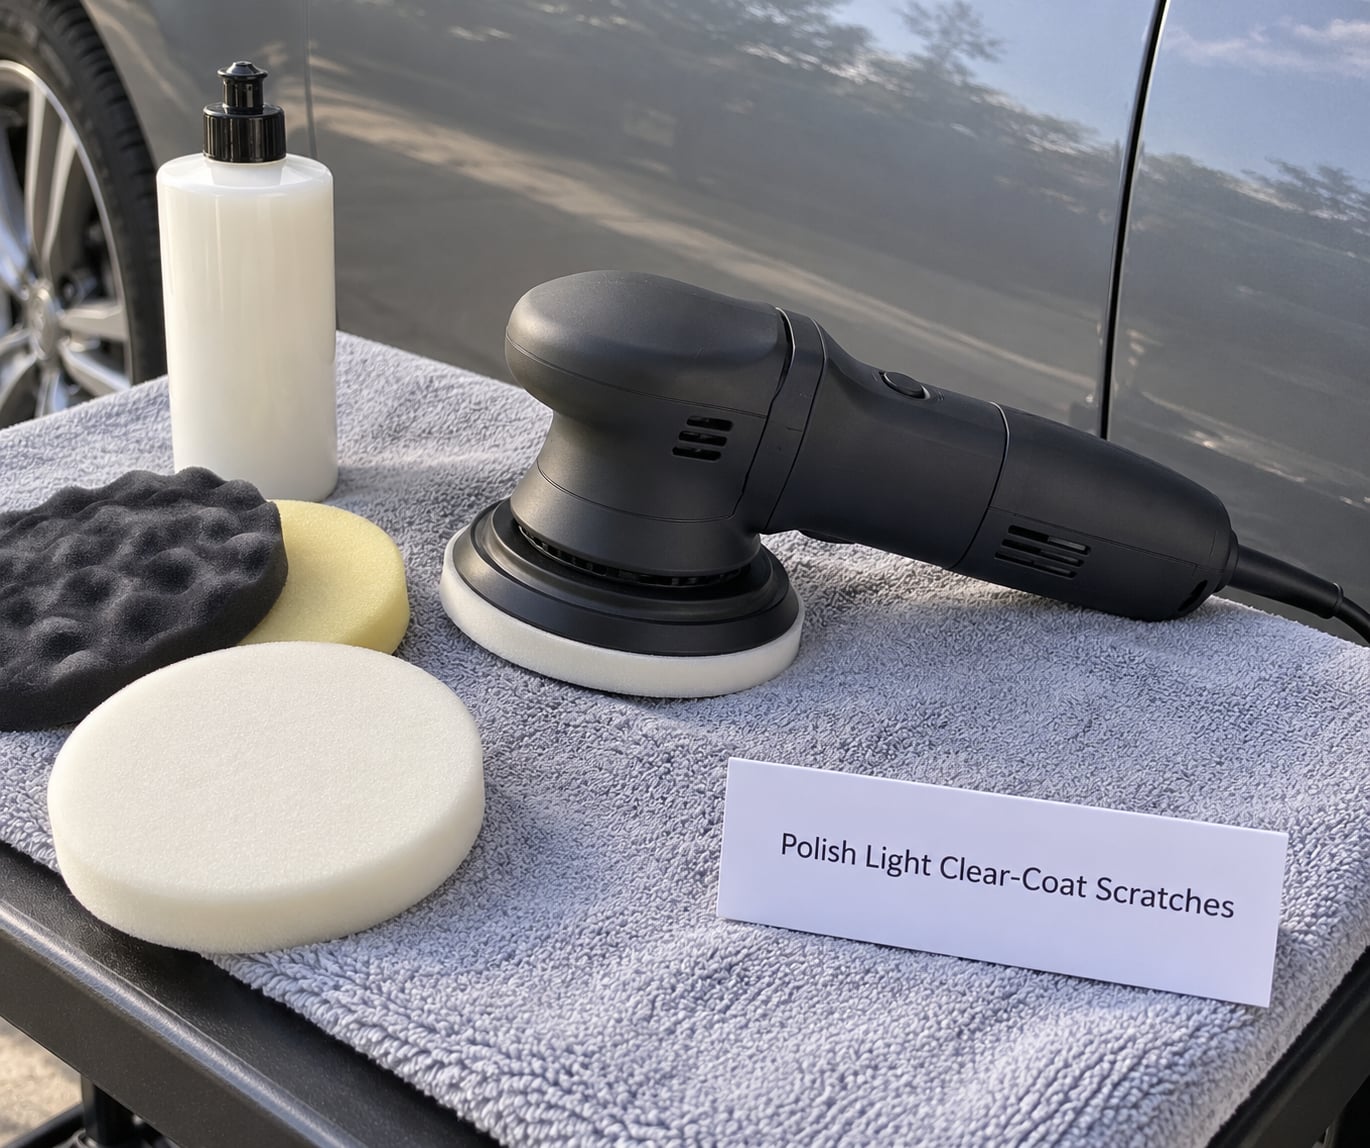
A clear-coat scratch is a groove with raised edges. Polishing shaves the raised clear coat back down until the surface is level again, and the mark disappears because there is no longer a valley for light to catch.
Match the tool to the size of the job. A single key or cart scratch is hand work: apply a small amount of polish to a foam applicator and work it in straight lines with firm pressure until it turns from milky to clear, then wipe off with a clean microfiber towel before it dries to a haze. Straight-line passes matter. Small circles work the whole section into swirl marks.
For a full panel, use a dual-action polisher with a soft foam finishing pad. Put the pad flat on the paint before you start the machine, hold light spread pressure, and move in overlapping straight passes at a slow walking pace. Speed is what causes heat, and heat is what thins clear coat.
Work a section at a time about the size of a door, then check it from a low angle before going further. On a dark panel under garage lighting, hold a phone flashlight almost flat against the surface and step back; any remaining mark throws a shadow you can still see.
Stop as soon as the mark is gone. You cannot put clear coat back, and the users who regret a polish job almost always did extra passes looking for a scratch that had already left. One refinement pass after the mark disappears is plenty.
5. Touch Up Scratches That Expose Color
When the scratch reaches the colour coat, polishing is off the table. You are filling a hole in the paint rather than flattening a surface, and the job is to fill it level so the reflection looks unbroken again.
Clean the scratch with isopropyl alcohol and a lint-free towel, then let it dry fully. If the line has slightly raised edges, level them lightly with 800 grit wet sandpaper on a hard block, staying inside the scratch.
If bare metal or plastic is exposed, put automotive primer on it first. Primer stops corrosion, and rust under a paint repair is what makes a small fix bubble a year later.
Now apply the touch-up paint in thin coats. Load only the tip of the brush or pen nib, pull it along the groove, and let each coat flash off before the next. Thick coats wrinkle and shrink as they cure, leaving a dip you have to sand anyway. Three thin coats beat one heavy one every time.
Where the manufacturer of your touch-up kit calls for a clear coat, add it the same way, thin and in layers. A spray can gives you better control of coverage than a brush, but mask the surrounding panel with cardboard and keep the can moving.
Once the paint has cured, level it with 800 to 1500 grit wet sandpaper until the repair no longer catches a fingernail, then refine with the polishing step above until it blends into the reflection.
Be honest about matching. On faded or previously repaired panels, touch-up paint will not blend, and enthusiasts on r/AutoDetailing describe the same result: a technically perfect repair that still reads as a spot. A body shop sprays larger areas with a blend so the transition is gradual.
6. Inspect, Protect, and Maintain the Repair
Look at the repair from several angles before you call it done. Crouch down to panel height and view it from the side, since that is the angle where a slight dip in a touch-up repair shows up. Check it in daylight as well as under the lights you used to work.
Remove every trace of compound with a damp microfiber towel, then follow with a clean dry one. Leftover residue hazes the paint and can be mistaken for a scratch you failed to remove.
Seal the repaired area with a compatible sealant or wax once the paint has fully cured. This is not cosmetic: sealant keeps water out of the edge between new paint and old clear coat, which is where a repair starts to fail.
Give the repair time before you expose it. Follow the cure time printed on your touch-up paint, and avoid washing, rain and road salt until the paint is well beyond tacky. A week of dry shade is a reasonable minimum for a spot repair. If the car has to go back out, at least avoid automatic car washes, whose spinning brushes find every fresh repair.
Common Mistakes
The worst scratches I have seen get made during the repair, not in the parking lot. A clean panel with a key scratch is a thirty-minute job. A dirty panel plus a rotary buffer makes a permanent one.
Polishing before cleaning. Dirt left on the surface becomes abrasive. This is the single most common way people turn a swirl mark into a real scratch, and it is also why washing and decontaminating comes first in every method above.
Too much product and too much pressure. Excess compound does not work faster, it just spreads over a wider area and turns harder to remove. On a machine, extra pressure generates heat, and heat is what cuts through thin clear coat.
Treating deep damage as cosmetic. A scratch through the colour coat will not respond to compounding no matter how long you work it. Recognising that early saves the clear coat around the mark from being sacrificed for nothing.
Touch-up paint over contamination or wax. Wax and sealant repel the new paint, so it beads, shrinks and peels. Degrease with isopropyl alcohol right before you paint, not before you washed.
Sanding without a controlled process. Sanding scatters abrasive dust that stays on the panel and cuts during the next buff. Sand wet or sand under suction, and wipe between grits.
Now the viral fixes. Five of these show up in almost every comment thread, and most of them make a scratch worse.
WD-40 removes the scratch? No. It strips wax and sealant and leaves the mark visible. People on r/TeslaLounge use it to lift debris and contact residue off paint, which is a fair job for a degreaser. It is not a scratch remover.
Toothpaste? No. It is mild abrasive, so at best it hazes the clear coat around the mark while leaving the groove itself in place. The dull patch it leaves usually needs a polish to fix.
Magic eraser? No. A melamine foam is a powerful abrasive and it will cut a matte swirl into glossy paint in a few passes.
Nail polish? Sometimes, and only for tiny chips in the colour coat. Body-colour nail polish is not automotive paint. It fills the void the same way touch-up paint does, but it fades, peels and will not match a metallic finish.
Coconut oil and vinegar? No to both. Vinegar is acidic enough to dull clear coat and leave hazy patches, and coconut oil does nothing to a groove in the paint.
Will a clay bar take scratches out? No. A clay bar only removes contamination bonded to the surface, which is why marks that seem worse in bad light often start to disappear after claying. If the mark vanished, it was never a scratch.
Two more that are not scratches at all. Bugs and road tar sit on top of the clear coat and are removed with a wash and a clay bar rather than any abrasive, as covered in our bug splatter guide for a front bumper. And a dent is metal deformation, not missing paint, so no amount of compound will touch it.
When a Scratch Needs Professional Repair
Shop work is the right call when the scratch reaches metal, when the line feels like a channel rather than a groove, or when the panel needs colour blended rather than spot filled. Each of those is past the point where a home fix improves the car.
A scratch that exposes bare metal has started a corrosion clock. Steel rusts, rust spreads under intact paint, and the panel eventually bubbles and flakes. A spot repair done properly with primer stops that, but only if you caught it early. If there is already orange bloom or lifting edges, the damage extends past what you can see.
Creases, dents and cracks in the metal are body-shop territory. Creases cannot be polished or filled, and a crease near a headlight or in a structural area is a safety question, not a cosmetic one.
Location matters more than depth in some cases. Hoods, roofs and deck lids are broad, flat and highly visible, so a spot repair shows and a blend takes far longer in the booth. A scratch that runs across two panels or close to a body line needs a paint blend, which is shop work by definition.
Also go to a shop when the paint is faded, when the panel was repainted before you owned the car, or when a matching code cannot be found for an older vehicle. A discontinued code means guessing, and a wrong guess is visible for the life of the car.
Worth knowing before you book: on Reddit’s r/AutoDetailing, keyed panels come up constantly as shop jobs rather than touch-up jobs, because the damage usually needs blocking, sanding and repainting to blend. If the damage came from someone else’s key, your comprehensive coverage may handle it and it is worth one phone call to your insurer before you pay anyone. For the neighbouring problem, our guide to removing a dent without paint damage covers what you can fix at home.
Frequently Asked Questions
Can polishing remove scratches from a car?
Only if the scratch stays inside the clear coat. Run a fingernail across it: no catch means a polish or compound can shave the raised edges level and the mark disappears. A catch means the colour coat is exposed and no amount of polishing will move it. It then needs touch-up paint matched to the paint code.
Is a deep scratch that exposes metal safe to polish?
No. Polishing a scratch that has reached bare metal cannot fill the gap, and it removes healthy clear coat around it while you work. Clean the area, treat the metal with automotive primer to stop rust, then fill with touch-up paint and level the repair once it has cured. If the line is wide or metal is already rusting, a body shop is the safer fix.
What is the difference between a swirl mark and a scratch?
A swirl mark is a shallow haze of fine lines in the top clear coat, usually caused by washing with a dirty mitt or a dry sponge. It only shows at an angle under direct light and a fingernail glides over it. A real scratch is a single defined groove, often from a key, a branch or a stone, and you can see and feel the line itself.
How long should I wait after applying touch-up paint?
Follow the cure time printed on your touch-up paint, which is usually a few hours before the paint can be handled and several days before it resists solvents or water. For a spot repair, keep it dry and shaded for about a week before washing. Avoid automatic car washes in that period, since spinning brushes find every fresh repair.
When should I take a scratched car to a body shop?
Go to a shop when the scratch exposes bare metal or already shows rust, when the line feels like a channel rather than a groove, when there is a crease in the metal, or when the panel needs a colour blend instead of a spot fill. Hoods, roofs and deck lids are the usual problem cases because any repair is visible on such a large flat surface.
What to Do First
Wash the panel, look at the mark under an angled light, and run a fingernail across it. That test is the whole diagnosis. Whatever you feel picks the method: no catch means decontaminate and polish, a catch with a coloured line means touch-up paint, and a catch with bare metal or a channel shape means prime it or hand it to a body shop.
Then start with the least aggressive fix that suits that answer, and stop the moment it works. More passes and more product only take clear coat you cannot replace.