
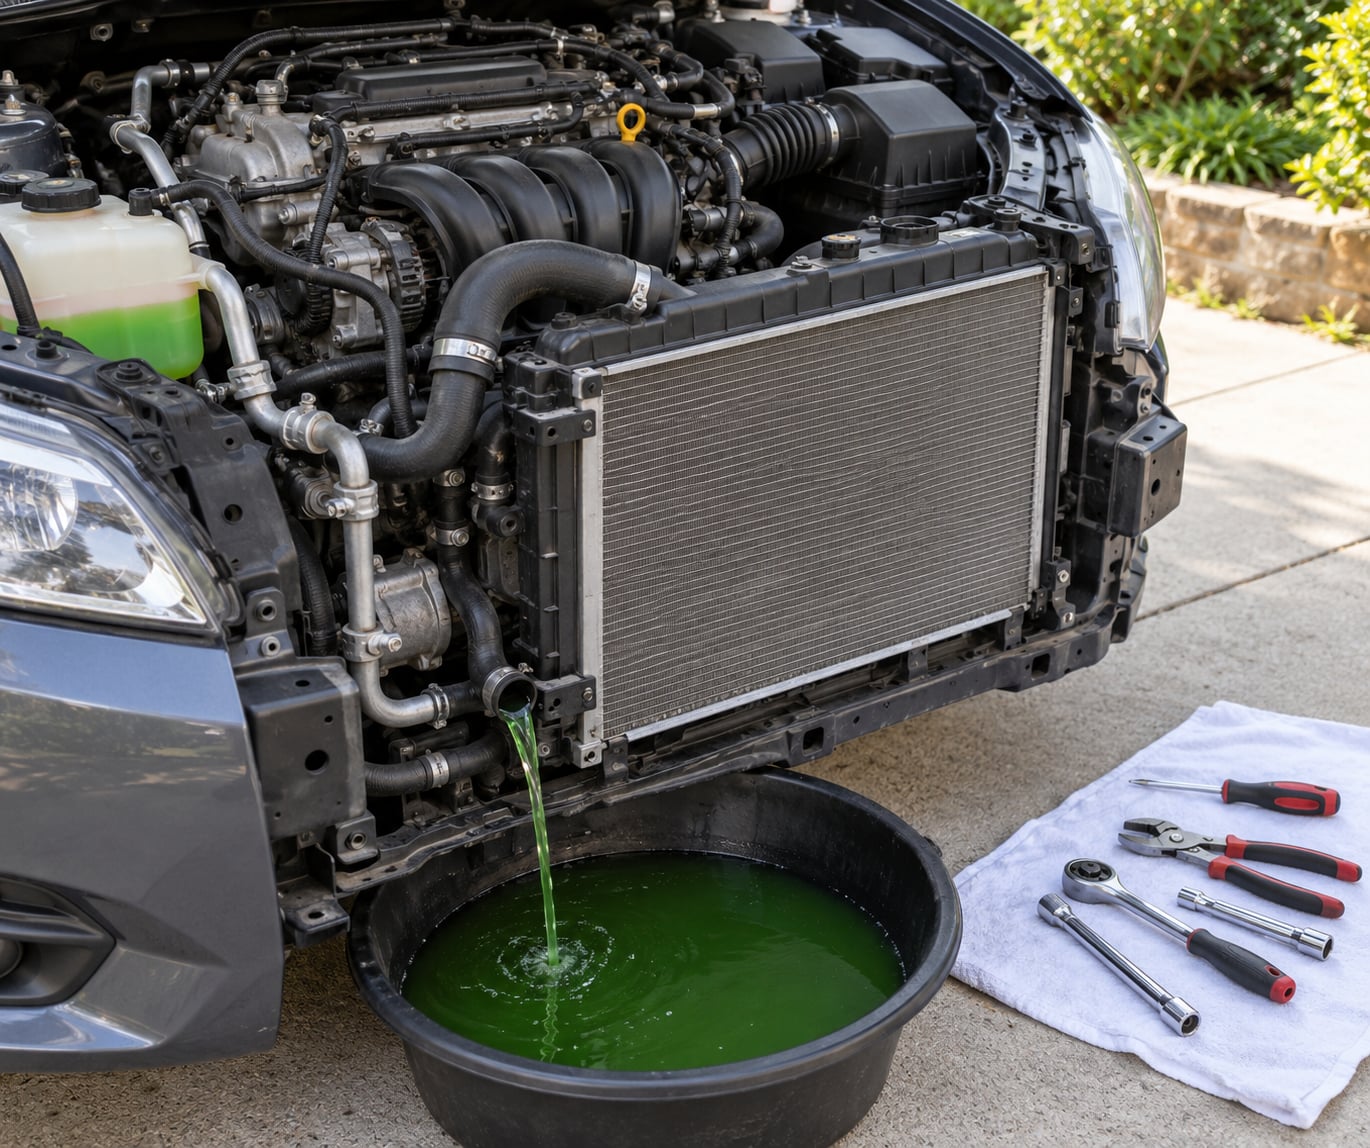
How to replace a radiator hose comes down to five things: let the engine go completely cold, drain the coolant, slide the clamps off and twist the old hose off its fittings, push the new hose on and secure it, then refill and bleed the system. Most cars take 30 to 60 minutes, plus another 15 to 30 to purge trapped air. The hose swap is the easy half of the job.
The upper radiator hose carries hot coolant from the engine out to the radiator. The lower radiator hose returns cooled coolant from the radiator back to the water pump. On most cars the upper hose is the easier of the two to swap, because it sits on top with room to work. The lower one often has to come off the bottom of the radiator with the car on a lift, which is a different job.
Before you buy anything, confirm the hose is actually the fault. A weeping hose, a soft bulging section, cracked or hardened rubber, or a sweet coolant smell under the hood all point at the hose. So does a low coolant warning with no visible leak, which usually means the fluid is going somewhere you cannot see from where you are standing.
Table of Contents
- What You Need
- How to Replace a Radiator Hose Step by Step
- Step 1: Prepare the Vehicle and Drain the Coolant
- Step 2: Remove the Old Radiator Hose
- Step 3: Inspect the Cooling System Before You Install Anything
- Step 4: Install and Secure the New Hose
- Step 5: Refill and Bleed the Cooling System
- Step 6: Check for Leaks and Finish the Job
- Common Mistakes That Cause Repeat Failures
- Frequently Asked Questions
- How long does it take to replace a radiator hose?
- Can I replace a radiator hose without draining the coolant?
- What type of clamp does a radiator hose need?
- What coolant should I use after replacing the hose?
- How do I know the new radiator hose is leaking?
- Do I need to replace the radiator when replacing its hose?
- Conclusion
What You Need
Get the parts right before the engine comes apart. A hose bought by guesswork is the most common reason this job takes twice as long as it should.
- The replacement hose. Match it by year, make, engine and cooling-system configuration, not by shape. The upper and lower hoses on the same car often look nearly identical in the parts catalog and are not interchangeable.
- The coolant your engine wants. Check the owner’s manual or the cap stamp for the specification and the mix ratio. Long-life coolant is frequently a 50/50 premix, so buy it premixed if you do not want to measure anything.
- New clamps. Replace them every time. Old clamps are the most common leak source on a cooling system that was just worked on, and they cost little.
- A drain pan large enough to catch a full system, plus a funnel and a bottle of distilled water for topping up.
- Basic hand tools: pliers, a flat screwdriver or pick, and a socket set for the drain plug if your car uses one.
- Safety glasses and nitrile gloves. Coolant is toxic and caustic, and it stains everything it touches.
Clamp style matters because it decides the tool you need. A spring-lock tab clamp comes off with a flat screwdriver or a pick, no special tool. A worm-drive clamp needs a screwdriver or nut driver on the slotted screw. Constant-tension clamps grip all the way around the hose and are removed with clamp pliers. Hose clamp pliers are worth having for spring clamps because they squeeze the tabs evenly, which is far kinder to the clamp than levering one ear with a screwdriver.
If you want to know what the cap on that neck is doing in the first place, our short guide on what a radiator cap does explains the pressure it holds and why it matters when you refill.
Safety first, before you touch anything: work on a fully cold engine. Never open a radiator or expansion tank cap on a hot system, even if the gauge reads normal, because the system is pressurized and the coolant will flash to steam and scald you. Park on level ground, in shade if you can, and give the car two hours or more after a drive. If your owner’s manual calls for disconnecting the battery negative terminal, do that before you start and keep the key away so nothing wakes up while the intake is apart.
How to Replace a Radiator Hose Step by Step
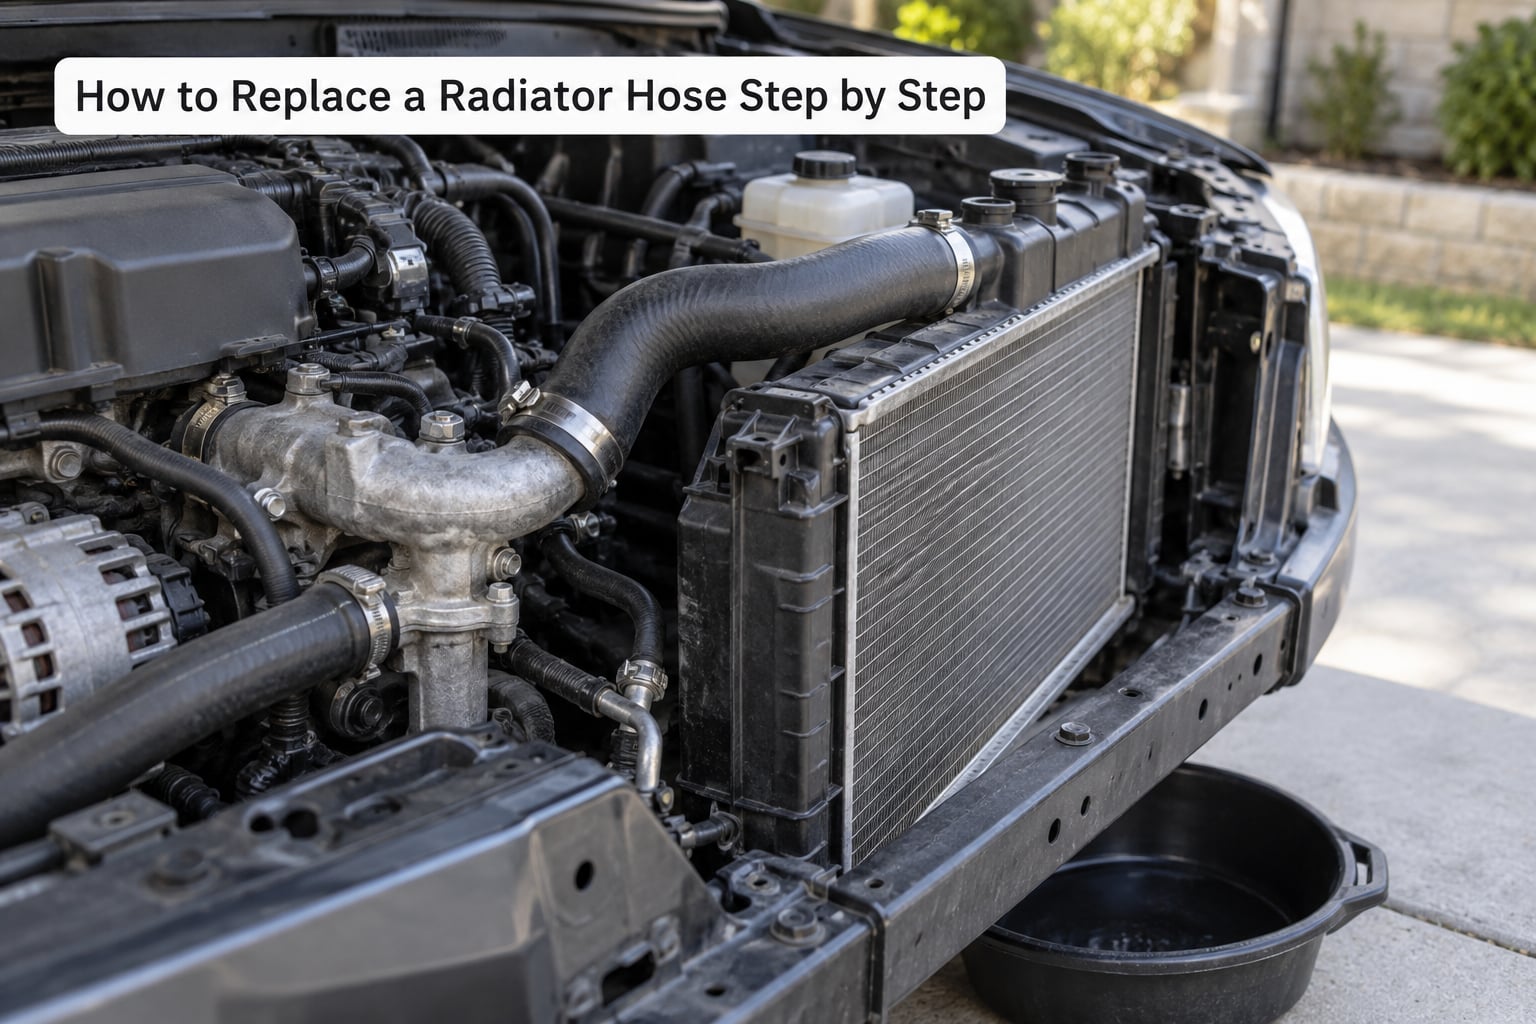
Every step below is generic. Your owner’s manual and service instructions come first, because access, drain points and bleed methods are all vehicle-specific. Use these steps to understand the order of operations, then follow the manual for your car.
Step 1: Prepare the Vehicle and Drain the Coolant
Confirm the engine is cold, park level, disconnect the battery negative terminal if required, and set your drain pan under the drain point. Many cars have a petcock or drain plug at the bottom of the radiator, and on some engines it is at the lower radiator hose instead. If your car has neither, pull the lower hose off at the radiator and let the system empty into the pan.
Open the radiator cap or expansion tank cap only now, once everything is cold, so the system drains instead of holding vacuum. Let it run out until the flow slows to a trickle. Expect several pints to more than a gallon depending on the engine, and pour the used coolant into a sealed container for proper disposal rather than onto the ground.
You can work without draining if the system uses a reservoir and you top it up carefully afterward, but you will spill coolant and lose more of it, and some engines hold air low in the block where you cannot bleed them. Draining first is the cleaner path.
Step 2: Remove the Old Radiator Hose
Relieve the clamp and move it back along the hose, out of the way of the fitting. For a spring-lock clamp, squeeze the tabs with a pick or clamp pliers and slide the clamp down the hose. Then break the seal. Start at the fitting ridge and work a flat screwdriver or pick around the circumference gently, twisting the hose back and forth as you go.
Once it breaks free, twist and pull. Never yank. Pulling hard on a cooling hose moves the whole fitting, and on an aluminum radiator or a plastic end tank the neck can crack, which turns a thirty-minute job into a radiator replacement. Support the hose with one hand and rock it along the axis of the fitting.
Stuck hoses get a ladder, in this order. Warm water poured over the fitting softens the rubber seal and shrinks it slightly, so try that first and wait a few minutes. Next, put a little penetrating oil on the seal and give it time. Then work it back and forth in small increments instead of one hard pull. Finally, as a last resort, cut the hose off with a hose cutter or multi-tool at the middle and unbolt the fitting from the radiator. Cutting leaves the fitting in place, which is often the only way to save a seized lower hose without removing the radiator.
Step 3: Inspect the Cooling System Before You Install Anything
With the system open you can finally see the parts that were hidden. Look for cracks, softening, bulging, corrosion or weeping around the radiator necks. Check the other hoses while you are there, since they are the same age as the one you just pulled. Brittle, flattened or shiny hoses go next, not later.
Look at the fan behind the radiator, the fan shroud, the wiring to the fan motor, and the clamps on the neighbouring pipes. A fan blade that is chipped or a connector that has come loose will overheat the car with a perfectly good hose installed. If you are not sure whether the fan should even be spinning at that point, our radiator fan checks lay out the six quick tests.
If the reservoir, cap or neck looks damaged, or the plastic end tank is stained and brittle, that is a bigger job and a mechanic’s call. A reservoir that is crazed, cracked or leaking usually means a full replacement rather than a reseal, and how to replace a BMW expansion tank covers that work on a car where the tank sits in the way of everything else.
Clean both sealing surfaces, the radiator neck and the hose fitting, with a rag and a little coolant if you have it. Grit left on a sealing face is what makes a brand new hose weep on the first drive. A replacement hose does not fix a separate leak somewhere else in the system, so diagnose that before you refill.
Step 4: Install and Secure the New Hose
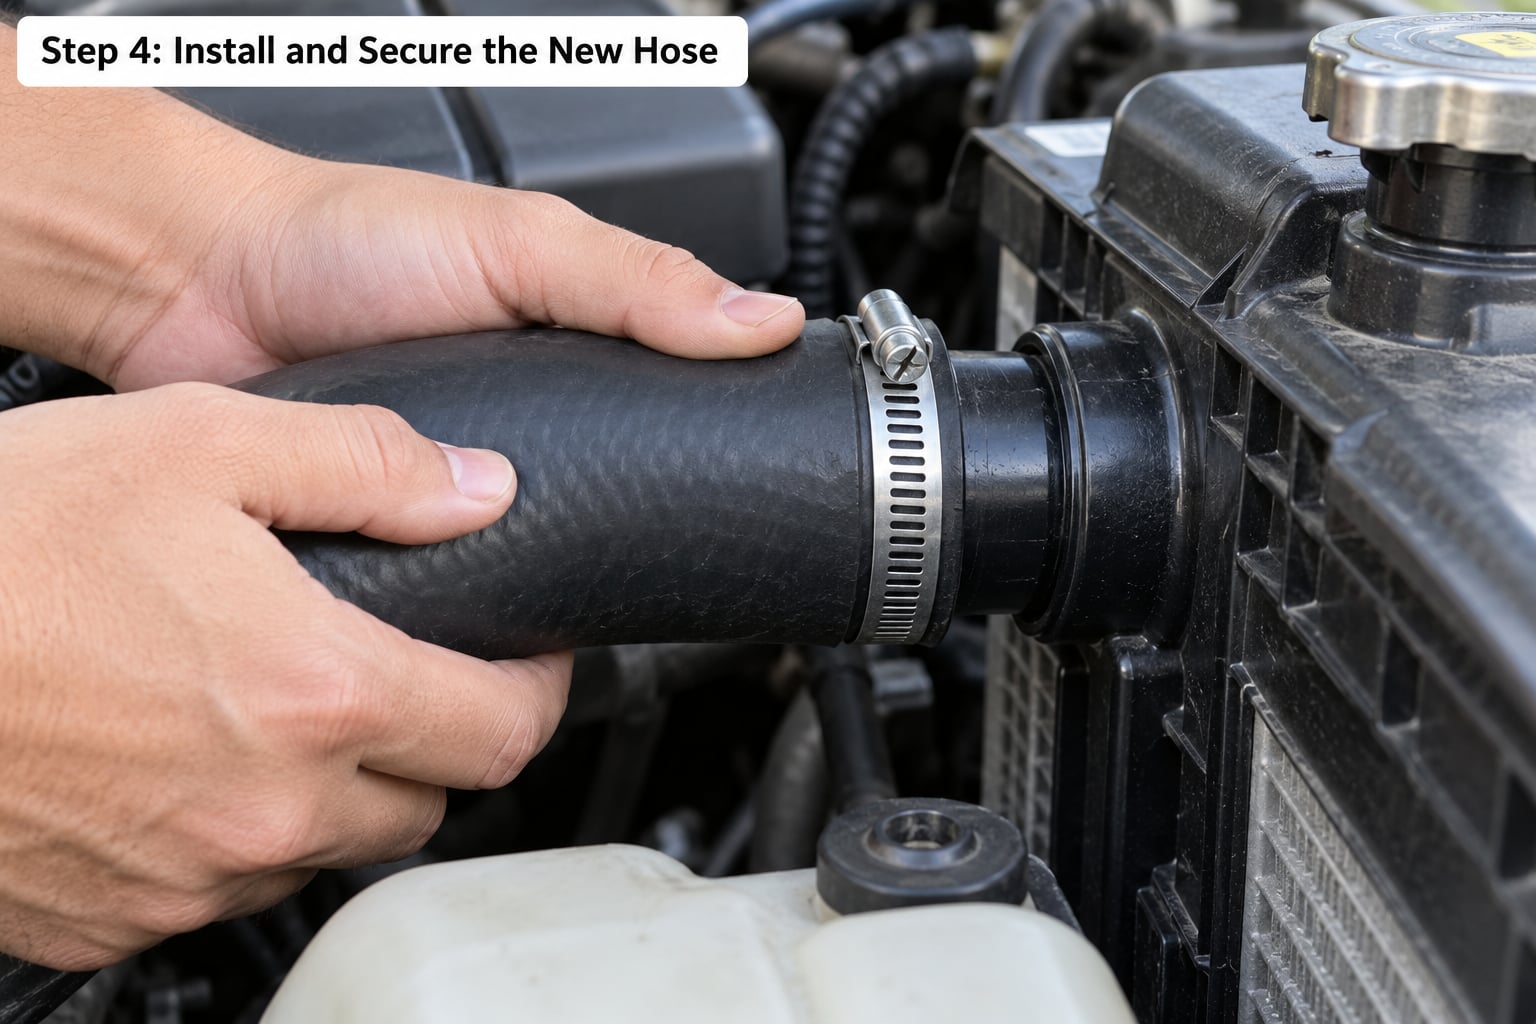
Fit the new hose the same way it came off, correct end to correct end. Many hoses are shaped so they can only go one way, and a hose installed backward is a real cause of repeat leaks. Push it on until it is fully seated past the fitting ridge, with no slack and no twist, and route it so it does not cross a sharp edge, a bracket or a moving part.
Spring-lock clamp: squeeze the tabs with clamp pliers, slide the clamp into position, and release. The clamp sits just ahead of the fitting ridge, square and not crooked. Worm-drive clamp: slide it on, tighten the screw until the band is snug and the hose cannot be twisted by hand, then a further fraction, no more. Constant-tension clamp: fit it with clamp pliers so it grips the full bead of the hose. Follow the clamp maker’s instructions, because overtightening cracks plastic fittings and the tab on a spring clamp is easy to strip.
Run your hand along the installed hose. It should be firm with no soft spots, and it should be clear of the fan, the fan shroud and any exhaust component. That last check catches the failure that shows up a mile down the road as a hose melted through.
Step 5: Refill and Bleed the Cooling System
Put the cap back on the radiator or expansion tank, then fill with the coolant mix your engine requires. If you are mixing it yourself, use 50/50 coolant and distilled water unless your manual specifies something else. Tap water carries minerals that scale the radiator and heater core over time. Watch the reservoir indicator lines on many expansion tanks rather than guessing at a MAX mark.
Bleeding methods, best first. If your engine has a bleed screw or bleeder valve at the thermostat housing or intake manifold, fill until coolant reaches the valve, open it slowly and let the air come out while you keep filling. A spill-free adapter that fits the radiator neck fills and bleeds at the same time and is the easiest tool for a home job. If you have neither, fill the radiator neck directly, then start the engine with the heater on high and the blower running, and slowly add coolant while the thermostat opens and the fan cycles.
Air that will not come out on its own settles high in the engine, and a block of air stops coolant reaching the head. That is the number one reason a car overheats minutes after a hose swap that was done correctly. A slow, foamy gurgle at the reservoir while you fill is air, not a fault. It means keep filling slowly.
Step 6: Check for Leaks and Finish the Job
Let the engine reach full operating temperature and hold it there. Check every hose connection, both ends of the new hose, the radiator neck, the cap area, the drain plug or petcock, and the cabin floor. Look for wetness, staining, drips and a coolant smell. Feel the upper hose once the engine is warm: firm and hard is normal, soft and collapsed means air is still trapped inside it.
Confirm the heater blows warm air at the dash and that the temperature gauge sits steady. Then shut the engine off, let it cool, and recheck the level, because some of the mixture expands as it heats and the level drops as it cools. A steady level between COLD and MAX means you are done.
Recheck once more after a day or two of normal driving. If the level keeps dropping, or the fresh hose is damp at the clamp, stop driving and find out why. Owners report the same pattern over and over on the car forums: the hose looks fine but was never fully seated, or the clamp was a fraction loose, and it weeps again a week later.
Common Mistakes That Cause Repeat Failures
- Opening a hot cap. A pressurized hot system sprays boiling coolant. Work cold, every time.
- Wrong coolant. Mixing specifications, or using tap water, corrodes metals and blocks the heater core. Match the manual’s spec.
- Hose not fully seated. Push it past the fitting ridge until there is no slack. This is the most common repeat leak.
- Cracked or broken plastic fittings. Do not lever against the radiator or end tank. Support the hose and rock it instead.
- Overtightening a worm clamp. Snug, then a fraction more. A split plastic neck cannot be sealed by more tension.
- A kinked or rubbing hose. Re-route it clear of the fan, brackets and heat sources before you fill the system.
- Reusing the old clamps. New clamps every time. That is cheap insurance against a leak at the fitting.
- Skipping the bleed, or driving with a low level. Purging air is not optional, and an unresolved leak gets worse the moment you drive away.
A clamp and a flex seal can get a weeping hose home from a long trip, and a hose clamp is a legitimate short-term fix. Treat it as a temporary repair, drive gently to a shop, and change the hose properly. Never clamp a hose that is bulging or split, because that failure is imminent.
Frequently Asked Questions
How long does it take to replace a radiator hose?
Most cars take 30 to 60 minutes for a DIYer once the engine is cold, and add 15 to 30 minutes to refill and bleed the system. Allow more time on a transverse engine, where access to the drain point and the hose itself is awkward, and more again if a seized lower hose has to be cut off. A shop usually charges well under an hour of labour for the same work on an accessible car.
Can I replace a radiator hose without draining the coolant?
You can, on many cars, by removing the hose at the radiator, catching what spills and refilling through the reservoir afterwards. Expect to lose a significant amount of coolant and to get some on the floor. On engines that hold air low in the block, working without draining makes bleeding harder. Draining first is cleaner and gives you a better look at the radiator while it is open.
What type of clamp does a radiator hose need?
Use the clamp the vehicle came with: a spring-lock tab clamp, a worm-drive clamp, or a constant-tension clamp. Buy them by vehicle rather than by size, because a worm clamp that is too wide will not seat properly on a narrow neck. Always fit new clamps with a new hose, and position a worm clamp just ahead of the fitting ridge, square rather than crooked.
What coolant should I use after replacing the hose?
Use the specification and mix ratio printed in your owner’s manual or on the radiator cap, and match the colour and type of whatever is already in the system. Long-life coolant is usually a 50/50 premix of coolant and distilled water, so buy it premixed if you would rather not measure. Never refill a hot system, and never use tap water, which brings minerals that scale the radiator and heater core.
How do I know the new radiator hose is leaking?
Look for fresh wetness or staining at either end of the hose, a drip on the driveway after a drive, a rising coolant level in a sealed system, or a sweet smell near the engine bay. A hose that weeps at the clamp but not along its length usually means it is not fully seated or the clamp is loose. Let the engine reach full temperature before you judge it, because a leak often only shows once the system is hot and pressurised.
Do I need to replace the radiator when replacing its hose?
Usually not. Replace the radiator only if the plastic end tank is cracked, stained, brittle or leaking, if the core is blocked or the fins are badly damaged, or if the neck or fitting is damaged beyond a clean reseal. While the system is open it is worth running a finger along the hoses and checking the fan and shroud, since anything you can see now you cannot see later. Judge the radiator condition yourself, and get a second opinion if it is marginal.
Conclusion
Start by confirming the correct hose and the correct coolant for your year, engine and cooling-system layout, then let the engine sit until it is completely cold before you disconnect anything. That single rule prevents the injury that turns this into an emergency.
From there the sequence is what matters: drain, remove without levering on the radiator, inspect what you can now see, install the new hose fully seated with new clamps and no kink, then refill with the specified mix and bleed the system until the level is steady and the upper hose is firm. Recheck for leaks now and again after a day or two of driving.
Use your owner’s manual and the vehicle’s service instructions throughout. If a fitting is cracked, a radiator neck is damaged, the hose will not come off without cutting, or the car still overheats with a clean system and no air in it, stop and hand it to a professional. Diagnosing a cooling fault is harder than replacing the hose, and a wrong diagnosis is how one small job becomes an expensive one.