
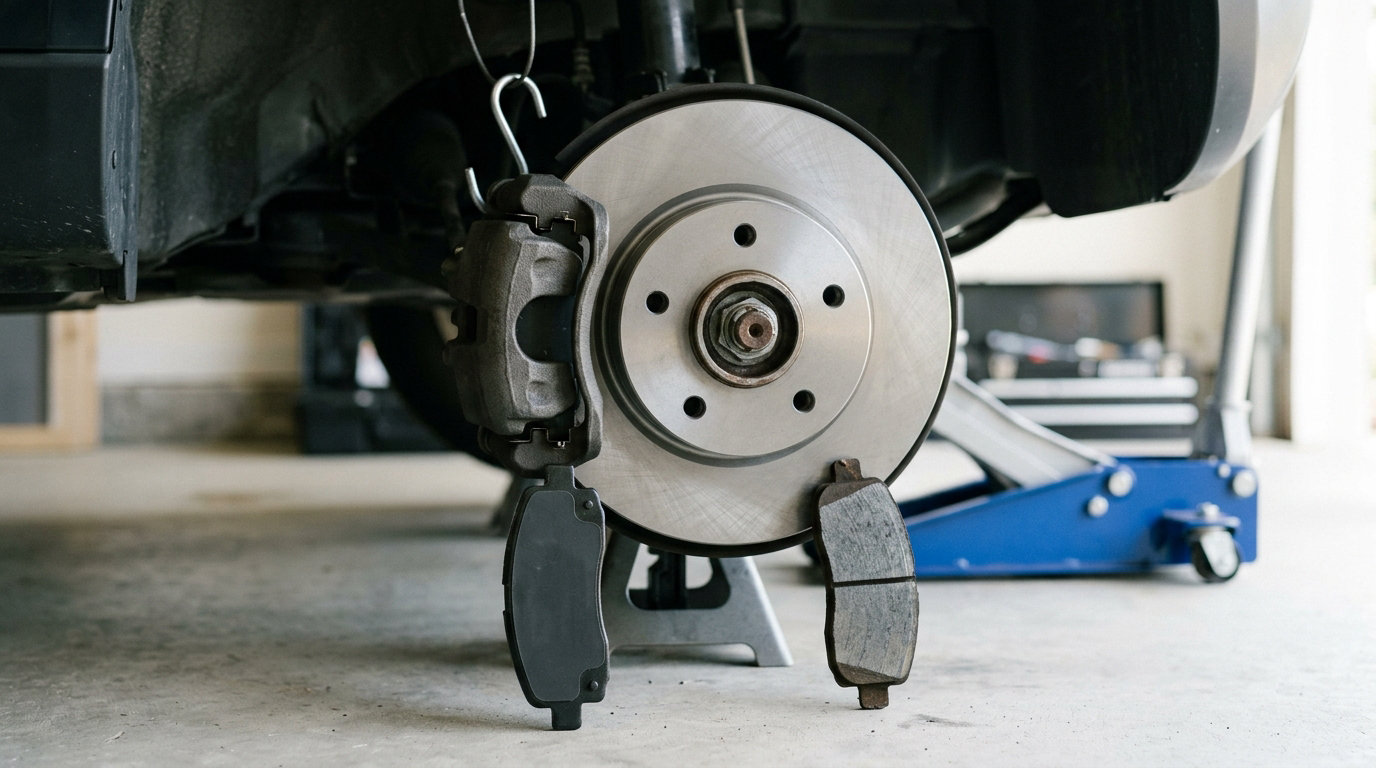
You can change brake pads and rotors yourself on most BMWs with basic hand tools, a set of jack stands, and the correct torque values from the factory service manual. A first-timer should budget two to three hours per axle, mostly because the first wheel is always the slowest.
The part that trips people up is not the wrench work. It is trusting the manual for piston retraction, hub cleaning, and torque figures instead of guessing, because guessing is what turns a weekend job into a warped rotor or a stripped caliper bolt.
Since we updated this guide for 2026, here is the process the way I would run it in my own garage, with the model-specific checks a BMW actually needs.
Table of Contents
- What You Need
- How to Change Brake Pads and Rotors Yourself
- 1. Confirm the Correct Parts and Service Procedure
- 2. Raise the Car Safely and Prepare the Brake Area
- 3. Remove the Caliper and Inspect It
- 4. Remove the Old Pads and Inspect the Rotor
- 5. Install New Pads and Rotors
- 6. Reassemble, Refill, and Torque the Brake Hardware
- 7. Bed In the Brakes and Test the Repair
- Common Mistakes
- Frequently Asked Questions
- Do brake pads and rotors have to be replaced together?
- How much brake pad material is still safe to use?
- Do I need to change brake fluid when changing brake pads?
- Why are my new brakes squealing after installation?
- Why do my brake rotors vibrate after being replaced?
- When should I have a BMW brake job done by a professional?
- Start With a Safe Inspection
What You Need
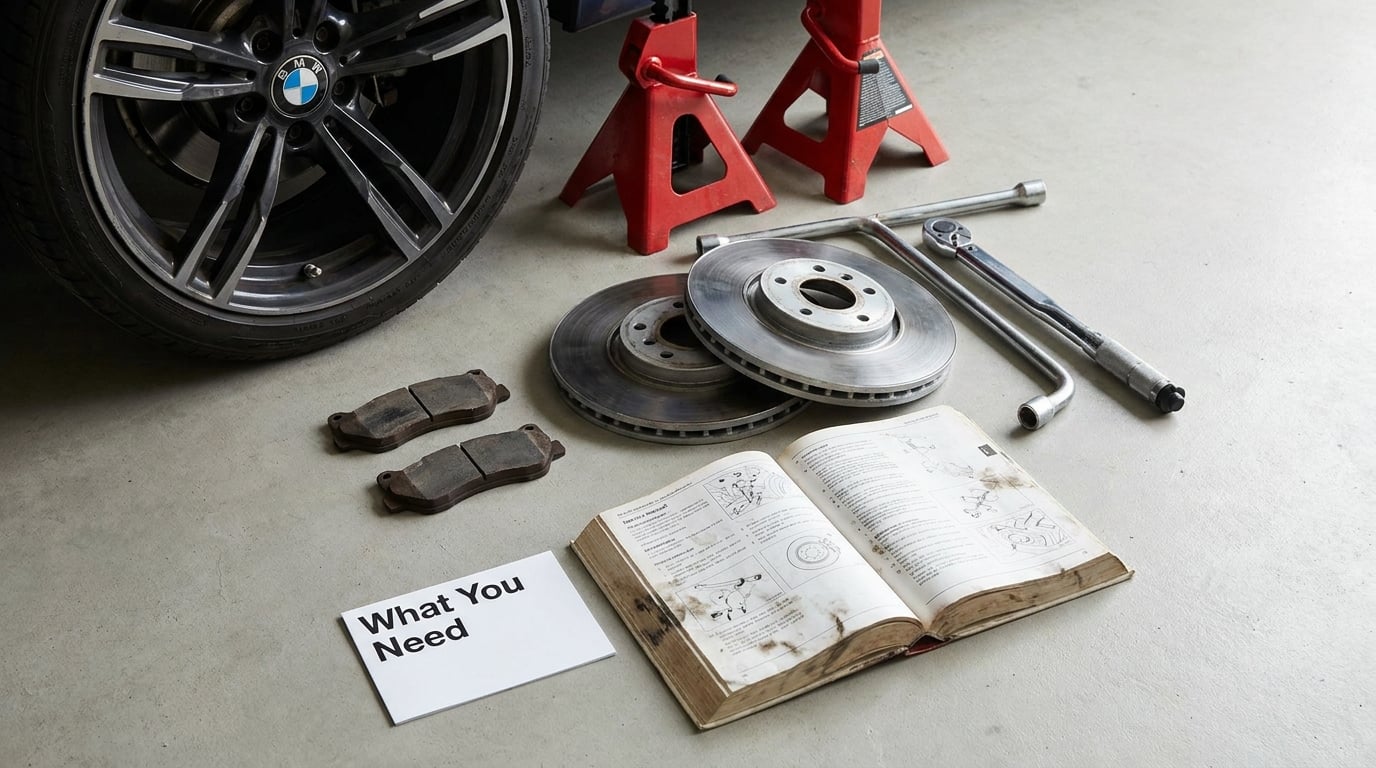
Start with the parts, then the tools. Ordering by VIN before the car is apart saves the annoying half-day where a pad set is on the bench and it turns out to be the wrong axle size.
Tools
A floor jack rated above your car’s weight, four jack stands of at least 3 tons each, and a lug wrench or wheel socket that fits the BMW lug pattern. Most BMWs use a 5-lug pattern with 120 Nm wheel fastener torque, but a handful of smaller models differ, so check before you lean on the wheel.
Then a torque wrench in the range you will actually use. Caliper bolts on many BMWs land somewhere around 90 to 110 Nm, so a 1/2-inch drive click wrench covering 45 to 150 Nm covers almost everything on the car. Add a breaker bar for the wheel fasteners, a torque-multiplier handle if your wrench is light, and the correct spline or star bit for the wheel.
For the caliper you need a piston wind-back tool. BMWs use both architectures: a floating caliper where the pads slide and a single piston that must be retracted, and a fixed carrier bracket where the pads pull straight out and the piston still needs pressure. A swivel C-clamp with a pad spreader bar handles most front floating calipers. Rear calipers with the parking brake integrated into the caliper often need a different approach entirely.
Add a wire brush or rotary brush, brake cleaner, a nylon wheel scrubber, a torque wrench for the guide pins, high-temperature brake lubricant for the slide pins, and a small anti-seize compound for the hub face. A 1/4-inch ratchet with a long extension helps you reach the lower caliper bolt on many models. A cheap 1/4-inch micrometer covers the rotor thickness check.
Parts, fluids, and documents
You need pads and rotors for one axle, or for all four corners if you want even braking. BMWs usually take the same pad shape front and rear on a given generation, but the rotor diameters and vented versus solid designs differ, and the Dynamic Stability Control and Park Distance Control modules on some models log a brake fault code when a wheel is removed or the sensor is disturbed.
Add the small hardware that people forget: new caliper guide pin boots, new anti-rattle clips, new pad shims if your set includes them, and a wheel position sensor if you will be prying near it. BMW fastener torque is specified after the car has been shaken to settle the suspension, and coated or galvanized bolts get a slightly different figure than plain steel ones. Read that note before you touch the ratchet.
Brake fluid matching matters more on a BMW than on most cars because of the stability control valves. Your manual will list a DOT number, usually DOT 4 on modern models. Open the reservoir cap before you start, and keep a container and a turkey baster handy because the fluid that comes back when you compress the piston has to be siphoned out, not spilled.
Finally, the service manual for your exact chassis code and model year. It will give you the torque values, the caliper bolt sequence, the fluid specification, the rotor minimum thickness stamped on the disc, and whether the electronic parking brake needs a service mode on your car.
How to Change Brake Pads and Rotors Yourself
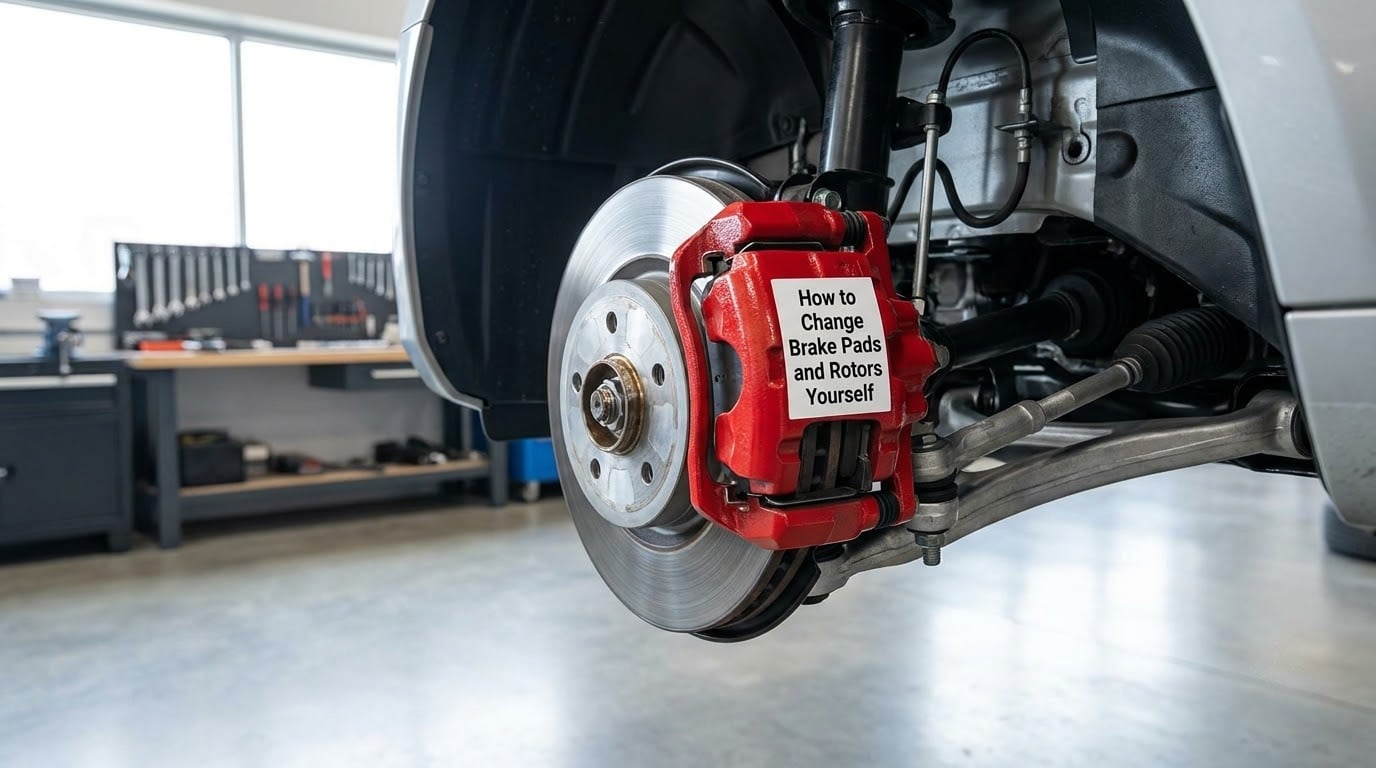
1. Confirm the Correct Parts and Service Procedure
Before anything is unbolted, confirm the parts and read the axle procedure. The VIN plate on the driver door jamb gives you the model, and the production date narrows it further, because BMW rotated suppliers and pad compounds mid-year more than most manufacturers.
Look at the old parts before you discard them. Pull the inner pad and compare its wear to the outer pad. Significant difference means a stuck caliper or a seized guide pin, and if you install new pads into a caliper that does not slide, the fresh pads will wear uneven and the car will pull to one side. Uneven wear is the single clearest signal that the caliper is part of the problem.
Also confirm whether your car uses a conventional hydraulic handbrake or an electronic parking brake, and whether the parking brake caliper has a motor that must be manually released before the piston will move. Getting this wrong is the reason some people cannot reassemble a rear caliper at all.
2. Raise the Car Safely and Prepare the Brake Area
Park on level ground, in gear, with the parking brake applied. Chock the wheels that stay on the ground. Never work under a car held by the supplied scissor jack or the floor jack alone; the jack is a lifting device, not a support.
Position the stands so they land on solid structural points of the unibody near the jacking point, set them to the manufacturer rating, and lower the car onto them fully. Rock it once to confirm no movement. Grab the brake fluid reservoir cap and duct tape or set it aside so you remember to close it later.
Lay a drop cloth under the caliper and keep brake cleaner and hand cleaner away from the pads, rotor face, and the brake hose. Contamination is the number one cause of pads that never bite, and you cannot see the oil you just touched with a rag. Loosen the lug nuts before lifting the car so the wheel comes off by hand instead of fighting the weight on the studs.
3. Remove the Caliper and Inspect It
Take a photo of the caliper in place before you remove it. On reassembly that photo tells you which way the hose and the wear sensor loop run, and misrouting a flex hose is an easy way to create a kink you will not notice until the line fails.
Remove the caliper mounting bolts following the manual. Support the caliper with your hands or hang it on a hook placed on the strut. Never let the caliper dangle from the flexible brake hose, and never let the weight of the assembly rest on the hose fittings.
While the caliper is in your hands, inspect it properly. Look for fluid around the piston seal and the banjo bolt, a torn dust boot, a piston that will not move, rust pitting on the slide pins, hardened boots, and a carrier bracket with scored surfaces. If there is any sign of a leak, stop there. Our guide on how to check brake calipers for leaks on a BMW covers the signs that mean a caliper rebuild or replacement is due, and a leaking caliper means the car should not be driven.
4. Remove the Old Pads and Inspect the Rotor
Pull the pads out. Some BMW calipers retain the pads with a spring clip or anti-rattle hardware, so expect to remove that hardware too. On rear calipers with the integrated parking brake, the pads often come out with the carrier attached, and the motor or the parking brake mechanism has to be unhooked or released first. If your rotor style matters for fitment, the differences between two piece rotors and one piece rotors are worth a read before ordering.
Note the orientation of the pad that carries the wear sensor, because the sensor bends easily and a bent sensor can throw a fault on some models.
Remove the rotor. Most are retained by a small threaded retaining screw on some models and slip over the hub on others, occasionally held by a plastic snap ring. If a rotor is fused to a hub, do not go at it with a hammer against the edge. Use penetrating oil on the hub bolts, thread a bolt into the rotor’s threaded hole and tighten it evenly, or work a 2×4 block against the rotor face while striking the hub. This is the step that turns a two-hour job into a two-hour fight if you rush it.
Now inspect the rotor you removed and take a thickness reading on a bare machined band, away from the outer edge and the hat, with a micrometer. The service manual lists a minimum thickness with the part number stamped on the disc, and the number must be the one for your rotor, not a generic figure. Below the minimum, the disc is done.
Also check for deep radial scoring, cracks that start at the inner hat and run outward, a blued or heat-spotted band, and a lip at the outer edge worn past the surface. A heavily scored or lipped rotor cannot be cleaned back into service no matter what you do to the pad.
5. Install New Pads and Rotors
Clean the hub face first. Rust on the hub flange is the number one cause of pedal pulsation after a new rotor is fitted, and it is the step most often skipped. Scrub the hub with a wire brush until the surface is bright metal, then wipe it with brake cleaner. If your car uses a separate hub and rotor, this is where you swap the retaining screw if the original was one-use.
New rotors come coated in a rust preventative from the factory. Do not leave it on. Remove it with brake cleaner and a clean rag so the pad bedded surface is bare steel, then clean the new rotor’s braking faces, edges, and hat the same way. Our walkthrough on how to clean new brake rotors before install covers the coating and the two surfaces that must be left alone.
Install the new rotor, and apply anti-seize lightly to the hub contact surface only. Keep it off the braking faces.
Retract the caliper piston now. On a floating caliper without a wind-back tool, place the old pad against the piston and turn the C-clamp slowly, watching for fluid rising in the reservoir. If the reservoir starts to overflow, stop and siphon it into a container, then continue. On a caliper with a built-in adjustment mechanism or a rear parking brake caliper, the manual will give you the specific procedure, and forcing the piston with a clamp on a mechanism you do not understand is how threads get stripped.
Apply brake lubricant to the back of each new pad where it touches the caliper bracket, to the slide pins, and to the shim contact points. This is the single most effective step for cutting post-installation squeal and vibration.
Install the shims, the pads with the friction material facing the rotor, the anti-rattle hardware and any spring clip. Do not reuse rusted or fatigued clips, and do not tighten the pad retainer so hard that the pad cannot move a fraction of a millimetre.
6. Reassemble, Refill, and Torque the Brake Hardware
Refit the caliper, install the guide pin boots, and torque the caliper bolts to the manual specification. On a floating caliper, tighten the mounting bolts evenly and check that the caliper slides smoothly by hand before you reach for the wrench again. On a fixed carrier bracket, there are usually two separate torque figures, one for the guide pin bolt and one for the carrier bolt, and the guide pin bolt is the one that must go to the higher staged value.
Torque technique matters on BMWs more than the number. Approach the value in stages rather than one hard pull, and follow the manual’s instruction to tighten with the suspension loaded or the wheel hanging free, because suspension load changes the final clamp force.
Install the wheel, then tighten the lug bolts in a star pattern in two or three passes. On many BMWs the last stage is a specified angle on a torque-and-angle wrench, so read the manual before you settle for a number. Lower the car to the ground, then re-torque the wheel fasteners with the vehicle fully loaded and the car on the ground.
Check the fluid reservoir before you pump. Close the cap, then pump the brake pedal firmly about ten times while watching the reservoir, then check the level again. The pads going in pushes fluid back toward the master cylinder, and the reservoir commonly overflows and gets air if you pump first. Top up to the MAX line with the specified fluid, and let the car sit for a few minutes to let the fluid settle.
7. Bed In the Brakes and Test the Repair
Bed the pads in before normal driving. From a safe speed, make a series of firm stops on a straight, clear road with no traffic nearby, reaching moderate deceleration but not panic braking, and do not come to a complete stop during the cycle. Ten to fifteen of these cycles lays an even transfer layer of friction material on the rotor face. If you stop fully, you can deposit pad material in patches and create a hot spot that shows up as pulsation later.
For the first few hundred kilometres, avoid highway braking and repeated hard stops from speed. Mild rotor-to-pad contact noise in the first miles is normal and usually resolves as the material beds in.
Then verify the work. The pedal should feel firm, with no spongy travel and no pull to one side under steady braking. Watch for pulsation through the pedal, grinding, a hot pedal after a normal drive, or a dragging wheel that heats the rotor on one side. Any of those means stop driving and inspect it, because those are symptoms, not nuisances.
Do a low-speed test in a parking area, then a controlled stop on a quiet road. Re-check the fluid level after the first drive, since a reset caliper sometimes takes a second cycle to fully seat. A loose lug bolt check is worth a few seconds while you are there.
Common Mistakes
Contaminating the pads or rotor is the mistake that gets the most cars back into the shop. Handle pads by the metal backing plate, keep spray brake cleaner away from new friction material, and never touch a rotor face with oily fingers.
Skipping the rotor thickness check means you never know whether the old disc is above its minimum. The number is stamped right on the disc, and a micrometer reading is a two-minute check that decides whether the rotor can stay.
Failing to reset the caliper piston is the classic reason the new pads will not fit or the caliper will not bolt back up. If the old pad and C-clamp method is fighting you, stop and use the wind-back tool rather than applying more force.
Leaving brake hose hardware unsupported stretches the rubber line, and a hose that looks fine now can crack at the crimp later. Support the caliper; never hang it by the hose.
Ignoring the hardware causes trouble. Reuse of rusted guide pin boots, old anti-rattle clips, and fatigued springs is how a clean brake job ends up squealing in a week. Clean and lubricate the slide pins properly rather than just wiping them.
Over-tightening is common on people with impact wrenches and a torque wrench they are not confident with. Strip a caliper bolt and the job stops until the housing is drilled or the caliper is replaced. Tighten in stages, and stop if the bolt resists before the target value.
Not cleaning the hub is the leading cause of a pulsating pedal after the job. Bright metal on the hub flange, nothing on the braking surfaces.
Skipping the pedal pump and the fluid check leaves the car with a soft pedal, or worse, air in the line. Pump, check the level, then check it again after the first drive.
Driving away without a proper brake test is the one that matters most. Low-speed first, quiet road second, and inspect the rotor for any contact marks or uneven wear before you put real highway speed on it.
Frequently Asked Questions
Do brake pads and rotors have to be replaced together?
Not always, but usually the smart move. Pads wear against a matching surface, and pairing new pads with a thin or scored rotor gives poor bite, noise, and uneven wear. Replace the rotor if it is below the minimum thickness stamped on it, scored past cleaning, cracked, heat-spotted, or worn to an obvious outer lip. If the rotor is thick and smooth, new pads alone are fine, but many cars are spec’d for new rotors at the same pad change, so check your service manual.
How much brake pad material is still safe to use?
Measure the friction material on the pad, not the pad itself. With a ruler or caliper, check from the steel backing plate to the wear line, which is usually a shallow groove near the top of the material. Most manufacturers call about 6 mm the service limit on the inner pad, and no more than 3 mm left is the point where you should stop and schedule the change rather than keep driving.
Do I need to change brake fluid when changing brake pads?
Only if the fluid is old, has absorbed moisture, or your manual calls for it. Pushing a caliper piston back returns fluid to the reservoir, so the level can rise and needs topping up, but that is not a flush. Fluid absorbs water over time and corrodes the system from inside, and many BMWs specify fluid replacement on a time interval regardless of pad work. Check the fluid’s clarity, its age, and the colour of your test strips.
Why are my new brakes squealing after installation?
Squeal shortly after a change is usually the pads settling rather than a fault. New friction material has to transfer an even layer onto the rotor, and it makes contact noise on the first few miles. Check the likely causes first: pads or hardware not lubricated at the back and on the slide pins, a dry contact point on the caliper bracket, an unevenly bedded rotor, or a worn brake hose boot chattering. If it continues past the bedding period, pull the wheel and look.
Why do my brake rotors vibrate after being replaced?
A pulsating pedal or steering-wheel shake on braking almost always means a rotor problem, not a pad problem. The usual causes are rust or debris left on the hub flange when the rotor was installed, a rotor that is warped from hard braking before bedding, a hub that is not sitting flat, or a wheel and rotor that were not fully seated. It can also be low-frequency tire vibration, so check tire pressure and condition before blaming the brakes. Feel the rotor at speed, off the road, for a hot spot.
When should I have a BMW brake job done by a professional?
Stop and take it to a shop if the rotor is fused onto the hub and will not move with penetrating oil and even pressure, if the caliper piston is seized or the guide pins will not slide, if you see fluid around a caliper or a wet caliper, if the hub is structurally rusted, or if the brake wear sensor wiring is damaged. Electronic parking brake and stability control related faults are also worth a technician with a scan tool. A seized piston is a safety problem, not a challenge to work around.
Start With a Safe Inspection
Before a single bolt comes off, confirm the parts against the VIN and the production date, read the axle procedure and torque values in the service manual, and photograph the caliper and sensor routing. Support the car on jack stands, never on the supplied scissor jack alone.
Once the wheel is off, treat the caliper as part of the job rather than a part to move aside. A seized slide pin is why so many otherwise clean jobs end with uneven wear and a pull to one side, and it is visible before you buy anything.
That is the whole job in order. Learn how to change brake pads and rotors yourself with the parts confirmed up front, the caliper treated as part of the inspection rather than an obstacle, and the hub cleaned before a new rotor goes on. Torque the hardware to the manual figures in stages, pump the pedal, check the fluid, then bed the brakes with a series of controlled stops. Finish with a low-speed test and a quiet-road stop, and re-check fluid and fasteners after the first drive. If anything on that list feels wrong, a shop is cheaper than a car with an unpredictable brake.