
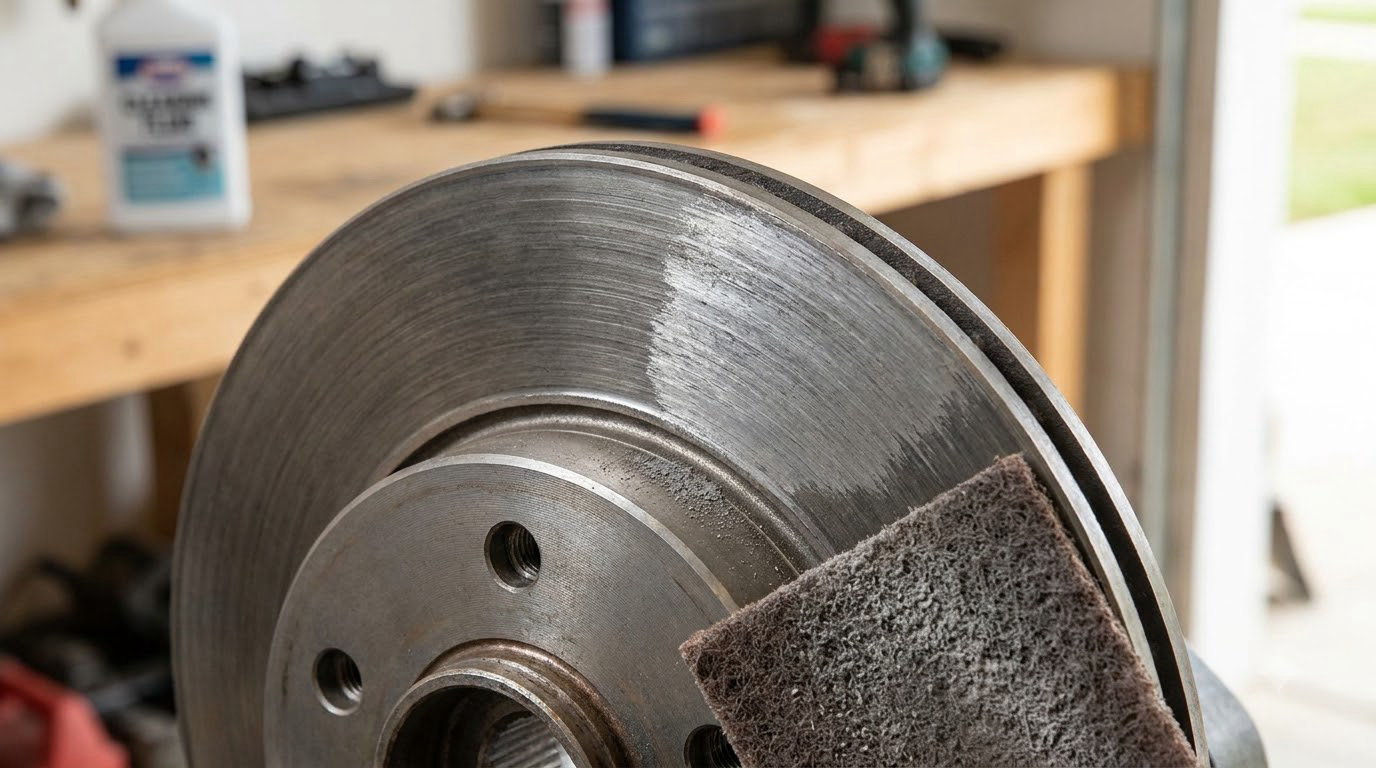
Glaze is a hard, glassy film of baked-on pad material on the rotor face, and you can remove glaze from brake rotors by measuring the rotor against its minimum thickness spec, scuffing the friction surface with 60-to-120 grit, cleaning it with brake cleaner, then bedding the pads so they lay down an even transfer layer again. Give it three to four hours including drying and bedding time, and expect it to be an easy weekend job if the rotor passes the measurement check.
The measurement check is the part most people skip, and it decides everything else. A rotor that is above its minimum thickness with no heat damage can be cleaned. A rotor that is below spec, cracked, or warped is scrap no matter how good it looks, and cleaning it just delays the bill.
Table of Contents
What You Need
You do not need a shop press or a machine lathe. This is a hand job with hand tools, and almost everything on this list is already in a home garage or a few dollars away.
- Jack and a pair of jack stands — never work under a car held up by the jack alone.
- Lug tool — the wheel brace or socket set that fits your hub.
- Torque wrench — for putting the wheel back on to the manufacturer figure.
- Micrometer or a caliper — to read rotor thickness at the outer edge and between the vanes. A micrometer is worth the money if you will own the car more than a year.
- 60-to-120 grit abrasive — 80 grit is the sweet spot for the first pass. Do not go coarser; you are removing microns of material, not a warp.
- Brake cleaner — a non-chlorinated brake cleaner aerosol or pump spray.
- Clean lint-free cloths or paper towels — a fresh, unused one. A rag that has been under a workbench is brake dust delivery.
- Safety glasses and nitrile gloves — brake cleaner strips skin oil and dries latex out fast.
- A block of flat scrap wood or a glass plate — for sanding the pads flat.
Work outdoors or with the garage door wide open. Brake cleaner fumes are unpleasant and genuinely unpleasant to breathe, and the overspray lands on everything nearby.
Step-by-Step
1. Confirm That the Problem Is Glaze
Before you pull a wheel, drive the car and listen. A glazed rotor announces itself as a low-pitched grind or squeal that shows up on light pedal pressure at low speed and eases or disappears when you press harder. A glazed rotor is also shiny in a particular way: it catches a flashlight as a mirror-bright reflection rather than a dull sheen, and you can often see a faint grey or blue tint across the swept band.
Do not assume that noise means glaze. Check these first, because each one has a different fix:
- Oil or grease on the rotor or pads. This is contamination, not glaze. It soaks into the pad material and cannot be sanded out. You will need new pads.
- A worn pad backing plate. Many pads have a metal shim with a rubber isolator on the back. When the shim wears through, it becomes a squealing plate against the rotor. The noise is nearly identical and the rotor is completely innocent.
- A thin or scored rotor. If the pad has worn below the top of the rotor’s grooves, the pad is now riding on the rotor’s shoulder and the pedal travel grows.
- Glaze on the caliper piston dust boot or moisture trapped behind the shield. Both produce a shudder at speed rather than a squeal at low speed.
Glaze on the friction surface is the only one of those you can fix with a cloth and an abrasive sheet.
2. Raise the Vehicle and Inspect the Rotors Safely
Set the parking brake, put the transmission in park or first gear, loosen the lug nuts before jacking, then lift on a firm level surface and drop the car onto stands at the manufacturer’s points. Take the wheel off and look straight at the rotor face under a light held at a shallow angle. A uniform mirror reflection across the swept band is glaze; scattered dots and rings are normal wear.
Measure the rotor thickness at the outer edge and again between the cooling vanes on a vented rotor, at four or five points around the disc to catch uneven wear. Compare those readings to the minimum thickness stamped on the rotor or listed in the service manual. The limit is the discard figure, not the thickness it was manufactured at, so a rotor measuring under the stamp is finished regardless of how it looks.
Also check runout by spinning it in the hub and watching for the wobble at the outer lip, then check for cracks radiating from the edge, blue or purple heat marks, rust pitting on the swept band, and deep scoring. A diagonal crack that reaches the friction surface ends the discussion. Blue heat marks across the swept band mean the rotor has been cooked, and cleaning it will not bring back the temper.
Do this inspection with the caliper still installed if you can see the outer rotor edge. If the inner face is not visible, note that some venting and the inboard side need a wheel-off plus a caliper swing or removal, and a shop can check those in minutes.
3. Choose Cleaning or Replacement
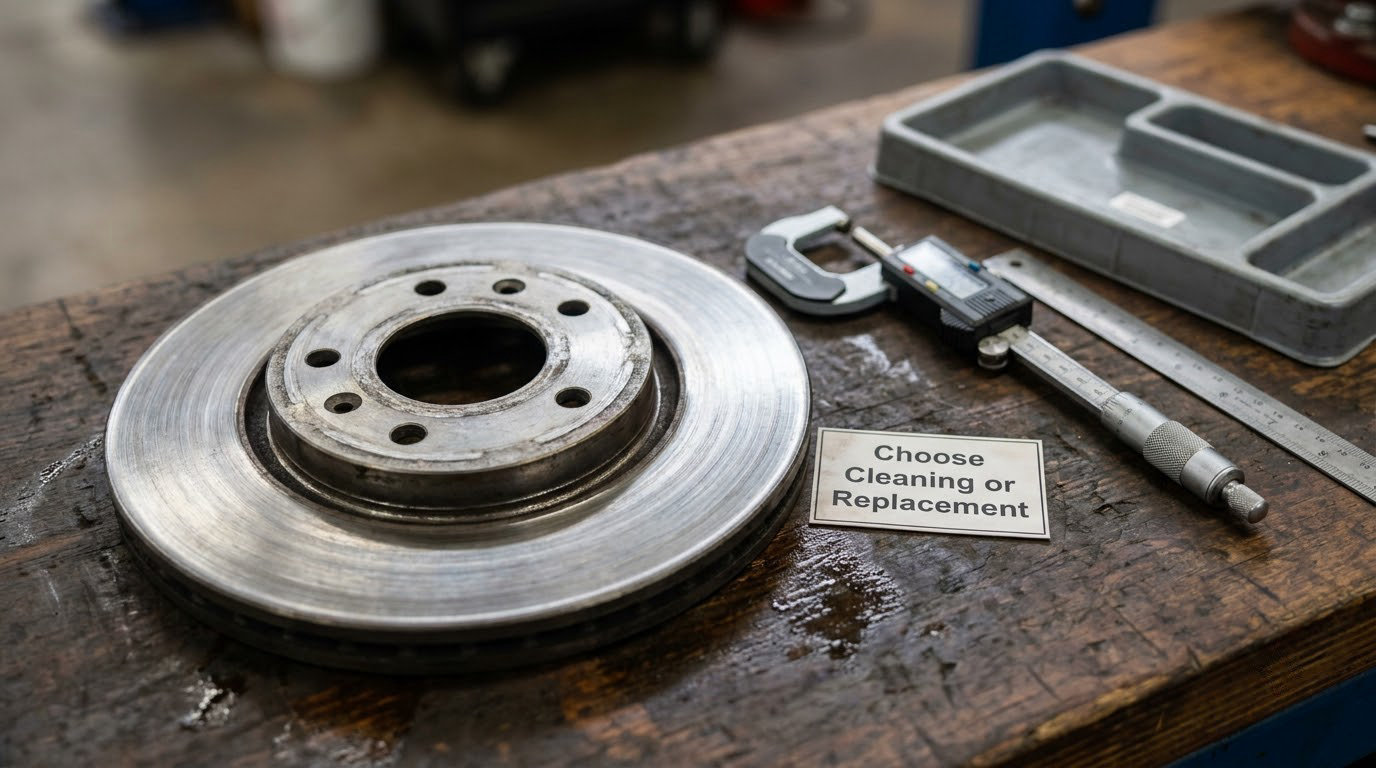
Here is the decision, and it is a simple one. If the rotor is above minimum thickness, within runout tolerance, free of cracks and deep scoring, and shows no blue heat marks, clean it. If any one of those fails, replace it.
Light, even surface haze with plenty of metal thickness left is a cleaning job. Deep grooves you can catch a fingernail in, a crack from the edge, a swept band that has turned blue or grey, rust pits across the friction surface, thickness already near the discard figure, or a rotor that visibly wobbles when spun by hand are all replacement cases.
A rotor that has been heat-damaged cannot be refinished. Neither can a rotor whose casting is cracked, because machining it only thins it further. If the thickness is already within a millimeter or two of the limit before you sand anything, do not sand it at all. This is the mistake that turns a fifteen-minute cleanup into a two-rotor job.
4. Clean the Rotor Without Using Oils or Greases
On a sound rotor, scuff both friction faces with 60-to-120 grit, working in a radial or circular pattern from the hub outward. Follow the swept band evenly and change the sheet often; a loaded sheet stops cutting and starts polishing, which is the single most common reason a “deglazed” rotor still squeals. Stop when the surface reads as uniform dull satin metal with no sharp glare and no brighter patch anywhere in the swept band. If you can still see your reflection, keep going.
For drilled and slotted rotors, run a soft brass brush or a stiff nylon wheel down every hole and slot after sanding. Brake dust packs into those patterns and re-seals the surface within a few stops.
Do the same to the pads. Lay them friction-side up on the flat block and knock the glaze off with 120 to 250 grit, brushing the debris away often. Sand the whole face evenly rather than digging into a shiny spot, and keep metal dust off the friction material.
Wipe everything with brake cleaner and a clean lint-free cloth, then wipe a second time with a fresh section of the cloth. That second pass catches residue and brake dust that the first one just smeared around. Let the surface dry fully before the wheel goes back on.
No oils, no grease, no silicone spray, no chain lube, no anti-seize on the friction face. Lubricants on a friction surface guarantee you will be back at it. A light film of anti-seize belongs only on the rotor-to-hub contact face and the wheel mating surface, never on anything the pad touches.
5. Bed In the New or Cleaned Pads and Rotor
Sanding strips the factory transfer layer, so bedding matters more after a clean than it ever did on a new rotor. Without it the pads will not build an even film and you will be back to a pad that grabs in one spot and does nothing in the rest of the sweep.
Bed on a dry, straight, low-traffic road at a moderate speed. Come up to roughly 25 to 40 mph and make eight to ten controlled stops from firm pressure down to a crawl, letting the car roll to a near stop each time rather than stabbing the pedal. Never stand on the brakes between stops, and leave room to roll out into the lane. Then drive on for a few minutes until the rotors cool to the touch, and repeat the sequence a second or third time.
Avoid any sudden braking on the first few miles. The layer you are trying to build is soft, and one hard stop scrapes it off in a stripe.
6. Reinstall and Test the Brakes
Clean the hub face and the inside of the wheel with brake cleaner so no rust or grease gets between the rotor and the hub. Fit the rotor, clean, bright side out, and tighten the retaining screw or set screw if the vehicle uses one. Torque the wheel to the vehicle maker’s specification, not the number you remember from last tire change.
With the engine running and the transmission in park, pump the brake pedal firmly several times to move any air in the line, then give it a few firm presses so the pads meet the new rotor surface. That first touch is the moment to feel for anything wrong, a soft pedal, a binding caliper, or a rotor that is not seating flat.
Roll out slowly and test at low speed. What you want is a pedal that feels solid, no grind at light pressure, and no shudder through the pedal or steering as you reach speed. A vibration that appears only above 45 mph is usually lateral runout, not glaze. A squeal that returns at a full stop is usually pads, dust in the drilled holes, or hardware. Persistent noise, a pedal that travels further than it should, or reduced braking deserves another look from a technician before you put the car back to daily use.
Common Mistakes
- Cleaning only one side. Glaze forms on both faces. A clean outer face and a glazed inner face still squeal, and you will not see the inner one without swinging the caliper.
- Using household oil, brake grease, or a contaminated rag. A trace is enough to ruin the pads, and a rotor cleaned with the wrong cloth looks perfect and re-glazes within days.
- Sanding with the rotor mounted. You cannot reach the inner face, you will load the abrasive against the carrier, and you risk brushing the caliper with it.
- Ignoring a cracked or thin rotor. Checking thickness before sanding, not after. If it is close to the discard figure, the clean is what pushes it under.
- Not replacing contaminated pads. If there was oil on the rotor, the pads have taken it in. Clean the rotor, fit new pads, then bed.
- Braking hard right after cleaning. The fresh surface is perfect for building a transfer layer and terrible for destroying one. The first ten stops should be patient.
- Stopping at “it looks shinier than before.” The finish you want is matte. A surface that still throws a reflection is still glazed in places.
One honest caveat before you plan the job. A lot of the noise people blame on glaze is actually pad compound choice. Quieter compounds trade stopping performance for sound, and the gap at highway speeds can run twenty or thirty feet from 60 mph depending on the pad. There is no setting that gives you quiet and short stopping distances at the same time, so if your brakes stop cleanly and you are only chasing a sound, weigh what you are gaining.
Frequently Asked Questions
Is glaze on brake rotors dangerous?
Glaze itself is not dangerous to handle, but it is dangerous to drive around with for long. The slick layer drops the friction coefficient between pad and rotor, so stopping distances get longer, and the pad wears unevenly because it only grips in patches. Blue or purple discolouration on the swept band means the rotor has been heat-damaged, and no amount of cleaning brings back the temper. That case needs a replacement rotor, not a cloth and some abrasive.
Can I sand brake rotors to remove glaze?
Yes, by hand, with 60-to-120 grit, on a rotor that passes a thickness and damage check. Sand both friction faces in a radial or circular pattern, change the paper often, and stop at a uniform dull satin finish with no remaining glare. Measure the rotor first. A rotor that starts near its minimum thickness specification can be pushed below the discard figure by sanding, which turns a cleaning job into a replacement.
What color is glaze on a brake rotor?
Fresh glaze is usually grey, tan or faint blue, and it reads as a smooth mirror-like reflection under a flashlight held at a shallow angle. A rotor that has been seriously overheated turns distinctly blue or purple across the swept band, which is heat damage rather than surface glaze. Bare machined cast iron and normal wear are duller and more mottled, with scattered bright scoring lines rather than a continuous film.
How do I know if my brake pads caused rotor glaze?
Glaze forms when pad material is baked onto the rotor, so in most cases the pads are the source and the rotor is the victim. Signs of a contaminated pad include oil or fluid on the pad, a wobbling or rust-coloured caliper piston, or a leak near the wheel. If the rotor surface has been contaminated with oil or grease rather than glazed with pad material, sanding will not fix it, because the pad has absorbed the oil and has to be replaced.
Do glazed brake rotors need to be replaced?
Only if they fail the inspection. Light, even surface glaze on a rotor that is above its minimum thickness, within runout, and free of cracks, deep scoring, rust pitting and blue heat marks can be cleaned and re-bedded. Deep grooves, a crack from the edge, heat discolouration, visible warping, or thickness already near the discard limit means replacement. Measure before you decide, because a rotor that is genuinely under spec is scrap regardless of its surface.
How long should brake rotors last after cleaning?
As long as the rotor itself lasts, since cleaning removes material but does not renew it. Expect the glaze to come back within a few months if you drive almost entirely in stop-and-go city traffic, and treat that as a sign to change how you drive the brakes rather than to repeat the clean every season. A rotor cleaned once and then beded properly should stay quiet indefinitely on a car that gets used with the brake pedal now and then.
Conclusion
Start with a thickness and damage inspection, because that single check decides whether you clean or replace. If the rotor is above its minimum specification, clean it with 60-to-120 grit and brake cleaner, working to a uniform matte finish on both faces. If the pads picked up oil or grease, fit new ones, since no amount of sanding reaches the friction material. And if the noise, pedal travel or braking feel has not clearly improved after bedding, have a technician look at it before you go back to daily driving.