
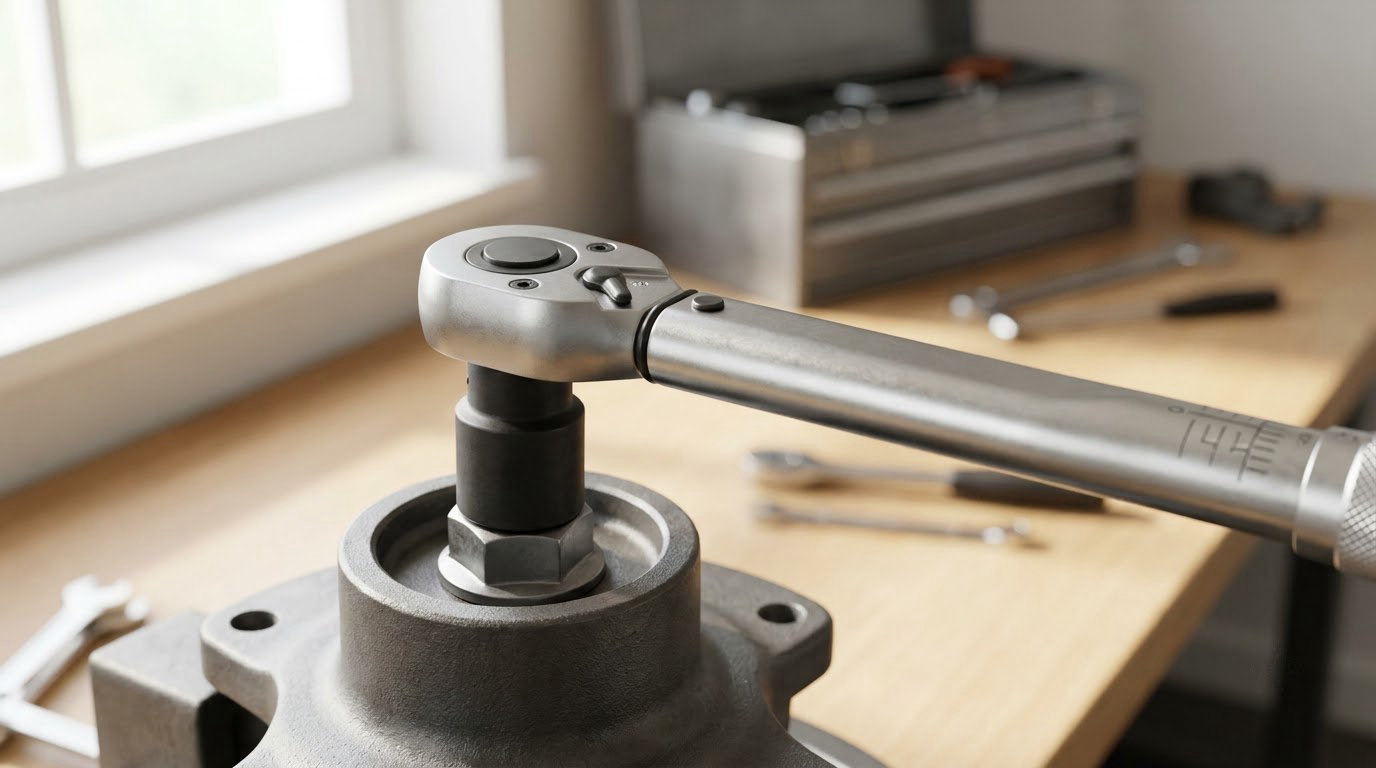
Using a torque wrench correctly takes six things: the right torque value, the right wrench, a socket that actually fits, clean threads, a steady pull, and stopping the moment it clicks. Get one of those wrong and the fastener ends up under or over tightened, which on a BMW usually means a stretched stud, a warped rotor, or a head that never comes off again.
Most of the damage I see in the garage comes from people who skip straight to the click. They guess the value, slam the wrench on with an extension bar, and then pull a second time because it didn’t sound convincing enough. The second pull is the whole problem.
This guide covers the full method for home mechanics, whether you’re swapping a valve cover gasket on an inline six or putting wheels back on after a brake job.
Table of Contents
What You Need
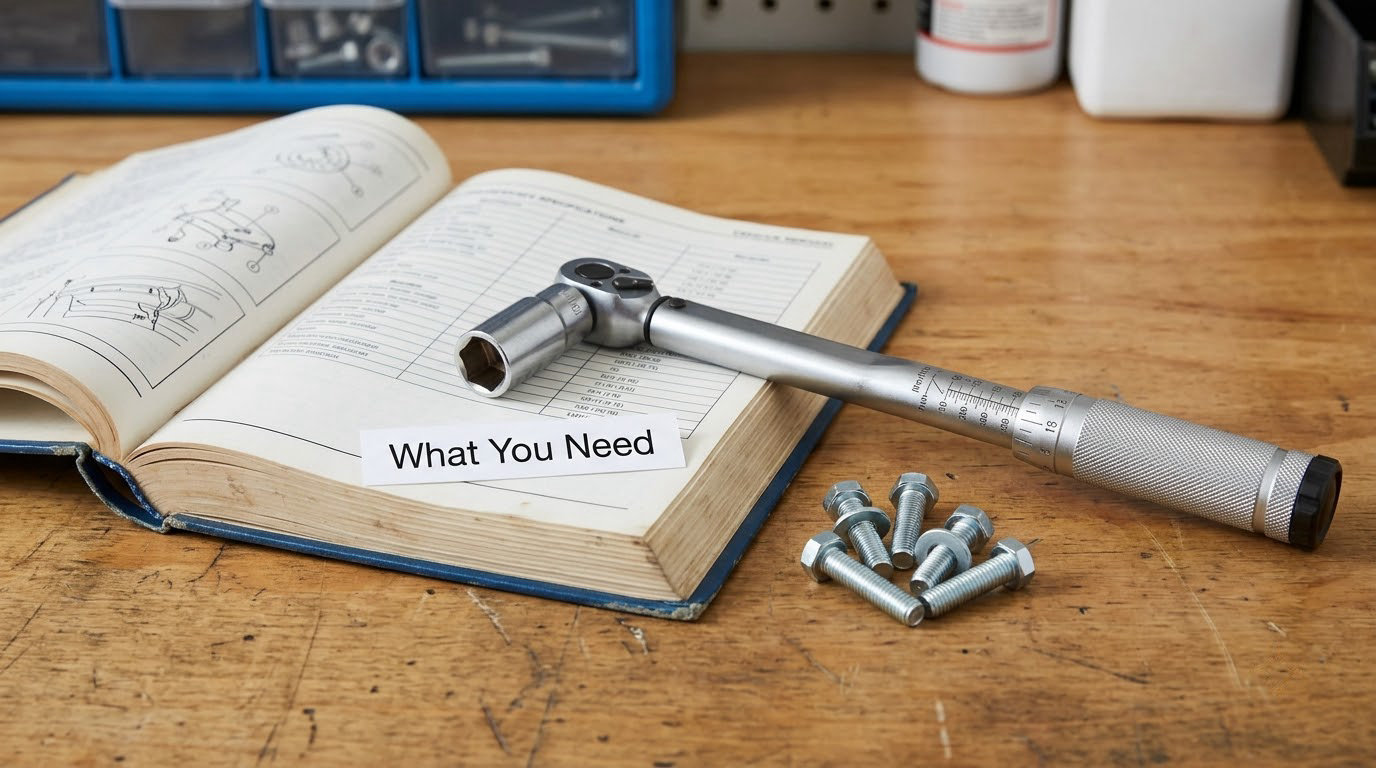
Start with the specification, not the tool. BMW publishes wheel, brake, and engine fastener values in the owner’s manual and in the dealer technical documentation, and those values assume specific conditions about lubrication. If you can’t find the number, don’t guess at the wrench; find the number.
Beyond that, you need a calibrated torque wrench whose range covers the job, a socket in the correct size and a three-quarter-inch drive for most wheel and suspension fasteners, a breaker bar or ratchet for removing the old hardware, clean fasteners, and a thread lubricant if the specification calls for one.
A word on lubricant, because it changes the answer. Most factory torque values assume clean, dry threads or a lightly oiled fastener. A heavy coat of anti-seize or wet oil can cut the friction enough that the same stated torque produces far less clamp load, and a dry bolt on a lubricated head can produce more. Follow whatever the documentation says about lubrication state.
One rule of thumb is worth knowing before you buy anything: the 20 rule. It means when you choose a wrench, pick one where your target value sits near the top 20 percent of its range rather than somewhere in the middle. Most wrenches carry a calibration accuracy of about 4 percent, so the further your target sits from the top of the scale, the larger that percentage becomes in absolute terms.
Drive size matters too. A quarter-inch drive handles small fasteners like bike stems and bracket bolts, a three-quarter-inch drive covers the bulk of wheel and suspension work, and a half-inch drive covers mid-range bolts. If your target value sits at the extreme end of a wrench’s range, buy the next size up.
Step-by-Step: How to Use a Torque Wrench Correctly
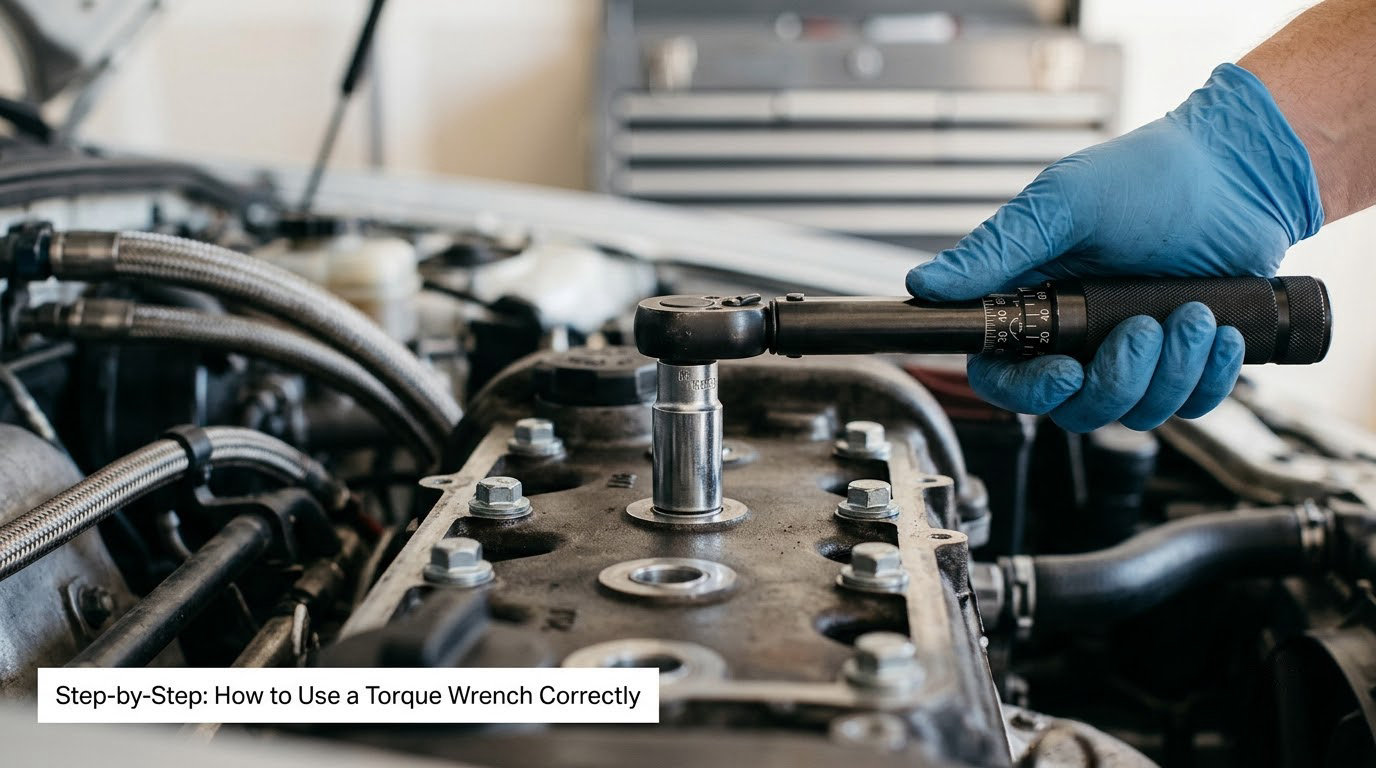
1. Find the Correct Torque Specification
Look up the value for the exact fastener, not for the assembly it belongs to. A wheel has at least three different figures attached to it: the wheel-to-hub torque, the axle nut torque, and sometimes a separate figure for the caliper bolts. Confusing them is the most common way a correct technique still ends in a broken part.
Check the unit too. Newer documentation is usually Newton-meters (Nm), older owner manuals often give foot-pounds (ft-lb) or inch-pounds (in-lb). To convert, multiply Newton-meters by 0.7388 to get foot-pounds, and multiply foot-pounds by 1.355 to get Newton-meters.
You’ll know you have the right number when it matches the fastener grade and lubrication state stated alongside it. If the source doesn’t mention lubrication, assume dry and clean.
2. Choose the Right Torque Wrench and Socket for the Job
Click-type wrenches have a calibrated mechanism that signals with an audible and tactile click at a preset torque. They’re the right choice for most home work and the type I use for nearly everything on a BMW except head bolts.
Bending-beam wrenches show torque on a scale instead of clicking. They’re more accurate and better for small values, but they need a steady hand and a fixed-length pull, so they suit a workshop more than a driveway. Digital wrenches give a readout and can log results, which is useful when a joint has twenty bolts in it.
Whatever the type, the socket has to fit the fastener. A six-point socket that slides over a bolt with a loose fit will round the head over before the wrench ever clicks. Check the drive square and the socket fit before every job.
3. Set the Wrench to the Required Torque
Unlock the adjustment handle or collar, turn the handle until the index line meets your target value on the scale, and lock it again. On a dual-scale wrench, confirm you’re reading the scale your specification uses, not the other one. A torque wrench with two scales is a genuine beginner trap.
Set the value on the tool, never on a phone calculator you glance at while the wrench is already on the bolt. The whole point of the tool is that the value stays visible during the pull.
If your wrench is the cheap spring-loaded kind with a plain needle and no locking collar, treat any value above the midpoint of the scale with suspicion. Those wrenches drift, which is why a calibration check against a known-good tool or a calibration service matters.
4. Clean and Position the Fastener
Dirt, corrosion, paint, threadlocker residue, and oil change the friction between threads, and friction is what converts your input torque into clamp load. A bolt with rusty threads will read a much higher torque value than the same bolt clean, which means the actual clamp load is lower than you think even though the wrench clicked.
Run threads through a die or clean them with a wire brush, and clean the mating faces too. If the design calls for a new bolt, use a new bolt. Old stretched fasteners rarely return to a known clamp load.
Then seat the socket fully and square on the fastener. Cross-threading under torque is how you get a bolt that goes in crooked and binds halfway. Prep work like this is the unglamorous half of how to use a torque wrench correctly, and skipping it quietly invalidates the reading you get at the end.
5. Tighten in the Correct Sequence
Pull steadily in one smooth motion. A torque wrench measures the force you apply at a point on the handle, so jerking, ratcheting back and forth, or resting your shoulder against the fastener all produce a reading that means nothing.
For anything with more than two fasteners, work in a star or criss-cross pattern and stage the passes. A common approach is to take each bolt to roughly 30 percent of the target, back to 60 percent, then to the full value, following the same star pattern each pass. On forum threads about workshop technique, the accepted method is exactly this: work up to the value in steps rather than jumping straight to the final number.
For a five-lug wheel, start at one lug and go to the one roughly opposite, then work around. For a four-lug, go top-left, bottom-right, top-right, bottom-left. The point is that no two neighbouring fasteners carry the load at the same time, which is what distorts a brake rotor.
Push the handle rather than pulling where you can. It gives you steadier control, and it keeps your hand clear of anything sharp.
6. Verify the Click or Final Torque
A click-type wrench should click once. When you hear and feel that distinct breakaway signal, stop. Do not pull again to double-check, because the wrench has already released and a second pull is a second application of torque well past the target.
The consensus on the garage forums is blunt about this: tighten until it clicks, and pulling again to make sure over-tightens the fastener. On a digital wrench you read the value and stop at the target. On a beam wrench, the needle settles against the scale and you stop there.
If the wrench clicks immediately, before you feel any resistance, something is wrong with the setup rather than the bolt. Check the setting, check that the unlocking handle is fully engaged, and check the wrench is the right size for the job. Knowing how to use a torque wrench correctly means treating the click as a hard stop, not a starting point.
7. Recheck After Break-in or a Service Interval
Some fasteners get a second look. New wheel fasteners, and anything torqued while the suspension was hanging, are worth re-checking after a short drive, which lets the components settle into their clamped position. Plastic and composite components in the joint, and certain sealing surfaces, are specified for a recheck too.
Cylinder heads and other high-load assemblies on modern engines frequently use a torque-plus-angle procedure, or torque-to-yield fasteners, where the final stage is an extra measured rotation rather than a second torque value. If the documentation calls for that, follow it, and use a torque-angle gauge rather than guessing at degrees.
Never substitute a second torque pass for an angle stage. They are different procedures.
Common Mistakes
These are the errors I see most, with the fix for each.
- Pulling again after the click. One click, then stop. A second pull overtightens the fastener.
- Ignoring the service specification. If the number isn’t in the manual you have, get the manual before you turn anything.
- Using the wrong units. ft-lb, in-lb, and Nm are not interchangeable. A 100 Nm value is about 74 ft-lb, and reading it as 100 ft-lb is a serious overtighten.
- Using an uncalibrated wrench. Cheap wrenches drift out of spec. Have yours checked annually, and after any drop or impact.
- Loose or wrong-size sockets. A socket that wobbles on the fastener rounds the head instead of torquing it.
- Dirty, rusty, or lubricated threads. Clean them, and match the lubrication state the specification assumed.
- Cross-threading. Start the fastener by hand, square, before applying any torque.
- Adding extension bars. An extension multiplies your input force and steals accuracy. Move the car or get a longer wrench instead. The exception is a manufacturer-supplied extension of the same drive size and length, used with the manufacturer’s stated correction.
- Using a torque wrench as a breaker bar. It will break, and the mechanism can be knocked out of calibration. Use a breaker bar to remove the old hardware first.
- Using an impact wrench to set final torque. Impacts don’t lock in a torque value, and they stretch bolts and studs. Run impacts down part of the way, then finish by hand with the torque wrench.
On over-torquing, the honest answer is yes, you can still do it. A click-type wrench signals at its set value, but it will happily keep applying load if you keep pulling. Over-tightened lug nuts stretch studs, and they are the reason broken studs are such a common weekend job. Over-tightening a wheel can also distort a brake rotor, which is both a safety problem and an expensive one.
Under-tightening is quieter. Fasteners can vibrate loose, seals can leak, and a joint with uneven torque will feel different on the road once everything has settled.
One safety note: wear eye protection, keep your fingers clear of pinch points between the socket and the wheel studs, and support the vehicle properly on jack stands if a wheel is off it. Never work under a car resting on a jack alone.
Frequently Asked Questions
What is the 20 rule for torque wrenches?
The 20 rule says to choose a torque wrench where your target value sits in the top 20 percent of the wrench’s range. Most click-type wrenches are accurate to about 4 percent of the set value, so the lower your target sits on the scale, the larger that percentage becomes in absolute terms. Working near the top of the range gives you the most accurate reading available for the money.
How many clicks should a torque wrench take?
One. A click-type torque wrench should click once and then you stop pulling. If you hear repeated clicking or the wrench keeps clicking as you continue, you are applying load past the set value and the fastener is being overtightened. Mechanical clicks from a ratchet head or a dirty mechanism are a different sound from the torque breakaway signal, which is distinct and repeatable.
Do lug nuts need a re-torque check after driving?
For many vehicles, yes, and the interval varies. New wheels, new studs, or a wheel torqued with the suspension hanging all benefit from a recheck after roughly 30 to 60 miles of normal driving, once the clamp load has settled into place. Park on level ground, run the star pattern again, and tighten to the specified value rather than giving every stud an extra turn. Check the manufacturer documentation for the exact interval.
Can you overtighten with a torque wrench?
Yes. The click tells you the set value has been reached, not that the wrench physically prevents further rotation. Keep pulling and the fastener takes more load. Over-torquing stretches bolts and studs, crushes gasket material, and can distort a brake rotor. If the wrench clicks the moment you start pulling, check the setting and the unlocking handle before assuming the bolt is tight.
What does hand tight mean in ft-lb?
Hand tight, snug, or finger tight usually means the fastener is fully seated with no significant preload beyond what your fingers can apply, which is a very small and inconsistent value that varies from person to person. Treat it as a starting point for the first pass in a staged tightening, not a finished torque. Always follow with a specified value from the service documentation, and never rely on feel for anything safety-related.
Do torque wrench extensions affect accuracy?
They do, and the more length you add the worse it gets. A torque wrench measures input force at a distance from the fastener, so an extension raises the input force needed to produce the same output torque, and the accuracy percentage scales with it. Use the shortest wrench that fits the job. The only safe exception is a manufacturer-supplied extension of matching drive size and length, used with the stated correction.
Conclusion
Start by identifying the manufacturer’s torque specification for that exact fastener, with its unit and its lubrication condition. Then pick a calibrated wrench whose range puts that value near the top, use a socket that fits properly, tighten in a star pattern in staged passes, and stop the instant you hear the single click.
Everything else on this list is downstream of those four things. Get them right and the rest takes care of itself.