
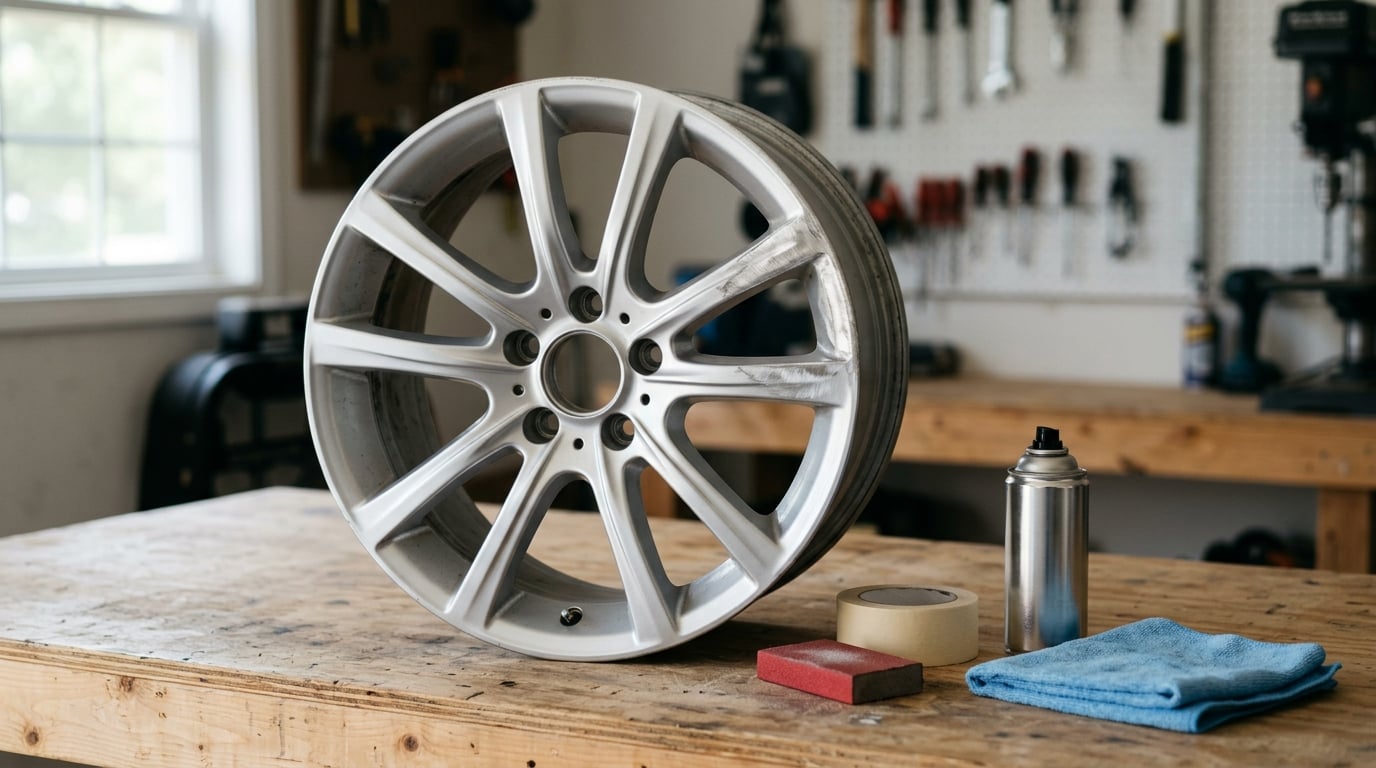
How to fix curb rash on alloy wheels? For most scuffed lips the answer is a weekend of sanding, filler and paint, done in your own garage. Wash the wheel, sand the damaged finish back to clean metal, level any gouges with body filler, then rebuild the surface in layers: epoxy primer, color-matched base coat, clear coat. Allow three to six hours of work plus cure time before the wheel goes back on the car.
The catch is knowing when to stop. A scuffed lip is a weekend job. A bent rim, a crack near the bead seat or a gouge that has torn into the casting is a safety problem, and no amount of filler fixes it. This guide walks through the assessment first, then the repair, so you know which one you are holding before you pick up sandpaper.
A few things worth knowing before you start:
- Curb rash is almost always a finish problem, not a metal problem. The aluminium under the paint is usually intact, which is why the repair works at all.
- Color match is the reason most DIY wheel repairs look wrong. The scuff blends in; the fresh paint beside it does not, and a clear difference in sheen is obvious in sunlight.
- Gloss black and machined-face wheels behave differently from a plain silver or white painted wheel. Sanding grit, masking and the top coat all change with the finish.
If you are working outdoors, do it in shade on a dry day. Wind is the enemy of a clean paint job, and dust is what puts an orange peel texture into a single-pack spray can.
Table of Contents
What You Need to Fix Curb Rash on Alloy Wheels
Most of this list is standard auto paint supply. The expensive mistake is buying a cheap touch-up pen and hoping it blends, so spend the money on a 2-pack epoxy primer and a real base coat instead.
For the wheel itself:
- Wheel-mounted work stand or a padded stool to hold the wheel flat, plus a torque wrench and the manufacturer’s wheel torque figure for reinstalling later.
- Dish soap, a bucket, a stiff nylon brush and a microfiber cloth for the wash stage.
- Isopropyl alcohol or paint thinner and lint-free shop towels for the degrease wipe-down.
- Low-tack automotive masking tape and paper or silicone sheeting to cover the tire sidewall, brake hardware and any trim next to the repair.
For the repair and refinish:
- Sandpaper in a full progression: 120, 240, 400, 600 and 800 grit, plus a sanding block. A spray can, not a spray bottle — you want even coverage on a vertical face.
- Two-part automotive body filler or aluminum spot putty, a flexible spreader, and mixing cards.
- 2-pack epoxy primer with hardener, a color-matched base coat for the wheel’s finish, and 2K clear coat. In 2026, 2-pack products are still the right call under anything automotive, because a one-pack primer will let solvents sit in the repair and lift it later.
- Masking paper or a plastic drop sheet, nitrile gloves, and a respirator with organic vapor cartridges.
Finish-specific alternatives matter here. For a machined-face or split-spoke wheel, mask the machined lip and polish the remaining machining afterward with aluminum polish, because once you spray over it, that shine is gone for good. For a chrome-plated wheel, paint is not a repair — plating or a replacement wheel is the only honest answer. For a plastic-clad steel wheel, buy the cladding and swap it; do not sand through plastic.
Two more things decide whether this is your weekend. If the damage sits on a thin spoke edge of a 19- or 20-inch wheel, the factory paint there is only a few thousandths of an inch thick and there is a real chance of sanding straight through it — that is a shop job with a paint booth. And if you cannot remove the wheel, a bend, or you would need to heat the casting to straighten it, stop and let a professional handle it.
Step-by-Step
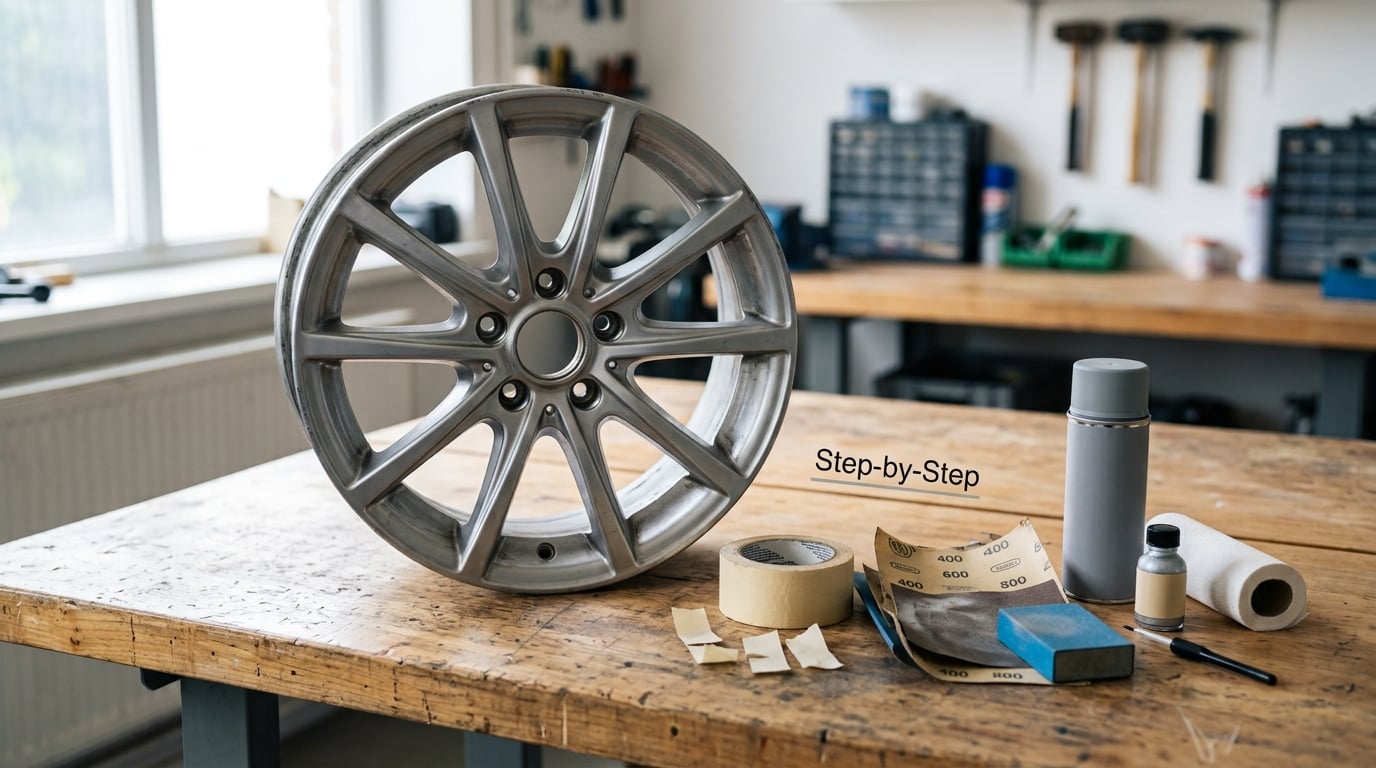
A complete repair runs in this order: wash and degrease, sand the scuff, fill the gouges, sand flush, scuff for paint, prime, base coat, clear coat, cure, then remount. Each stage has a checkpoint — a way to tell the step worked before you move on and start a problem you cannot sand out later.
1. Inspect the Wheel and Choose a Repair Method
Start by washing the wheel properly and drying it. Dirt hides the truth, and you cannot judge depth on a grimy lip. Then run your fingers and a fingernail along the damage: if your nail catches in it, there is a gouge that needs filling; if the scratch is only in the clear coat, sanding and refinishing alone will do it.
Check four things before you touch sandpaper. First, the tire: look at the sidewall for a bulge, a gouge, exposed cord or a scuff right at the bead, because that decides the job is over. Second, runout — spin the wheel and see whether it wobbles noticeably against a straight reference, which points to a bend. Third, depth: bare bright metal means the paint is gone and corrosion will start there. Fourth, cracks: any crack that runs into the bead seat, the spoke junction or the back of the casting means replace the wheel.
Here is how to fix curb rash on alloy wheels, sorted into short form:
| What you find | What it means | Verdict |
|---|---|---|
| Scuff in clear coat only, no bare metal | Surface finish damage | DIY: sand, prime, top coat |
| Gouge with exposed aluminium, rim still straight | Coating and shallow metal loss | DIY: fill, sand flush, refinish |
| Deep gouge near the spoke edge on a large wheel | Thin section, little paint left to work with | Shop refinish |
| Visible wobble or out-of-round spin | Bent casting, bead seal at risk | Replace |
| Crack at the bead seat or spoke root | Structural failure | Replace, do not drive |
| White powdery pits across the face | Salt corrosion, not curb rash | Clean and polish, then refinish |
Checkpoint: if the wheel is straight and the damage stops at the surface, you have a job you can finish. Keep going.
2. Clean and Mask the Damaged Area
Wash the wheel with dish soap and warm water, scrub the lip and spoke edges with a nylon brush, and dry it fully. Then wipe the repair area and about an inch of paint around it with isopropyl alcohol on a lint-free cloth. Wax, silicone dressing and road film are the main reason primer peels off a rim in a month, and they are invisible once the wheel is wet.
Mask before you sand, not after. Cover the tire sidewall with paper and tape well away from the repair, mask the brake caliper and any chrome or black trim on the same side, and if the wheel has a machined lip, tape that face off completely. Paint overspray on a tire is nearly impossible to remove, and overspray on a machined surface is permanent.
Checkpoint: run a clean finger over the repair area. If it feels waxy, clean it again.
3. Sand the Scuffed Paint Smooth
Use a sanding block rather than your fingers, and work in a cross-hatch pattern so you level the area instead of digging a flat into the rim. Each grit has one job.
- 120 grit: takes down loose, flaking clear coat and any sharp edge of a gouge. Keep it brief on painted wheels or you will go through the color.
- 240 grit: feathers the damaged area into the surrounding sound paint. Most of the visible scuff disappears at this stage.
- 400 grit: levels the body filler flush once it has dried.
- 600 grit: the scuff coat before primer, giving paint and primer something to bite.
- 800 grit: the final check on a machined or bare-metal face, and a light polish after the clear coat is down.
This is the stage where most DIY repairs of curb rash on alloy wheels succeed or fail, because the sanding is what decides whether the new paint has a flat, even surface to sit on. After 120 and 240, wipe with a damp cloth and feel the transition with your fingertips. A visible ridge where the scuff meets good paint means you keep sanding that boundary, not the whole wheel. A clear-coat wheel needs a different approach than a bare alloy face: on gloss black, sand the whole panel in the damaged area and repaint the entire face, because a spot repair on clear coat always shows a seam.
If the gouge is deep enough that filler will not stay in it, and the metal is not bent, deepen it with the 120 until you have a clean V-shaped valley. Filler needs volume to grab, and trying to smear a thin layer over a narrow slot is the most common reason repairs fail.
Checkpoint: the area should be uniformly matte with no glossy islands left, and no metal showing through where you intend to paint.
4. Apply Primer, Paint, and a Clear Coat
Mix the 2-pack epoxy primer with its hardener in the ratio on the can and lay it on in thin, even passes rather than one heavy coat. Two or three light coats, each flashed for the time printed on the can, will hold better than a single coat that traps solvent and later blisters. Wipe the whole area with a clean cloth dampened with thinner between coats to knock back dust.
For the base coat, the only thing that matters is that the paint came from the wheel’s manufacturer or a specialist supplier keyed to the vehicle. Take the wheel’s finish code from the spare tire well or the door jamb before you buy anything, and buy a small aerosol can plus a base coat to blend into the panel next to it. On a solid-color wheel you can mask a hard line at a spoke edge; on a face with a gradient or a two-tone layout, only a booth gets a match, which is another good reason to stop at step one for those.
Then the clear coat, if the wheel originally had one. Two thin coats of 2K clear, flashed properly, will hold a gloss surface and take the road salt that would otherwise dull bare color. Skip it on a factory matte or powder-coated wheel — the wrong top coat turns a flat finish glossy in one panel, which reads as damage.
Checkpoint after each stage: look at the wheel raked under a work light from one side. Gloss streaks, orange peel and missed patches all show up at that angle, and a clear coat hides them rather than fixing them.
5. Finish, Cure, and Reinstall the Wheel
Let the clear coat cure per the label before you touch the masking. Pull tape slowly and at a low angle; pulling it straight off tears the edge of the repair, which then has to come back off the rim with a razor. If the edge of the patch is proud of the surrounding surface, knock it back gently with 1500 to 2000 grit and polish the boundary until your fingertip cannot find the step.
Give the paint at least 24 hours before the tire goes back on, and a few days before you pressure-wash it or park in road salt. If you did not remove the tire, the cure is even slower because the rubber and the wheel face are closed up together.
Then reinstall following the vehicle manufacturer’s procedure: set the wheel on the hub straight, finger-tighten the lugs, and tighten in a star pattern to the specified torque with a torque wrench. A painted wheel face makes it tempting to lean on the wrench, so hold the weight at the star rather than at the end of the handle. Recheck the torque after 50 to 100 miles, and drive gently until you are sure the bead is seated and nothing is rubbing.
Checkpoint: the repair should be invisible from three feet at an angle, and there should be no contact with the tire at any point in the wheel’s rotation.
Common Mistakes
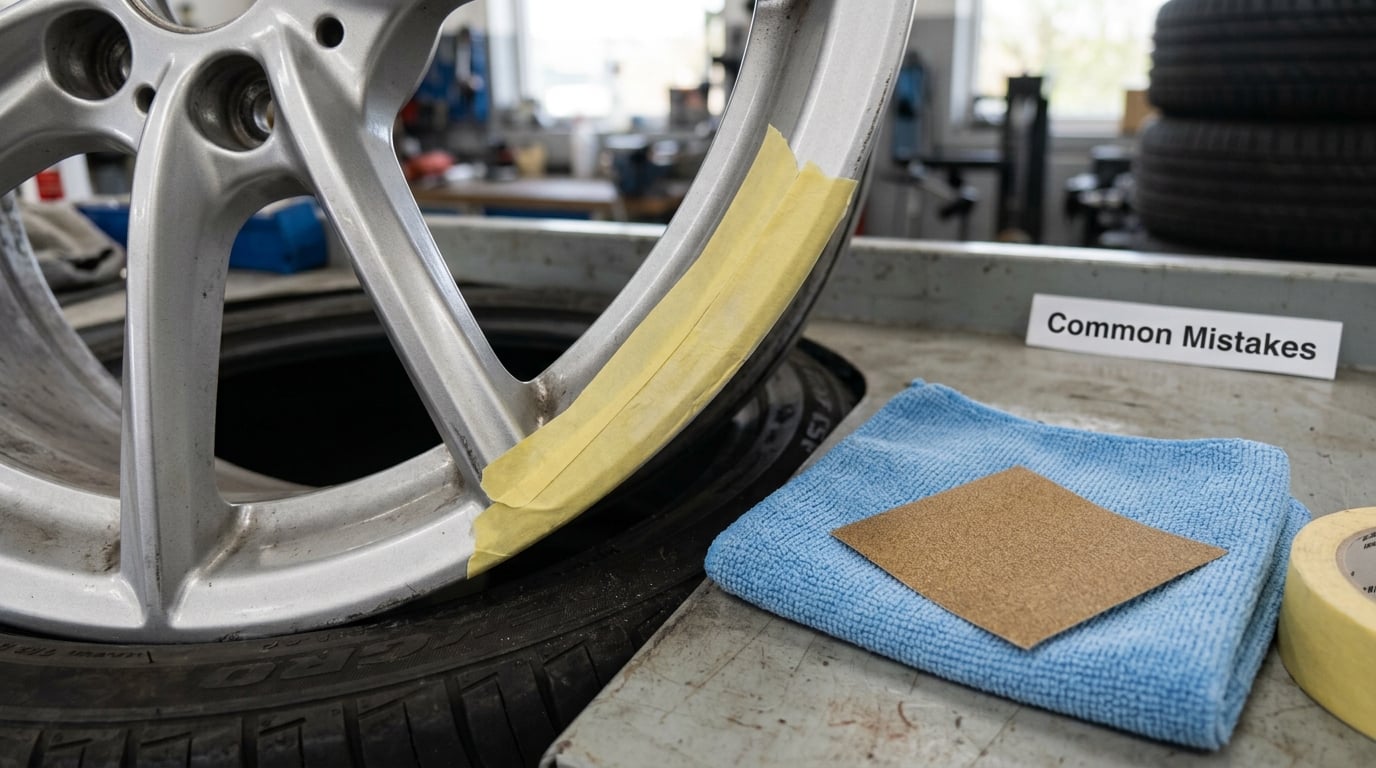
Almost every bad DIY wheel repair traces back to one of these, and every one of them is avoidable before you start.
- Sanding through thin spoke edges. Large-diameter wheels have the thinnest paint on the smallest sections. Sand by feel, not by eye, and stop the moment the color changes to a lighter shade under the scuff.
- Painting over wax or silicone dressing. The most common cause of a repair peeling off in a month, and the most avoidable. Degrease twice, and do it after the wheel is fully dry.
- Using a steel epoxy as filler. It does not bond to aluminium, it is rigid, and it will crack across the gouge. Use two-part epoxy with a hardener, aluminium-filled filler or a proper spot putty for filling. Steel epoxy is only acceptable as a temporary hold on a part you intend to machine or replace.
- Rushing the color match. A touch-up pen over a 20-inch gloss black face will read as a lighter patch under any light. Either repaint the whole face in one color or leave it to a shop.
- Thick coats. Heavy passes sag, and a clear coat laid over a wet base coat clouds. Thin coats, correct flash times, no exceptions.
- Overfilling the gouge. Filler proud of the surface has to come off, and taking it off takes the color with it. Fill thin, let it go off, then level at 400 grit.
- Mounting the tire before the paint has cured. Fresh 2-pack chemistry keeps off-gassing for a while. Remount too early and the finish stays soft and takes a hit from the bead.
To keep the next scrape from happening, the useful moves are unglamorous. Rim guards clip onto the outer lip and cost far less than a refinish, and they only work if you check that the inner diameter actually matches your wheel. Clean off road salt promptly in winter rather than letting it sit, and use a wheel wax or sealant twice a year so the finish stays protected under the clear. If you parallel park often, curbside wheels get hit first, so switch sides when the street allows it. And when you buy a used car, walk around all four corners before you agree on a number — rim damage is one of the easiest things to price into a negotiation before signing.
Frequently Asked Questions
Can you fix curb rash on alloy wheels without replacing the wheel?
Yes, when the damage is cosmetic. Scuffs in the clear coat, gouges that expose bare aluminium and paint loss can all be sanded, filled with body filler, primed and refinished at home. The wheel must be straight, with no wobble and no crack running into the bead seat or a spoke root. If either of those is present, the wheel is a replacement.
Can alloy wheels be painted, and will the color ever match?
Alloy wheels can absolutely be painted, and most factory finishes are just paint under a clear coat. A solid silver, white or gloss black face is straightforward to match from a paint code. Split-spoke, two-tone and gradient designs are much harder, because masking a hard line or blending a fade at home rarely looks right. For those, a shop with a spray booth is the realistic option.
How long does a DIY curb rash repair take?
Budget three to six hours of working time for one wheel, plus cure time. The sanding and filling are fast; the drying is not. Each primer, base coat and clear coat pass needs the flash time printed on the can, and the wheel should sit at least 24 hours before the tire goes back on. Plan on a full weekend for a set of four, and add more if the wheels stay mounted on the car.
What do I do with a deep gouge or a cracked rim?
A deep gouge that reaches into the casting is a shop job, especially on a thin spoke edge where there may be little paint left to work with. A crack is not repairable at all, particularly one near the bead seat or spoke junction. A bent wheel is usually replaced too, because straightening an alloy rim weakens the metal exactly where it was already thinned. Do not drive on a cracked wheel.
Is a bent alloy wheel dangerous to drive on?
Yes, in most cases it is more than a cosmetic problem. A wheel that is out of round loses its bead seal, which lets the tire slowly run down and can cause a blowout. The impact that bent the rim may also have cracked the casting internally where you cannot see it. If the wheel visibly wobbles when spun, or you feel a vibration through the steering wheel that changes with road speed, stop driving on it.
Conclusion
The fastest way to work out how to fix curb rash on alloy wheels is to wash the wheel, look at it in good light, and decide honestly whether what you have is a finish problem or a metal problem. Cosmetic curb rash is a Saturday: sand, fill, prime, match the color, clear coat, cure, and the wheel looks like the rest of the set again.
Follow your wheel or vehicle manufacturer’s guidance on torque and care, and hand the wheel to a professional the moment you find a crack, a wobble or a gouge on a thin spoke edge. That is not a cop-out — it is the difference between a repair that lasts and a tire on the shoulder of the road.