
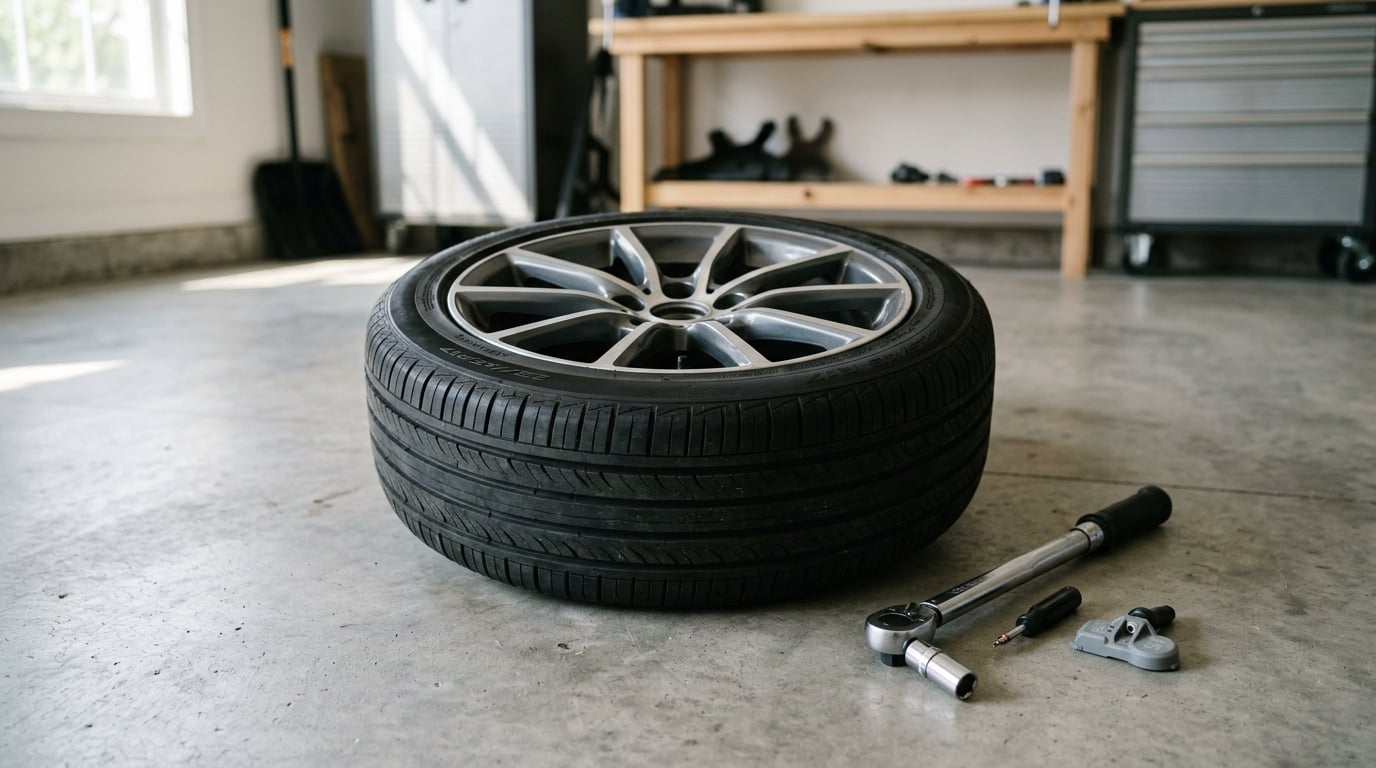
A TPMS sensor replacement is a two-part job: the mechanical swap of the sensor in the wheel, and the pairing of that new sensor with your BMW’s computer. On most BMWs with a direct system the tire has to come off the rim to reach the sensor, and the warning light stays on until the pairing is done. Budget an hour of careful work plus tire dismount equipment, and know that many newer BMWs have no wheel sensors at all.
That last point catches people out constantly. Plenty of BMWs built in the last decade run an indirect tire pressure monitoring system, where the car compares wheel speed to estimate pressure and there is nothing to replace in the wheel. This guide covers the direct systems first, then tells you how to find out which one you have before you buy parts.
I’ll walk through the tools, the seven-step procedure, and the pairing paths for both scan tool owners and everyone else. I’ll also flag the mistakes that leave a perfectly good sensor dead on arrival.
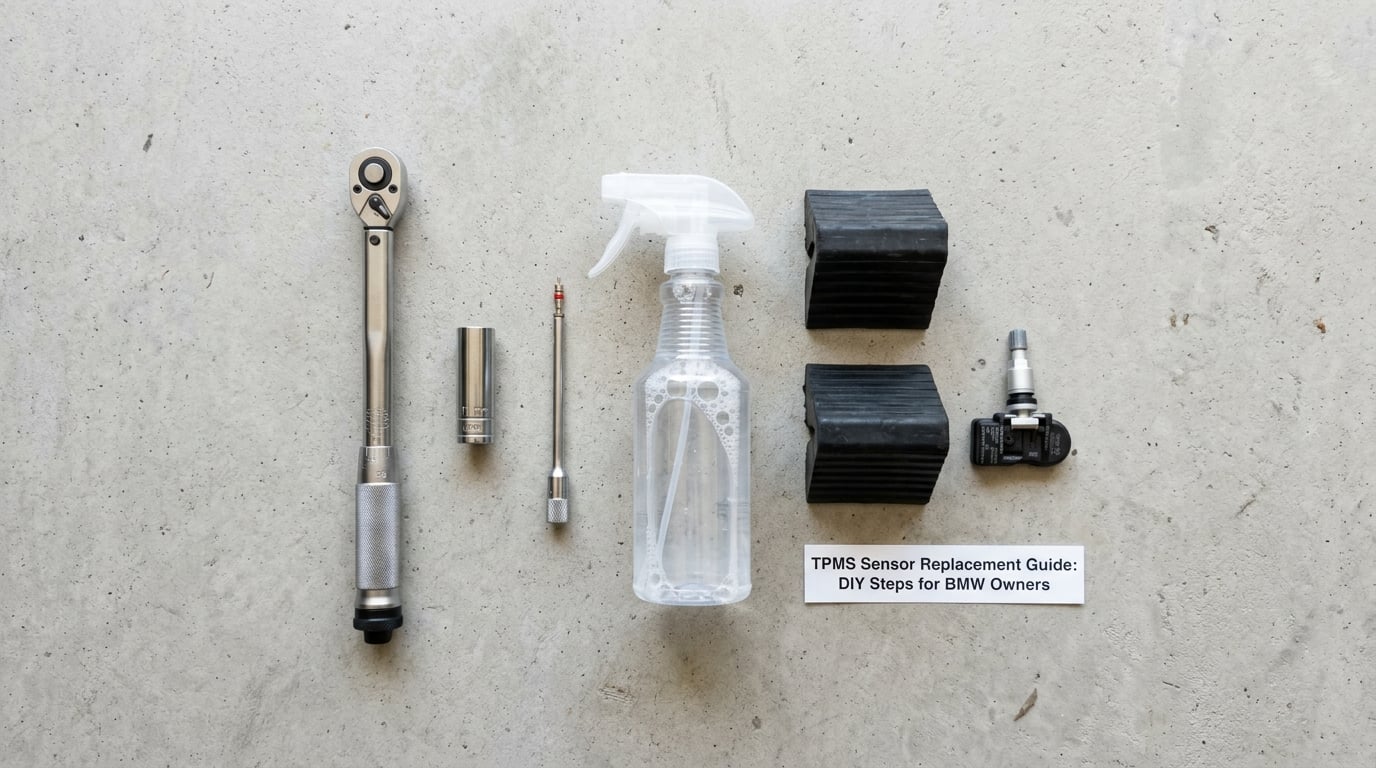
Table of Contents
What You Need for a TPMS Sensor Replacement
You need the sensor itself, the right tools for your wheel hardware, and a way to pair the sensor afterward. The list below covers the parts. The pairing requirement is the one item people leave out and then wonder why the light never cleared.
- The correct sensor for your chassis. Match the OE part number, the frequency (315 MHz or 433 MHz), and whether the sensor is a direct-mount type. A sensor that a scan tool cannot detect at all is a real and common failure; one owner on r/hondafit installed a cheap four-pack and the shop’s programming tool could not see a single one of them.
- A fresh valve core and grommet. Reusing an old core is how you get a slow leak months later, and non-nickel-plated cores cause galvanic corrosion against the sensor body. Use an electroless nickel-plated core every time.
- A sensor socket, usually 11 mm or 12 mm. Some BMWs use a Torx or a spline; check the retaining nut before you buy tooling.
- A small torque wrench for the retaining nut. The mounting nut wants roughly 35 to 44 in-lbs (4 to 5 Nm). The valve core itself is a different number entirely, about 2 to 5 in-lbs (0.23 to 0.56 Nm). More on that split below, and our torque angle gauge guide covers the instrument choice.
- A valve core removal tool or the core cap tool. Buy the cheap brass one. You will strip a valve trying to do this with pliers.
- A tire plug-in kit or a tire machine. This is the hard requirement. On direct TPMS systems the sensor sits on the inner side of the rim, so the tire bead must be unseated.
- A scan tool, or a vehicle with a manual relearn. Pairing is not optional on most BMWs with direct sensors.
- Jack stands or rated jack, wheel chocks, and a torque wrench for the wheel fasteners. Wheel hardware torque follows the BMW spec and the wheel maker’s spec, not a generic number.
Two cautions before anything else. First, BMW alloy wheel fasteners are single-use: if they take a significant impact load, replace them rather than reusing them. Second, never swap the style of fastener between positions, and never lubricate the bolt threads unless the factory called for it.
If your car runs an indirect system, all of that is moot. Pull up the TPMS data with a scan tool: if there are no sensor IDs at each corner, the system is watching wheel speed sensors instead and your dashboard warning is a pressure-reading problem, not a dead battery.
Step-by-Step: Replacing a BMW TPMS Sensor
1. Confirm the Fault and Sensor Location
Confirm it is a failed sensor before you pull a wheel off. A TPMS light with a tire-pressure icon means low pressure or a sensor that has stopped reporting; a tire-pressure icon flashing means the control unit itself is unhappy, usually with one corner.
- Check pressures cold with a gauge. Inflate to the placard value on the door jamb, not the sidewall maximum. If the reading holds and the light stays on, suspect the sensor.
- Read the diagnostic codes. A scan tool shows which corner is faulted and often the stored tire-pressure value from that wheel.
- Compare corners. Four readings within a pound or two of each other with one corner missing entirely usually means one dead sensor.
2. Match the Replacement Sensor Correctly
Match the sensor by OE part number first, then confirm frequency and mounting style. Frequency is regional: 315 MHz and 433 MHz systems do not talk to each other, and a mismatched sensor will never pair no matter how many times you retry.
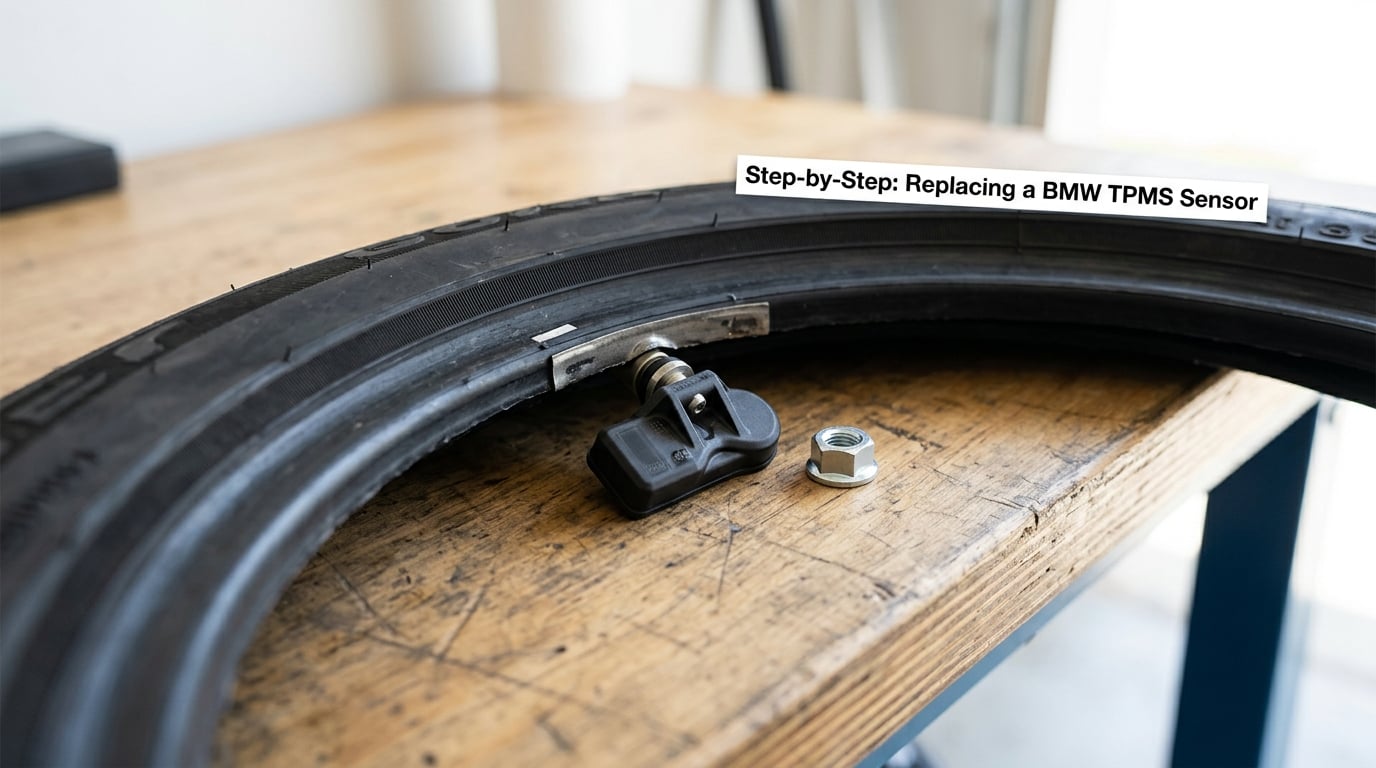
Clamp-in sensors clamp onto the valve stem inside the tire and come off by loosening a retaining nut. Snap-in sensors thread into a hole in the rim and sit under the wheel, which means the tire comes off but the sensor sits under pressure against the bead. Band-mounted sensors strap to the rim with a clamp and need no dismount at all. Identify which one your wheel uses before you order.
Pre-programmed sensors arrive with a factory ID and cost more. Programmable sensors ship generic and get written to your car during pairing, usually for less. If you only replace one sensor on a car that has no other dead corners, a pre-programmed unit is the simpler path.
3. Set the Vehicle on a Safe, Level Surface
Set the car on level ground, in gear, with the parking brake on, and chock the wheels diagonally opposite the corner you are working on. Support the car with jack stands rated above your vehicle’s weight, not a jack alone.
Read the owner’s manual before the wheel comes off. BMWs put different fastener torque values and different jack points on different chassis, and the wheel itself may need to be removed at an angle to clear the caliper on some models.
4. Remove the Tire and Wheel
Loosen the wheel fasteners while the wheel is still on the ground, then jack the car up, set the stands, and finish removing them. Take the wheel straight off the studs.
Now separate the tire from the rim. With a tire machine, this is the standard demount and you are done in a few minutes. Without one, you can break the bead on your own with the car on stands and the tire off the rim: deflate fully, push both beads into the drop center of the rim, and work a tire iron around from the top with the sidewall protected. This is fiddly and it can damage a sidewall if you rush, so if you have never done it, a shop dismount is the cheaper mistake.
Once the bead is off, take a look at the tire and rim before touching the sensor. A tire with a cord injury or a bead damage needs replacing, not refitting.
5. Remove the Old TPMS Sensor
Remove the valve core first so no air is trapped behind the sensor when it comes off. Then back the retaining nut off with the sensor socket and pull the sensor out of the rim hole, or undo the clamp screw on a band-mounted unit and unclip it.
Watch for a sensor that turns but will not release, or a core that shears. A seized core usually means a leak behind it, and the rim hole area needs a proper seal, not thread tape. If you damaged the rim’s sensor hole or the grommet seating surface, replace the grommet and clean the surface rather than forcing the new sensor in.
Note the physical condition of the old sensor. A unit sitting loose in the rim is a common failure on rear wheels, and it tells you the wheel has been sitting with the sensor rattling against the rim.
6. Install and Torque the New Sensor
Install the new sensor with a new grommet and a new nickel-plated valve core, and follow the orientation your wheel expects: on most designs the flat side of the sensor faces the wheel. Fit the retaining nut and torque it to the sensor specification, typically 35 to 44 in-lbs (4 to 5 Nm).
Do not use the wheel fastener torque value here. They are different fasteners with different numbers, and over-torquing the sensor nut cracks the housing or crushes the seal, which is the fastest way to kill a brand-new sensor. Snug it, then set the final torque with a wrench you trust. Our guide to torque instruments goes deeper on that.
Then reinstall the valve core and torque that separately to about 2 to 5 in-lbs (0.23 to 0.56 Nm), and re-pressurize the tire just enough to check the stem before the bead goes back on. Squirty soapy water around the base of the valve and the bead area; if bubbles show up, fix it now rather than after the wheel is back on the car.
7. Refit the Tire, Pair the Sensor, and Test It
Refit the tire to the wheel, inflate to the placard pressure, and refit the wheel. Torque the fasteners in a star pattern to the value in your manual, and re-torque after roughly 100 miles if the manual specifies it.
Then pair the sensor, which is the step that clears the light. With a scan tool, you enter a TPMS or tire-management menu, choose the failed corner, and initiate pairing. Sensors that are already pre-programmed may pair in seconds; programmable sensors get written during this step.
Without a scan tool, many BMWs will learn the sensor on a drive cycle: drive at roughly 25 to 30 mph for about ten minutes, through a mix of straight and curved roads, with no stops. On most BMWs the owner’s manual also carries a menu-based relearn under vehicle settings that handles pairing automatically. Clear the stored fault codes, drive, and then check the TPMS page again for four live readings.
If the corner still reads zero pressure after the drive, the light usually stays on. That is the last thing to check.
Common Mistakes That Ruin a TPMS Sensor Replacement
These are the failures I see most, and each has a straightforward fix. The pattern is the same every time: the mechanical work was fine and the pairing or the sealing was not.
- Skipping the pairing step. The light stays on and the owner assumes the sensor is bad. Fix: run the learn mode again or complete a full drive cycle after clearing codes.
- Buying the wrong sensor. Wrong frequency, wrong mounting style, or a cheap unit no programming tool can read. One r/hondafit owner lost a full set of four for exactly this reason. Fix: verify the OE part number and check that your scan tool detects the sensor before you let anyone torque it in.
- Over-torquing the retaining nut. You crack the sensor body or crush the seal and get a leak or an instant dead sensor. Fix: use the sensor’s specified range, not the wheel fastener value.
- Reusing the old valve core or grommet. You invite a slow leak and galvanic corrosion. Fix: fresh nickel-plated core and fresh grommet, every time.
- Damaging the bead or the sensor during the break. Force the iron against the sidewall and you get a tire you cannot trust. Fix: use the drop center, protect the sidewall, and accept a shop dismount if the bead is fighting you.
- Mixing wheel hardware or reusing single-use fasteners. A stripped stud or a wheel that will not hold torque. Fix: follow BMW’s fastener spec and replace single-use fasteners after a hard impact.
- Forgetting the spare. On some BMWs the spare has its own sensor and its own pairing. Fix: check the tire placard and the owner’s manual for whether the spare transmits.
- Metal valve caps. On some systems a metal cap interferes with the signal. Fix: use the plastic cap that came with the sensor.
One more habit worth keeping: after any pairing, verify the four live readings against a handheld gauge at a fuel stop. A corner sitting a few pounds off is a fast clue that something is still wrong. If you want a reference for what the placard numbers mean through the year, our winter tire pressure guide covers the cold-pressure reasoning, and our tread depth guide covers the other check you should do at the same stop.
Frequently Asked Questions
Can I replace a TPMS sensor myself?
Yes, if you own the equipment. The tire must come off the rim to reach the sensor on a direct TPMS system, which means a tire machine or a careful home bead break, plus a torque wrench for the retaining nut. You also need to pair the sensor afterward. If you lack a machine or a scan tool, a tire shop handles both steps in one visit.
Do I need to program a new TPMS sensor on a BMW?
On a direct TPMS system, yes. A BMW with an indirect system has no wheel sensors and no pairing. On direct systems the sensor ID must be written to the control unit, either through a scan tool menu or through the automatic relearn in the vehicle settings menu, followed by a drive cycle. Skipping this is the most common reason a new sensor leaves the light on.
Can I drive with the TPMS light on?
A solid tire-pressure icon usually means one or more tires are low, so inflate and recheck. A flashing icon means the control unit detected a fault, which is different and should be diagnosed soon. Either way, driving short distances to a repair shop is generally fine, but treat the light as a real warning rather than a nuisance. If a tire looks visibly low or damaged, do not drive on it.
How much does it cost to replace a TPMS sensor?
Cost breaks into three parts: the sensor, the tire dismount and refit labor, and the pairing or programming charge. OE sensors cost more than aftermarket programmable ones, and a shop that dismounts the tire will usually bill that as a separate line. Ask for an itemized quote, then price the same job at two or three independent tire shops before agreeing, which is the routine move owners recommend on r/cruze.
Why does my new TPMS sensor still show a warning?
Work through it in order: check the four live readings against a gauge, confirm the pairing actually completed, clear stored codes and run a drive cycle. After that, suspect a frequency or part-number mismatch, a metal valve cap blocking the signal, a leak at the stem, or a sensor the programming tool never detected. Most of these show up as a single corner reading zero while the other three look normal.
Can a tire shop replace a band-mounted TPMS sensor?
Yes, and a band-mounted sensor is the easiest of the three types to change because it clamps to the rim and does not require breaking the bead. The shop still needs to pair it to your BMW afterward. Watch for shops that quietly substitute their own parts for customer-supplied ones; ask up front and confirm the part number on the invoice.
Conclusion: Verify the Sensor Spec First
Start by verifying two things: the exact sensor specification for your BMW, and whether the fault is actually a sensor. Read the codes, check for a direct or indirect system, and confirm the OE part number and frequency before you order anything.
From there the work is mechanical. Remove the wheel, get the tire off the rim, swap the sensor with a fresh core and grommet, torque to the sensor’s specification rather than the wheel’s, then refit and inflate to the placard pressure. Pair the sensor, clear the codes, run the drive cycle, and verify all four corners against a gauge at the next fuel stop. Skip that last verification and you are gambling that the fix worked.