
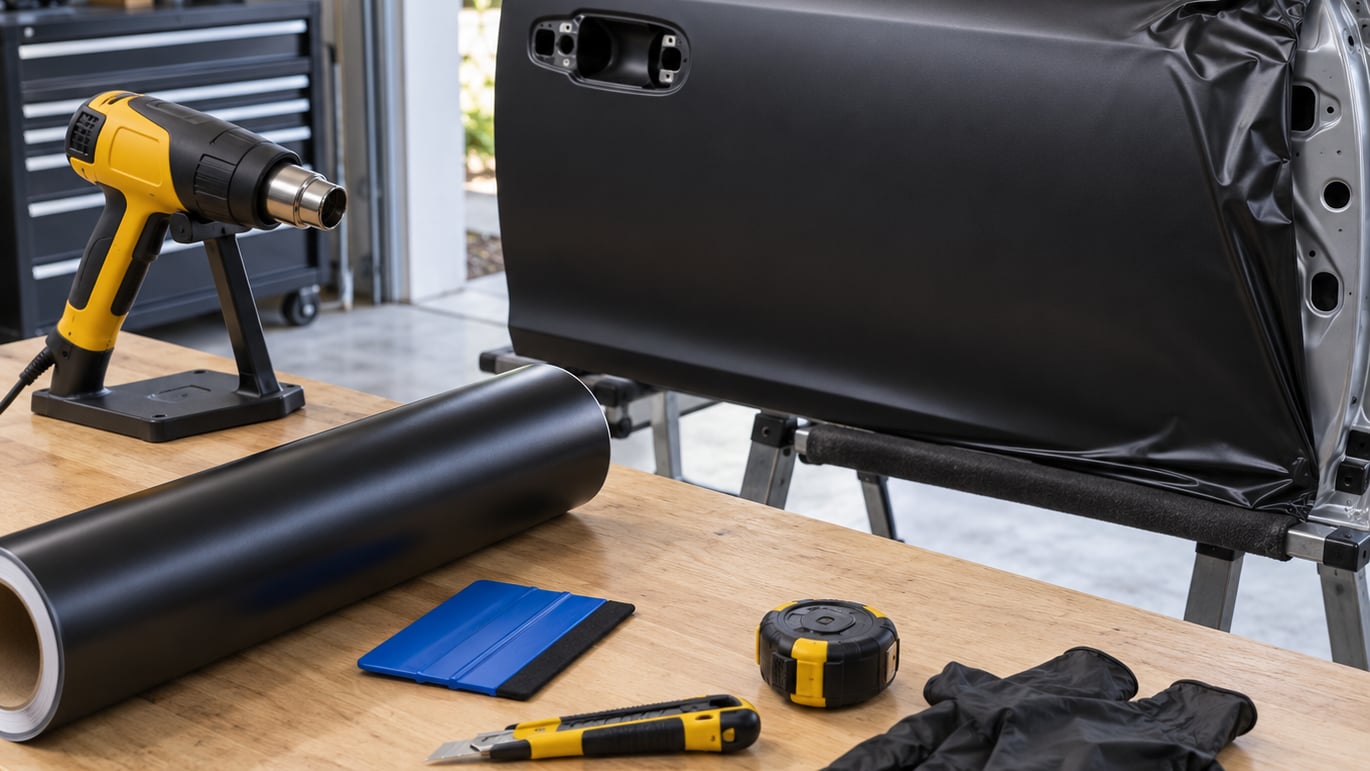
Yes, you can wrap a car yourself. The job is applying a thin cast vinyl film to clean, prepared paint, then pushing out the air, tucking the edges and sealing everything with heat. It is a garage job, not a professional trade secret, and a careful first-timer can get a result that looks factory-adjacent for a full color change.
It is also slower and more physical than the videos make it look. Plan on 20 to 40 hours spread across several days for a full sedan if you have never done it, plus a weekend of setup and paint prep. Beginners on forums consistently report two or three attempts at the harder panels before one sticks, which is normal and not a sign you picked the wrong film.
This guide walks through the whole process in the order that actually works: what to buy, how to prepare the car, how to lay and squeegee the film, how to seal edges, and how to fix the mistakes everybody makes once. I have laid out the same kind of careful, step-by-step garage work in our guides on how to replace struts yourself and other weekend jobs, and wrapping follows the same logic. Prep decides the finish.
What You Need
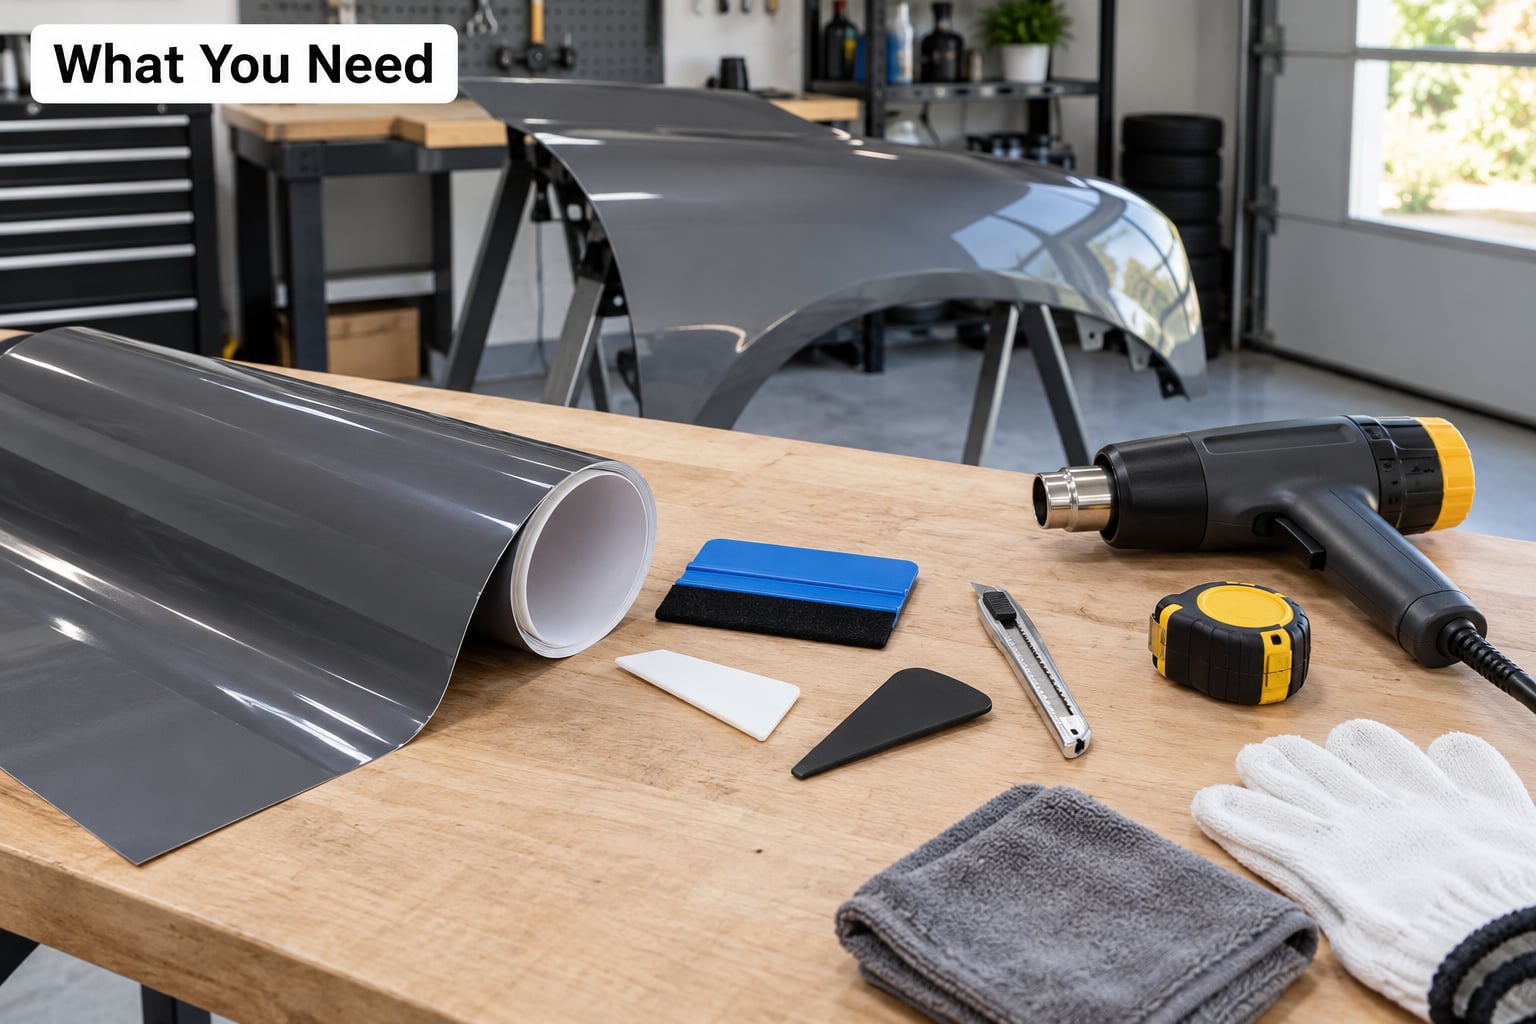
Two things decide whether this project ends well: the type of film you buy and how clean your garage is. Everything else is a tool you can pick up cheaply. Sort the shopping into three groups, the same way the shops and the AI summaries do, so nothing gets forgotten on the day.
Vinyl film
Buy cast vinyl. That is the only category worth using on a vehicle. Cast film is thinner, more flexible and far more forgiving around curves, which is exactly what car body panels are made of. Calendered vinyl is thicker, stiffer and cheaper, and it will fight you on every radius and crease line. It also holds adhesive memory, meaning it remembers the shape of the original panel and tries to spring back.
Within cast vinyl, the widely used choices are 3M 2080 and 3M 1080, Avery Dennison Supreme Wrapping Film, and Oracal 970RA from Orafol. 3M 2080 gets recommended most often to beginners because of its air-release channels, which let trapped air escape along the film’s micro-structure instead of sitting as a bubble under the surface. Avery and Orafol perform well too and cost less. Any of them will do the job properly.
How much do you need? A full color change on a sedan usually takes 60 to 75 feet of 60-inch-wide film. A coupe needs less, roughly 40 to 50 feet, because there is less sheet metal. A truck or SUV with a full bed and roof takes more, often 80 to 100 feet. Buy one roll and treat leftovers as scraps for practice, because running short halfway through a roof is a genuinely bad afternoon.
Tools
A heat gun is non-negotiable. Heat is what makes vinyl stretchable around curves and what drives the adhesive into a permanent bond. Use a variable-temperature gun and keep it moving; you are warming the film, not cooking the paint. Cheap single-setting guns either fail to soften the vinyl or scorch the clear coat.
A squeegee is the second essential tool. A hard plastic squeegee works on flat panels like doors and roof sections, and a soft felt-edge version is better around edges and in tight contours where you do not want to scratch. Many people carry both. A plastic blade and a second, sharper blade for trimming are needed to cut the film, plus a small utility knife with plenty of spare blades because they dull fast on this film.
Also worth having: nitrile gloves, a roll of knifeless tape for cutting curves without a blade against paint, masking tape for making hinge templates and straight edges, a measuring tape long enough for a hood, and a small infrared thermometer so you are not guessing at surface temperature.
Prep items and safety gear
Preparation chemicals matter more than people expect. You want automotive shampoo, a clay bar with lubricant, a degreaser or panel wipe for removing wax and road film, isopropyl alcohol for a final wipe-down, and plenty of microfiber cloths. Keep a plastic razor or scuff pad nearby for heavy buildup, since contaminants that stay under the film become the exact bubbles you will be chasing later.
For safety, wear eye protection when you are working overhead on a roof, keep the heat gun on a stand rather than resting it on the paint, and open the garage door for ventilation. Use the blade with a cut-resistant glove on your non-knife hand. If your car runs a combustion engine in the garage, stop and open the door first; carbon monoxide has no business being near a heat gun. It is the same safety-first thinking we apply in our air filter replacement guide, just with warmer tools.
Your workspace
A residential garage works, with conditions. Aim for 60 to 75 F ambient temperature, with the surface of the panel reading above 65 F on the infrared thermometer. Do not wrap in the cold. Cold film is stiff, it will not conform, and you end up stretching it to force it, which is how distortion and lifting at the edges begin. This is why so many first attempts fail in early spring.
Suspend dust. Wrapping dust becomes a permanent raised speck under the film, and there is no fixing it after the job is done. Close the door, cover the vents, wear a shirt with minimal fuzz, and keep the car off the driveway if you can. Bright, even light matters too. Work under a shop light or in open shade, not direct sun, because glare hides bubbles until you are halfway across the panel.
Plan your practice ladder
Nobody does a whole car as their first attempt. The progression most people land on starts with mirror caps, which are small, convex and cheap to redo. Then a hood or roof stripe, where you learn long squeegee strokes and seam placement. Then a full door skin. Only then the roof and the big curved panels. If you take that ladder deliberately, your first car is a 20 to 40 hour project rather than a disaster with a roll of half-used film in it.
How to Wrap a Car Yourself: Step-by-Step
Inspect and Wash the Vehicle
Start with an honest look at the paint. Wrapping does not fix dents, scratches, rust or peeling clear coat. It hides a lot of them visually, but the film will draw attention to anything severe, and peeling paint or surface rust will hold the film away from the surface and cause lifting later. If the car has chips, oxidized paint or a chalky surface, paint correction comes first, and that is a different project from the one described here.
Wash the car properly. A quick rinse leaves grit that ends up under the film as a gritty patch. Use automotive shampoo, dry it fully, then run a clay bar over the panels with lubricant to pull bonded contaminants out of the clear coat. A clean bare panel feels like glass to your fingertip, and that is the standard you are aiming for.
Check for loose trim before you start. A molding clip that wiggles today will be a torn edge or a rattle later. Also mark any existing damage with masking tape so you can check at the end that nothing new appeared. Masking tape on glass also gives you a straight cutting reference on the edge, which most beginners find more useful than trying to freehand a line.
How do you know prep is good? Run a gloved hand across the panel. Any roughness is contamination still on the surface. Fix it now, because once the film is down, the only way to remove a speck is to lift the film and start the panel again.
Remove Trim and Prepare the Panels
Removing the parts you can take off makes the job much easier and the edges much better. Door handles, mirror caps and glass, badges, side molding, wheel arch trim, tail lamp lenses and license plate assemblies typically unbolt or unclip. Bag the hardware by panel and label the bags, because the clips are usually one size and easy to mix up.
Take photos of anything with a multi-pin electrical connector or an awkward clip arrangement before you pull it. Our headlight bulb guide covers the same idea for assemblies that come apart further than you expect. Work slowly, heat the clips with the heat gun if they are stubborn, and never lever against paint to get a plastic part free.
Now clean the panel where the trim came off. That area usually has a shadow line of dirt and wax residue, and it is the most common place for an edge to lift later. Wipe with isopropyl alcohol, keep liquid away from open electrical connectors and sensor wiring, and dry the surface completely.
Light scuffing is optional and it is a real tradeoff. A very fine scuff pad on a clean panel gives the adhesive more texture to grab and reduces the chance of edge lift on panels like a hood or door jamb. On soft, thin clear coat or a dark color you are unsure about, skip it. Take the conservative choice when you cannot judge the paint. Getting through the clear coat and into the color is a permanent mark, and the film lifts to reveal it.
Never tape or film over parking sensors, radar lenses or camera housings in a way that blocks them. Those components fail or calibrate wrong when covered, and many manufacturers treat it as damage. Note their position before you start, and keep a window of clean body around each one.
Measure, Cut, and Position the Vinyl
Measure the panel twice and add more overlap than you think you need. A door skin, a hood and a roof each want roughly 3 to 4 inches of extra material at the edges, because you need film to grab at the jambs and to trim back cleanly at the perimeter. Cutting to a tight fit is the most common early mistake.
Do not cut one giant piece for a whole side of the car. Work in panel-sized sections, usually 24 to 36 inches of usable width per piece, because a small piece is manageable and a failed piece costs you a scrap instead of a panel. Each piece is cut slightly larger than the target panel plus that overlap allowance.
Use masking paper or painter’s tape to build a template for the trickiest shapes, such as a mirror cap or a bumper corner. Lay the film on the panel, tape or hold it in position, then mark the outline so the cut follows the body line rather than your eye. Templates take five minutes and remove most of the cutting anxiety from the first hour.
Position the piece before you commit. Center it on the panel, check that the overlap is even all the way around, and step back. Temporary tack means you can peel a corner back and re-seat the film while the adhesive has not been burnished. Nothing is fixed until the squeegee touches it, so take the extra thirty seconds to confirm it is centered and pointing the right way before you start.
Apply the Vinyl and Squeegee It Smooth
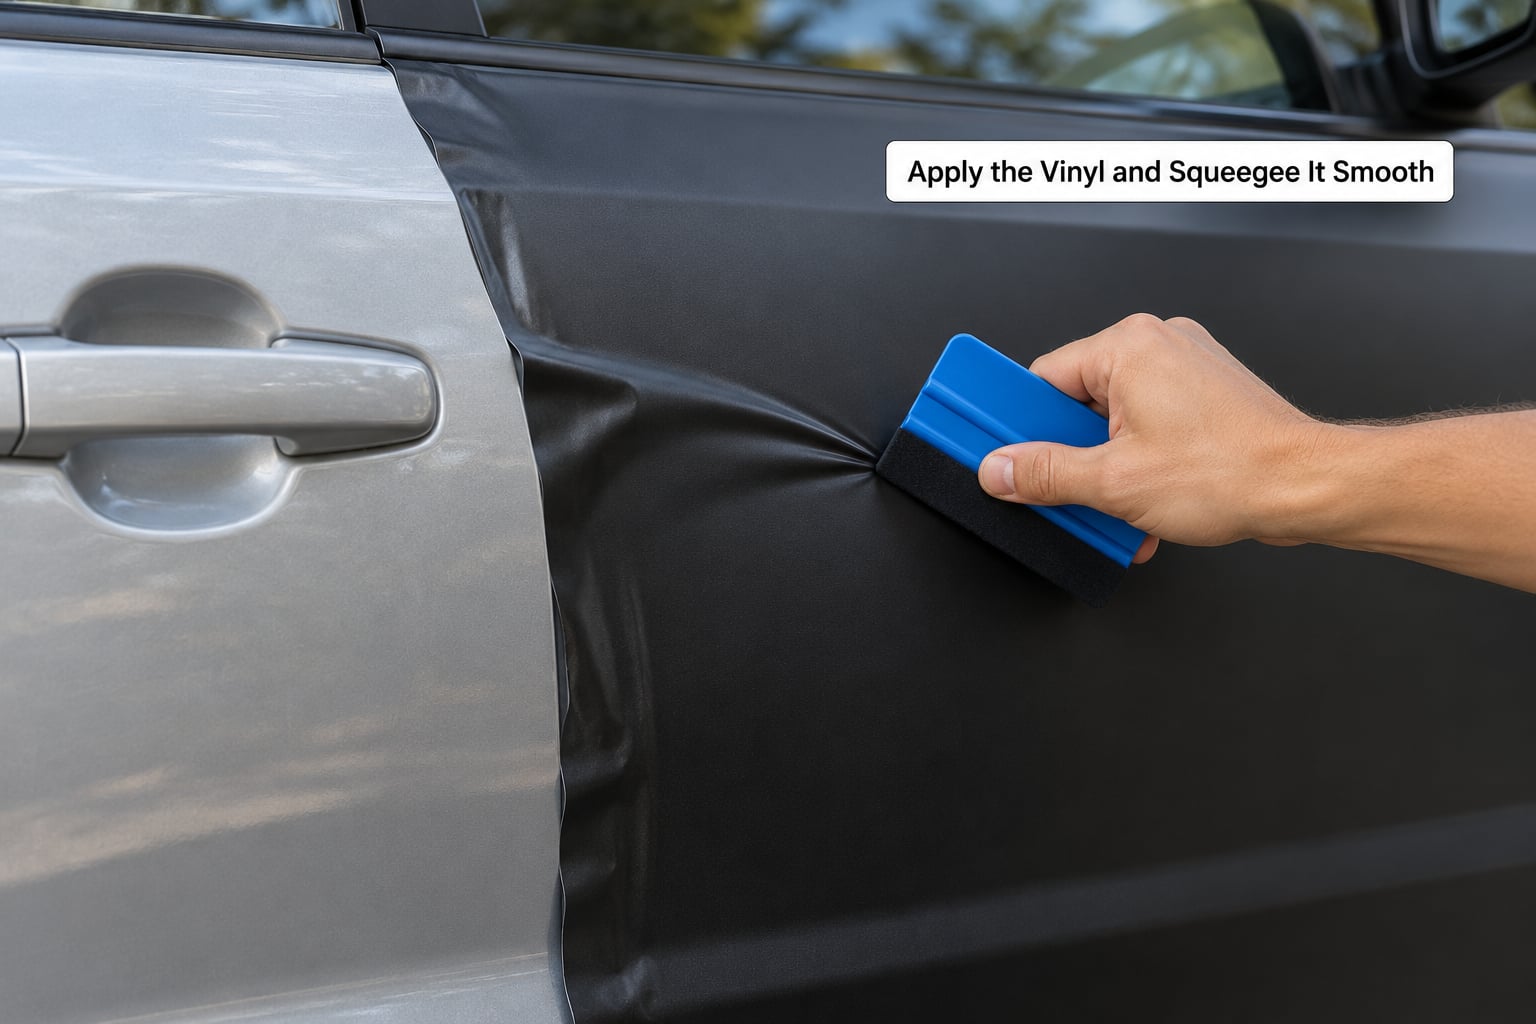
Work in manageable sections and anchor the middle of the piece first. Peel the liner back a few inches at the center of the panel, hold the film just above the surface so it does not touch, and lay that strip down. Then work outward from the anchor in overlapping squeegee strokes, roughly 3 to 4 inches wide, moving from the center toward the edges.
Everything you do next flows from that center-outward anchor. Keep tension even with your off hand, pulling gently toward the working edge without stretching the film. When you stretch, you are creating a permanent distortion that will not come out, and on a curved panel it will look like a crease once the film cools.
Push the air toward the edge and off. Use firm, overlapping passes at maybe a 45-degree angle so you are pushing air forward rather than dragging it sideways. Raise the squeegee edge slightly so the lip does not lift the leading edge of the film. The triangle technique, a slightly angled squeegee face, gives you a cleaner finish than a flat hard edge on gloss film.
Warm as you go. On a flat panel the film barely needs heat. On a curve, hold the heat gun 6 to 8 inches away, keep it moving constantly, and warm the section just ahead of the squeegee. The film should feel soft and slightly tacky when you touch an edge with a gloved fingertip, not hot. If the vinyl turns gummy or the adhesive starts to string, you are too hot, so back off and let it cool.
Should you use soapy water? For most beginners, yes. A light mist of soapy water on the panel gives the film a few seconds of slide so you can position and adjust it without committing to a spot, which is exactly what you want while learning. The tradeoff is speed, because you have to squeegee the fluid out as you go or it dries to a haze. Use the dry method on flat panels once you have the technique, where there is no benefit to sliding. The wet method earns its keep on the hood, roof and bumper, where you need the film to shift as you align it.
Peel the liner at roughly a 30 to 45 degree angle rather than straight back. Straight-back pulls hard on the adhesive and can stretch the film before you have even laid it down. Slow and steady is the entire technique. If you find a bubble, leave it if it is small and keep working; you can push it to the edge later or lift a corner and re-seat it while the adhesive still has give.
Heat, Trim, and Finish the Edges
Trimming comes after the panel is burnished down, not before. Use a new blade, a straightedge or taped cutting line, and pull the blade toward you in one continuous stroke rather than sawing back and forth, which drags and dulls. Cut in relief cuts where a corner or contour will fight the blade, such as around wheel arches and bumper openings, so the film can relax into the shape instead of bunching.
Knifeless tape is the safe way to cut a line that follows a compound curve, like the top of a door where the glass meets the frame. You run the blade along the tape, the tape holds the vinyl back, and the film gets a clean edge with no chance of cutting the paint underneath. It has its own learning curve, but for a beginner working near expensive bodywork it is worth the practice panels.
Tuck and seal every edge. Warm the film at the jamb or return, press it into the crease with a fingertip or a wrapped fingertip tool, and heat it as you go. Edges are where wraps fail, and they fail because the last inch never got enough heat and pressure. Heat the tucked edge again after a few passes so the adhesive flows fully into the surface texture.
Post-heat the finished panels. After all the squeegee work, go back over each panel with the heat gun and the squeegee in the same center-outward motion. This burns off the finger pressure marks that gloss film shows and drives the adhesive to its final bond. Skip this and the panel looks fine for a month, then the impressions show up permanently.
Corners are where beginners overreach. When a corner will not tuck, use more heat and less force, and accept that some panels get a slightly rounded tuck. Pulling hard at a cold corner is how film tears and how paint gets marked. Long, warm, gentle beats short and stubborn.
How to Wrap a Car Yourself: Common Mistakes and How to Fix Them
Here is the troubleshooting list, organized by what you see rather than by what caused it.
Small air bubbles. Leave them alone for a few days. The adhesive keeps working for around 72 hours, and many small bubbles disappear on their own. If it is still there, pierce it with a pin at the center and press the film down flat with a fingertip.
A bubble at an edge. Lift the film a short distance back from the edge, warm it, lay it down again and re-squeegee. If the film was already burnished, the adhesive may be set, so add a drop of isopropyl alcohol under the lifted section to reactivate it.
Wrinkles or creases. Wrinkles are usually stretch that was not heated enough at the time. Lift back to the wrinkle, warm the area, stretch it slightly in the direction it needs to go, and re-squeegee. A crease you cannot resolve is a sign to replace that piece of film while it is still on the bench, not to keep fighting it on the car.
Misalignment. Peel the whole section back within the first hour, warm it, and re-seat it. Once the adhesive has fully bonded, misalignment is permanent and your only options are re-cut or live with it.
Lifted edges. Almost always a prep or heat problem. Adhesive needs a clean surface and enough heat. Re-clean the edge, warm the film, and burnish again with pressure. If the edge keeps lifting, the paint underneath may be contaminated or the film may have been stretched past its limit.
Speckles and haze. That is trapped dust or dried application fluid. Lift the film before it fully sets, clean the panel again, and re-lay. Once the adhesive has cured for a week, the speckle is permanent and the panel needs replacing.
Paint damage. If you cut into the clear coat or base coat, stop and get an assessment before laying more film over it. Film over a deep scratch traps moisture and makes the mark much more visible. Light scuff marks can be corrected later with polish.
A few professional habits pay off on a first wrap. Post-heat twice. Use overlapping seams rather than butt seams, which have no strength. Remove the panels you can. And take your time, because the whole job is a sequence of calm, repeatable actions and rushing is the failure mode behind almost every problem on this list.
Frequently Asked Questions
Is it possible to wrap a car by yourself?
Yes. Wrapping a car yourself is very doable in a home garage with cast vinyl, a heat gun, a squeegee and a clean, dust-free workspace. A first-time full wrap usually takes 20 to 40 hours spread over several days, with the hardest parts being the roof, hood and bumper curves. Practice on mirror caps and a door skin first.
How hard is it to wrap your own car for the first time?
Moderately hard, mostly because of patience rather than technique. Cutting, heat control, squeegee pressure and edge sealing are learnable in an afternoon. What takes longer is restraint: not stretching the film, not rushing edges, and accepting that some panels will take two attempts. Start with mirror caps and work up.
Should I use soapy water when applying vinyl wrap?
For a beginner, yes. A light mist of soapy water on the panel gives the film a few seconds of slide so you can adjust position before the adhesive grabs. The downside is speed, since you must squeegee the fluid out as you go or it dries to a haze. Experienced wrappers often work dry on flat panels.
Can you wrap an older car with scratched or peeling paint?
You can, but fix the paint first. Scratches and chips are often hidden well by film, yet peeling clear coat, surface rust and heavily oxidized paint will hold the film off the surface and cause lifting within weeks. Wash, clay, polish or repaint the affected panels before you wrap, and inspect for corrosion under the wrap.
How long does a DIY car wrap last?
A well-prepped cast film wrap typically lasts four to seven years with covered parking, hand washing and no harsh chemicals. A wrap that was done cold, rushed, or over contaminated paint may start lifting or fading in a year or two. Gloss finishes outlast matte ones, and garages beat street exposure. Removal with adhesive remover is usually straightforward later on.
Start small and finish the whole job in one week. Buy cast vinyl, a variable-temperature heat gun and a felt-edge squeegee, then spend the first evening on the car: wash, clay, degrease and dry. Run those panels up last, and you will learn more from one clean door than from an hour of videos.