
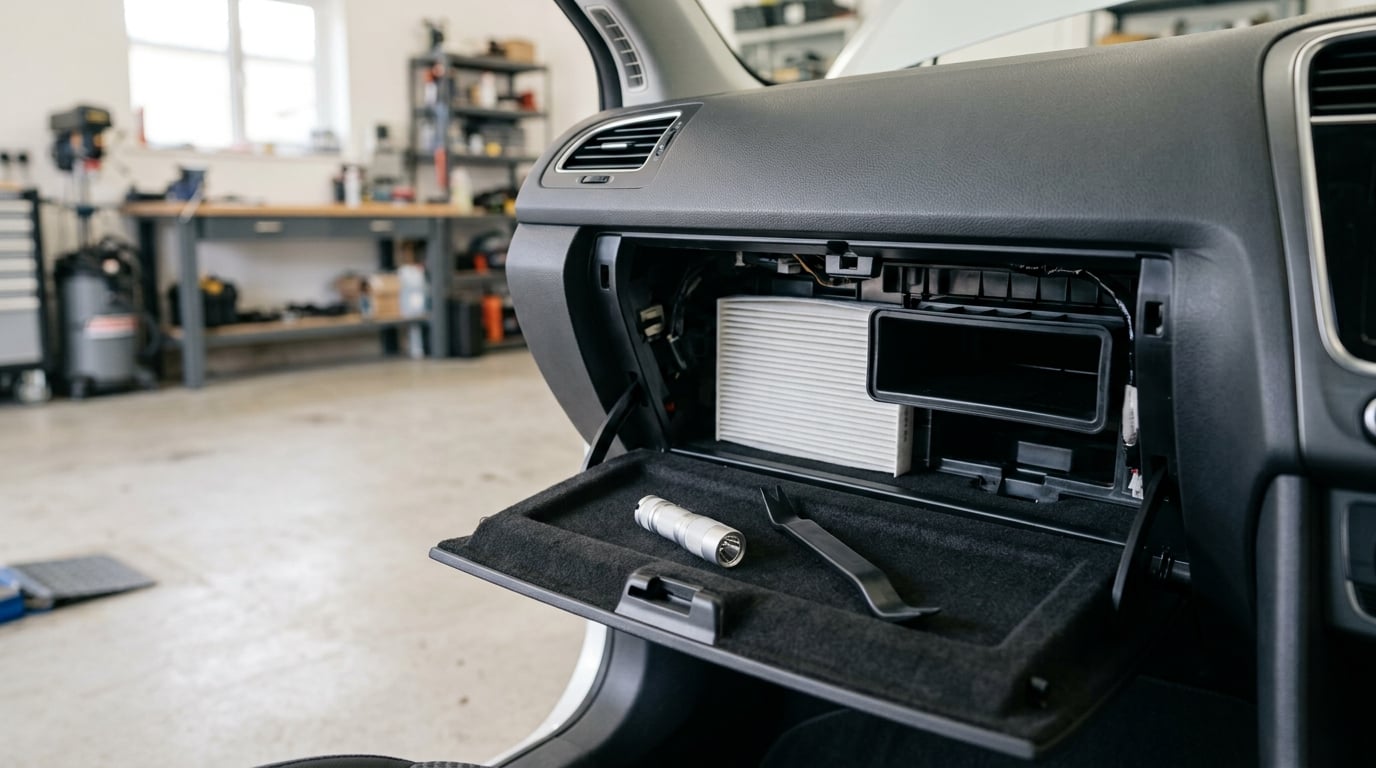
On most BMWs the cabin air filter sits behind the glove box, and swapping it takes 10 to 20 minutes with one screwdriver. Learning how to replace a cabin air filter on a BMW comes down to two things: getting the part number that matches your exact chassis, and matching the airflow arrow before you close the housing up.
The job itself is simple. The fiddly part is that a BMW built in 2015 and one built in 2019 do not always use the same filter, the same access panel, or the same direction of travel for the cover. Get those three details right and the rest is just pulling a rectangle in and pushing a rectangle out.
Below is the process in the order that works, with the places people get stuck called out along the way. I have pulled the same filter out of enough dashboards to know which step is where the job turns into a 40 minute one with broken plastic.
Table of Contents
- What You Need
- Step-by-Step: How to Replace a Cabin Air Filter
- Common Mistakes
- Frequently Asked Questions
- How often do you really need to change a cabin air filter?
- Which way do the arrows on a cabin air filter point?
- What happens if the cabin air filter is backwards?
- Can I replace the cabin air filter on my BMW myself?
- How do I find the right cabin air filter part number for my BMW?
- What should I do after replacing the cabin air filter?
- Conclusion
What You Need
The list is short, and most people already own most of it.
- The correct filter. Matched to your VIN, not to a model year guess. This is the single item worth getting right before you start.
- Your owner’s manual or the maintenance chart in the vehicle menu, for the access route and the stated interval.
- Nitrile gloves. A neglected filter sheds a surprising amount of grey dust into the footwell when it moves.
- A flashlight or LED work light. The housing sits in shadow behind the glove box and you will be looking at it sideways.
- A vacuum with a hose attachment to clear the empty housing before the new filter goes in.
- A screwdriver set, including a Torx T20. Some BMWs use Torx fasteners at the filter cover, others use a slotted or Phillips head.
- A plastic trim removal tool for the passenger footwell panel on models that use one.
- Safety glasses, because you will be working overhead and looking up.
Before the car goes on the jack, actually — this job needs no jack. Park on level ground, switch the ignition fully off, take the key out, and leave the engine cold. You are working in the passenger footwell with your head inside the dash, and a hot engine bay a foot to the left is not somewhere to be distracted.
How to confirm the part number before you buy
Three ways, in order of how much I trust them:
- VIN lookup. Type the 17-character VIN into the manufacturer’s parts site or any of the major parts retailers. This returns the exact filter for your car, including the carbon and non-carbon variants.
- The label inside the housing. Many filters have the part number moulded into the plastic frame, and the housing itself often carries a sticker. You can read it during the job and order the replacement for next time.
- Year, model and body style. Works sometimes. Fails often on BMW because a sedan and an SUV on the same generation can differ, and facelift years swapped filter shapes mid-cycle.
One more thing to check before you start pulling anything apart: some older and lower-spec cars have no cabin air filter at all. If your BMW has a mesh intake screen instead, it is a cleanable screen, not a replacement part. You will know within a minute of opening the housing.
Step-by-Step: How to Replace a Cabin Air Filter
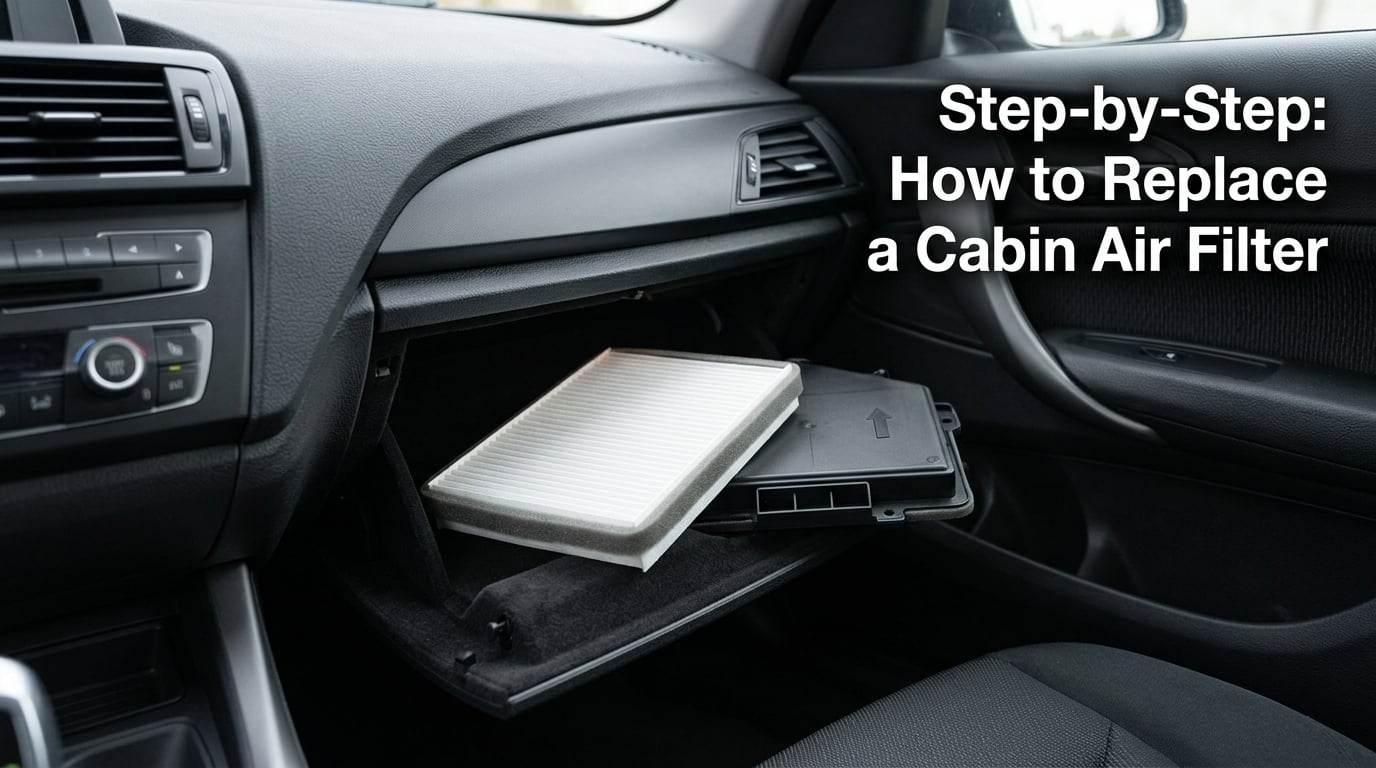
These five steps apply to most models. Where a generation does something different, the difference is called out inside the step.
1. Find the Correct Cabin Filter and Check the Car
Confirm the part number before the car comes apart, not after. Park on level ground, engine off, key out. Open the glove box and note the current mileage before you start — it is the number you use to work out the next change date.
If the car is due for its scheduled service anyway, do the filter then and let the dealer handle it. The cost of the labor is small next to the value of not breaking a trim clip on a car you just paid for.
2. Remove the Glovebox or Cabin-Filter Cover
Empty the glove box first. Then squeeze the side stop tabs inward and let the box drop down on its dampener arm — you are looking for the small damper strap on the right side that controls how far it falls.
On most BMWs that is the whole trick. You do not unbolt the glove box. Press the sides in, guide it down, and the filter housing is right there.
Where it goes sideways, depending on generation:
- Torx or Phillips screws holding a small cover above or beside the blower housing. Torx T20 covers most of them.
- A passenger footwell or kick panel held by plastic trim clips. Push the centre pin out with a trim tool before you pull the panel, or you will snap the clip head and then be hunting for it in the carpet.
- The engine bay. On some older models, including the 1997–2006 325Xi, the filter is reached from the rear of the engine bay. You unlock three twist locks on the cowl cover, lift it, and the filter comes up from the top. That is the one route that genuinely changes the job, and the twist locks are easy to overtighten.
If the glove box drops and stops short before you can see the housing, the dampener arm is not fully extended. Pull the box forward gently while pressing the side tabs in, or release the arm from its slot. Forcing the box down with the arm still on its detent puts real stress on the hinge and the stop tabs, and the tabs are the piece that breaks.
3. Remove the Old Filter and Inspect the Housing
Unclip the filter cover and slide the old filter straight out, level. Keeping it level matters — a loaded filter tipped at an angle dumps its contents into your footwell and onto the carpet, which is the one genuinely unpleasant part of this job.
Take a photo of the old filter sitting in the housing before you lift it out. That photo tells you the orientation for the new one, and it is worth having when the frame markings are hard to read in a dark footwell.
Now look at the empty housing before you clean it:
- Cracks or a warped sealing lip, which means air is bypassing the filter entirely
- A cracked or missing cover tab, and the matching slot on the housing
- The airflow arrow moulded into the frame or printed on the housing side wall
- Leaves, grit and lint packed into the corners of the housing
Vacuum the housing out with the hose attachment while it is still accessible. This is the step most guides skip, and it is the one that makes the difference after a heavy pollen season or a dusty road trip. A wet cloth is fine for a plastic housing, but keep water out of the blower unit and away from any wiring you can see.
Under there is more than the filter. Do not go pulling on the wiring harness, the blower module connector, or the duct clips to get a better angle. If you need to move a connector, you have gone past a cabin filter change and into a repair.
4. Install the New Cabin Air Filter
Read the airflow arrow on the new filter’s frame before you slide it in. The arrow shows the direction air travels through the filter, not the direction you push it in from — and on most BMWs that arrow points down, toward the evaporator core, which means the open face of the pleats goes up as you slide it into the housing.
Slide it in flat. Both long edges should sit evenly in the housing channels, with no part of the frame sticking out past the seal.
If the filter will not go in, it is almost always width, not part number. Pinch the two long corners toward each other so the filter bows into a semicircle, feed the middle of the arc in first, then release the corners and let the frame flatten out against the housing. Old filters that have been crushed in the housing can leave a bow in the new one too — take your time and never force the frame against the plastic.
Do not press hard on the pleats. Folded or crushed media blocks airflow across the folded section, and that is exactly the airflow restriction the filter is supposed to be preventing.
5. Reassemble the Cabin and Test the Airflow
Put the cover back on so the tabs enter the slots. If the tabs keep springting out, check that the filter is fully seated rather than sitting proud — a filter that is not flush will stop the cover from closing properly every time.
Lift the glove box until the dampener arm clicks into its stop. It should hang at the same angle it did before and latch shut. If it sits noticeably higher or lower than it used to, one of the stop tabs is not back in its notch.
Any footwell panel or engine bay cowl cover comes back on next, with the clips pressed in until they seat, not until they feel tight.
Then test it. Start the car, set the fan to its highest speed on fresh air rather than recirculate, and listen. A clean filter on high fan gives an even, quiet rush of air from every vent. A whistling tone means the filter is seated wrong or the cover is not latched. A rattling sound means the frame is touching the housing.
Check MAX A/C cooling too. Air noticeably warmer than it used to be at the same vent temperature usually points at a restricted filter, since the evaporator needs airflow across it to move heat out of the cabin.
If the musty smell survives a new filter and a high-speed test, the filter was not the problem. That smell is usually mold sitting on the evaporator core, and no filter change will touch it. Bag the old filter and bin it, note today’s date and mileage, and set a reminder for 12 months or the mileage in your manual, whichever lands first.
Common Mistakes
Every one of these is something that has gone wrong on this job in a BMW footwell, and every one has a simple fix.
Buying the filter by model year instead of by part number. BMW changed filter shapes mid-generation more often than most makes, so a 2018 X3 and a 2018 X5 are not automatically the same filter. Fix: do the VIN lookup before you buy anything, and if the filter does not slide in easily, stop forcing it and re-check the number.
Installing the filter backwards. Owners on older Volkswagen and Audi platforms reported blower noise and a whistling sound from exactly this mistake, and BMWs behave the same way. Fix: the arrow points the way the air moves, which is normally downward through the filter. If the blower gets loud or the vents whistle, pull it out and flip it before you start blaming the fan.
Crushing the pleats to make it fit. A folded section does not filter, and the housing pressure bows the frame further over time. Fix: use the pinch-the-corners technique so the frame enters curved, and never use a screwdriver to lever the edge past the seal.
Leaving the filter half-seated. It looks installed, the cover goes on, and airflow is still weak. Fix: press each long edge down evenly until the frame is flush with the housing lip, then close the cover and confirm the tabs are in their slots.
Breaking the glove box stop tabs or the dampener arm. This happens when the box is pushed down instead of released, or when someone pulls hard to get it back up. Fix: press the sides in, support the box with one hand, and unclip the arm from its detent rather than stretching it. Damaged stop tabs are an expensive dealer part and an easy trim repair.
Forgetting a second filter. Some BMWs use two elements in the same housing, or a charcoal layer behind the pleated element. Fix: count what came out. Two pieces go back in, in the same order you removed them.
Confusing the cabin filter with the engine air filter. They sit in completely different places — the engine filter is in the engine bay in a box or a housing, the cabin filter is behind the glove box. Fix: if you opened a housing in the engine bay and the part looks like a thick panel, that is the engine air filter, and it does not come out with the cabin filter tool.
Tipping the old filter out over the carpet. Fix: slide it out level and bag it before you move it. A year of road dust ends up in the footwell carpet and out of a vacuum gets into the blower.
Frequently Asked Questions
How often do you really need to change a cabin air filter?
Most manuals call for a change every 12 months or around 15000 miles, whichever comes first, and many specify the shorter interval if you drive in dusty conditions or off-road. Change it earlier if the airflow drops, the vent starts whistling, or a musty smell shows up after rain. Short trips in city traffic load the filter faster than the odometer suggests.
Which way do the arrows on a cabin air filter point?
The arrow printed on the filter frame shows the direction air travels through the media, which on most BMWs is downward toward the evaporator core. That usually means the open pleated side faces up as you slide the filter in. The old filter is the best reference: note its orientation with a photo before you pull it out.
What happens if the cabin air filter is backwards?
Airflow drops, the blower works harder, and the housing can whistle or rattle at higher fan speeds — owners on older German platforms reported exactly that noise after a backwards install. The filter will not seal properly against the housing lip. Fixing it is easy: reach back in, pull the filter out level, and flip it so the arrow points the way the air moves.
Can I replace the cabin air filter on my BMW myself?
On most models, yes, and it is one of the simpler jobs under the dash. You empty the glove box, squeeze the side stop tabs to drop it, unclip the cover, and swap the element. The exceptions are the models reached from the engine bay with three twist locks, and anything where the footwell panel clips are brittle. If you are not sure, have a shop confirm the access route first.
How do I find the right cabin air filter part number for my BMW?
Use a VIN lookup on the manufacturer’s parts site or a major parts retailer, which gives you the exact element for your build, including the carbon-loaded version. The part number is also usually moulded into the plastic frame of the old filter, so you can read it during the job and order for next time. Year and model alone is the least reliable method on BMW.
What should I do after replacing the cabin air filter?
Test every fan speed on fresh air, listen for whistling or rattling, and check that MAX A/C still cools well. Confirm the glove box latches and hangs at the same angle as before. Bag and bin the old filter, then note the date and mileage so you know when the next change is due. A musty smell that survives all of that is usually mold on the evaporator core, not a filter problem.
Conclusion
Start with the part number. A VIN lookup takes two minutes and it is the step that decides whether the job takes 15 minutes or turns into a return trip for the right filter.
From there it is a straight sequence: drop the glove box, unclip the cover, slide the old element out level, vacuum the housing, match the airflow arrow on the new filter, close everything up, and run the fan on high to listen for anything that should not be there.