
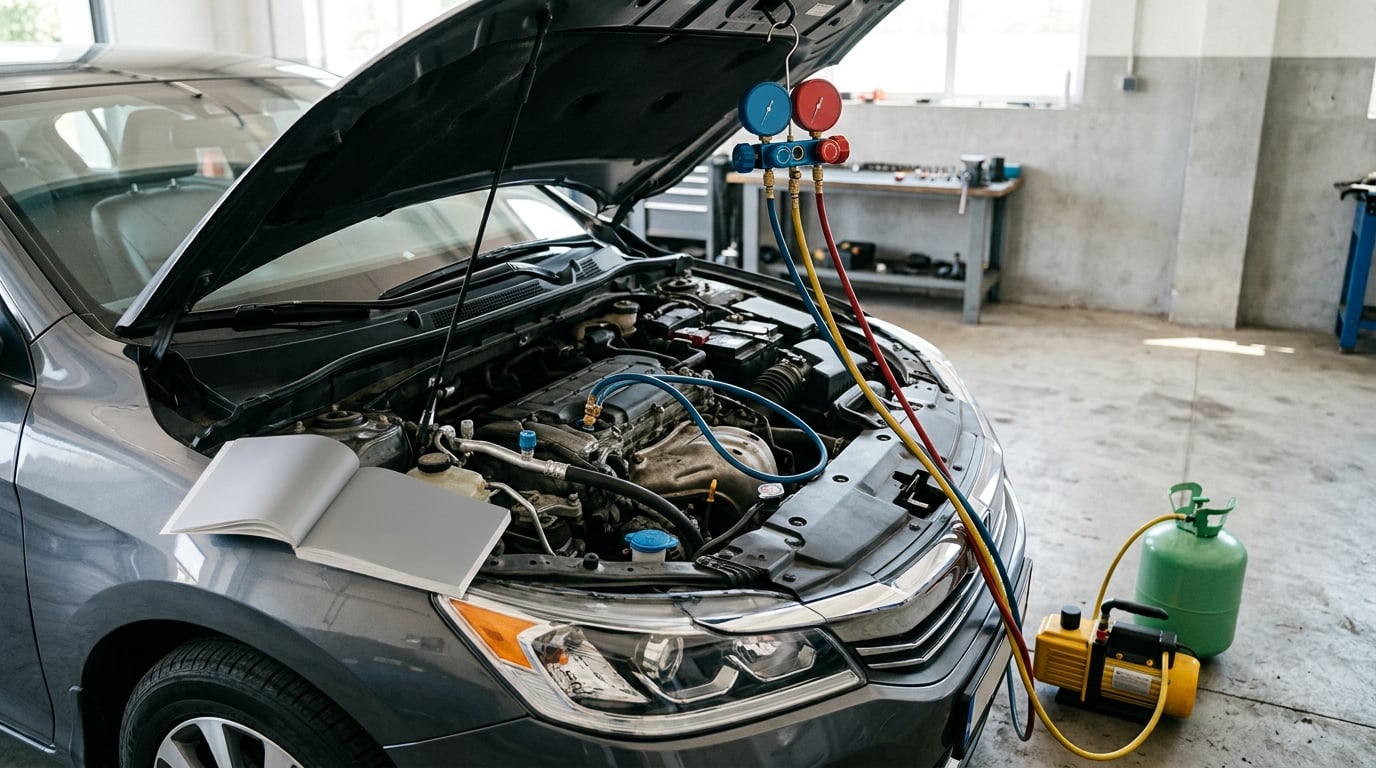
A car AC recharge is three operations, not one: recover the refrigerant that is in the system, pull a vacuum to boil off moisture and air, then add the exact specified charge by weight through the low-pressure service port. Do it in that order and you can do it in a driveway in an afternoon. Do it in any other order and you are pouring money down a leak.
This guide walks through the full car AC recharge step by step, including how to tell whether your system even needs one, which refrigerant your car takes, how long to run the vacuum pump, and how to check your work at the vent. Read the refrigerant section first — it is the one step people skip, and it is the one that can wreck a system in minutes.
Worth knowing before you start: this procedure assumes you already own or can rent a manifold gauge set, a vacuum pump and a recovery machine. If you are holding nothing but a can of spray refrigerant and a hose, skip to the section on when the job belongs in a shop.
Table of Contents
- What You Need
- Car AC Recharge Step by Step: The DIY Procedure
- Common Mistakes
- Adding refrigerant without recovering it first
- Skipping the vacuum
- Charging on the high side
- Using the wrong refrigerant
- Adding stop leak additive
- Ignoring the leak because it is cooling again
- Damaging the service ports
- Reading a normal pressure difference as a fault
- When it is not a refrigerant problem at all
- Frequently Asked Questions
What You Need
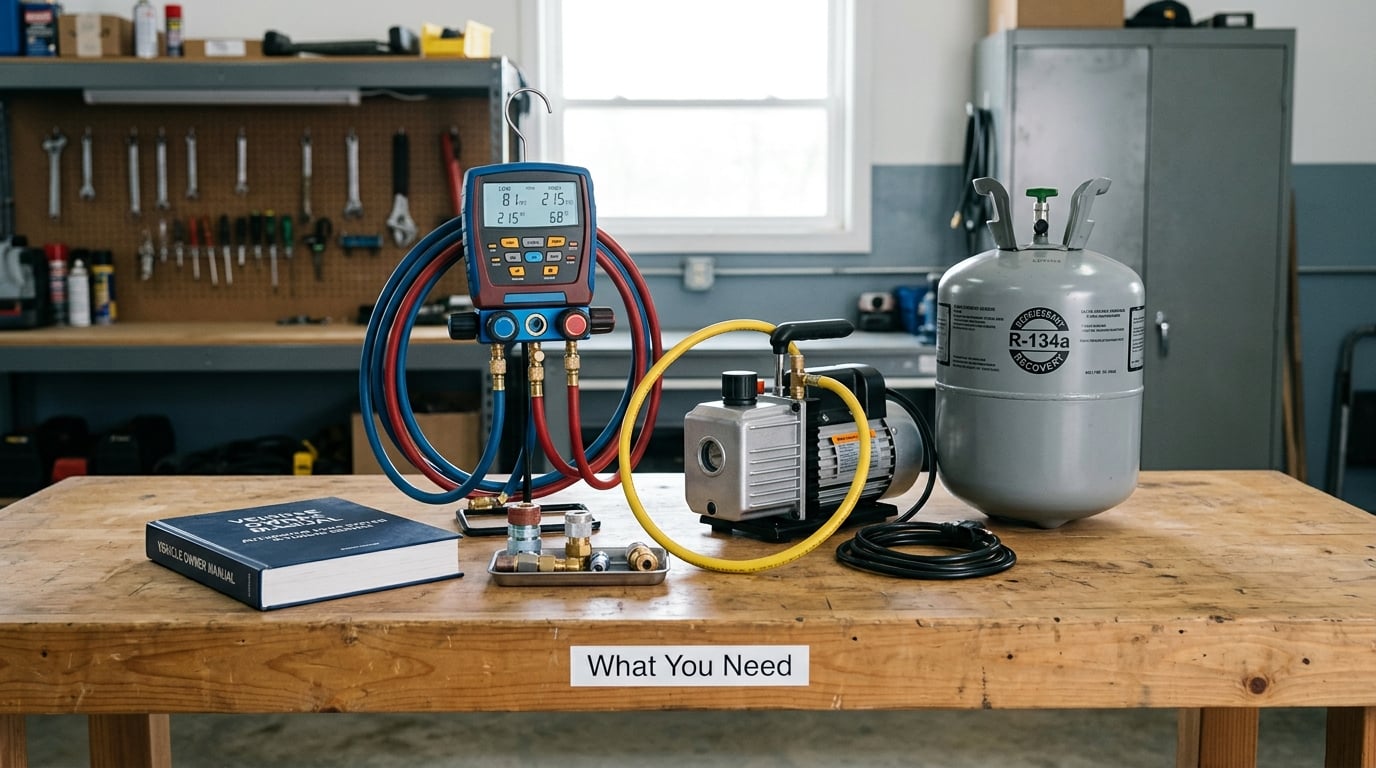
The list is short, and every item on it has one job in the procedure. If you are missing two or three pieces, renting a kit from a parts store for an afternoon costs far less than replacing an expansion valve that a bad charge has gummed up.
Check which refrigerant your car takes before you buy anything
Since roughly 2017, most new cars in the US use R-1234yf. Older cars, and a lot of 2010s models, use R-134a. They look similar, they are not interchangeable, and the two use different service port thread sizes — an R-134a hose will not even screw onto an R-1234yf port.
| What to check | R-134a | R-1234yf |
|---|---|---|
| Common vehicle years | Before about 2017, plus many 2010s models | Most 2017 and newer vehicles |
| Service port thread | 1/4 inch, 20 threads per inch | 5/8 inch, 18 threads per inch |
| Port colour coding | Often blue (low) and red (high), but not reliable | Often black or differently coloured, but not reliable |
| Compressor oil | Polyolester oil, specific viscosity | Polyolester oil, different viscosity and dielectric rating |
| Typical charge amount | As stamped on the label | Usually 20 to 30 percent less mass than R-134a for the same cooling duty |
| If you use the wrong one | Poor cooling, high head pressure, oil breaking down in the wrong compressor | Seals and hose liners are attacked within minutes, which is a far more expensive failure |
Check two places and you will be certain. The door jamb sticker on the driver’s side lists the refrigerant type and the charge amount in ounces. The owner’s manual climate control section repeats it. The refrigerant label under the hood on some cars gives you a third source.
Never guess from the can in your hand. A container of R-1234yf poured into an R-134a system degrades the hoses and seals and can take the whole system out, and a vented system has to be recovered properly or the moisture problem starts again from scratch.
The tools, and what each one does
| Tool | What it does in this procedure |
|---|---|
| Manifold gauge set | Reads low-side and high-side pressure. Without it you are adding refrigerant blind. |
| Vacuum pump | Boils moisture and non-condensable air out of the system before you charge it. |
| Recovery machine | Captures the existing refrigerant instead of venting it to the atmosphere. |
| Service-port adapters | Converts your vehicle’s port to a standard hose fitting. Match the thread to your refrigerant. |
| Digital scale | Measures the exact ounces added. This is how you hit the specified charge. |
| UV dye and a blacklight, or an electronic sniffer | Finds the leak so the recharge lasts. Dye and a torch work on a leak you can see. |
| Safety glasses and nitrile gloves | Liquid refrigerant can frostbite bare skin and can injure your eyes. |
| Thermometer | Reads vent temperature and the return-air temperature so you can measure the split. |
How to find your specified charge weight
The charge weight is printed on the door jamb sticker, usually something like “R-134a 28 oz” or “R-1234yf 21 oz”. The owner’s manual and the under-hood service information label back it up. If your car has none of those, the model-specific service information in a subscription or a dealer parts counter will have it, and a shop can read it off the compressor label.
Charge by weight, always. Not “one can”, not “until it gets cold”. Weighing the refrigerant that went in is the only method that is repeatable, and it is the only way to avoid both undercharge and overcharge.
When the job belongs in a shop
Stop and hand this to a professional if the system has no visible service ports (some models hide them behind the grille or in the engine cover), if the compressor will not engage, if the system is open to atmosphere through a damaged line or a missing condenser, or if the correct refrigerant and charge weight cannot be confirmed for your exact model.
There is also a legal reason. Under Section 609 of the Clean Air Act, a technician servicing a motor vehicle air conditioning system that contains refrigerant must be certified, and deliberate venting of refrigerant is prohibited. In many states, refrigerant for sale requires a certified buyer or a waiver. If your state treats buying refrigerant as a certified-only activity, that decision is straightforward: the shop is the only route, and it is not an unreasonable one.
A shop is also the right call when you have already recharged twice this year and the charge keeps disappearing. That pattern means a leak, and on some cars the leak is inside the evaporator where the only way to fix it is to pull the dash.
Car AC Recharge Step by Step: The DIY Procedure
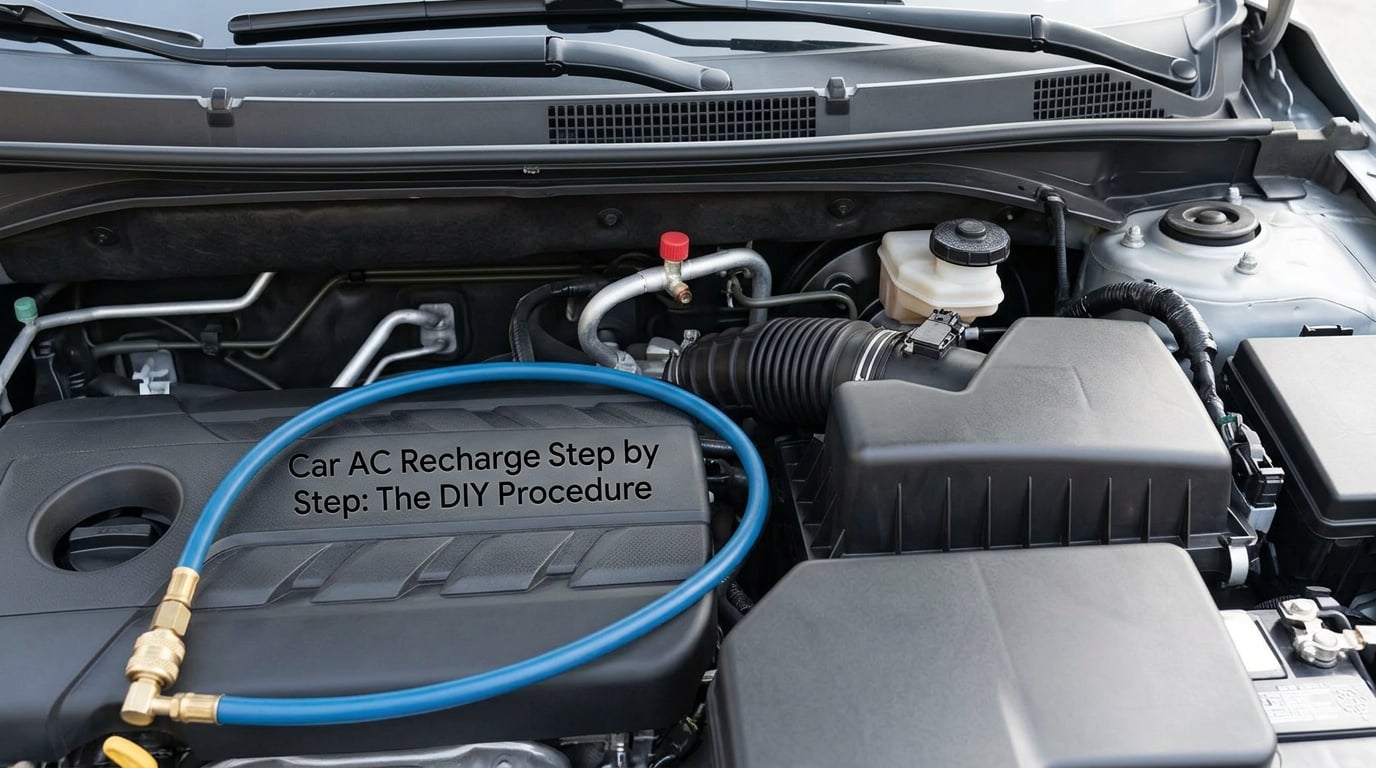
Park on level ground, out of the sun, in the shade if you can. Set the parking brake and let the engine cool. Never open a service port on a hot system — a hot line plus a warm system means any remaining refrigerant will leave fast, and liquid refrigerant touching skin causes frostbite.
How to Do a Car AC Recharge Step by Step
Run through these in order. Each one has a check that tells you it worked, and the check is the point of the step.
- Confirm the system type and charge amount. Read the door jamb sticker and the owner’s manual. Write down the refrigerant type and the ounce weight on a piece of tape on the fender before you connect anything. If you skip this, everything downstream is guesswork.
- Look for the leak before you fill. Inspect the lines, the condenser, the compressor shaft seal area and the fittings for oil residue. Dye the system and run a UV light or an electronic sniffer. A light film of oil where there is no oily fitting is a leak. The most common places are the service port valves and their O-rings, then the compressor shaft seal, then the condenser, then the evaporator.
- Locate both service ports. The low-pressure port is the smaller line, on the suction side feeding the compressor, usually near the compressor on the engine or near the firewall. The high-pressure port is on the discharge line between the compressor and the condenser, thinner metal, hot to the touch. Both are usually under the hood, but on some models the low-side port is in the engine cover or behind the front grille. Look for the fittings with caps on them.
- Recover the existing refrigerant. Connect the recovery machine to both ports, follow its cycle, and follow its instructions to the end. Never vent the old charge to the atmosphere to “make room” — you are removing the oil that the new charge will depend on, and you are adding moisture you will spend an hour pulling back out.
- Test the recovery equipment first. Close both manifold valves and start the recovery machine. Confirm it is pulling into its own cylinder. Skipping this test means you cannot tell a system that is genuinely empty from a machine that is not working.
- Open both valves and pull the vacuum. With both manifold valves open to the pump, run the vacuum pump for 20 to 30 minutes. A longer run on an R-134a system does no harm, but stopping at 20 minutes is generally sufficient to boil off the moisture. The gauge should fall well below zero psi and then stabilize.
- Do the holding test. Close both manifold valves to isolate the vehicle, leaving the pump hose off or valved away. Watch the low-side gauge for 15 to 20 minutes. It should stay at or below the vacuum reading you closed at. If the needle climbs back toward zero, the system is leaking, and now you know it before you have added a single ounce. This is the step that catches what a recharge alone hides.
- Charge through the low side, by weight. Break the vacuum with refrigerant. Open only the low-side manifold valve, run the engine at about 1500 rpm, turn the A/C to maximum cold with the fan on high, and add refrigerant in small amounts while watching the scale. Stop at the specified ounce weight. Never charge into the high side, and never add refrigerant to a system that still holds vacuum without re-evacuating.
- Watch pressure and temperature as it settles. With the system stabilised, note the low-side and high-side readings and compare them to the table below. Then measure the air temperature at the centre vent and at the return-air grille. A healthy system puts out a 15 to 20 degree temperature split between return air and supply air, and vent air in the low 40s Fahrenheit on a warm day. A system that is off by more than a few degrees in either direction is telling you something.
- Close the valves, disconnect, and verify. Close both manifold valves before disconnecting, remove the adapters, and if you disturbed a port, cap the fittings with the port caps you removed earlier. With the compressor cycling, you should hear it engage and disengage roughly every 30 to 90 seconds. If the clutch never drops out, the system is overcharged or the cycling switch is faulty.
There is no single universal pressure target, because the correct pressure depends on ambient temperature, refrigerant type, engine speed and whether the system is running. What you are looking for is a low side that rises with heat load and a high side well above it, with both inside the range below. If your low side is high and your high side is high, you are overcharged or the condenser is not shifting heat. If both are low, you are undercharged or the compressor is not pumping.
| Ambient temperature | Typical low side, R-134a | Typical high side, R-134a |
|---|---|---|
| 70 F | 20 to 30 psi | 90 to 120 psi |
| 80 F | 25 to 35 psi | 110 to 150 psi |
| 90 F | 30 to 40 psi | 140 to 180 psi |
| 100 F | 35 to 45 psi | 160 to 210 psi |
These are the widely published R-134a working ranges for a healthy system at idle with the compressor engaged. R-1234yf runs at similar pressures but the charge is lighter. One owner on the For B Bodies Only! forum logged 48 psi low side and 225 psi high side with 42 to 45 F at the vent, which is a useful real-world reference point for a system in that group rather than a rule to aim at.
What the gauges cannot tell you on their own: whether a mildly high reading is an overcharge or a clogged condenser, and whether a low reading is a leak or a compressor that will not pump. For that you need the temperature split at the vent, and occasionally a compressor clutch voltage check.
Common Mistakes
These are the errors that show up over and over, and several of them are the reason a car comes back to a shop twice in one season.
Adding refrigerant without recovering it first
Pouring in more refrigerant on a system that is already low is the single most common mistake, and the most expensive one. You cannot know the current charge amount, so you cannot know how much room is left. You add until the air gets cold, which routinely overshoots, and an overcharged system pushes head pressure high, stresses the compressor, and in a hot climate can cook the compressor outright. Recover and weigh instead.
Skipping the vacuum
Any moisture left in the system freezes at the expansion valve, blocks the metering device, and corrodes the compressor oil. The symptom is a system that is properly charged on paper and still blows warm. The vacuum step is not optional and it is not a five-minute formality — give it the full 20 to 30 minutes, then hold the vacuum and watch it.
Charging on the high side
High-side charging is a shop technique used to clear a starved evaporator quickly. On a cold system it forces liquid refrigerant into the compressor inlet, and liquid refrigerant is what kills compressors. Charge by weight on the low side with the engine running.
Using the wrong refrigerant
R-1234yf into an R-134a system attacks the seals and the hose liners fast. R-134a into an R-1234yf system fails to cool properly and degrades the compressor oil. The port threads usually stop you; where they do not, the sticker stops you.
Adding stop leak additive
Modern refrigerant and the dye used to find leaks are not sealants. Stop leak products are a different category of additive, and experienced owners on forums like r/AskHouston and Bob Is The Oil Guy consistently advise against putting them in a system. They are not a repair, they settle out of the refrigerant and end up at the expansion valve or orifice tube, and the clog they cause is worse than the small leak you were trying to seal. If you want to find a leak, dye and a UV light find it. That is the whole job.
Ignoring the leak because it is cooling again
Cooling today is not a leak fixed. A system that needs refrigerant twice in one season has a leak, and the third time it happens you are usually looking at an evaporator replacement rather than a recharge.
Damaging the service ports
Service port valves are the softest and most common leak location on the whole car, and a large share of leaks are self-inflicted. Unscrew the port cap slowly, do not overtighten an adapter, and replace the caps when you are done.
Reading a normal pressure difference as a fault
Low side lower than high side is not a diagnosis. Every working system shows that. Judging by the difference alone leads to replacing a perfectly good expansion valve, which is one of the questions that comes up again and again in owner forums and one no shop page in the search results answers properly.
When it is not a refrigerant problem at all
“Cool but not cold” is the most misdiagnosed complaint in this whole area, and a recharge will not fix it. Before buying refrigerant, work through the symptom:
| What the system does | More likely cause |
|---|---|
| Blows cold at highway speed, warm at idle and in traffic | Normal at low airflow, but often a weak compressor clutch or a charge that is low |
| Warm at speed, better at idle | Condenser fan not running, or an overcharged system |
| One vent cold, the other warm | Blend door actuator or a stuck temperature door |
| Compressor never engages | Fuse, relay, pressure switch, low-voltage or a failed clutch |
| Clutch drops out constantly, no cooling either way | Undercharge, or a clogged expansion valve or orifice tube |
| Freezing cold, then warm and cycling | Thermostat or evaporator temperature sensor |
Check that the compressor engages and that both fans run before you conclude the charge is low. Owners measure their own temperature split and argue about it constantly — one on r/AskAMechanic considered a 14 degree split high — but a consistently small split is a compressor or metering problem, and refrigerant is the last thing to look at, not the first.
These are the questions that come up most often around a car AC recharge step by step, answered without the hedging you get from a service page.
Frequently Asked Questions
How much psi should low side car AC be?
A healthy R-134a system typically shows 20 to 30 psi on the low side at 70 F ambient, 25 to 35 psi at 80 F, 30 to 40 psi at 90 F, and 35 to 45 psi at 100 F, with the compressor engaged and the engine idling. There is no single universal number, so compare your reading against ambient temperature rather than against a fixed figure. Also check the split: a healthy system should move 15 to 20 degrees between return air and supply air.
Do you charge R-134a on the high side or the low side?
Charge R-134a, and R-1234yf, into the low side only. The low side is the suction line that feeds the compressor. Add refrigerant with the engine running at roughly 1500 rpm, the A/C set to maximum cold, and the blower on high, and stop at the specified charge weight in ounces. Charging through the high side is a technique shops use to clear a starved evaporator, and on a cold system it pushes liquid refrigerant into the compressor.
How long to pull a vacuum on a R-134a system?
Run the vacuum pump for 20 to 30 minutes with both manifold valves open to the pump. Then close both valves to isolate the vehicle and watch the gauge for 15 to 20 minutes. If the needle climbs back toward zero, the system is leaking and no amount of refrigerant will fix it. R-1234yf systems are more sensitive to moisture, so give those a full 30 minutes and a careful hold.
What happens if I don’t pull a vacuum on my car AC system?
Moisture stays in the system, and moisture turns to ice at the expansion valve or orifice tube. That blockage kills cooling, and the water also breaks down the compressor oil, so the eventual failure is often a compressor rather than a valve. The same applies to leftover non-condensable air, which raises head pressure permanently. A proper vacuum takes half an hour and avoids a repair that costs many times more.
Can I just add refrigerant to my car AC?
Not safely, and not if you want to know what the system actually needs. Adding to a system that is already low means you never know the starting charge, so you will overshoot. Overcharge drives head pressure high, reduces cooling, and stresses the compressor, sometimes enough to kill it in hot weather. Recover the old charge, evacuate, and add the specified weight. Recovering rather than venting also preserves the oil the new charge depends on.
Does refrigerant with stop leak actually work?
No, not in a modern system, and owners on r/AskHouston and Bob Is The Oil Guy warn against it specifically. Modern refrigerant and the dye used to locate leaks are not sealants, so the stop leak in a can has nothing to bond to. What it does do is settle out of the refrigerant and collect at the expansion valve or orifice tube, clogging the metering device and turning a small leak into a failed system. Find the leak with dye and a UV light instead.
If you only remember one thing from this guide, remember the order: recover, vacuum, hold the vacuum to prove the system is sealed, then charge by weight on the low side. Everything else is detail on top of that sequence. If the holding test fails, stop there — a system that will not hold a vacuum is a leak and a shop visit, not a bigger can of refrigerant.