
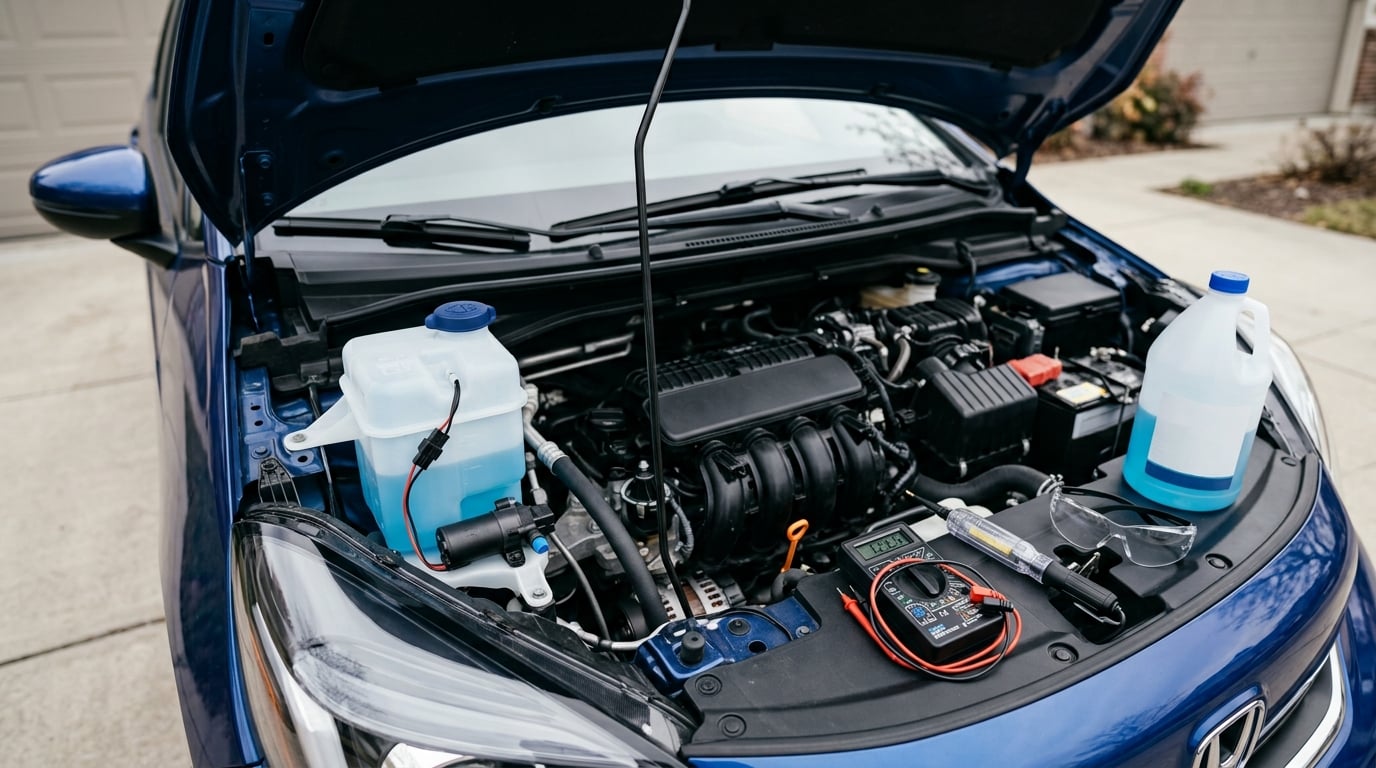
A washer fluid pump usually does not need replacing. If you plan to fix a washer fluid pump yourself, work down a short chain: confirm there is fluid and the nozzles are clear, check the fuse and wiring, then test for 12 volts at the pump connector. If power arrives and the pump still does not hum, the pump is dead and the swap is a 30-minute job on most cars.
I have pulled more of these out of cars than I care to count, and the majority were never a failed motor. A pump hums, fluid reaches the hood, and a blocked nozzle gets blamed for a dead pump. Start at the tank, not at the part store.
Verified for 2026 model-year vehicles and updated as procedures change.
Table of Contents
- What You Need
- Step-by-Step: How to Fix a Washer Fluid Pump
- 1. Confirm the Problem and Check the Washer Fluid Level
- 2. Locate the Washer Fluid Pump and Reservoir
- 3. Check the Fuse and Wiring Harness
- 4. Test the Pump for Power and Ground
- 5. Replace a Failed Washer Fluid Pump
- 6. Refill the Reservoir and Prime the New Pump
- 7. Verify Washer Operation and Check for Leaks
- Common Mistakes
- Frequently Asked Questions
- Conclusion
What You Need
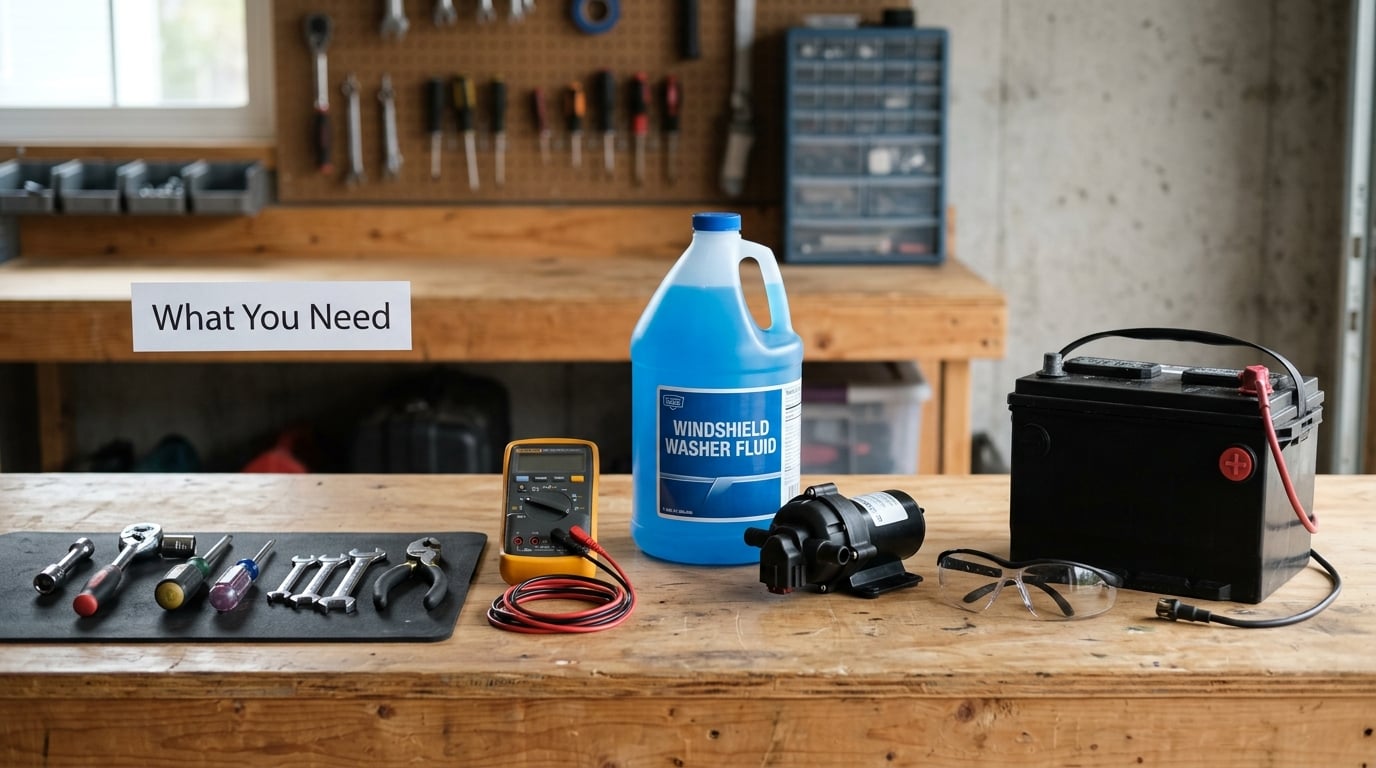
Most of this job needs less than a full socket set. The one tool that decides whether you diagnose or guess is a multimeter or a test light.
- Multimeter or test light — to read 12 volts at the pump connector. A test light is cheaper and fine for a single on/off check.
- Basic hand tools — a 10 mm socket and ratchet, a Phillips and flat blade screwdriver, a plastic trim tool or flat screwdriver for clipping panels without marking them.
- Wire back-probe probe or pin pick — lets you test the connector without piercing the insulation, which is what turns a small job into a wire-harness repair.
- Small drain pan and a bottle of washer fluid — the reservoir holds a surprising amount, and the fluid is mildly sticky and smears on paint.
- Replacement pump in the right connector style — match the two- or three-pin connector, not just the shape of the body. Some are keyed for specific models.
- A rubber grommet or seal if yours came apart — this friction-fit seal is what holds the pump in the tank and is the part most often lost on reassembly.
- Safety glasses and nitrile gloves — the fluid is glycol-based and will not rinse off your hands as quickly as you would like.
Two things to know before you start. Owners on car forums describe the pump as an easy part until the reservoir turns out to be buried behind a headlight, a bumper cover, or a fender well liner, and access is where nearly all the time goes. Plan on 30 to 60 minutes when the tank is under the hood and up to 90 minutes on trucks and SUVs where the reservoir sits behind the front bumper.
Follow your owner’s manual for the reservoir location on your specific model. Wheel arch, trunk-mounted, and under-fender layouts are all common, and generic guides are the single most common source of owner frustration on this job.
Step-by-Step: How to Fix a Washer Fluid Pump
1. Confirm the Problem and Check the Washer Fluid Level
Start by ruling out the two boring causes. Open the hood, look at the reservoir, and confirm there is fluid above the pump inlet. A pump that has run dry is the most common reason one burns out permanently, so a low or empty tank often explains the whole problem.
Next, work out whether the pump is actually spinning. Turn the key on and press the washer stalk for two or three seconds while you listen at the tank. A steady hum means the motor is turning and the fault is upstream or in the fluid path. Silence means the pump is not getting power or the motor is seized.
Then check the other end. Look at the hood nozzles and the windshield for fluid spotting. Fluid on the glass but no visible spray usually means a clogged nozzle or a pinched hose. No fluid anywhere and no hum points at power, ground, or the pump itself.
Match what you notice against the most likely cause, then work the check in order:
- Pump hums, no fluid on the windshield — clogged nozzles, a pinched hose, or a stuck check valve. Check the hose from the pump to the hood first, then run a nozzle flow test.
- Weak, sputtering spray — a partially blocked nozzle or a low tank. Clear the nozzles and top the reservoir up.
- Complete silence, no hum — a blown fuse, a failed switch or module, a corroded connector, or a dead pump. Check the fuse, then read voltage at the connector.
- Fluid pooling under the car — a cracked reservoir, a loose hose, or a failed seal at the pump. Inspect the tank and the pump grommet.
- Works sometimes, quits after a while — wiring chafing that heats up, or a motor winding failing. Follow the harness routing and inspect the connector pins.
2. Locate the Washer Fluid Pump and Reservoir
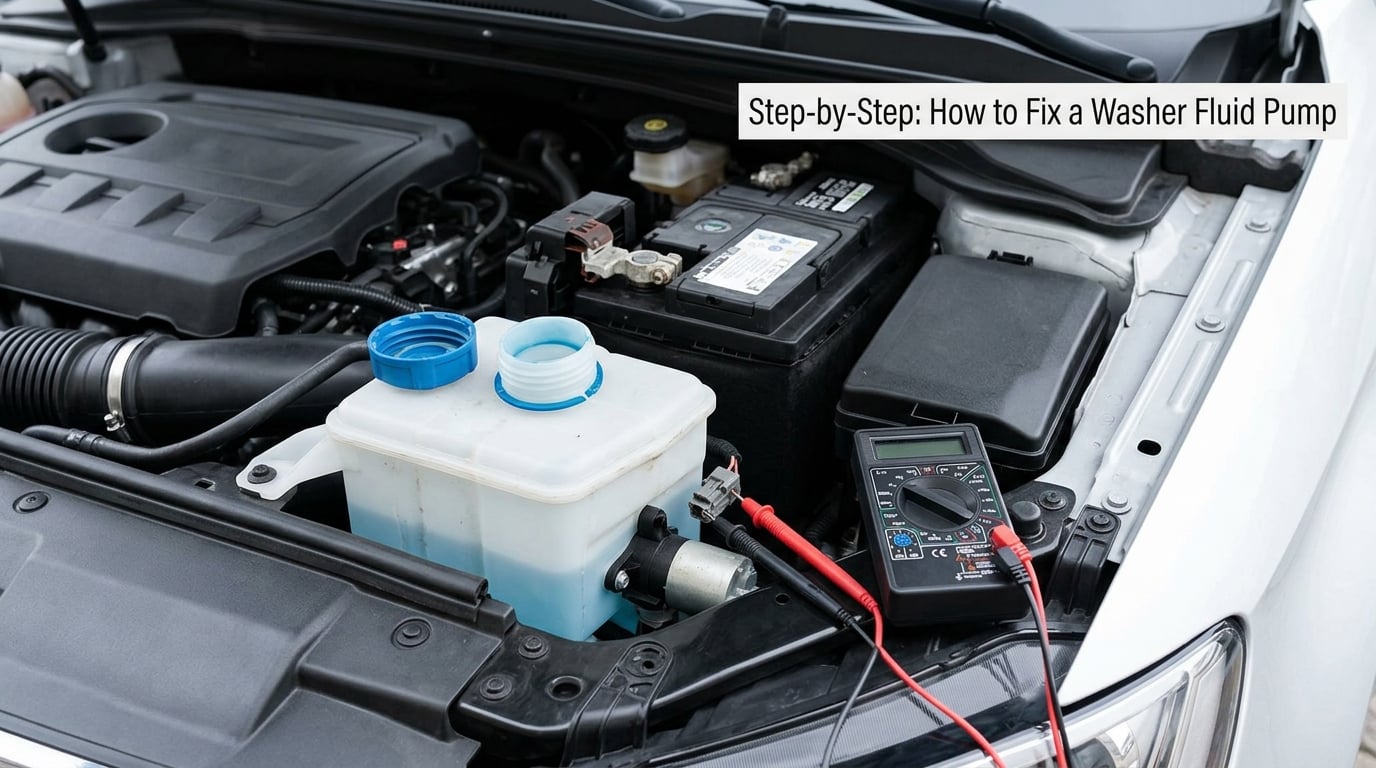
The pump lives in the bottom of the washer fluid reservoir, the plastic tank the filler neck feeds. It is usually a small cylindrical motor with a two-pin connector, pressed into a rubber grommet in the tank floor.
Reservoir locations break down like this. Under the hood, forward of the firewall, is the most common layout on sedans and crossovers. Behind the front bumper or inside the fender well, hidden by a liner, is typical on trucks and larger SUVs. Jeep XJ owners report a tool-free pump swap in the engine bay, while Chevy 200 and Silverado-era owners describe pulling seven lower bumper screws plus two push pins from the back to reach the tank. Some vehicles, including plenty of BMWs, mount the reservoir inside the trunk near the spare tire, which means checking that before you start pulling panels.
Follow the filler neck from the body panel to the tank, or trace the washer hoses forward to the hood nozzles and work backward. If you have to remove a headlight or a liner to reach the pump, mark the fasteners into a magnetic cup before you pull anything. Sorted screws put the reassembly time back in your hands.
3. Check the Fuse and Wiring Harness
Find the washer pump fuse before you take anything apart. It is usually in the under-hood fuse box or the interior fuse panel, and on many vehicles it shares a circuit with other pump motors, so a blown washer fuse can take out a fuel or cooling pump with it.
Pull the fuse with the dedicated fuse puller, not needle-nose pliers, and hold it up to the light. A blown fuse shows a broken or darkened metal strip. Replace it with the same amp rating and never bridge the fuse slot with wire, which converts a short circuit into a wiring harness fire.
With the fuse in, inspect the wiring that runs to the pump. Look for chafing where the harness rubs against a bracket or a body edge, green corrosion on the connector pins, and a connector that no longer latches. Pump connectors fail from moisture more than anything else, and a pump with a loose or half-inserted plug works intermittently at best.
4. Test the Pump for Power and Ground
This is the step that decides how to fix a washer fluid pump, and it costs about two minutes. Disconnect the battery negative terminal, then reconnect it or use a known-good ground so the circuit is live for testing, with the key in the run position. Have someone press the washer button while you probe.
Set your multimeter to DC volts and test between the positive terminal and the ground terminal of the pump connector while the button is held. A reading of 12 volts means power and ground are reaching the pump, so the pump has failed. A reading of 0 volts means the fault is upstream in the fuse, switch, module, or harness, and the pump is not the problem.
BMW owners on owner forums describe a faster version of the same test: pull the pump out of the tank, apply battery leads straight to the pump terminals, and listen. An immediate hum proves the motor is good and sends you back to the wiring. Dead silence on direct power confirms a burned-out motor.
Do not hold a test light to a bare wire with the circuit live for long. Momentary contact is fine, but a short with a battery connected can damage the harness before you notice.
5. Replace a Failed Washer Fluid Pump
Unplug the electrical connector, then pull the pump straight up out of the rubber grommet. It is a friction fit, so it can feel stuck. Work it back and forth gently and twist rather than yank, or you will tear the grommet and end up with a leak in the tank floor.
Take the reservoir out before the tank drains. Siphon the fluid into a bottle with a hose or a turkey baster, or tip the tank into a drain pan with the filler neck open. A few cups is normal; older fluid smells sharp and leaves a film, so wipe the area down afterward.
Inspect the new pump’s impeller before fitting it. Spin the shaft with a finger and check the check valve, the one-way flap that stops fluid draining back to the tank. On many pumps the check valve is a separate piece that pushes into the outlet port, and it can fall out in the parts tray. Install it first so it is not forgotten.
Press the new pump into the grommet with the rubber seal at the correct angle. If your grommet has a beveled or notched edge, the pump seats in only one direction. Reconnect the plug until it clicks, and route the harness in its original path so it cannot touch a hot exhaust part or a moving belt.
If the reservoir is cracked, split, or weeping around the filler neck, replace the tank rather than fighting it. A new tank and a new pump together are usually cheaper in time than two repair attempts.
6. Refill the Reservoir and Prime the New Pump
Install the reservoir, bolt the filler neck to spec, and clip the tank back into its brackets. Pour in the correct washer fluid, staying below the max fill line. Do not use plain water as a permanent fill; most automotive antifreeze and detergents are not safe for the paint, and the coating left by the wrong fluid is hard to fully remove later.
Some pumps self-prime and start pumping air the moment power is applied. Others have a prime port or a filter sock that must be pushed with a finger so fluid reaches the impeller. A pump that runs dry on its first cycles is the number one way to destroy a brand-new part, so connect the battery before you assume it is faulty.
Wipe the filler neck and the top of the tank clean and close the cap. Those two moves stop a mist that settles and dries into a milky film around the base of the windshield.
7. Verify Washer Operation and Check for Leaks
Turn the key on and cycle the washer a few times. The pump should hum for a few seconds, then stop cleanly when you release the button. If it keeps running without stopping, the switch or a module-controlled pump needs a look.
Confirm fluid reaches the windshield. A small paper towel held at each nozzle is the simplest way to check, and it will also show you which nozzles are weak or blocked. If one nozzle misses while the others spray, the problem is the nozzle, not the pump.
With the engine running and the washers cycling, look under the front of the car and at the tank floor for dripping. Check again about 20 minutes later, since a grommet seated at an angle can seep slowly enough that you miss it the first time.
Finally, feel the connector and the pump body after a few cycles. A connector that is hot to the touch or smells burnt means a poor connection is still in the circuit. Stop cycling the system and correct the connection rather than running a second pump into the same fault.
Common Mistakes
Most washers that come back after a “failed pump replacement” were never a pump failure. If a replacement did not fix it, work back through these.
Testing an empty tank. A hum from a dry pump proves nothing, and it can ruin the replacement in seconds. Always confirm fluid covers the pump inlet before pressing the button.
Bypassing or upsizing the fuse. If a replacement fuse blows again, the circuit has a short. Bridging the slot hides the short and can damage the harness or start a fire under the hood.
Ignoring clogged nozzles. A pump that hums perfectly while the fluid never reaches the glass gets replaced for nothing. Clear the nozzles or run the hose backwards with a garden hose before buying a pump.
Using the wrong fluid. Household detergents, dish soap, and some antifreeze mixes will eat seals, gum up the impeller, and strip the coating off the paint in a haze.
Seating the grommet backwards. A grommet with a bevel installs in one direction. Forced in the wrong way, it leaks slowly at the tank floor and the washer fails again within days.
Leaving the connector unlatched. A pump that is half-connected works when the harness is moved and stops when it is not. That gets misread as an intermittent motor every time.
Forgetting the check valve. If the small one-way valve is left out of the outlet port, the pump will still hum and still fail to prime, because the fluid drains straight back to the tank.
Running the new pump dry on the first cycle. Many replacement pumps need fluid in the reservoir before first power-on. Read the instructions that came with the part and fill first.
Frequently Asked Questions
How do I tell if my washer fluid pump is bad?
Put your hand on the reservoir with the key on and the washer button held. A hum with no fluid on the windshield means the motor is turning, so the fault is a clogged nozzle, a pinched hose, or a stuck check valve. Silence with no hum means no power. Test between the two pump terminals while the button is pressed: 12 volts means the wiring is fine and the pump has failed, and 0 volts means the fuse, switch, or harness is at fault.
Can you fix a washer fluid pump or do you have to replace it?
Try the repairs first. Clear the spray nozzles with warm water and a soft pick, run the hood hose backwards to flush the line, flush the tank, and pull the pump to free or clean the filter mesh and check the one-way valve. A pump that hums but sprays nothing is very often a fluid-path problem. Replace it only once you have confirmed 12 volts at the connector and still get no hum.
Why does my windshield washer pump hum but not spray?
A hum means the motor spins, so the problem is between the impeller and the windshield. The usual culprits are a clogged filter mesh inside the tank, a disconnected or pinched hose, or a check valve that has stuck shut. Flushing the tank and blowing through the hose resolves most of them, and it costs less than the part.
Where is the washer fluid pump located?
The pump is bolted into the bottom of the washer fluid reservoir, the plastic tank you fill through the hood. The reservoir is usually under the hood near the firewall, but trucks and SUVs often hide it behind the front bumper cover or inside the fender well behind a liner. A few vehicles, including some BMWs, mount the tank in the trunk. Follow the filler neck or trace the washer hoses forward from the hood to find yours, and confirm the location in the owner manual.
How hard is it to replace a washer pump, and how long does it take?
The pump itself is a beginner job: unplug it, pull it out of the rubber grommet, press the new one in, and reconnect. Thirty minutes covers most cars. Access is the variable, and on a truck with a bumper-mounted reservoir it can stretch past 90 minutes once you count the liner, the splash guard, and the push pins. If the reservoir is buried, the disassembly is the work, not the pump.
How long do washer pumps last?
There is no fixed lifespan because usage varies far more than part quality. Pumps tend to fail when they have run dry, and running dry is common on vehicles people forget to refill or where the reservoir evaporates over a long hot parking spot. Expect a failure somewhere around six to ten years on a typical daily driver, with much shorter life on a work truck or a vehicle that sits in the sun.
Conclusion
Start at the tank, not the parts counter. Top up the fluid and clear the nozzles, check the fuse, and test for 12 volts at the pump connector with the washer button held. A hum with no spray is a fluid-path problem you can often fix with a flush. Twelve volts with no hum is a dead pump, and the swap is straightforward once you have reached the reservoir. Work down that list in order and you will usually fix a washer fluid pump in under an hour.