
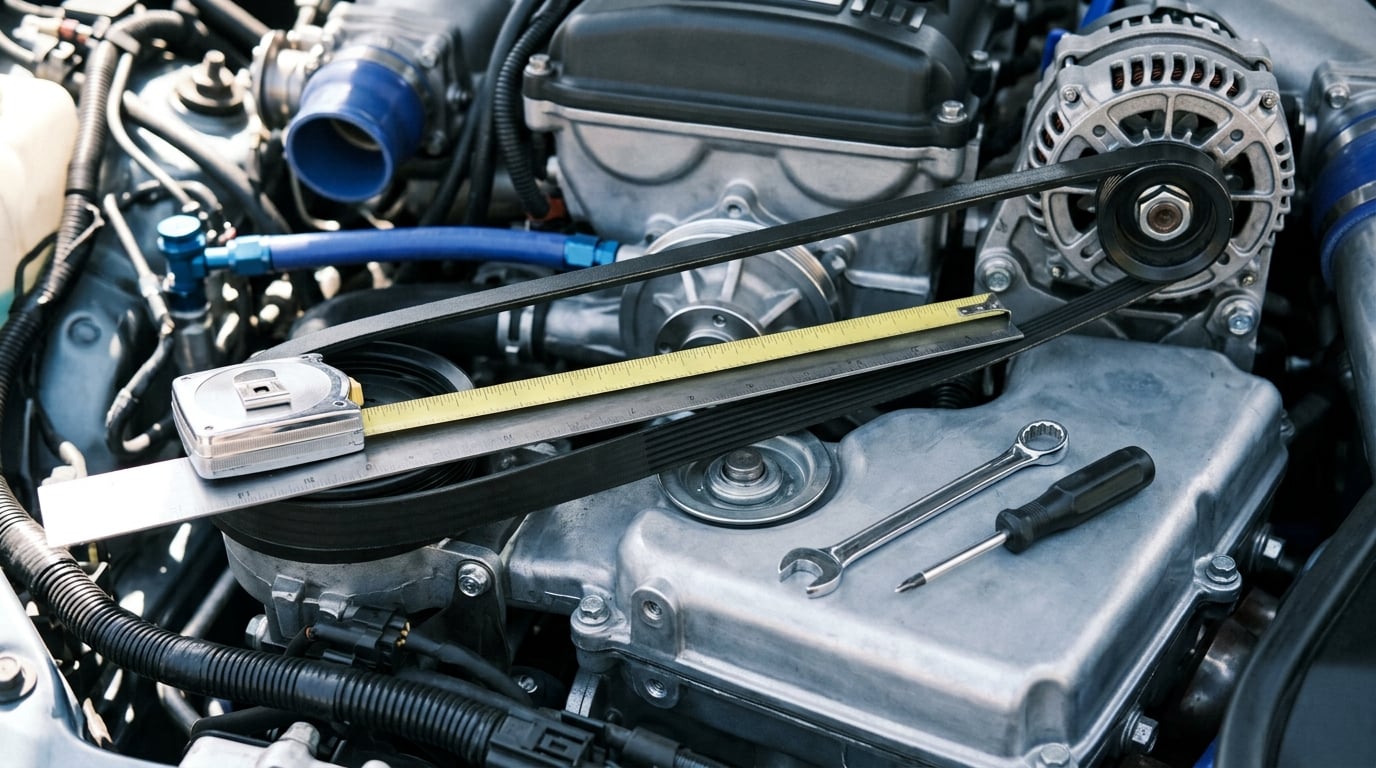
To check belt tension on a BMW, you press the belt at the middle of its longest run with a fixed thumb pressure and measure how far it deflects, then compare that reading with the figure in your model’s service information. On most modern BMWs a spring-loaded tensioner or tension arm sets the tension for you, so the check is really a check of whether that mechanism is still doing its job.
The whole job takes about ten minutes with a tape measure and a straightedge, and almost nobody gets a clean reading on the first attempt because they use a number from a different engine. If you have been searching for how to check belt tension on a BMW, this is the sequence I use, and where owners most often go wrong.
Table of Contents
- What You Need
- Step-by-Step: How to Check Belt Tension
- Common Mistakes
- Frequently Asked Questions
- What is the correct belt tension for a BMW?
- How do I check belt tension on an automatic-tensioner BMW engine?
- Should I use a belt tension gauge or a deflection chart?
- Why is my BMW belt squealing if it is not visibly loose?
- Can I adjust an automatic belt tensioner myself?
- How do I know whether the belt or tensioner needs replacement?
- What to Do First
What You Need
Start with the service information for your exact model, year and engine. BMW publishes several belt checks depending on the drivetrain, and a figure lifted from a different engine is worse than no figure at all.
- Service information or the owner’s manual — for the deflection figure and the tensioner check procedure
- A tape measure or steel rule — for the span between the two pulleys the belt crosses
- A straightedge, flat bar or taut string — to measure the deflection cleanly at mid-span
- A small hand mirror and a flashlight — for idler pulleys and tensioner pointers tucked behind the engine
- Basic hand tools — only for the tensioner or guard removal your model requires
- Patience and a cold engine — the belt must be cool to the touch before you press it
A belt tension gauge of the spring-loaded, dual O-ring type is the right instrument for a workshop machine, but on a car you rarely need one. BMW’s own check is a deflection measurement made by hand, which is why the manual wins over any generic belt specification you find online.
Step-by-Step: How to Check Belt Tension
1. Identify the belt and check the engine
First work out which belt you are actually being asked about. Many BMWs carry more than one: a plastic ribbed serpentine belt on the front of the engine, an E-belt on older six-cylinder engines, a separate vacuum pump or steering belt, and on some models a second belt driving an auxiliary pump.
Look at the belt before you touch it. Run your fingers along the ribbed face and the edges looking for cracking, fraying, glazing, contamination from coolant or oil, missing or deformed ribs, and any cord material standing proud of the surface. A belt that is cracked across the width or missing a rib is finished regardless of how tight it sits.
Then make sure the engine is cold and switched off. Support the vehicle properly, set the parking brake, and if you need to reach the tensioner behind the engine, do it on stands with the wheel off the ground. Never take this measurement with the engine running.
2. Measure tension with the correct method
There are three legitimate ways to do this, and which one applies depends on how your engine tensions the belt. Start by asking the service information which one it specifies for your model, because the number attached to the method matters as much as the number itself.
| Method | What you do | What you get |
|---|---|---|
| Manual-specified deflection | Press the belt at the midpoint of the span with your thumb and measure the movement against a straightedge | A millimetre or inch figure you compare directly with the manual |
| Crank-pulley rotation | With the engine off, rotate the crank pulley by hand through two full turns and watch the tensioner pointer and the belt seating | A pass or fail on tensioner operation, not a number |
| Tension gauge | Set the O-rings to the measured span, seat the gauge at mid-span and press until the reference planes line up | A force reading in pounds or newtons to check against a chart |
Whichever one your service information calls for, this is how to check belt tension without borrowing somebody else’s number. There is no universal correct deflection figure for a BMW. The model, the engine, the belt itself and the tensioning system all set the number, which is why a third of an inch quoted for one car tells you nothing about yours.
3. Judge the reading and check the tensioner
Compare what you measured with the specification for your engine, and then look at the belt while you are there. A loose belt shows an obvious droop in the free span, a slack tight side, visible slack at the tensioner pulley, squealing that rises with engine speed, chirping for the first second or two after start-up, and tracking that wanders across the pulley faces.
An over-tight belt tells a different story. You get a low hum that follows engine speed, heat at the idler or tensioner bearing, flat spots, glazing on the tight span, cracks running across the belt, and a general sense that the whole front of the engine feels strained rather than relaxed.
Then check the tensioning mechanism itself. On an automatic tensioner, rotate the crank by hand and confirm the arm swings smoothly through its travel and the pointer stays inside the range marked on the housing. Look for a belt that wanders to a back-side idler, pulley wobble, rust dust inside the groove, and shiny or grooved pulley faces.
Do not lever or pry on a tensioner arm to make the belt feel tighter, and do not try to hold the arm back with a wrench while you work. The arm is a hardened steel lever; a bent arm or a cracked housing means the tensioner is finished.
4. Retest after adjustment or replacement
Work in a fixed order, because each step explains the next. Inspect the belt, confirm the tensioner moves freely, check that the pulleys are clean and aligned and that the belt was routed exactly as it came off, then take your reading again. If the reading still is not right, the cause is mechanical rather than a setting you missed.
A replacement belt goes on using the vehicle’s own procedure. Release the tension first, route the belt without forcing it over a pulley lip, and let the tensioner take up the slack. Then re-measure and confirm the result is inside the specification before you start the engine.
Re-check once more after the engine has run for a while. A tensioner holding a steady reading is the sign you wanted; one that drifts as things warm up is telling you something.
Common Mistakes
Using a generic deflection value. The one-third of an inch, three-sixteenths, and one sixty-fourth of an inch per inch of span rules of thumb each come from a different belt system. Fix: read the figure in your service information, and treat every other number as somebody else’s car.
Measuring the wrong span. Check between two pulleys that are close together and almost any belt will look loose. Fix: measure the longest straight run of the belt, between the centres of the two pulleys it crosses, and read deflection at the midpoint of that run.
Measuring the slack side. Deflection on the return run is meaningless because the belt is not under drive tension there. Fix: press on the run the belt is pulling through — the alternator side on most BMWs.
Checking a hot engine. Warm rubber reads stiff and will convince you the belt is fine when it is stretched. Fix: check cold, then check again after a run.
Forcing a seized tensioner. If the arm will not move by hand, no belt will fix it. Fix: leave it and replace the tensioner, then verify pulley alignment before fitting a new one.
Overtightening to stop a squeal. A squeal from a glazed or slipping belt gets louder, not better, when you add tension. Fix: confirm the reading first, and change the belt if the tension is already correct.
Replacing the tensioner before looking at the pulleys. A worn or contaminated groove throws a new belt just as fast as an old one. Fix: inspect the groove surfaces and the idlers before any new part goes on.
Frequently Asked Questions
What is the correct belt tension for a BMW?
It depends on your model, engine and belt system, which is why there is no single figure. BMW normally specifies tension as a deflection value at the midpoint of the longest belt run rather than as a force. Use the value in your service information, and if a belt is held by an automatic tensioner, the tensioner operation is the real measurement to confirm.
How do I check belt tension on an automatic-tensioner BMW engine?
Turn the engine over by hand through two full turns and watch the tensioner arm and its pointer. The arm should move smoothly through its travel and the pointer should stay inside the marked range. Also confirm the belt stays seated on every groove of a multi-rib crank pulley. If the pointer sits outside the range, the tensioner is the problem, not the belt.
Should I use a belt tension gauge or a deflection chart?
On a car, use the deflection check from your service information and measure it with a straightedge and a rule. A tension gauge with dual O-rings is worth having when you own industrial V-belts, a mower, a compressor or a motorcycle, because it gives a force in pounds or newtons you can compare against a manufacturer chart. Neither method is wrong; mixing them is.
Why is my BMW belt squealing if it is not visibly loose?
Squeal is a slip noise, not a reading. A belt that is correctly tensioned can still squeal if the groove faces are glazed, if oil or coolant has contaminated the belt, if a bearing in the driven unit is dragging, or if the tensioner is not reaching full travel when cold. Check tension first, then look at the belt surface and the pulley grooves before condemning anything.
Can I adjust an automatic belt tensioner myself?
You can check one, and on many models you can replace one, but you do not adjust them. The spring and internal ratchet do the setting, and the pointer on the housing shows the operating range. Never pry the arm, clamp it, or hold it back with a wrench to set tension by feel. If the arm moves smoothly and the pointer sits in range, the tensioner is doing its job.
How do I know whether the belt or tensioner needs replacement?
Replace the belt if it is cracked across the width, frayed, missing ribs, glazed shiny, contaminated, or has a stretched section that will not hold tension. Replace the tensioner if the arm is stiff, rusted, cracked, will not move, or if the pointer sits outside its marked range while the belt is new and in good condition. Doing both at once is common and saves a second teardown.
What to Do First
Work out which belt system the squeal or wear is coming from, then look at the belt and the tensioner before touching anything. A cracked, glazed or frayed belt is finished, and a tensioner that will not move smoothly will not be saved by a new belt.
Next, take the measurement the way your service information describes it — a cold deflection check at the midpoint of the longest run for a car with an automatic tensioner, or a gauge reading against a chart on a machine with manual tensioning. Re-check after the engine or motor has run, because that is where drift shows up.
If the specification is not in your manual, the machine has no nameplate, or the tensioner behaves in a way you cannot explain, hand the job to a qualified technician. Guessing at a number on a belt system you cannot measure properly is how people end up back in the same driveway a week later.