
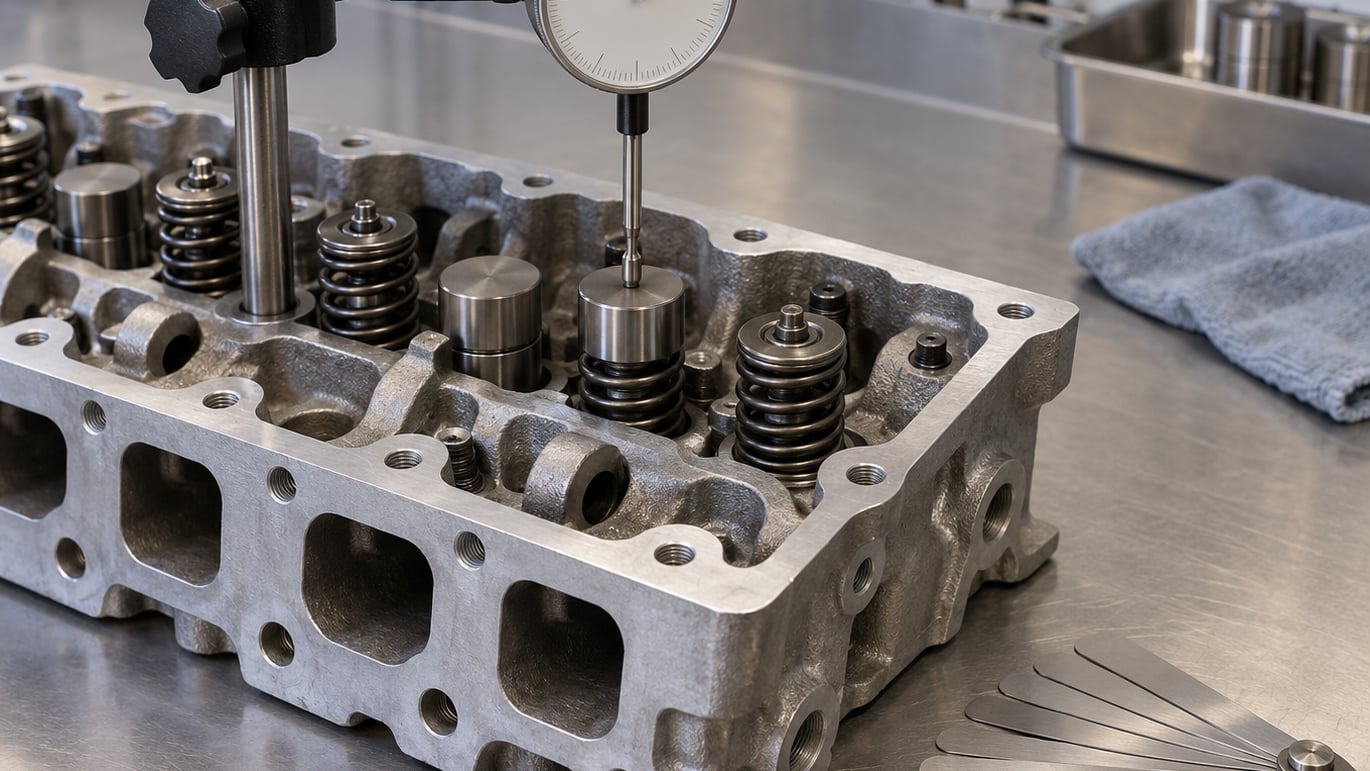
Valve lash is the gap between the rocker arm or cam lobe and the top of the valve when the lifter is resting on the camshaft’s base circle. To adjust valve lash on a BMW you remove the valve cover, set each cylinder at top dead center on the compression stroke, slide a feeler gauge between the rocker and the valve tip, then move the adjusting fastener until the gauge drags lightly. Budget a few hours the first time, and the whole job fits in a weekend.
The awkward part is not the measuring. It is that BMW has used three different valvetrain layouts over the decades, and each one is adjusted in a different place. Older M12 and M20 engines use shims under a bucket tappet. Later M52, M54 and M60 engines added a bucket taker screw or a screw-in lash adjuster. Get the engine code first, because the clearance value, the measurement point and the tool you need all follow from it.
BMW has changed the procedure enough over the years that a guide written for one era will mislead you in another, so this one is written to be checked against your manual in 2026 rather than trusted on its own.
Table of Contents
- What You Need to Adjust Valve Lash on a BMW
- How to Adjust Valve Lash Step by Step
- Common Mistakes
- Frequently Asked Questions
- Is valve lash the same as valve clearance?
- Should I adjust BMW valve lash with the engine cold or hot?
- How often do BMW valves need a lash adjustment?
- Can I use feeler gauges to measure BMW valve lash?
- What happens if valve lash is set too tight or too loose?
- Why do I need a replacement shim when adjusting valve lash?
- Conclusion
What You Need to Adjust Valve Lash on a BMW
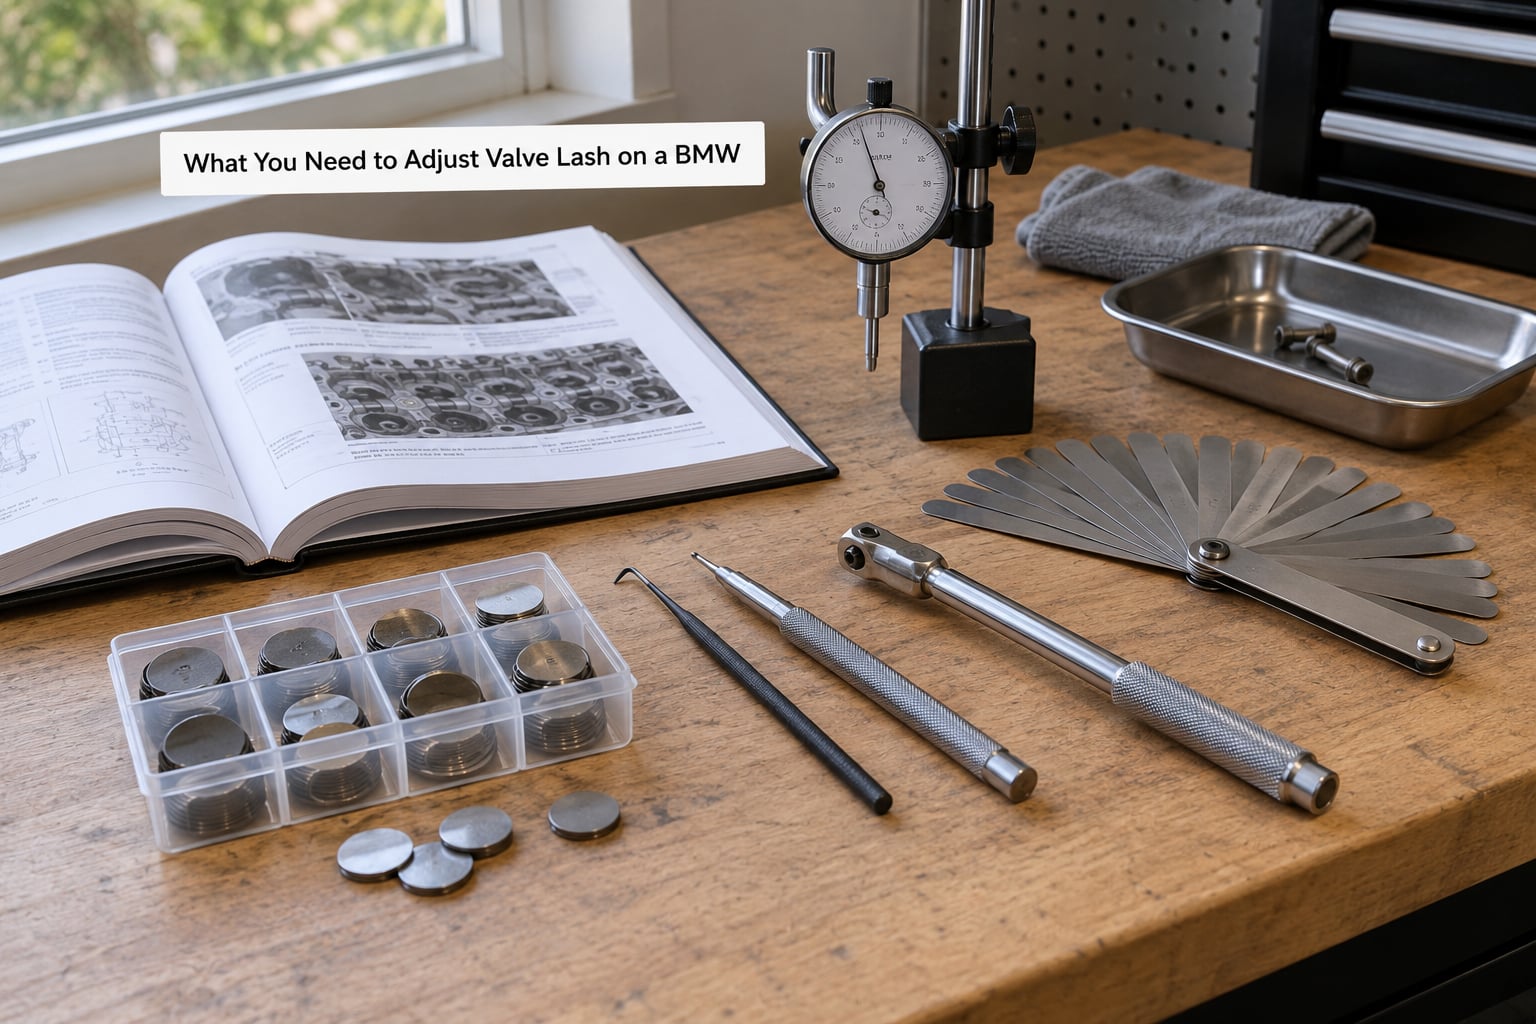
Before you touch a fastener, confirm three things: the engine code, the factory clearance specification, and which valvetrain design sits under the cover. Everything else on this list is ordinary garage kit.
Documents and specifications
The BMW service manual for your model, or a factory workshop manual (ETKA / ETK in BMW’s own numbering) for your engine code. The manual gives intake and exhaust clearance separately, in millimetres, and states whether the value is a cold or hot number. If the engine has been modified with an aftermarket cam, ignore the factory table and use the cam card supplied by the cam manufacturer, or ask the cam grinder directly.
If the manual is gone, the intake manifold runners and the emissions data plate usually identify the engine. A BMW parts diagram or a paid subscription to a BMW parts site will confirm it from the number on the plate.
Measuring tools
- A feeler gauge set in millimetres. BMW shim-based engines are metric, so a metric blade set is the right one. A blade from .001 inch increments is a fallback only if you convert carefully.
- A dial indicator with a clamp or magnetic base. Optional for the whole job, but the only realistic way to catch a valve that will not hold its reading. More on that later.
- A small 90-degree angle square or a straightedge. Useful for confirming the dial indicator tip is sitting square on the valve tip.
- A crankshaft turning tool. A ratchet with a socket that fits the crank bolt, or the factory crank pulley holding tool. Never back the car up in gear.
- A socket set with extensions that let you reach the valve cover bolts. On many M52 and M54 heads the cover bolts sit deep in a plastic carrier and a plain 10 mm will not clear the fuel rail area.
- The correct adjustment tool for your valvetrain. A 10 mm open-end wrench or a 24 mm and 22 mm wrench pair for rocker arm nuts, a feeler-gauge-friendly bucket spanner for tappet screws, or a 27 mm / 30 mm crowfoot-style socket for screw-in lash adjusters.
Replacement parts and consumables
Shims in the size you need. Shim-under-bucket designs change clearance by swapping the shim, not by turning anything, so buy a range in the step size the manufacturer uses. Lash adjusters get swapped too, and they come in increment sizes from the maker. On rocker-arm engines you may need new rocker arm adjuster nuts, and a torque wrench for the cover bolts.
Have a clean lint-free rag, a magnetic tray for the bolts, and a little assembly lubricant for the lifter crowns.
Before you start: let the engine cool completely. A hot head warps when you torque a cover onto it, and a hot block is far harder to handle than a cold one. If the engine runs hydraulic lashers, raise the revs to 2500 rpm for a minute with the oil hot, then shut it off and give it fifteen minutes. That bleeds the lifters down so they measure correctly.
How to Adjust Valve Lash Step by Step
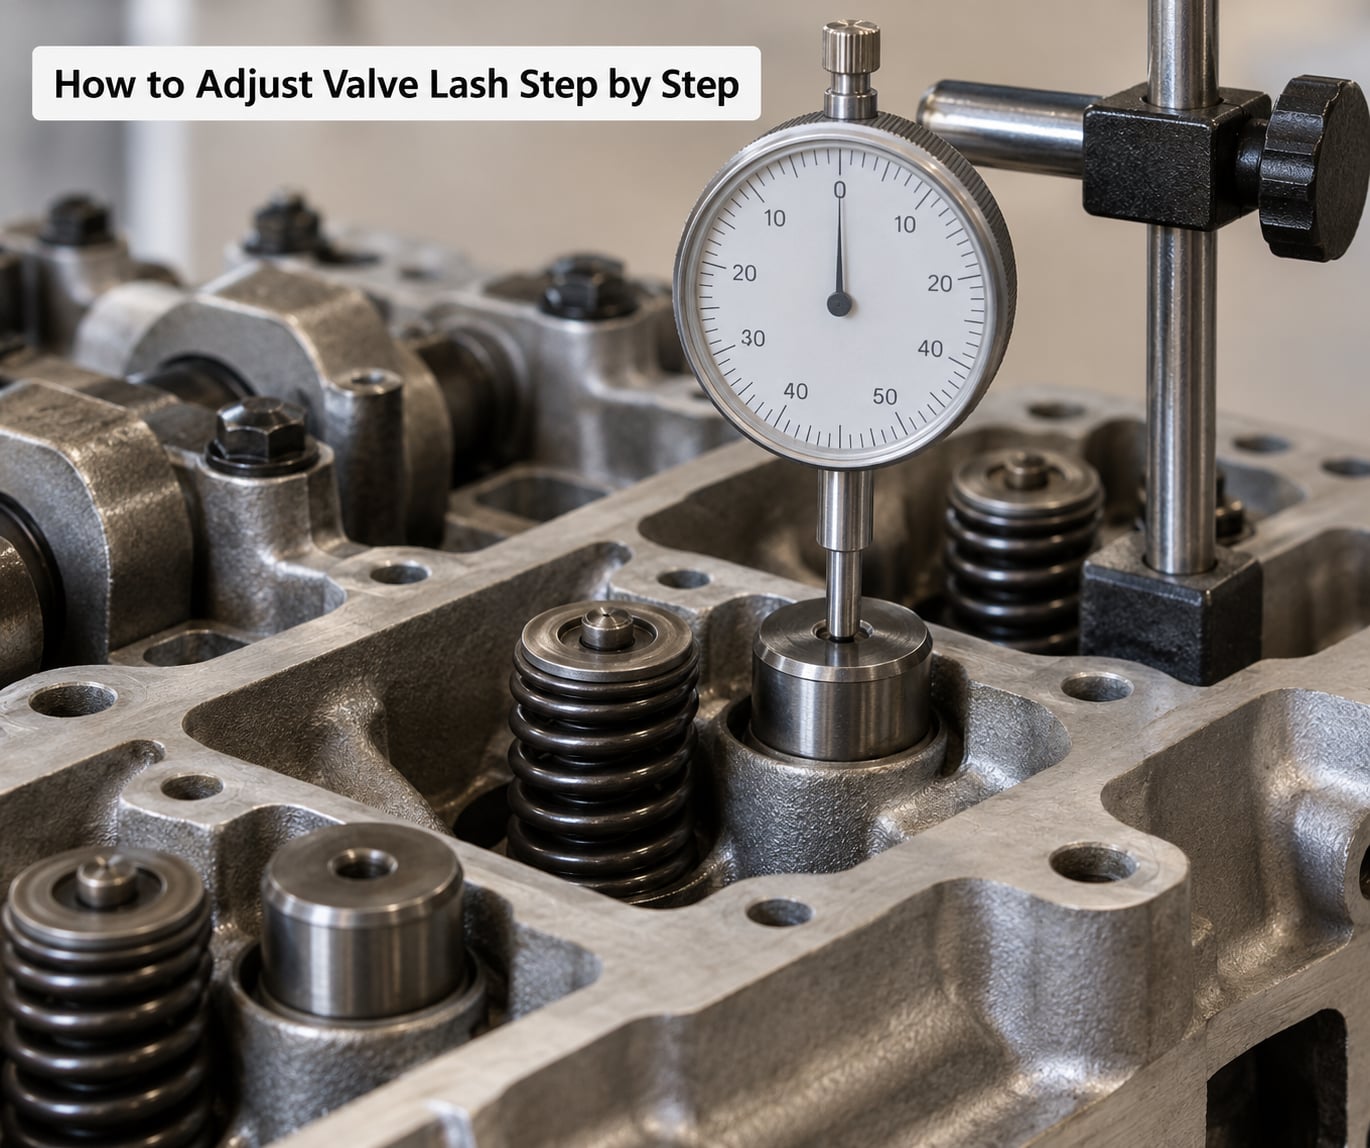
Here is the whole process in the order that works. Do not skip the verification pass at the end; it is the step that separates an adjustment that holds from one that drifts within a hundred miles.
1. Identify the engine and pull the clearance spec. Read the engine number off the block and match it to a BMW service manual. Write down intake and exhaust clearance, plus whether the manual wants the engine cold or at operating temperature. Put the numbers on paper you will keep next to the engine.
2. Confirm the valvetrain design. Look at the valve cover. A spring-and-shim stack under a metal bucket means a shim swap. A screw poking up through the centre of the bucket means a bucket tappet adjuster screw. A cylindrical screw-in body with a hex in the top means a lash adjuster. On rocker-arm engines you will see rocker arms and lock nuts directly under the cover.
3. Prepare the engine. Cold engine, clean work area. Disconnect the battery negative lead if your work is near the fuel rail or intake. Take the ignition coils or spark plug leads off if you need to reach them. Take photos before anything comes apart; you will thank yourself later.
4. Remove the valve cover. Loosen the cover bolts in a criss-cross pattern so the gasket does not stretch. On BMW engines the cover seal is a single piece of moulded rubber that follows the coil and plug wells, so pull it straight up slowly rather than peeling it off one corner. Set the cover aside and keep the original seal in one piece if you intend to reuse it.
5. Rotate the engine to the first cylinder at TDC compression. Remove the spark plug from cylinder one, or all of them if you prefer the certainty. Put your finger or a rag over the plug hole and turn the crank clockwise by hand. When the compression pushes back against your finger, the piston is rising. Keep turning to the top, then back off slightly until both valves on that cylinder are fully closed and the timing mark lines up. Check the mark — it is cheaper than counting valves and finding the overlap event by accident.
6. Measure both valves on that cylinder. Set the rocker or lifter so the valve is at its highest point and the lifter is fully on the base circle of the cam lobe. Place the feeler gauge between the rocker pad and the valve tip, or between the bucket and the shim head depending on your design. Gently rock the engine a few degrees back and forth until you get the maximum drag reading, then note it down.
7. Adjust to spec. Make the change, then lock the fastener and re-measure. Do not trust the gauge again until you have locked it and gone back to it a second time.
8. Rotate the crankshaft 90 degrees and repeat. Work through the firing order one cylinder at a time until every cylinder has been set. The sequence matters more than you might expect, because a 4-cylinder fires 1-3-4-2 and an inline six fires 1-5-3-6-2-4, and following the wrong order sends you back past top dead centre more than once.
9. Re-measure every valve from scratch. Go back around the engine a second time and record all eight or sixteen clearances again. Any valve that has drifted needs another correction.
10. Reassemble and verify. New cover seal if the old one looks stretched or hardened. Torque the cover bolts to specification in the correct sequence with the engine cold. Start it, listen for the change, then re-check the lash at operating temperature if your manual calls for a hot setting.
How to Measure Valve Lash Correctly
Measurement is where most BMW lash jobs go wrong, because the gauge has to go in the right place on the right side of the event. There are four common arrangements and BMW has used all of them.
Rocker arm with an adjuster nut. The gauge goes between the underside of the rocker pad and the top of the valve stem. The engine must be cold and the lifter is a solid type, because there is no preload built in. Measure at top dead center with the valve fully closed, never on the closing ramp.
Bucket tappet with an adjuster screw. The gauge goes between the bucket and the top of the valve stem. The bucket taker screw sits through the centre of the bucket, so the reading is the clearance the bucket has left when the screw is backed off to zero. Loosen the screw until it just stops threading, then back it out the specified amount plus the clearance value, and tighten it to lock the bucket in position.
Shim under a bucket. There is nothing to turn. The gauge goes between the underside of the shim head and the valve tip, with the lifter on the cam base circle. The measured value tells you which shim thickness you need: a smaller shim means more clearance, a larger shim means less. Work out the difference, subtract it from the current shim thickness, and order that size.
Screw-in lash adjuster. The gauge goes between the plunger face and the bucket, with the plunger fully collapsed under spring pressure. Some designs use the adjuster itself as a crush-height gauge: tighten the adjuster to measure crush height, back it off the lash value, then lock it. Either way, the reading you want is zero lash plus the specified clearance, and the adjuster must be collapsed, not extended.
Lifters stay in the retainer. Never loosen the retainer far enough to drop a lifter. A solid lifter or a dropped valve falling into a cylinder turns a weekend job into a head replacement. Turn the engine so the lifters face the low side of the engine when you work on them.
Two habits make readings repeatable. First, rock the engine back and forth about fifteen degrees each way through the reading, and take the point of maximum drag — that point is the true top of the lobe. Second, write every reading down as you go, with the cylinder number and whether it was intake or exhaust. Sixteen unrecorded numbers is the same as no numbers at all.
If you are using a dial indicator, clamp it to the head or the intake side, set the tip square on the valve tip with preload, then rotate the engine slowly by hand and watch the needle. That method removes the guesswork about gauge drag and is the only realistic way to spot a collapsed lifter or a bent pushrod, because a healthy valve gives one clean peak and a damaged one does not.
How to Set the Correct Clearance
Once you know the current reading and the target reading, the correction is arithmetic. On a shim-under-bucket engine you subtract the difference from the shim thickness and fit the result. If a valve measures 0.05 mm too tight, you need a shim 0.05 mm thinner. BMW shim sets commonly come in 0.05 mm steps, so stay with the increment the manufacturer uses rather than inventing a size between two shims.
On a bucket tappet you loosen the screw to add clearance and tighten it to reduce clearance. Turn it in small increments — a quarter turn at a time — and re-measure often, because a coarse thread changes the value fast and it is easy to blow past the target.
On a screw-in lash adjuster the thread is usually coarser still, so treat it the same way and confirm every change with the gauge.
Now the question that trips up almost everyone: should the number you set be the cold number or the hot number?
Use whatever the manufacturer specified. OEM clearances assume an engine at operating temperature in a factory condition, so the printed value is usually a hot value on a liquid-cooled engine, and frequently a cold value on an air-cooled one. Follow the manual for your engine rather than a general rule from another car.
It helps to know why the number moves at all. The valve, the seat and the surrounding castings all expand when the engine heats up, but not by the same amount, and not always in the same direction. An iron block with an iron head tends to close up slightly as everything heats evenly. An alloy head or barrel expands more than a steel pushrod or cam, so the clearance can open up as the engine warms. Both behaviours are real and both have ended engines when guessed at.
If you have modified the valvetrain and no published figure exists for your combination, set it cold near zero but never tighter, and check it again hot. A cam manufacturer will usually supply the hot clearance they want for their profile, and following that number is better than any calculation you do yourself. One cam maker’s published recommendation for a street profile was intakes at .012-.013 hot with exhaust set about .002-.003 larger, on the grounds that exhaust runs cooler.
Race engines are a deliberate exception. Some racers run more lash than the street figure on purpose, because extra clearance shortens effective cam duration and keeps the valve train off the ramp at high rpm. That is a tuning decision made with a cam supplier, not something to copy onto a street build.
Whatever design you are on, confirm that the valve closes fully on the seat. Too little lash means the valve never seats at all, which is how seats get burned. Too much lash means the valve opens late and closes early, and you lose the duration the cam was ground for.
Reassemble and Verify the Adjustment
Put the rocker arms, lash adjusters or buckets back in place, making sure each one is seated on its lifter crown and that the retainer is properly torqued. Do not leave a lifter sitting on the edge of its bore.
Fit the valve cover with a fresh seal if the old one had hardened. Torque the cover bolts to specification, in sequence, on a cold engine. Tightening a cover into a hot head is one of the fastest ways to warp a head gasket surface, and it has caused more than one garage fire when fuel vapour was present.
Start the engine and let it idle. Listen for change. A hydraulic-lifter engine that was clattering and then goes quiet has usually been set correctly. An engine that suddenly gets louder, or that sounds rough at idle, needs a second look before you drive it.
Watch for a few minutes at idle and at a light throttle. Rising RPM with a flat idle that sounds flat can mean a lifter collapsing. A rhythmic clatter that speeds up with RPM points at lash. If either shows up, shut it down and re-measure rather than driving it.
Then do the final check: re-measure every valve with the engine at operating temperature if the spec called for a hot setting. This is the pass that catches a valve that will not hold its adjustment, and a valve that will not hold is usually a hydraulic adjuster worn out, a lifter not seating, or a shim that was not seated flat. Owners with high-mileage diesel engines often find one cylinder that reads wrong while every other cylinder reads the same number using the identical procedure — that pattern points at the lifter, not at your technique.
After a fresh cam install, re-check the lash again after the first few hundred miles of break-in and again after any break-in oil change interval. Cams and lifters wear into each other during break-in and the clearance can move. If you fitted new lash adjusters or new lifters, treat the first re-check as part of the job rather than an optional extra.
Common Mistakes
Measuring at the wrong position in the rotation. TDC is two events per cycle, and the overlap event looks identical from above. Use the timing mark, or use the spark plug hole to confirm the compression stroke, rather than guessing from valve position.
Using clearance numbers from a different engine. This is the most expensive mistake on the list. A number lifted from a forum thread about a different engine code can hold a valve open or close it fully. Take the figure from the manual for your engine code, or from the cam card for your cam.
Confusing valve adjustment with a valve job. A lash adjustment changes the clearance with the head on the engine. A valve job means pulling the head, removing the valves, reseating or resurfacing them, and measuring. If the valves are worn, chattering, or burning, an adjustment alone will not fix it.
Turning the engine the wrong way or letting it backfire. Always hand-turn the crank clockwise viewed from the front of the engine. Never start the engine with spark plugs out and never back the car up in gear. Chock the wheels and support the vehicle.
Over-tightening fasteners. Rocker arm adjusters, bucket screws and lash adjusters are not torque-to-tight. Snug and lock, or a light lash adjuster wrench under the arm, not a breaker bar. Over-tightening a lash adjuster can collapse it internally, and a bent pushrod or stripped adjuster thread ruins the whole corner of the head.
Installing a shim in the wrong location or upside down. Shims are a matched stack per bucket. Fit each shim back to the bucket it came out of, keep the set together, and check that the head of the shim sits flat on the bucket. A shim fitted to the wrong lifter looks like an adjustment that will not hold.
Skipping the verification pass. One pass through the engine is not a finished job. Re-measure everything a second time and record it.
Torquing a valve cover on a hot engine. Warped gasket surfaces, lost compression, and a fire risk. Cool it down.
One more that is worth calling out, because owners argue about it constantly: adjusting the lash does not change valve timing. If an engine runs rough after a correct adjustment, the timing was already off, or the cam is worn, or a lifter is collapsed. Adjust the lash exactly as specified first, then diagnose timing separately.
Frequently Asked Questions
Is valve lash the same as valve clearance?
Yes. Valve lash and valve clearance are two names for the same measurement: the gap between the rocker arm, bucket, or cam lobe and the top of the valve when the lifter is resting fully on the camshaft base circle. British and European manuals tend to say clearance, American manuals tend to say lash. Nothing else changes between the two words.
Should I adjust BMW valve lash with the engine cold or hot?
Use whichever the manufacturer specified. Most liquid-cooled BMW manuals quote a hot value at operating temperature, while many air-cooled engines are set cold. On a hydraulic-lifter engine the engine must be cold anyway so the lifters have bled down, but a solid-lifter or shim engine can be set either way if your manual says so. Never guess when the manual will tell you.
How often do BMW valves need a lash adjustment?
An engine that came from the factory with hydraulic lashers usually never needs one, which is the point of them. Solid lifter, shim-under-bucket, and screw-in lash adjuster engines are normally checked every few thousand miles or at every major service. Always check after a cam change, a lifter change, or a head rebuild, and re-check again after the first few hundred miles of break-in.
Can I use feeler gauges to measure BMW valve lash?
Yes, feeler gauges are the standard tool. On a shim-under-bucket engine the gauge goes between the shim head and the valve tip, between the bucket and the valve stem on a bucket tappet, and between the rocker pad and the valve tip on a rocker-arm engine. Use millimetre blades, rock the engine through the peak to find maximum drag, and write every reading down as you go.
What happens if valve lash is set too tight or too loose?
Too tight means the valve never fully closes. It loses compression, clatters, burns the valve seat, and in the worst case drops into a cylinder. Too loose means the valve opens late and closes early, cutting effective cam duration and costing power and response. Symptoms show up as a hard start, a rough idle, a loud cold clatter, or a drop in compression right after the job.
Why do I need a replacement shim when adjusting valve lash?
On a shim-under-bucket engine there is no adjuster to turn, because the clearance is fixed by the thickness of the shim. Write down the reading you measured and the thickness of the shim you removed, compare the measured clearance against your manual’s specification, then order the matching shim in the manufacturer’s increment.
Conclusion
Adjusting valve lash on a BMW comes down to four things. Identify the exact engine code and the valvetrain design under the cover. Get the intake and exhaust clearance figures from the service manual for that engine, or from the cam card if the cam has been changed. Measure at TDC compression with the lifter on the base circle and the engine positioned correctly. Then verify every reading a second time before the cover goes back on.
If you cannot confirm the engine code or find a clearance specification that genuinely applies to your build, stop there rather than borrowing a number from another engine. A wrong clearance costs far more than a careful check, and the job is straightforward once you have the manual and the right gauges.