
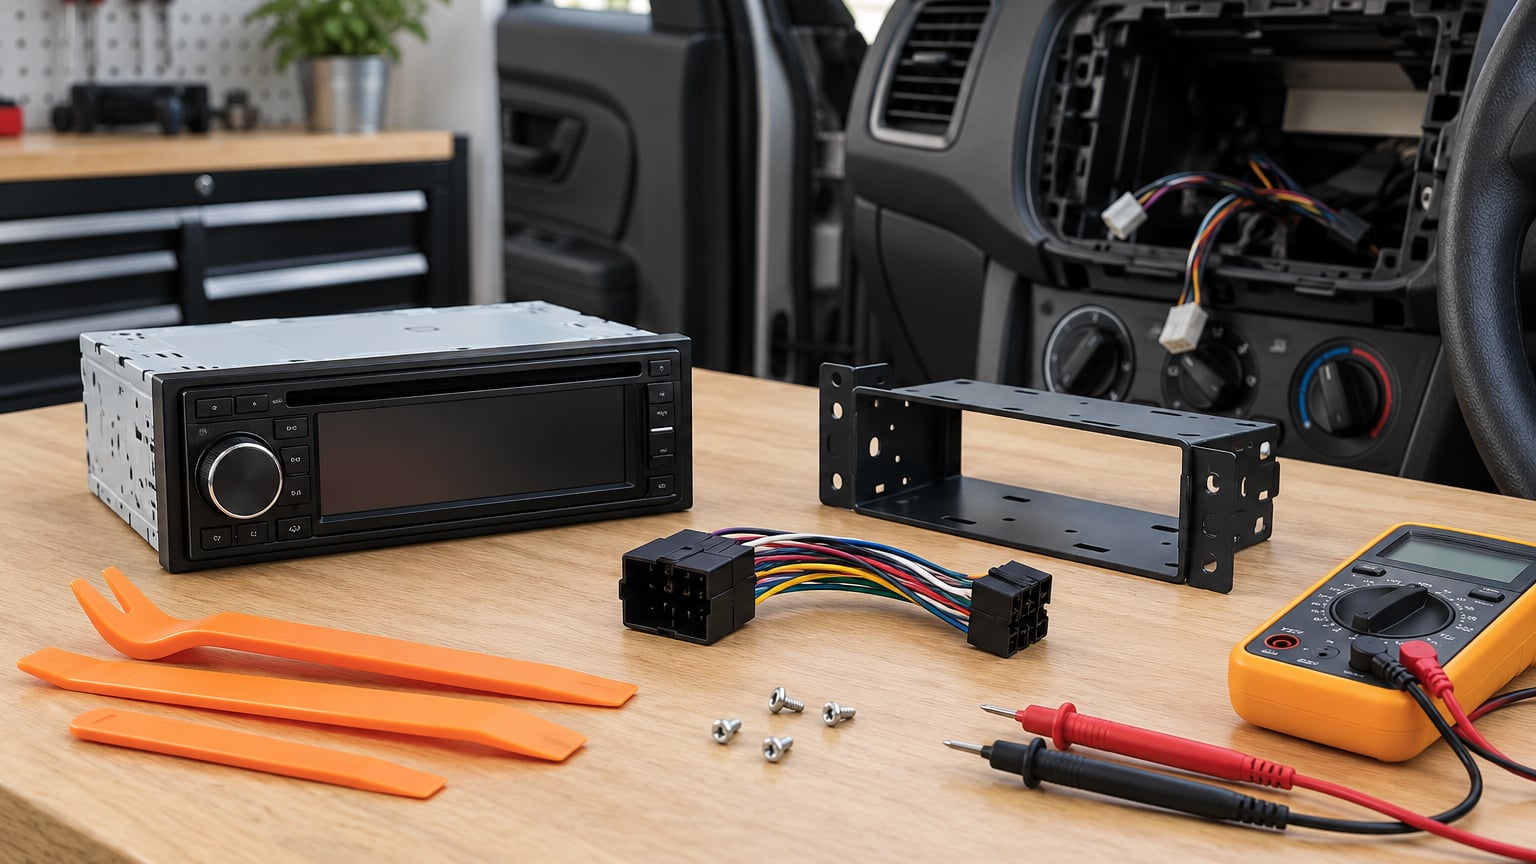
Installing an aftermarket car stereo is mostly wiring discipline, not mechanical skill. With the right harness, dash kit and antenna adapter for your vehicle, a first-time install takes about two hours in a car with a factory amplifier and closer to 90 minutes in one without. The steps below follow the wiring standard that nearly every car built through 2026 still follows.
Read the whole thing before you touch a screw. The single most common failure is wiring the head unit to a switched circuit that can’t carry the current, or trusting a harness ground that was never designed for your model.
Table of Contents
- What You Need
- Step-by-Step
- Step 1: Disconnect the Battery and Check the Opening
- Step 2: Remove the Factory Stereo and Label Connections
- Step 3: Connect Power, Ground, and Speakers
- Step 4: Connect the Antenna and Optional Accessories
- Step 5: Mount and Secure the Stereo
- Step 6: Test the Installation Before Reassembling
- Common Mistakes
- Frequently Asked Questions
- Conclusion
What You Need
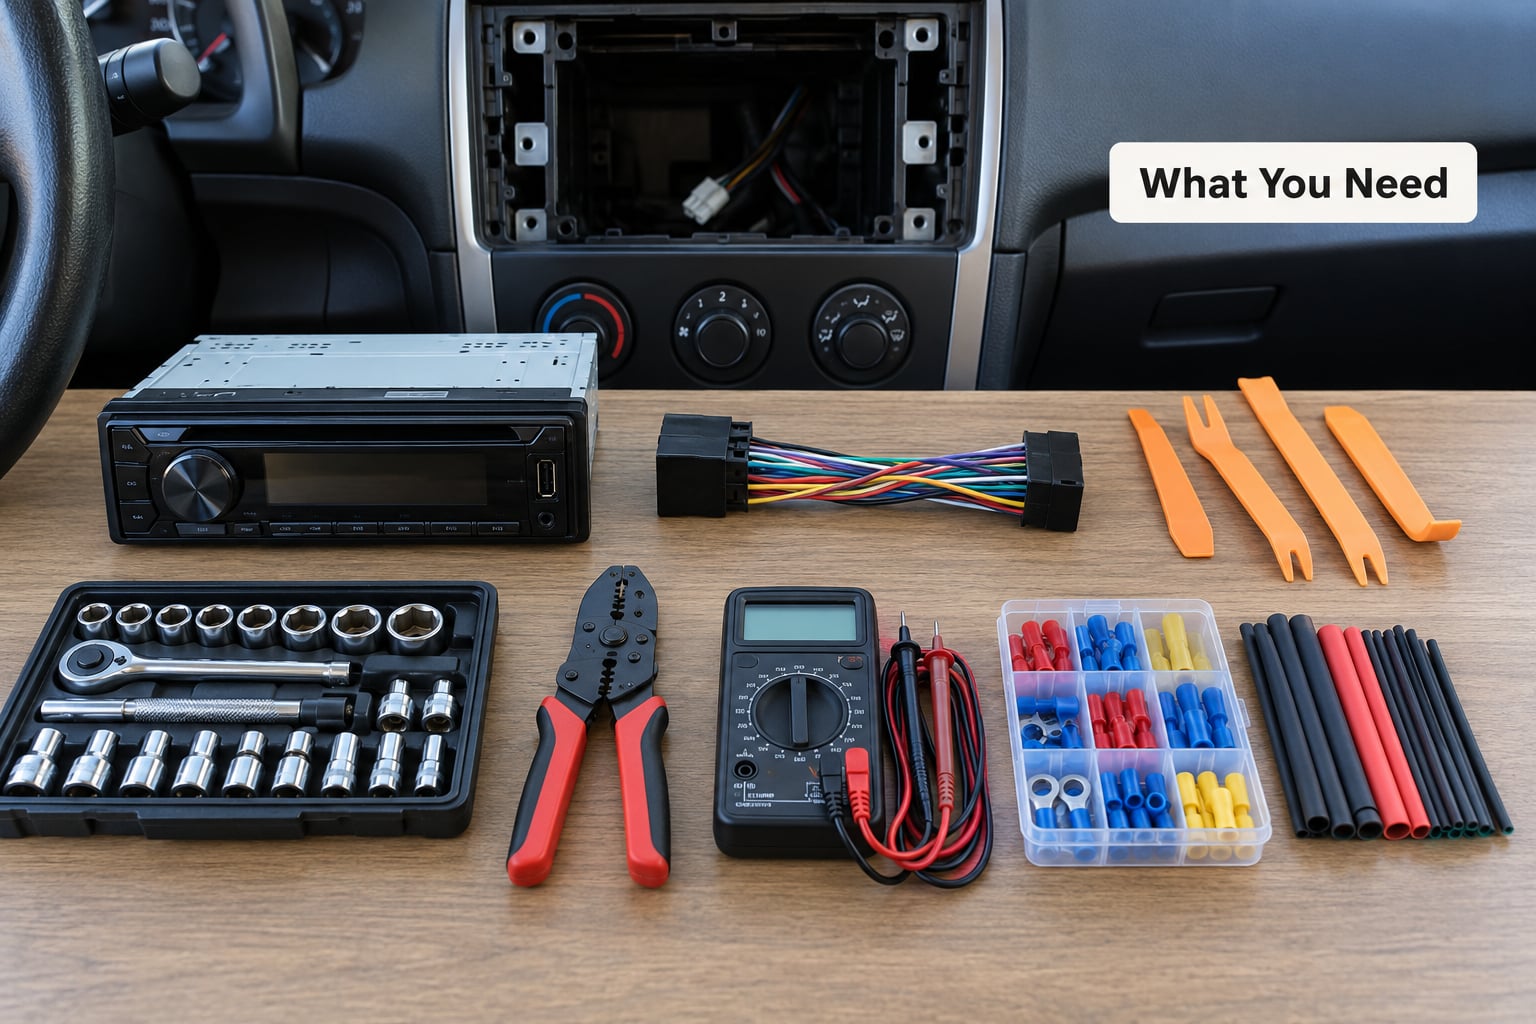
The short version is a head unit, a vehicle-specific wiring harness, a dash kit sized to the opening, and an antenna adapter. Everything else is tools. Get these three right before you pull a single trim panel.
Tools
- Socket set and a deep socket that fits the battery terminal clamp
- Panel removal tool or trim removal kit (spudgers, not a flat screwdriver)
- Torx and ball-end hex keys, since European and Japanese dashboards use both
- Wire strippers, cutters and a ratcheting crimper with the correct die for the terminal size
- Digital multimeter for identifying constant vs switched 12V
- Heat-shrink tubing, plus heat source or a lighter used with care
- Small flashlight and a phone camera for connector photos
- Wire ties and a roll of double-sided foam tape
Parts and connectors
- The aftermarket head unit itself, sized to fit your opening
- Vehicle-specific wiring harness adapter matched to year, make and model
- Dash kit or mounting bracket for that opening
- Antenna adapter, and a power antenna lead if your car raises the mast
- Steering wheel control adapter if you want the buttons to keep working
- Butt connectors or Posi-Product connectors in the gauge of your harness wire
- Line output converter if the car has a factory amplifier
How to identify the correct kit
Look the part number up by year, make, model and, where it matters, trim level or factory amplifier. Retailers list the same head unit with several harness codes, because a car can be built the same year with or without a factory amp. On r/CarAV, that mismatch is the first thing people are told to check before anything else.
Measure the opening while you still can. Single-DIN is 180 x 50 mm, double-DIN is 180 x 100 mm, and a single-DIN opening will need a specific kit if you want a touchscreen in it.
| Opening | Size (width x height) | What fits |
|---|---|---|
| Single-DIN | 180 x 50 mm | Standard single-DIN head unit, or a double-DIN unit with a dedicated spacer kit |
| Double-DIN | 180 x 100 mm | Touchscreen head units directly, with the correct faceplate or trim ring |
| Shaft-style (pre-1980s) | Varies, often a narrow rectangular opening | Modern units only with a conversion kit; usually hand this one to a pro |
Do not buy the head unit first and hunt for parts after the dash is apart. Panel gaps on a poorly planned install are the most expensive part of the job.
Step-by-Step
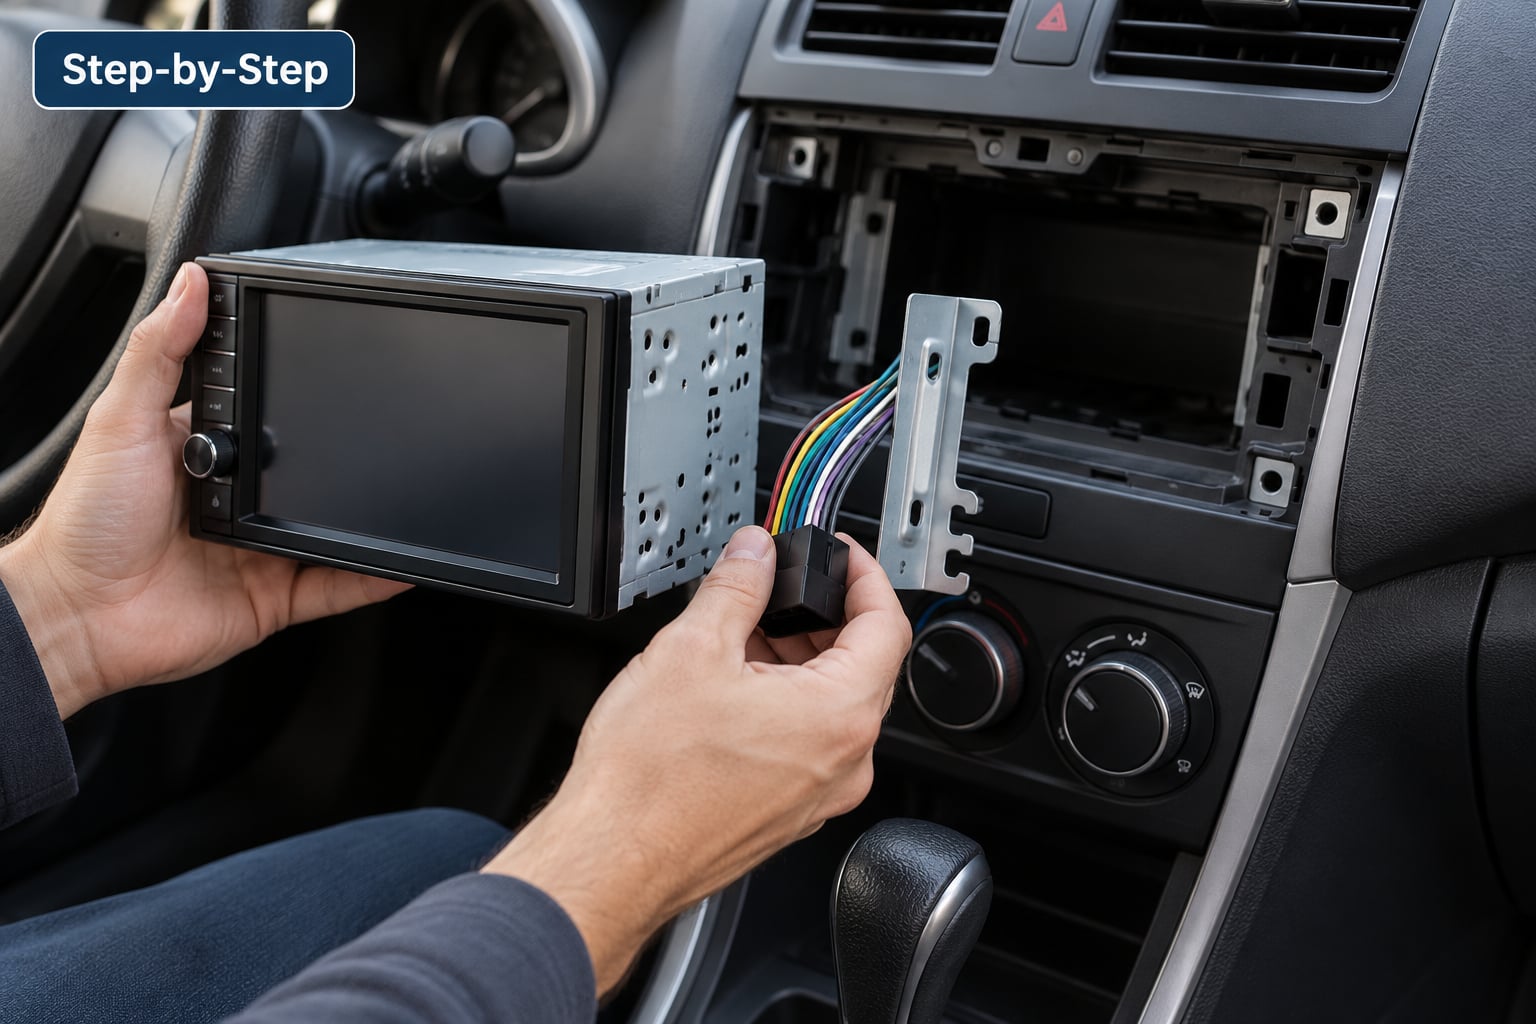
The order below is deliberate. Everything is disconnected before anything is connected, and the system is tested while you can still reach the wires.
Step 1: Disconnect the Battery and Check the Opening
Start at the negative battery terminal. Turn the key off, open the hood, loosen the clamp and lift the cable clear so it cannot swing back onto the post.
Wait a few minutes before working near the steering column or dashboard. Airbag circuits and some modules hold a charge after the battery is disconnected, and the trim panels near the steering wheel are backed by SRS wiring that must not be probed or cut. If your car is a hybrid or EV, put the vehicle in service mode per the owner’s manual first.
Set the parking brake, then pull the trim from its edges with a panel tool. Work outward from the seam, never levering near a switch or a painted surface.
Once the opening is exposed, hold the new head unit against it. If it does not sit square, stop here and get the right dash kit. That one check saves the most rework.
Step 2: Remove the Factory Stereo and Label Connections
Factory units come out in one of three ways, and the way it is held tells you which you have. A slide-in unit with a metal sleeve is held by spring clips that compress when you press the release tabs. A bolted bracket means two or four screws, often one under each side of the faceplate. A rail-mounted unit on Japanese cars uses screws or clips on rails that must be slid out, not unscrewed through the face.
DIN release tools, or two small screwdrivers pressed into the slots at a matching angle, free the spring clips. Pull the unit straight out with both hands. Never hang your weight from the connector or pull on the harness wires, because the OEM plug often sits under tension from the dashboard support.
Photograph the connector before you touch it, then label every plug and wire group with masking tape. Memory, ignition, ground, each speaker pair, antenna and any factory amp lead get their own tag. Keep every screw, clip and bracket in a small container as you go; trim reassembly depends on hardware you did not lose.
Take note of any plug you did not expect. A yellow or green pair going to a factory amplifier, or a thick blue or white lead, means the car has a factory amp and changes the wiring plan for the next step.
Step 3: Connect Power, Ground, and Speakers
Open the vehicle-specific harness and the harness that came with the head unit. Plug them together first, on a bench, where you can see both ends. That way you find a mismatched pin before the unit is buried in the dash.
The aftermarket side follows a colour convention that has barely changed in decades.
| Wire | Function | Common failure mode |
|---|---|---|
| Yellow | Constant 12V, keeps presets and clock | Connected to a switched circuit, so memory is lost every time |
| Red | Switched 12V, hot with ignition | Left unconnected, so the unit never turns off |
| Black | Ground to chassis | Landed on paint or plastic, giving noise or no power |
| Blue or blue-white stripe | Power antenna or amplifier remote turn-on | Left unused, so a power mast never rises or the amp never wakes |
| Orange | Illumination / dimmer | Left floating, so the display stays full brightness at night |
| White and white-black stripe | Front left positive and negative | Polarity reversed, which sounds thin and strains the driver |
| Grey and grey-black stripe | Front right positive and negative | Mixed with the white pair, so channels swap sides |
| Green and green-black stripe | Rear left positive and negative | One conductor unterminated, which can blow a channel |
| Purple and purple-black stripe | Rear right positive and negative | Reversed against the wrong channel, killing bass in one side |
Colour alone is not proof, so verify with a multimeter before committing. Put one probe on the negative terminal clamp and touch the other to a wire end with the key off. A steady 12V is constant battery; a reading that drops to zero when the key is turned is switched power. That single test is the difference between a stereo that remembers your presets and one that does not.
For ground, use the ground wire the harness provides, and confirm the vehicle-side end lands on bare metal at a factory bolt. If it lands on paint or on a bracket that is not a real chassis point, add a short ring-terminal lead to a clean, scraped bolt inside the dash. Ground to bare metal is the advice repeated most often in car audio forums, and it is right.
Never tie aftermarket power leads directly onto a vehicle circuit you have not identified in a diagram. Do not feed the head unit from a dashboard accessory socket either; most of those cannot supply the current a head unit and amplifier draw.
Match speaker polarity the whole way through: plus to plus, minus to minus. Reversed polarity does not blow a fuse on its own, but it puts the drivers out of phase, hollows out the bass and makes tweeters work harder than they should. If a pair will not sit correctly, stop and check the vehicle-side connector before forcing it.
Strip only enough copper to fill the terminal, crimp with a tool sized for that terminal, and pull the crimp to confirm it holds. Electrical tape alone is not a connection method; it slips, and the joint fails later from heat and vibration. If you prefer solder, use it on joints that will not flex, add strain relief, and expect solder to crack on leads that move every time the door opens. Heat-shrink over every joint is the part people skip and the part that matters.
Step 4: Connect the Antenna and Optional Accessories
The antenna adapter is the small barrel-to-plug piece that connects the car or amplifier antenna feed to the head unit’s antenna socket. Skip it and reception is poor or absent. If the car has a power antenna, the blue or blue-white wire must connect to the power antenna lead, either through the vehicle-specific harness or through the proper adapter with an inline fuse.
Other accessories each have a defined job. An external amplifier needs its own fused power feed, a remote turn-on lead connected to the head unit’s blue lead, and RCA cables from the pre-outs, not from the speaker outputs. A steering wheel control adapter interfaces between the vehicle’s control module and the head unit, and it is model-specific for a reason: getting it wrong leaves dead buttons.
A backup camera needs video input, plus the reverse trigger wire and the parking brake trigger wire on most double-DIN touchscreens, which will not show video on screen until the brake is released. Route camera and microphone cables through an existing grommet in the firewall or through the path the factory harness already used, rather than drilling new holes.
If your car has a factory amplifier, the head unit’s speaker outputs have nothing to drive. You need a line output converter that taps speaker-level signal for the amp and feeds line-level audio back into the head unit, or an amplifier install kit designed for that vehicle. Check whether the amp remote lead was present in the factory plug and keep it alive. Skipping this is the most common reason a swap finishes with no sound at all.
Step 5: Mount and Secure the Stereo
Slide the head unit into the dash kit or mounting bracket, then attach the sleeve, cage or rail hardware so the unit is held on all sides. Tighten the screws in a cross pattern, a little at a time, rather than one hard turn.
Grab the cage and try to rotate it. If it turns at all, tighten further until it does not, because a rotating cage rattles on every bump and eventually cracks the mounting lip.
Check that the display face and knobs are not under strain. A touchscreen that flexes when you press it is being pinched by the trim or a bracket that is not seated square. Route the harness behind the unit with a service loop so nothing is pinched between the chassis and the housing, and secure it with a tie so it cannot buzz against metal.
Step 6: Test the Installation Before Reassembling
This step is where people skip ahead and regret it. Reconnect the battery, turn the key on and leave the trim open.
Work through the whole system in order. Confirm the unit powers up with the ignition and goes off when you turn the key off. Check memory: set a station and a volume level, then cycle the ignition and see whether both are still there. Tune a station and listen for clear reception across the band. Play a track with known left and right content and confirm each speaker sounds from the correct side, with no rattle, buzz or hum. Try every input you connected, including USB, Bluetooth and camera. Test the steering wheel buttons and any accessory you wired. At night, check that the illumination wire dims the display with the dash lights.
If a fault shows up, switch the unit off, disconnect the battery and fix it while you can still reach the connections. If you hear alternator whine or a hum that changes with engine speed, fix the ground first, then re-check polarity, then the RCA routing. If the unit blows a fuse as soon as you power it up, look for a shorted aftermarket accessory rather than replacing the fuse with a higher rating.
Only when everything works do you put the trim back. Refit the panels in the reverse order you removed them, press along the seams rather than at the corners, and tighten fasteners evenly so the gaps line up.
Common Mistakes
Most failed installs come from one of a short list of things. Here is what goes wrong and what to do about it.
- Skipping the battery disconnect. You can fry the head unit or the vehicle’s audio module the moment a tool bridges a connector to ground. Disconnect the negative terminal first, every time.
- Constant and switched power reversed. Presets vanish at ignition off, or the battery drains if switched power feeds the memory line. Verify with a multimeter rather than trusting wire colour.
- Grounding to paint or plastic. A ground bolt with no bare metal under it produces noise, dim display or nothing at all. Scrape to bare metal and use a clean bolt.
- Shorting the harness to ground. A loose power lead touching the dash metal blows a fuse or damages the unit. Route the harness so no conductor can contact metal, and secure it before reconnecting the battery.
- Reversed speaker polarity. Thin, hollow sound and extra strain on the drivers. Fix the pairing at the vehicle connector, not by twisting wires.
- Crimp terminals made with the wrong die. Intermittent power loss that only shows up on rough roads. Use a crimper sized to the terminal and pull-test every joint.
- Forcing the unit into the wrong opening. The faceplate cracks or the cage binds. If it does not sit square against the dash kit, the kit is wrong.
- Dashboard cables trapped during reassembly. A pinched harness causes intermittent shutdowns that appear weeks later. Leave a service loop and check by hand before the trim goes on.
- Missing antenna adapter or unfed power antenna lead. Poor reception, or a mast that never rises. Both are one cheap part and one extra wire.
- Steering wheel controls wired without the correct adapter. The volume and track buttons go dead. Use the adapter specified for your vehicle rather than splicing control wires yourself.
- Testing before the chassis is secured. A loose unit can rattle, show a flickering display or drop a connection while you are working. Secure and hand-tighten first, then test.
- Wiring in a car that should go to a shop. Shaft-style pre-1980s radios, SRS-adjacent connectors and hybrid or EV high-voltage systems are not first-job territory.
If you hit one of the last two, stop. A stereo swap is a satisfying afternoon. A damaged airbag circuit or a high-voltage system is not worth the saved shop fee.
Frequently Asked Questions
Do I need a vehicle-specific wiring harness to install an aftermarket stereo?
Usually yes. A vehicle-specific harness adapts the car OEM connector to the standard aftermarket colour-coded plugs, and it carries the correct constant power, switched ignition power, ground, speaker and amplifier leads for that model. Match the part number by year, make, model and whether the car has a factory amplifier, since the same vehicle often needs different harnesses.
What is the safest way to remove a factory car stereo?
Disconnect the negative battery terminal and wait a few minutes before touching anything near the steering column. Pull trim panels from their edges with a panel tool rather than a screwdriver, photograph the connector, then release the unit according to how it is held: spring clips on a DIN sleeve, bolts on a bracket, or rails on some Japanese cars. Never pull on the wiring.
Can I install an aftermarket stereo without cutting the vehicle wiring?
Yes, when the head unit comes with a compatible plug-and-play vehicle harness, which is the normal case for most cars. Cut or solder only when a diagram clearly identifies what each wire does. If no harness exists for your vehicle, identify the wires with a multimeter: steady 12V is constant, 12V that drops when the key is turned is switched.
Why does my aftermarket stereo turn on but lose its memory?
Memory loss almost always means the constant 12V wire is on a switched circuit, or the ground is loose. Check that yellow feeds constant battery power and red feeds switched power, then confirm the ground lands on a clean bare-metal bolt. A multimeter settles it in under a minute, and loose harness plugs are the other common culprit.
Conclusion
Three things decide whether the install goes smoothly: disconnect the negative battery terminal before anything else, identify the correct vehicle-specific harness for your year, make and model, and verify the head unit physically fits the opening before you connect a single wire.
Wire the harness on a bench, keep grounds on bare metal, and test every function while the trim is still off. Get the sequence right and the hardest part of the job is already done.