
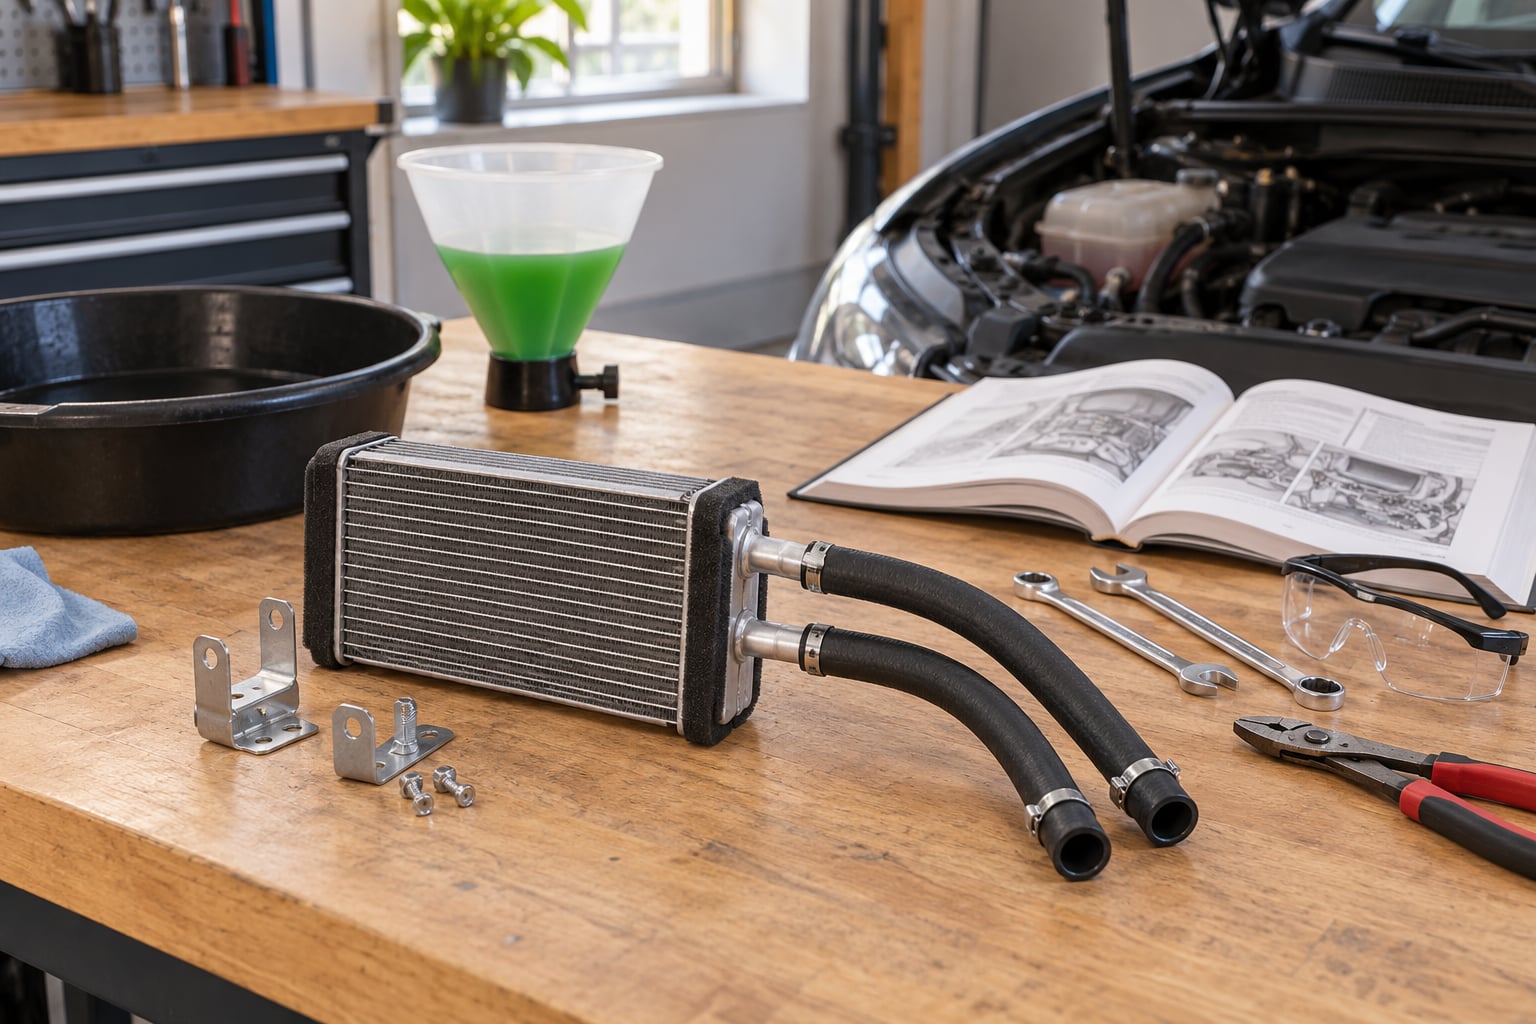
A heater core is a small radiator mounted inside the dashboard, and the blower motor pushes cabin air through it to warm the interior. Replacing one means draining the coolant, opening up the HVAC case, swapping the core, then refilling and bleeding the system. On many cars the core drops out from under the dash, on others you are removing the entire dashboard assembly first.
Before you buy anything, confirm the core is actually the problem. Most of the time the giveaway is a sweet coolant smell and damp carpet on the passenger side, plus a slow coolant loss with nothing dripping under the car.
Table of Contents
- What You Need
- How to Replace a Heater Core
- Step-by-Step
- 1. Confirm the Heater-Core Diagnosis
- 2. Prepare the Vehicle and Drain the Cooling System
- 3. Remove the Dashboard or Heater-Box Components
- 4. Disconnect the Heater Hoses and Remove the Old Core
- 5. Transfer Seals, Mounts, or Fittings and Install the New Core
- 6. Refill, Bleed, and Reassemble the Interior
- 7. Test for Proper Operation
- Common Mistakes
- Frequently Asked Questions
- Is replacing a heater core easy?
- Do you have to remove the dashboard to replace a heater core?
- How many hours does it take to replace a heater core?
- Can I fix a heater core instead of replacing it?
- Why is there no heat after I replaced the heater core?
- Do I need to recharge the A/C after replacing the heater core?
- Conclusion
What You Need
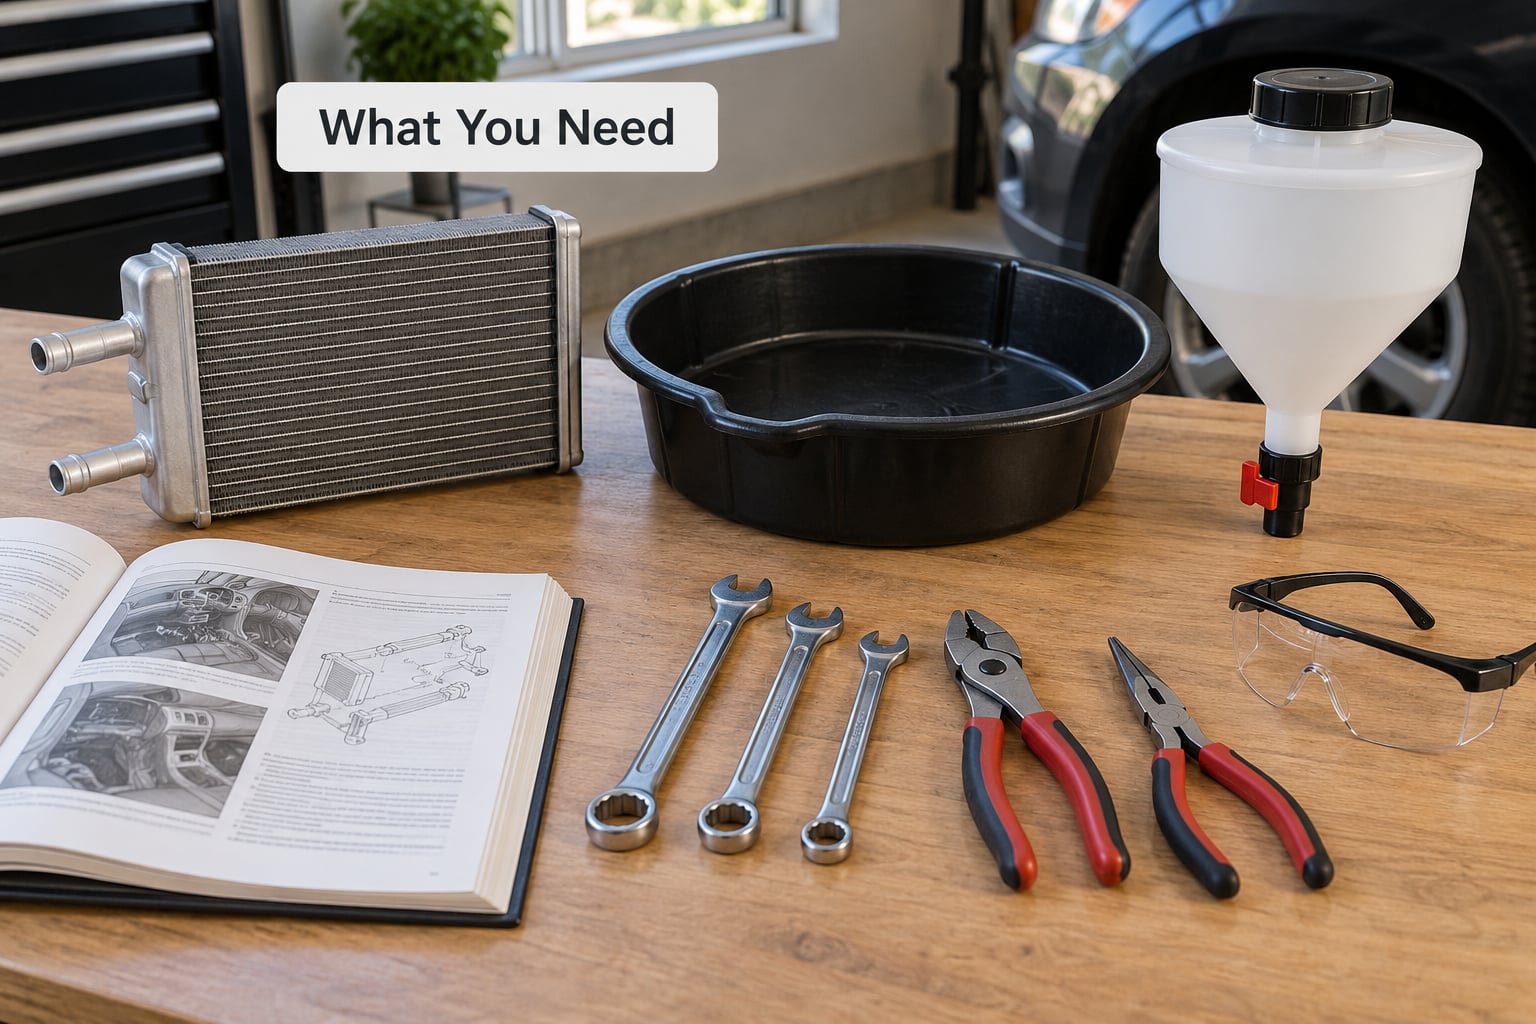
Start with the replacement part, matched to your vehicle’s part number. OEM and aftermarket cores are both fine; the differences are usually the bracket and the fittings, not the core itself.
- Replacement heater core plus any new gaskets, O-rings, or foam seals the kit includes.
- Correct coolant in the quantity your cooling system takes. Pre-mixed is easier to get right; check what the manufacturer specifies before adding anything.
- Drain pan large enough to catch a full system, plus old towels and a funnel.
- Basic hand tools: socket set, ratchet, screwdrivers, pliers, and a hose clamp tool if your clamps are the spring or worm-drive type that plain pliers cannot grip.
- Trim tools so you do not gouge the dash panels.
- Safety gear: nitrile gloves, eye protection, and old rags you do not mind ruining.
- Vehicle service information for your specific car. Access varies enormously between models, so the exact removal procedure matters more than any generic guide.
On older cars and trucks, also plan for the passenger-side inner fender well coming out, which is usually the difference between a three-hour job and a full day.
If your cooling system has an expansion tank or a bleed screw rather than a radiator petcock, it is worth knowing how those work before you start. The spill-control steps in our guide to replacing a BMW expansion tank carry straight over to this job.
How to Replace a Heater Core
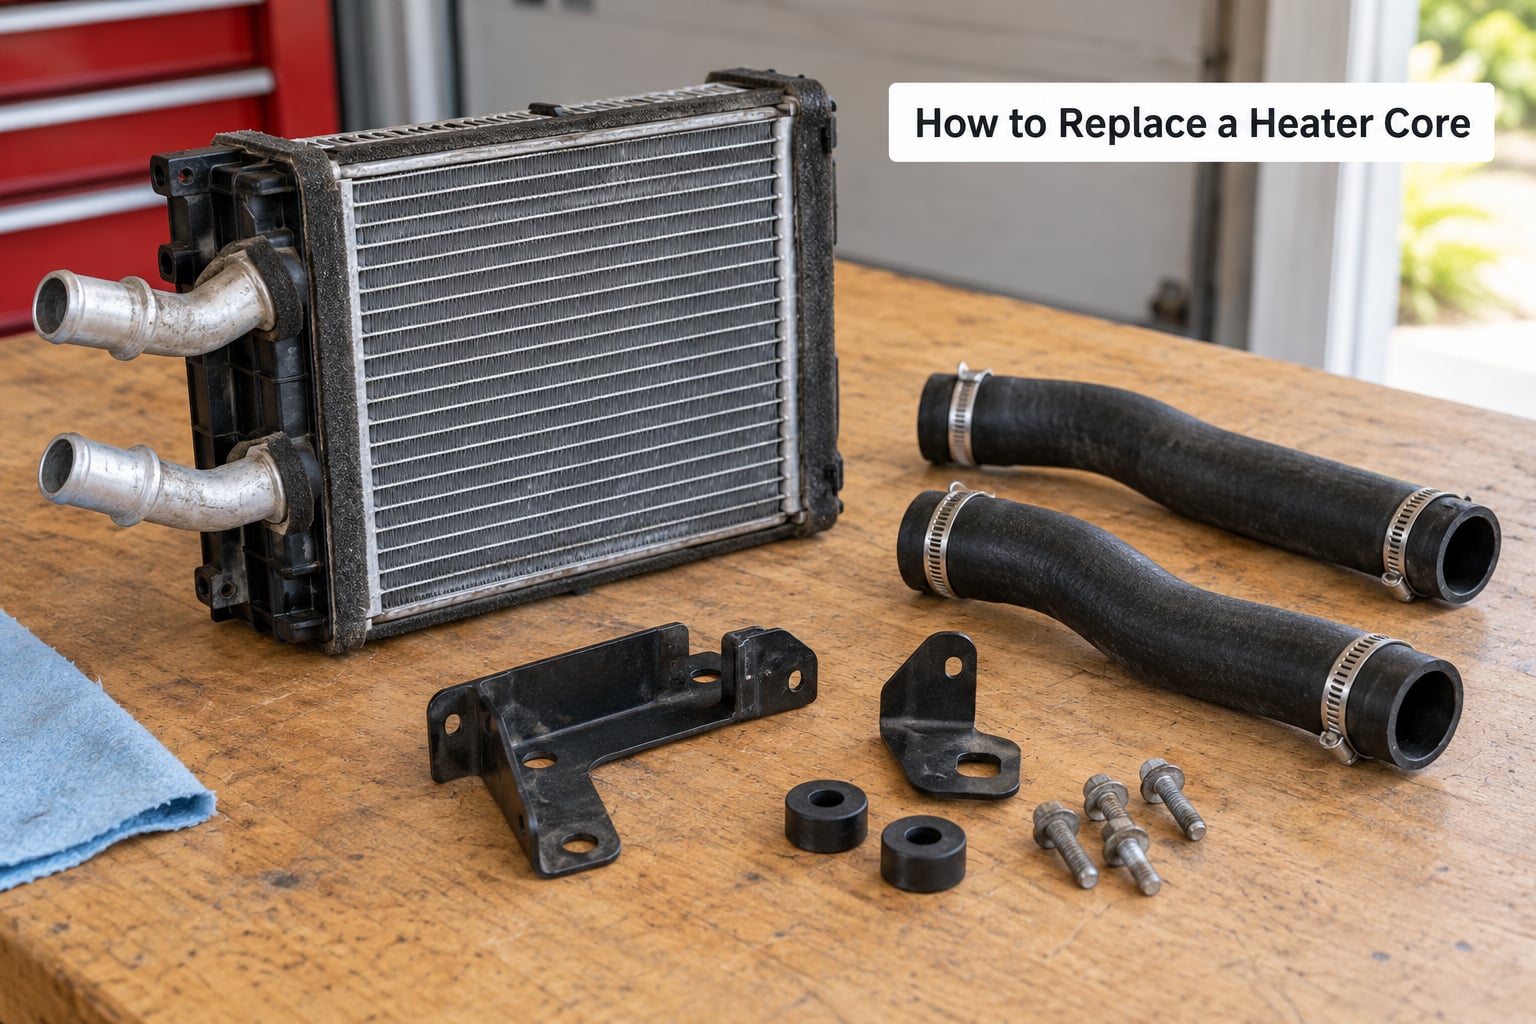
The sequence is always the same: confirm the fault, disconnect the battery, cool the engine, drain the cooling system, gain access to the HVAC case, pull the heater hoses, remove the core, install the new one with fresh seals, reassemble, then refill and bleed.
What changes is the access. Figure out which route your vehicle uses before you take anything apart, because it sets the whole scope of the job.
Route A, no dash removal. Some vehicles let the core and heater hoses come down from underneath the dash once the glove box and a few trim panels are out. The Saturn Ion procedure is a good example: about a dozen removal steps and no dashboard in sight.
Route B, split the HVAC case in place. Instead of removing the whole case, you remove the screws around the heater box, lift the lower half, and slide the core straight out. Owners on the Toyota Vantech and F-150 forums describe this as the cheater’s way, and it can save hours of dash work.
Route C, full dash removal. On many modern unibody cars the HVAC case is a structural part of the dashboard, so the dash has to come out entirely. That means the steering column, the wiring harness, the SRS connectors, and careful reassembly so nothing rattles later.
Body-on-frame trucks and older vehicles usually give you a fourth, easier option: pull the passenger-side inner fender well and access the core from the engine bay side, which is why a job quoted at nine hours on one car turns into an afternoon on an older truck.
Step-by-Step
1. Confirm the Heater-Core Diagnosis
Do this before you buy a core. Put the heater on with the engine cold and the A/C off, then warm the engine fully and run the heat. Watch the passenger footwell carpet.
If the carpet is damp and the cabin smells sweet, coolant is reaching the interior. Add water to the radiator or expansion tank, run the heat, and look for it pooling under the outlet hose or dripping into the case. That is your core or a failed fitting right on it.
Rule out the cheaper causes first. A stuck blend door actuator can give you full cold air with the fan working, and a clogged cabin filter or a failed blower motor sounds nothing like a leak. A temperature sensor fault can peg the gauge cold while the engine is actually hot, so verify with a separate thermometer before you pull a dashboard apart.
One diagnostic detail people miss: on some cars the leak only shows when the A/C compressor is running, because the pressure change shifts the coolant. If that is your symptom, the core is still the most likely culprit, but check the hose connections at the case first.
If you get no heat and no coolant anywhere, skip this repair and test the temperature sensor instead. Our guide to replacing a coolant temperature sensor covers that test.
2. Prepare the Vehicle and Drain the Cooling System
Park on level ground and let the engine cool completely. A cooling system at operating temperature holds pressure, and opening the radiator cap or a drain point on a hot system puts scalding coolant across your garage floor and possibly your legs.
Disconnect the negative battery terminal before you touch anything in the dash. Then wait about ten minutes before working around the steering wheel or any SRS connector, so a back-fed capacitor cannot fire an airbag.
Place your drain pan under the drain point. If the car has a radiator petcock, open it and let the system run down. If it has no petcock, the low point may be at the radiator, the water pump, or a capped bleed port instead. Your service information tells you which.
To keep coolant out of the cabin once you start pulling hoses, clamp the heater inlet and outlet hoses under the hood before you disconnect anything, and put towels down under the firewall. Every drop that comes off the case goes straight down onto the carpet otherwise.
Open the radiator cap only once the system is cold. If the car has an air bleed screw or a bleed hose, note where it is now so you can find it after the case is back in.
3. Remove the Dashboard or Heater-Box Components
This is the step that decides whether the job is an afternoon or a weekend, so check your specific procedure here rather than guessing.
Remove the trim panels, ducts, and brackets that block access. On the easier routes it is the glove box, the lower dash bezel, and maybe the passenger kick panel. On a full dash removal it starts with the steering column cover, then the column drop bolt, then the cross-car beam.
Photograph every connector with your phone before you unplug it. Label anything that looks similar to something else, and bag the fasteners by location as you go. Forums are full of posts about dashboards that never went back together right because one plug or one screw ended up in the wrong place.
Disconnect the dash wiring harness, the vacuum lines, and any blend door actuator connectors that are in the way. Vacuum lines are easy to puncture and they cause heater control problems later if you kink them.
On vehicles from around 2017 onward, the radio and some window and seat settings may reset when the battery is reconnected. A CAN memory device or a scan tool that saves the settings before you disconnect will save you an afternoon at the dealer.
4. Disconnect the Heater Hoses and Remove the Old Core
The heater inlet hose is the larger one and comes from the engine side; the outlet hose is usually smaller and returns to the water pump or the suction side. Some cars have a third small hose for the auxiliary heater circuit, and it plugs into the core too.
Have your drain pan and towels ready. There is always residual coolant in the case even after a full drain, so expect a slow pour when the hoses come off.
Release the clamps or fittings. Spring clamps need the right clamp pliers, and a stuck worm clamp that you cut off is easier to replace than one you fight.
If you pulled the whole case, unplug any remaining wiring or sensor connectors and note their positions. Now lift the core straight out. Do not twist it hard against the housing, because the tubes are thin and the housing tabs are plastic.
5. Transfer Seals, Mounts, or Fittings and Install the New Core
Compare the old and new cores before installing anything. Transfer the bracket, the mounting studs, any foam seals or gaskets, and any fittings the new core did not come with.
Fresh foam around the core is cheap and worth doing. Old foam hardens and crushes, and that crushed foam is how a new core ends up weeping into the carpet three months later.
Seat the core in the housing so it sits flat against its seals, then reconnect the hoses. Tighten clamps firm and snug. Do not overtighten plastic fittings or aluminum hose stubs; you will crack them, and the fitting is a far more expensive problem than the core.
6. Refill, Bleed, and Reassemble the Interior
With the core and hoses in place, bleed the cooling system before you put the interior back together. Air trapped at the heater core is the single most common reason a finished job still blows cold air, and it is much harder to clear once the dash is closed up.
Fill slowly with the manufacturer-specified coolant, running the heater blower on high and the temperature control on hot. Many cars have a bleed screw or a radiator bleed lever for exactly this, and you may need to crack it until coolant flows out with no air bubbles, then top off.
Some vehicles need the engine run with the thermostat housing or a heater hose temporarily removed to push the air out. Others bleed perfectly with a slow fill and a few throttle blips. Follow the procedure for your car rather than skipping ahead, because a classic symptom of leftover air is a radiator that is warm at the top and stone cold at the bottom.
Reconnect the battery last, then reinstall the trim, ducts, fasteners, and any brackets. Check for kinked vacuum lines and any connector that did not fully seat. Those little details are what turn a finished job into a rattle and a blower that only works on high.
If you removed the evaporator or opened the A/C side of the case, the refrigerant has to be recovered and recharged by someone with the right equipment. If you only opened the heater box on the lower half, you often do not need to touch the A/C charge at all.
7. Test for Proper Operation
Start the engine and let it reach full operating temperature with the heat on. Watch the gauge as it climbs to confirm the thermostat is opening and the system is filling.
Look under the car and at the firewall for drips. Then check the passenger footwell carpet again. Put a dry paper towel down before you start and check it after twenty minutes, because a slow weep shows up on the towel long before you would smell it.
Work the fan through every speed and sweep the temperature control from cold to hot. You want a clear change in air temperature as the control moves, and airflow out of every vent, including the defroster, which is the one you will need first on a foggy morning.
If the fan runs but the air stays cold, the job did not work and the usual culprit is trapped air, a vacuum line left disconnected, or a blend door that came unplugged. If the air is hot but the gauge climbs too high, that is a different problem entirely and worth checking before you close anything up.
Common Mistakes
Opening a hot system. The one rule nobody bends. Let it cool fully, and if the radiator cap is stuck, replace it rather than forcing it.
Swapping the inlet and outlet hoses. The hose routing matters on many engines. Photograph them before they come off and put them back where they were.
Using the wrong coolant. Check the specification rather than guessing. Modern engines are particular about it, and mixing types can cause corrosion or gel.
Overtightening fittings. Plastic and aluminum stubs crack easily. Snug is enough; if a leak shows up after the job, replace the fitting rather than adding more torque.
Reusing the old foam seals. Fresh 1/4-inch grey foam, cut to fit, is one of the cheapest insurance policies in this repair.
Leaving air in the cooling system. Bleed before reassembly, fill slowly, and verify the radiator is warm top to bottom. This is the top cause of no heat after a successful swap.
Torquing plastic dash fasteners like body bolts. Snug them and let their bosses hold. Over-tightening cracks the trim, and the rattle shows up weeks later.
Assuming the core was the problem. People replace cores that were never leaking, then find a loose clamp or a failed temperature sensor. Confirm the fault before you start.
Forgetting connectors and vacuum lines. Photograph everything, and count your plugs as you reconnect them. It is the cheapest check in the whole procedure.
Frequently Asked Questions
Is replacing a heater core easy?
Not on most modern cars. The difficulty depends almost entirely on how your vehicle routes the HVAC case. Some cars let the core drop out from under the dash once the glove box is out. Others require removing the whole dashboard, the steering column, and the wiring harness. Check your specific access route before you start, and expect an afternoon on the easy ones and a full weekend on the hard ones.
Do you have to remove the dashboard to replace a heater core?
Usually not, if your vehicle offers another route. Splitting the HVAC case in place lets many people lift the lower half and slide the core out without gutting the dash, and older body-on-frame trucks are often accessed by pulling the passenger-side inner fender well. Check the service information for your model before assuming you need a full teardown.
How many hours does it take to replace a heater core?
Roughly three to five hours on vehicles with easy access, eight to twelve when the dash comes out, and longer if trim pieces fight you or fasteners are seized. Add time for the cooling system refill, bleeding, and a careful reassembly. On older trucks and simpler cars the same job is often an afternoon because the core comes out from the engine bay side.
Can I fix a heater core instead of replacing it?
Sometimes. A small pinhole that seeps at idle can sometimes be sealed with the right sealant or a repair sleeve, and it buys time, but it is a temporary fix rather than a repair. If the core is weeping across the mount, bulging, or frozen into the housing, replacement is the only durable answer. Any chemical sealant will also contaminate the coolant if used carelessly.
Why is there no heat after I replaced the heater core?
Trapped air in the cooling system is the usual reason. Refill slowly with the blower on high and the temperature control on hot, and use the bleed screw or radiator bleed lever if your car has one. If air is not the cause, check for a vacuum line left disconnected or a blend door actuator that came unplugged during reassembly, both of which give you full cold air with a working fan.
Do I need to recharge the A/C after replacing the heater core?
It depends on how far you opened the case. If you removed the whole HVAC case or disturbed the evaporator side, the refrigerant has to be recovered and recharged with the proper equipment. If you only separated the heater box on the lower half, the A/C side often stays sealed and you can leave the charge alone. Check the procedure for your vehicle before you assume either way.
Conclusion
Replacing a heater core is one of those jobs where the part is cheap and the labor is the whole story. Know your access route before you start, treat hot pressurized coolant as the one thing you never compromise on, and finish the bleed before the interior goes back together.
Three things first: confirm the leak really is the core, get the exact procedure and part number for your vehicle, then drain the cooling system safely and clamp those hoses before you touch anything in the dash. Everything else on this list is mechanical.