
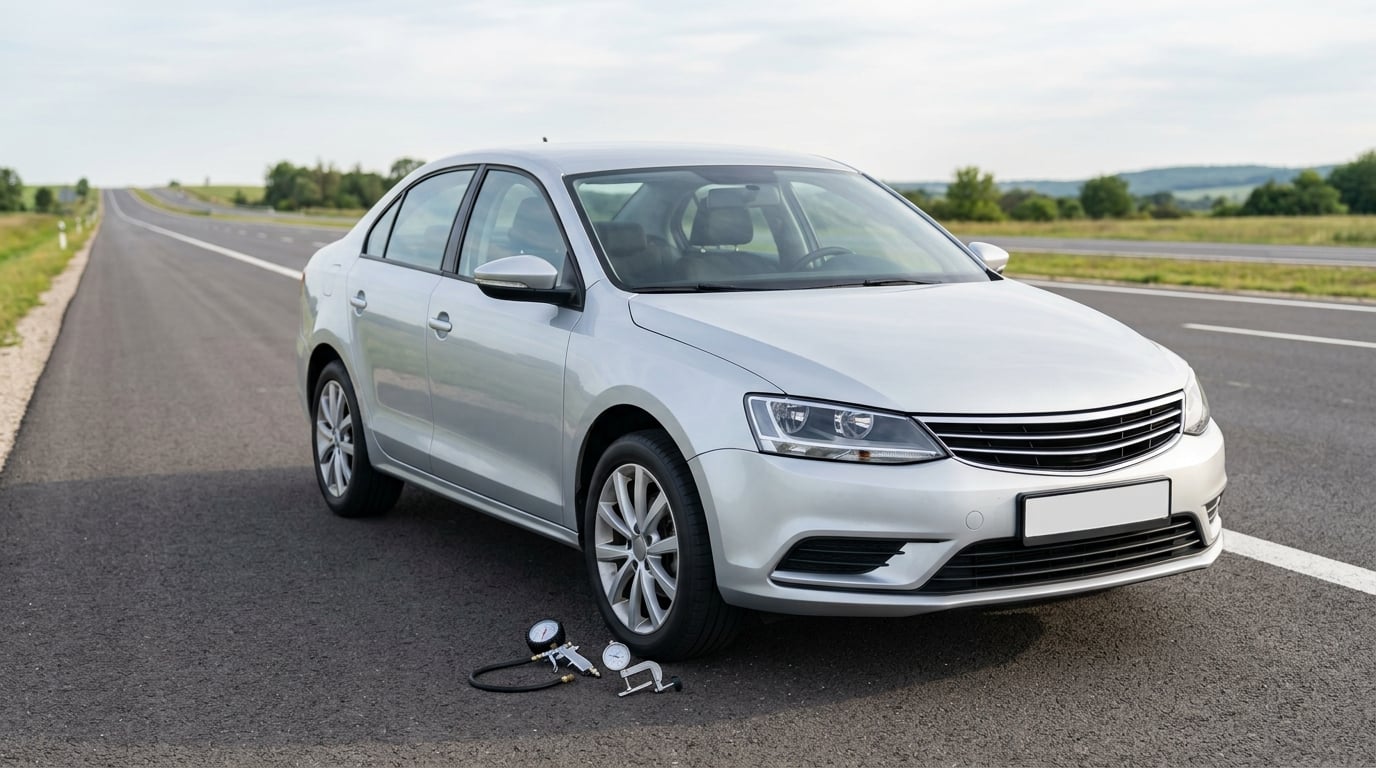
Highway-speed vibration is almost always a rotating part running slightly out of true: a tire, wheel, hub, driveshaft, or brake rotor. To diagnose a vibration at highway speed, spend your effort narrowing the fault with a handful of controlled tests before anyone talks about parts, because the same shake comes from very different systems and one fix makes the other worse.
Budget about an hour in the driveway and one 20-minute road test. Most of that work is answering questions rather than loosening bolts.
Here is where people get confused. Imbalance force grows with the square of rotational speed, so a wheel that is off by a couple of ounces can feel perfect at 35 mph and shake the car at 70. And because a wheel has a natural frequency, a bad wheel can be worst in a narrow band around 55 to 70 mph and smooth again above 80. A shake that peaks at 65 mph and disappears at 75 is still a real fault, not something you imagined.
Two questions narrow most cases before you touch a tool: where you feel it, and whether it peaks in a band or gets steadily worse the faster you go.
Table of Contents
- What You Need to Diagnose a Vibration at Highway Speed
- Step-by-Step: 8 Steps to Isolate the Culprit
- 1. Confirm When the Vibration Starts and Where You Feel It
- 2. Check Tire Pressure and Wheel Condition First
- 3. Separate Road Surface From a Real Fault at Highway Speed
- 4. Inspect Brakes and Wheel Components
- 5. Check Suspension and Steering Parts
- 6. Consider Drivetrain and Engine Sources
- 7. Repeat the Test With Variables Changed
- 8. Decide What to Repair or Replace
- Common Mistakes That Cost Owners Money
- Frequently Asked Questions
- At what speed does a tire imbalance cause vibration?
- How do I know if highway vibration comes from tires or brakes?
- Can a bent wheel cause vibration only at high speed?
- Is it safe to drive highway speed with a steering or brake vibration?
- Do I need to balance new tires, or can vibration be fixed by rotation?
- Conclusion
What You Need to Diagnose a Vibration at Highway Speed
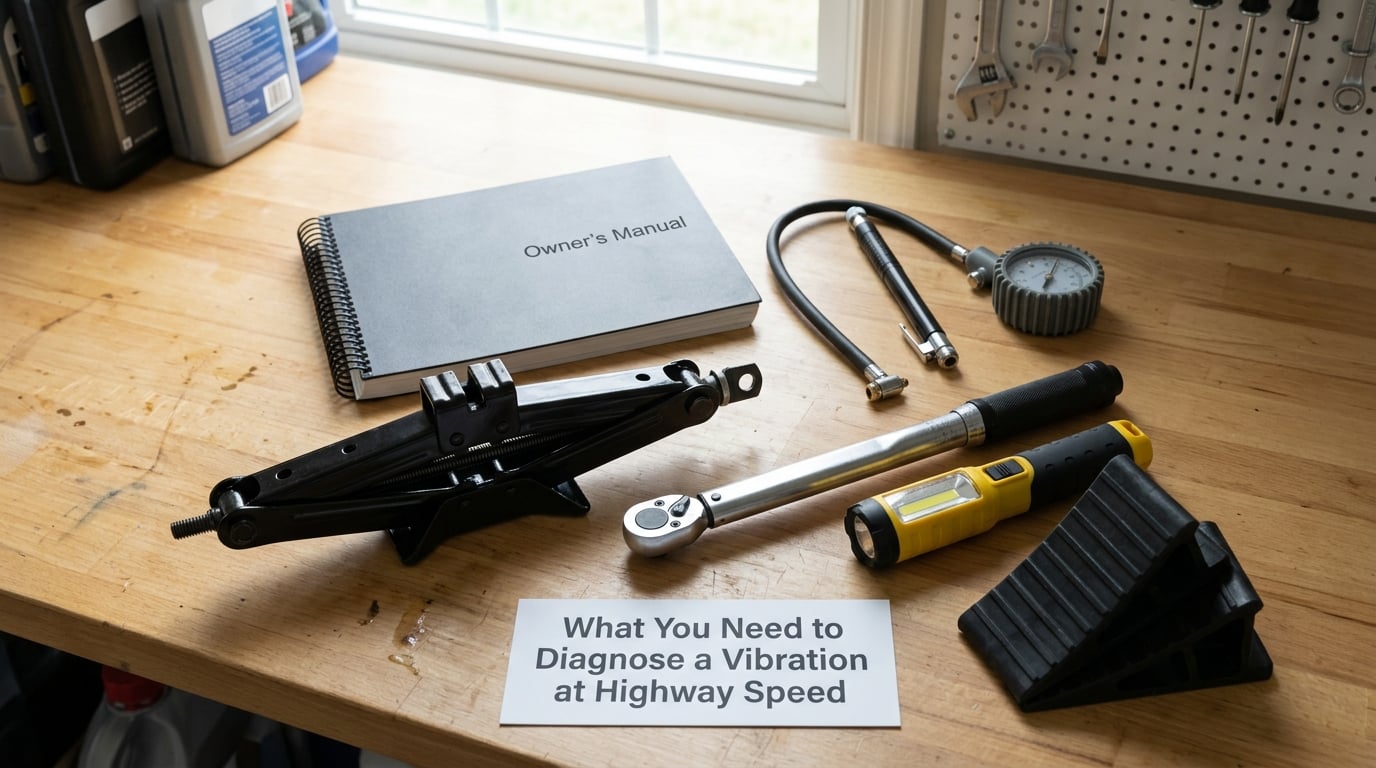
A tire-pressure gauge rated for the vehicle’s range, the owner’s manual, and a jack with properly rated jack stands. Those three cover most of the diagnosis. A torque wrench matters once you touch lug fasteners, and a good flashlight is worth more than it sounds at night in a driveway.
Two tools turn a guess into a measurement. A dial indicator clamped to the hub tells you wheel or brake rotor runout in thousandths of an inch. An infrared thermometer tells you whether one wheel or one brake is running hot. Neither is required to start, and both can be borrowed.
You also need a quiet place to write down what you find, because the whole method depends on remembering the speed, the location, and what changed. Write it as you go.
For the road test, pick a straight, lightly traveled divided road with a long smooth stretch, and drive at stepped speeds rather than varying everything at once. Avoid heavy traffic, bad weather, and roads with patched pavement or grooved rumble strips, since those can create a vibration that isn’t your car at all.
Step-by-Step: 8 Steps to Isolate the Culprit
1. Confirm When the Vibration Starts and Where You Feel It
Before anything else, pin down three facts: the speed where it appears, where you feel it, and whether it changes with your right foot. Write the answers down. Everything after this point is just eliminating possibilities against what you recorded.
Where you feel it splits the car in half. A shake in the steering wheel usually points to the front wheels, front suspension, or front brakes. A shake through the seat or floor points rearward, or to the driveline and mounts. In practice, some owners feel a front-wheel problem in the seat because the shock is absorbed before it reaches the wheel, so treat location as a strong hint, not a verdict.
Speed behavior matters just as much. A narrow band between 50 and 60 mph that fades above 70 or 75 points to a wheel, tire, or brake rotor running out of true. A shake that grows steadily with speed points more toward something loose, bent, or worn. If it appears only while you are accelerating, think driveline. If it appears only while you are braking, think the brakes. If it shows up on a rough road and disappears on smooth pavement, it may not be a fault at all.
2. Check Tire Pressure and Wheel Condition First
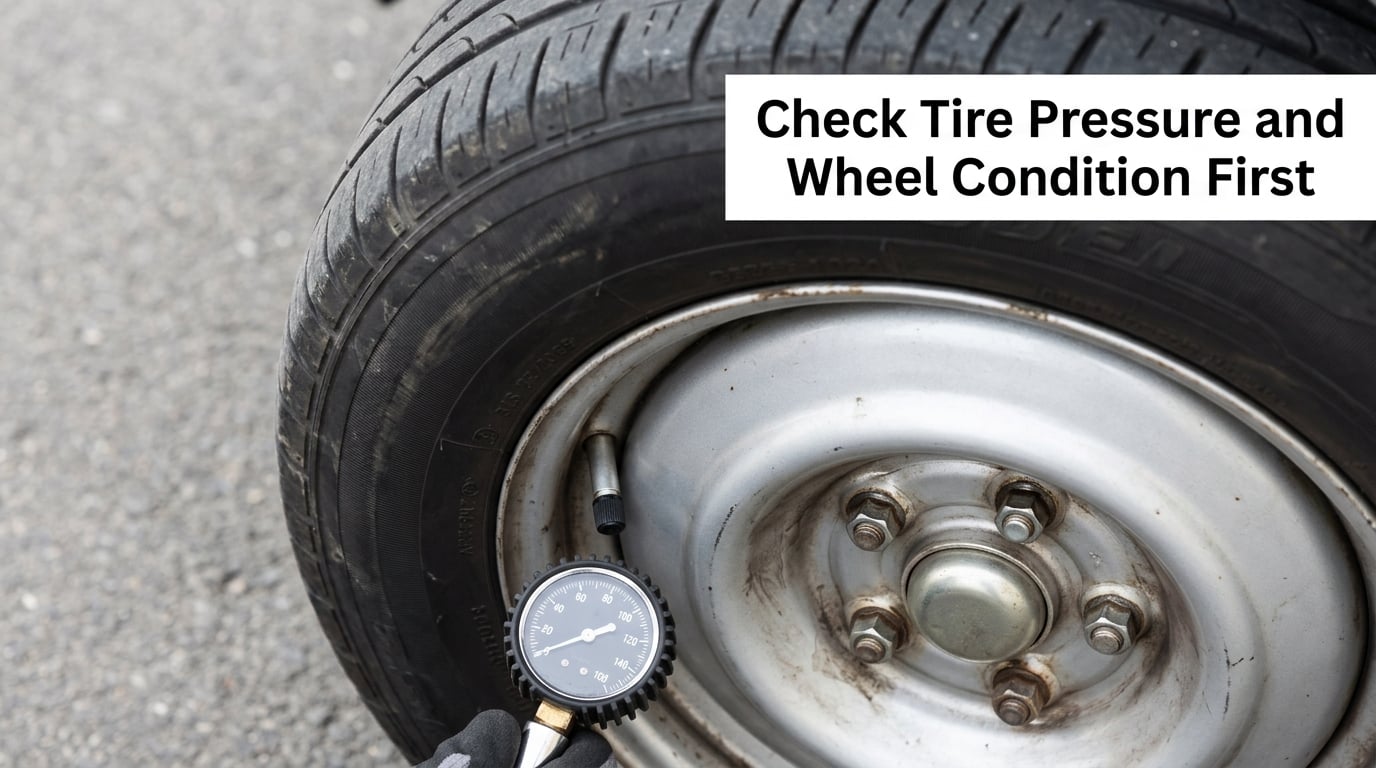
Start with cold pressures on every tire, including the spare, and compare them to the number on the door jamb placard rather than the number molded into the sidewall. Underinflated pressure changes how a tire handles a defect, and a single tire low by several PSI can create exactly the highway shake you’re chasing. Tires typically lose about 1 PSI a month and roughly 1 PSI for every 10 degrees of temperature drop, so a big swing between seasons is normal and worth topping off.
Then look at the tire itself. Cupping or scalloped wear, where the tread blocks wear higher on one side, points to a wheel that has been out of balance for a while. A flat spot across the tread usually means long storage. A bulge on the sidewall, a cut you can see into the cord, a belt you can feel separating, or a nail in the tread means that tire comes off now.
Check the DOT date code too. The last four digits are the week and year of manufacture, and tire makers treat six years as the point where rubber starts losing grip regardless of remaining tread. That is a replacement-age guideline, not a diagnosis of vibration, but it explains why older tires shake more.
Finish with the wheel and fasteners. Run a finger around the rim looking for a dent, a crease, or a hard spot, especially after a pothole, a curb, or a speed bump. Cracked or corroded aluminum wheels are not safe to drive. Check that the lug nuts or bolts are present and snug with the wheel on the ground, then tighten to the vehicle’s spec with a torque wrench if you disturbed them. If the tire type itself is a question, all-terrain vs highway tires for daily driving explains why tread pattern changes how a road surface feels through the wheel. This step rules out pressure, tire damage, and a loose or damaged wheel, which together cover a large share of cases.
3. Separate Road Surface From a Real Fault at Highway Speed
A real fault is present on smooth, well-maintained pavement. Grooved rumble strips, patched asphalt, bridge joints, and uneven lane edges all create vibration that feels mechanical and disappears when you leave the surface. Stiff suspension, an aggressive all-terrain tread pattern, or a worn shock absorber can amplify normal road texture into something that reads as a shake. If you are not sure which side the sound is coming from, compare road types before you compare parts.
Run the same speed twice: once on a stretch of grooved or patched road and once on smooth concrete or fresh asphalt well away from those. If the vibration only appears on the rough surface, the road is doing it. If it appears on both, the car is. This step rules out an entire category of false alarms, and it costs about ten minutes.
4. Inspect Brakes and Wheel Components
Brake problems announce themselves differently from wheel problems. A steering wheel shake that shows up while you brake, along with a pedal that pulses or feels like it is trying to hop, points to brake rotor runout: the rotor is no longer flat, and the pads push the caliper back and forth once per revolution. A hot rotor after a highway drive, or a car that smells of burning after a normal stop, points to a sticking caliper or brake drag rather than a warped disc.
Check the wheel for lateral and radial runout with a dial indicator if you have one. Mount the indicator against the hub, push the wheel in at the outer edge, and read how far the dial moves. Under about 1 mm of total runout, a wheel is generally fine. Past roughly 2 mm, no amount of balancing will fix it, because balancing corrects weight distribution and cannot straighten a bent rim.
Also look at pad wear across the rotor face, uneven pad thickness, visible cracking, and any hardware that has worked loose. This step rules out warped rotors, brake drag, bent rims, and loose caliper hardware.
5. Check Suspension and Steering Parts
With the vehicle lifted, rock the wheel at the 12 and 6 o’clock positions and again at 3 and 9 o’clock. Play at 12 and 6 usually points to the wheel bearing or hub assembly. Play at 3 and 9 points up into the steering linkage: the tie rod ends, the ball joints, and the control arm bushings that let the wheel wander instead of tracking.
Hold the inner edge of the tire at 3 and 9 o’clock and push. If the outer edge moves in the same direction, it is play in the wheel bearing. If the outer edge moves opposite while the tire is held at 12 and 6, the play is in the strut mount or a ball joint. Worn strut mounts also let a front wheel develop camber, which wears a tire on one shoulder and can create a vibration that keeps coming back after a balance.
Listen for a hum or growl that changes pitch as you take a gentle curve, since a failing bearing makes more noise under load. Feel for a hot hub with the infrared thermometer after driving. A rock test on jack stands with the vehicle properly supported, or on the ground with the wheel chocked, is enough to spot real play. This step rules out the hub, ball joints, tie rods, control arm bushings, and strut mounts.
6. Consider Drivetrain and Engine Sources
These are the less common causes, and they are the ones owners tend to leave until everything else has been replaced. A worn inner CV joint on a front-wheel-drive or all-wheel-drive vehicle shakes under load and often quiets down when you ease off the throttle, because the joint angle changes. Torn CV boots slinging grease onto the underside of the car are a strong hint. On rear-wheel-drive and all-wheel-drive layouts, a worn U-joint, a bent driveshaft, or a driveshaft weight that has come loose produces a shake that scales with speed and usually changes with a gear change or with the dampening effect of a different gear ratio.
Here is the test that separates them. On a quiet straight road at the speed where the shake is worst, shift into neutral and let the car coast. If the vibration stays exactly the same with the driveline disconnected, the source is a rolling element: a wheel, tire, bearing, or brake rotor. If it changes noticeably, you are looking at the driveline, the engine, or the mounts.
Track the tachometer as a second clue. A vibration tied to engine RPM rather than road speed, that keeps coming back at the same point on the rev range in any gear, points toward engine or transmission mounts, a misfire, or an accessory drive issue. A vibration that always arrives at the same road speed points toward the wheels. For mounts, a pry bar used to lift the engine in park can show a mount that has separated. This step rules out CV axles, U-joints, the driveshaft, engine and transmission mounts, and the accessory drive.
7. Repeat the Test With Variables Changed
This is the step that ends the guessing. Rotate the tires front to rear and side to side, then drive the same road at the same stepped speeds: 50, 60, 70, then 80 mph. If the vibration moves with the tire, the tire or the wheel on that corner is the problem, and you have found your corner without guessing. If the shake stays exactly where it was, or stays in the steering wheel while the tires moved elsewhere, the fault is in something the rotation did not move: the brakes, the hub on the other side, the suspension, or the driveline.
Change one variable at a time on the same road. Compare straight road against a gentle curve, coasting against accelerating, and braking against driving. A shake that only shows in a curve is a different fault from one that shows straight. Record each result with a speed number, not a word like faster or worse.
Keep a simple log: speed band, location of the shake, tire DOT codes, date of the last rotation and balance, recent potholes, curb strikes, or snow speed bumps, and anything that has already been replaced. That log is the single most useful thing you can hand a technician, and it saves the diagnostic time you already paid for.
8. Decide What to Repair or Replace
By this point you should have a named system and a confirming test, which is the line between a diagnosis and a list of guesses. If pressure, a balance, and a rotation cleared it, you are done. If the fault is a bent wheel, a worn bushing, a failing hub, or a driveline component, that repair is a different job with different equipment.
Some of it is honest driveway work. Inflate and set pressures, rotate and balance, replace a wheel, and replace a CV boot are all within reach with a jack, jack stands, and a torque wrench. Other work is equipment, not skill: correcting runout on a bent alloy rim needs a hydraulic roller, replacing a hub or a U-joint needs a press, and machining a brake rotor needs a lathe. Shops have those. Trying to force them in a driveway is how a small job becomes two small jobs.
Ask a shop to show you the measurement, not just the part name. A dial indicator reading on rotor runout, a stated imbalance in ounces, or a runout figure on the wheel tells you the diagnosis is based on evidence. Put the driveline first, then the wheel and tire, then the suspension and steering, then the brakes. A failed bearing that gets driven for months can take the hub with it, and an unbalanced wheel that keeps running wears tires, bushings, and CV boots, turning a quick balance into a much larger repair.
Common Mistakes That Cost Owners Money
Driving on a tire you already know is bad. A sidewall bulge, a visible belt, or a cut into the cord is a replacement, not a road test. Slow down and drive to a tire shop instead of continuing at speed to prove the theory.
Skipping the lug torque check. A loose fastener is a rare cause, but it is a cheap one to rule out. Tighten to the vehicle’s specification and confirm nothing was left off.
Replacing parts one at a time without a confirming test. New tires, then a balance, then an alignment, then a control arm, with no stop to re-test the vibration between steps, is the most common thread in owner forums. Re-test after each change so you know what actually did it.
Replacing the wheel and tire together without a rotation test. If the fault is a bent rim or an out-of-round tire, a new set brings the same defect forward.
Treating a single bump as a recurring fault. One pothole at low speed can feel like the highway shake for a few minutes. The test is whether the shake is there on the next drive on smooth road.
Running a high-speed test on bad pavement. Grooves and patches create their own vibration, and it sends people chasing parts that were fine.
Ignoring a shake you can feel in the steering wheel. Steering feel that wanders, a brake pedal that pulses, or a wheel that is hot to the touch is a stop-and-inspect situation, not a monitor-it situation.
Frequently Asked Questions
At what speed does a tire imbalance cause vibration?
Usually somewhere in the 50 to 70 mph range, which is where most wheel natural frequencies fall. That is why a shake can be worst at 65 mph and disappear at 80. The exact crossover depends on how much mass is off balance and how heavy the vehicle is, so treat a narrow band plus a steering wheel shake as the signature of a balance problem.
How do I know if highway vibration comes from tires or brakes?
If the shake is there while you coast or just hold speed, suspect the tire or wheel. If it appears only when you press the pedal and the pedal pulses or hops, suspect brake rotor runout. Shaking under braking and shaking while coasting at the same speed are two different problems, and only one of them is fixed by a balance.
Can a bent wheel cause vibration only at high speed?
Yes, and a bent wheel is one of the most common high-speed-only faults. A dip in the rim changes the runout as the wheel turns, and the effect grows with the square of wheel speed, so it is invisible at 30 mph and obvious at 70. A dial indicator will read it: past roughly 2 mm of runout, the wheel needs straightening or replacing.
Is it safe to drive highway speed with a steering or brake vibration?
It depends on what is causing it, and the difference matters. A slight shake with no noise, no loose steering, and no pedal pulsation is usually a balance or minor imbalance issue that is fine to drive to a shop. A wandering or loose steering wheel, a hot wheel, a burning smell, a pulsing brake pedal, or a shake that grew sharply in one trip means you should not drive fast and should have the car inspected.
Do I need to balance new tires, or can vibration be fixed by rotation?
Every new tire and wheel combination should be balanced on a road-force balancer at installation, including a tire you are reusing on a second rim. A rotation only changes which corner a tire is on, so it can move a symptom around but it does not correct imbalance or runout. If a shake appears after a rotation, the cause came with the tire or the wheel, and it needs measuring, not moving.
Conclusion
To diagnose a vibration at highway speed, begin with the cheapest and safest checks: cold tire pressure against the door jamb placard, tire and wheel condition, and lug fastener torque. Then reproduce the shake on smooth pavement at stepped speeds and record where you feel it and how it behaves.
If the tire checks come back clean, move through the brakes, the steering and suspension, and the driveline in that order, using the rotation and coast tests to isolate the corner or the system. When the cause stays unclear, have a qualified technician measure it, and ask for the measurement alongside the part name.