
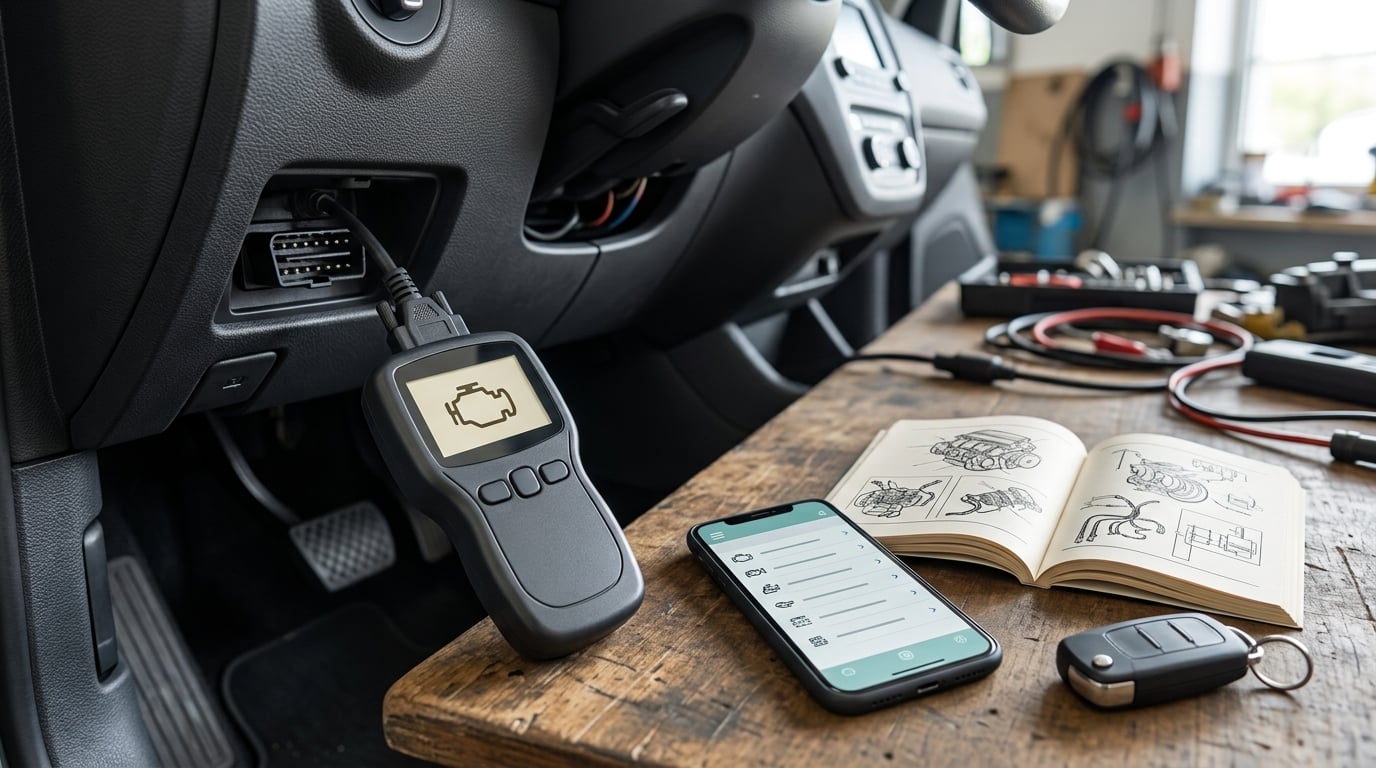
To use a scan tool as a beginner, you plug a code reader into your car’s 16-pin OBD-II port, turn the ignition on, and read the diagnostic trouble codes your engine computer has stored. The whole first scan takes about five minutes and tells you which system has faulted and roughly why, not which part to buy. Here is the full sequence for 2026.
The tool talks to the same computers a dealer uses for the first five minutes of a repair. It does not repair anything, and it does not measure components the way a multimeter or an oscilloscope does. Knowing where that line sits keeps you out of expensive guesswork.
Here is the short version before the detail:
- Park on level ground, engine off, and get the owner’s manual out.
- Find the OBD-II port and plug the reader in firmly.
- Turn the ignition on without starting the engine.
- Pick your make, model and year, then scan all modules.
- Read stored, pending and permanent codes, and write them down.
- Look at freeze-frame and live data for context.
- Fix the cause, clear the code, drive the car, then scan again.
Table of Contents
What You Need
You need four things, and three of them are free. The car itself and its owner’s manual, any scanner that speaks OBD-II, and a phone or laptop to read the results from a Bluetooth tool.
Before anything else, write down the year, make, model and engine of the vehicle. The scan tool uses that to pick the right communication protocol and the right code descriptions, and a wrong profile is the number one reason a scan comes back empty or wrong.
Now the tool itself. A basic OBD-II code reader is read-only in practice: it asks the car for codes and live data and shows you what comes back. A bidirectional tool goes further and can command components to act, which means it can instruct an ABS module to cycle its valves while you watch the pedal, or run an actuator test on a window regulator. Bidirectional tools are genuinely useful, and they are also the easiest way for a beginner to trigger a behaviour they did not intend.
A wired handheld reader plugs straight into the car and needs nothing else. A Bluetooth dongle costs a few dollars and turns your phone into the screen, which means pairing a device, downloading an app, granting Bluetooth permission, and dealing with the occasional app that wants a paid subscription for the code library. If you want the least fuss on your first scan, use a wired handheld.
Before buying anything, two free options are worth trying. Most parts stores and some dealers will read codes for you at the counter, and a borrowed reader from a friend does everything a basic reader does. If you are looking at a used car, a pre-purchase scan is a legitimate reason to ask the seller to plug in their own tool before you hand over money.
One optional extra: some vehicles, particularly German ones, need a manufacturer-specific cable and software to reach modules a generic tool will skip. If your car is a BMW, a MINI, or a similar marque, keep that in mind from the start.
Step-by-Step: How to Use a Scan Tool for Beginners
1. Park Safely and Prepare the Vehicle
Park on level ground, in gear or in park, with the parking brake on. Do not work in traffic, and do not work where the car can roll.
Set the transmission correctly: park for an automatic, neutral for a manual. Leave the key or start button reachable, and if your car has remote start, switch remote start off first so the vehicle does not wake up mid-scan. Keep away from hot exhaust parts, and do not put your fingers near a cooling fan, because those fans can start without warning when the ignition comes on.
Open the owner’s manual and find the OBD-II port page if it has one. The manual will also tell you where the socket is on your specific car, which is faster than crawling around the dash guessing.
2. Find and Connect the OBD-II Port
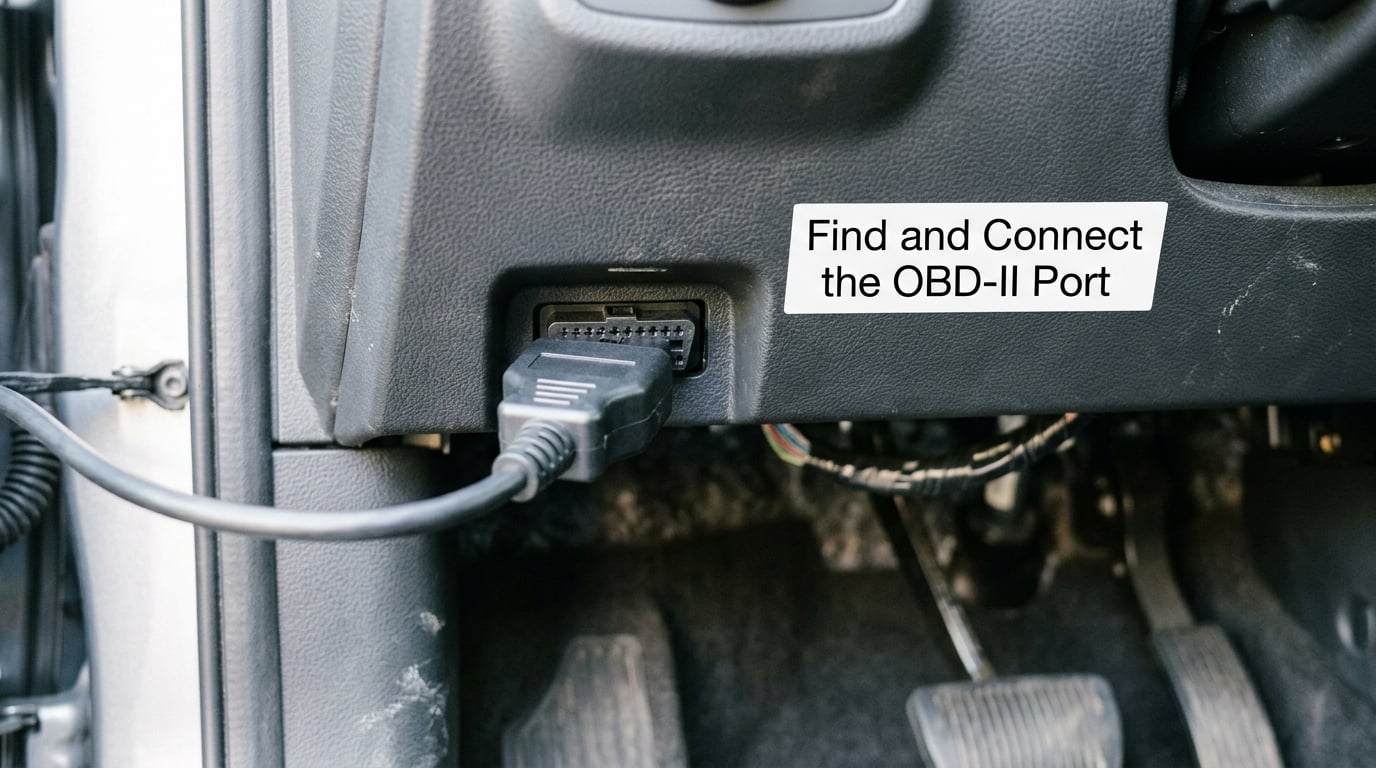
The OBD-II port, officially the diagnostic link connector or DLC, is a 16-pin trapezoid socket. On most cars built since 1996 it sits under the dashboard on the driver’s side, low and out of the way, sometimes within easy reach of your knee.
It is not always there. On many European models it moves to the centre console, hidden behind a removable tray. On a few older or odd-ball vehicles it ends up behind a panel in the glovebox, near the driver’s door, or tucked beside the fuse box in the engine bay.
If you cannot find it, sit in the driver’s seat and look under the steering wheel from about knee height downward and feel along the underside of the dash for a wide socket shaped like a trapezoid. Then check the centre console and the glovebox. If you are still stuck, the owner’s manual or the vehicle’s model year and a wiring diagram will settle it in a minute.
Plug the reader in with the ignition off. Push until it is properly seated, because a half-seated plug is a common cause of a no communication error.
3. Turn On the Tool and Select the Vehicle
A wired reader usually powers up as soon as it is plugged in. A Bluetooth dongle needs pairing first: turn the ignition on, pair the dongle in your phone’s Bluetooth menu, then open the app and let it connect.
Next, select the vehicle. Most tools follow a similar path through their menus: Scan, then make, model and year, then system selection, then engine. Handheld tablets with more coverage will list additional systems such as transmission, ABS, SRS, or body control.
These labels are not universal. The menu wording changes between scanner brands, between the app and the cable that came with it, and between vehicle years. The sequence stays the same even when the buttons do not, so if your tool says Diagnose where another says Scan, you are in the right place.
Select every system available, not just the engine. A cheap generic reader often only sees powertrain codes, which means a stored ABS or body fault stays invisible even though the reader is working perfectly.
4. Read Stored, Pending, and Permanent Codes
A stored code means the fault happened, the control module saw it, and the check engine light is lit now. A pending code means the fault appeared on the current drive but has not yet confirmed itself over enough cycles to light the light, so it is often an early warning.
A permanent code is one the module keeps until the fault is fixed outside the usual drive cycle. If a code will not clear no matter how many times you erase it, this is usually why.
Look for Read Codes, Read DTCs, or Stored Codes, and write down the full code, not just the last three digits. A partial code is ambiguous. Some tools will show you history codes too, which are faults from earlier in the car’s memory that no longer matter for the problem in front of you.
Do not erase anything yet. The moment you clear, the module throws away the freeze-frame data that recorded the conditions at the time of the fault, and that snapshot is often the only evidence of what caused it.
5. Review Live Data and Freeze-Frame Data
Freeze frame is a snapshot the module captured when it set the code: engine speed, vehicle speed, coolant temperature, load, fuel trim, and usually voltage. This is the closest thing to a witness statement your car gives you.
Live data is the same set of parameters shown continuously, and it is where you confirm a diagnosis rather than start one. Watch engine RPM, coolant temperature, vehicle speed, fuel trim, short-term and long-term, and battery voltage. Voltage sitting well under twelve with the key on points at the battery or charging system, not at whatever engine code you just read.
Some tools show fuel trims as a percentage against a normal band. Values pinned at the extreme of that band point toward an air or fuel problem. Airflow and coolant temperature readings that disagree with what the engine is actually doing tell you about wiring or a sensor, not about the part’s name on the screen.
Graphs help on intermittent faults. A short drive with a few parameters plotted can show a stumble that a single snapshot at idle never would. Compare anything odd against service information and manufacturer specifications, because layout and units differ between tools.
6. Match the Code to the Correct System
The letter at the start of a code tells you which system flagged it. P covers the powertrain, including the engine and, on many cars, the transmission. B covers body systems such as airbags or climate control. C covers chassis systems, most often ABS and traction control. U covers network communication between modules.
Read the code together with three other things: the system the tool named, the symptom the driver described, and the freeze frame. A code identifies a detected circuit or condition, not a failed part. A misfire code on one cylinder can be a plug, an injector, a coil, compression, or fuel pressure, and no scan tool narrows that down for you.
That is the honest limit of a cheap reader. A generic tool reports what the module saw. Manufacturer-specific software, guided diagnostics, and a technician with a meter and a scope take it further. If the code points at a safety system like steering, brakes, or a flashing check engine light, stop and get a qualified technician involved.
7. Save the Results, Repair, and Clear the Code
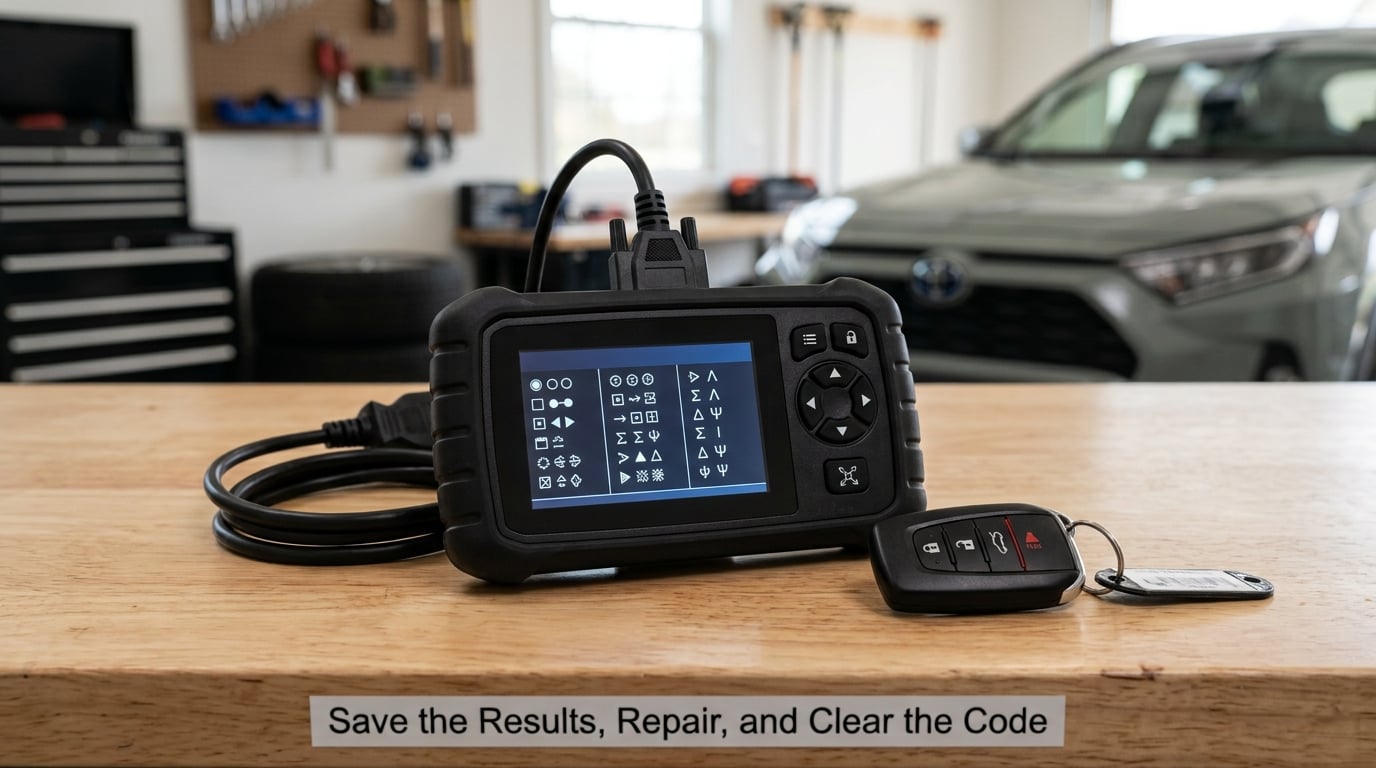
Save or photograph the report before you touch anything. Most tools have a Save or Report function, and a phone screenshot takes seconds. Keep the codes, the system name, the freeze frame, and the date in one place so you can compare before and after.
Then fix the cause, or have it fixed. Clear the code only once the fault is genuinely repaired, never as a way to make the light go away for the drive home.
Clearing codes resets the I/M readiness monitors that the emissions test uses. A car that has had its codes wiped can fail a smog or roadworthiness test even when the engine is perfectly healthy, simply because no complete drive cycle has been recorded since. If a test is coming up, scan and read the readiness monitors before you clear anything.
After the repair, clear the code, then drive normally until the module runs a full drive cycle: a cold start, a warm-up, some city driving with mixed load, and a highway stretch. Scan again. If the code returns, the fault is still there, and now you know your repair did not address it. That before-and-after comparison is the single most useful thing a scan tool does.
On a hybrid or EV, the same drive-cycle logic applies with one extra wrinkle: the regen system changes how the car behaves at low speed, so live-data traces look unfamiliar the first time you read them. Our guide to regenerative braking explained for beginners covers what those traces should look like before you go chasing a phantom fault.
Common Mistakes
Wrong vehicle profile. Enter the wrong year or model and you get wrong code descriptions or nothing at all. Check the VIN entry too, since a mis-typed character can point the tool at the wrong database.
Unsupported adapters. A cheap dongle that is not supported for your vehicle may connect to the phone and still fail to talk to the car. If the tool shows no communication, the port, the vehicle profile, and the cable support are the three things to check, in that order.
Confusing pending and historical codes. Treating a pending or history code as the current fault sends you chasing an old problem. Only stored and pending codes describe what is happening now.
Clearing too early. You lose the freeze frame, reset the readiness monitors, and learn nothing except that the light went out. If you must clear to test something, take a full report first.
Replacing parts before diagnosing. A code names a circuit, not a component. Buying a sensor on the strength of one code is the most expensive way to learn that the real fault was a vacuum leak or a corroded connector.
Misreading live data. A coolant temperature sensor reading odd at a cold start is not proof that the sensor is faulty. Compare against the vehicle’s specifications and the way the value behaves, not against what you assumed it should say.
Expecting the tool to repair the car. No scan tool fixes anything. If a seller or forum post claims one does, that is a marketing claim, not a feature.
Running bidirectional commands without training. Active tests can cycle ABS valves, run window regulators, or command fuel injector tests. On a vehicle you do not know well, that is how a warning light turns into a real problem.
Frequently Asked Questions
What can a scan tool diagnose?
A scan tool reads what your vehicle’s control modules have already detected. It tells you which system flagged a fault, the stored, pending and permanent codes, the freeze-frame snapshot from the moment the fault appeared, and live sensor data like engine speed, coolant temperature and fuel trims. It does not test components electrically, so it cannot confirm which part has failed or tell you what a repair will cost.
Will a basic OBD-II scan tool work on my older car?
If your car was built in 1996 or later, a basic OBD-II code reader should connect, because the 16-pin port and the OBD-II protocol were mandated across the industry. Older vehicles use the older OBD-I connector with a different pin layout, so you need a reader that supports OBD-I or a simple adapter for the port. Your owner’s manual or the year of manufacture settles it in seconds.
Should I clear trouble codes before repairing my car?
No. Clearing before the repair erases the freeze-frame data that recorded the conditions when the fault appeared, and it usually brings the light straight back. It also resets the I/M readiness monitors used for emissions testing, which can make an otherwise healthy car fail a smog or roadworthiness test. Read and save the codes, repair the cause, then clear and road-test.
What is the difference between pending and permanent codes?
A pending code means the fault appeared on the current drive but has not repeated often enough to confirm itself, so it is an early warning and the check engine light may still be off. A permanent code is one the module holds until the fault is corrected through normal driving, not simply erased, which is why some codes return no matter how many times you clear them.
When do I need BMW-specific software or a professional mechanic?
Generic tools talk to a limited set of modules, and some BMW and MINI models need a manufacturer-specific cable and software to reach the rest. You also need a technician when the code points at a safety system, when the check engine light is flashing, when the code points to an area the scan tool cannot test, or when you need the component itself verified rather than the circuit that reported it.
Conclusion
If you do one thing today, identify the vehicle correctly and connect the tool with the ignition on and the engine off. Read the codes, then save them and the freeze frame before you touch the erase button.
A scan tool earns its keep in the sequence after the reading: diagnose the cause, make the repair, clear the code, road-test, and scan again to confirm. Get the vehicle right first, and if the code points at a system you cannot test, hand it to a technician with the right software rather than guessing with parts.