
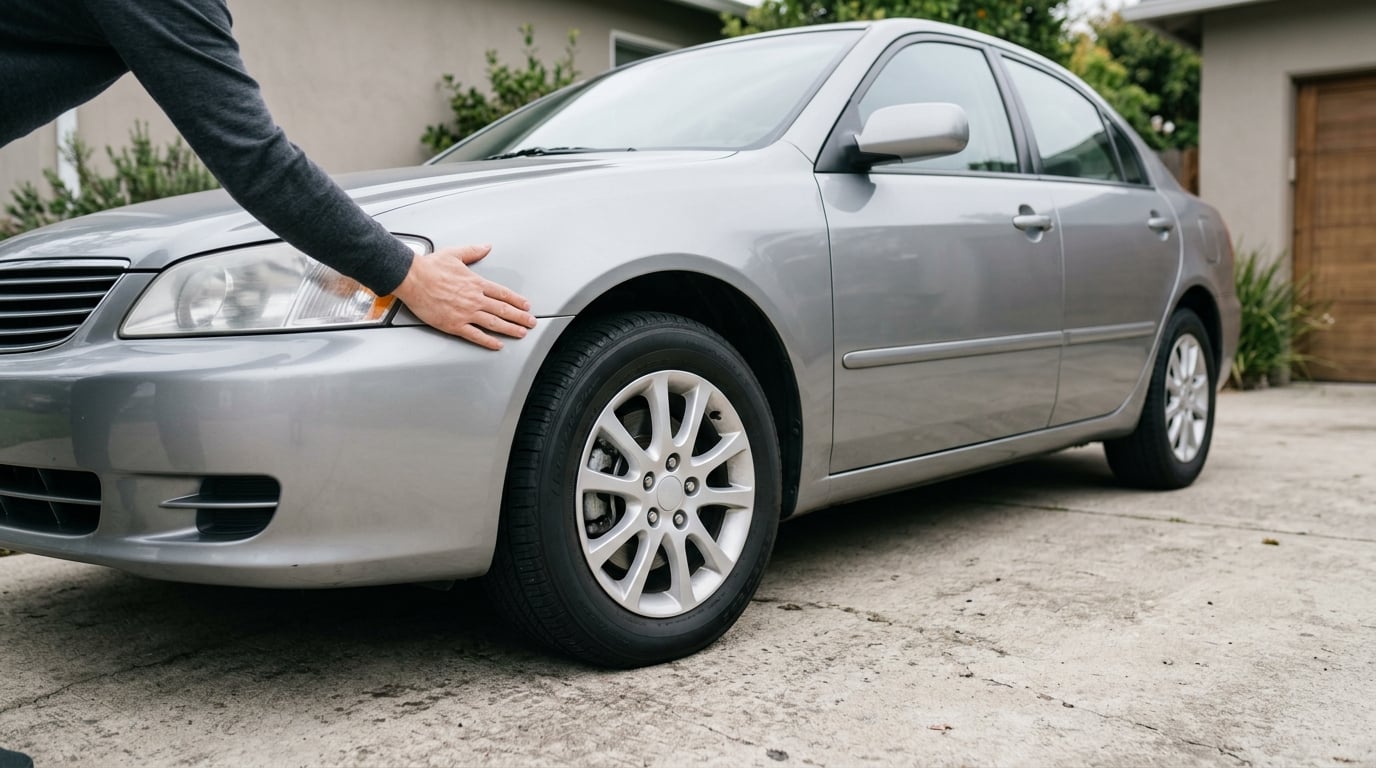
A bounce test takes about five minutes and needs nothing but level ground and your hands. Push one corner of the car down, let go, and a healthy vehicle rises back to its normal height and stops almost immediately. If it keeps oscillating, that corner’s damping is gone, and the next step is a proper inspection rather than a guess. Below is exactly how to check shocks with a bounce test on a BMW, what the result can and cannot tell you, and the warning signs that mean you should stop reading and start booking.
One note before you start: this is a screening check, not a diagnosis. It reliably tells you whether a corner is damping badly. It tells you almost nothing about why. The distinction matters, because most people who get a surprising result end up chasing the wrong part.
Table of Contents
- What You Need
- How to Check Shocks With a Bounce Test
- Step-by-Step
- Common Mistakes
- Safety and When to Replace Shocks or Struts
- Frequently Asked Questions
- How many times should a car bounce after pushing it?
- What is considered normal body movement in a bounce test?
- Does a bounce test tell me if my shocks are bad?
- Should I bounce test the front and rear suspension separately?
- Why does one side of my BMW bounce more than the other?
- What other tests should I do if the bounce test looks uneven?
What You Need
You need a flat paved area, ideally a garage floor or a level driveway where all four wheels sit at the same height. A sloped street is worse than no test at all, because the car leaning downhill will pull its weight off the springs on one side and skew every comparison you try to make.
- A level surface with enough room to walk around all four corners.
- Your phone, to record each corner. Memory is unreliable when you’re comparing four similar-looking movements back to back.
- The parking brake engaged and the transmission in park, or in neutral with the wheels chocked if the parking brake feels soft.
- A flashlight and a rag for the visual check in step one, particularly on darker cars where an oil weep on the shock body is easy to miss.
- The owner’s manual, because ride height, damping and even self-levelling behaviour differ a lot between BMW models and years.
No jack is needed for the standard test. If you plan to go on to the by-hand test of a removed shock, add rated jack stands, and never work under a car held up by a jack alone. While you are setting up, it’s a reasonable moment to check the rest of your car’s condition too. Brake fluid ages whether the car is moving or not, and how to test brake fluid with a moisture tester takes about as long as this bounce test does.
How to Check Shocks With a Bounce Test
Your springs carry the car’s weight and let it move over bumps. On their own they are happy to keep oscillating forever, which is why a car with no dampers at all would blur along the road like a boat. Shock absorbers and struts are hydraulic cylinders that resist that motion and turn it into heat, so the car settles after one bump instead of three.
The bounce test works because damping failure is dramatic and hard to hide. A spring that is tired still holds the car at the correct ride height, so a failing shock often looks completely normal until you put a hand on the car and move it. A healthy car resists your push and stops dead the moment you let go. A car with a dead shock on that corner absorbs the push, then bounces.
On a BMW, the terminology matters because you need to know what you are testing. Front struts combine the damper, spring and steering knuckle assembly into one unit. Rear dampers are usually separate shocks mounted into the control arms, though some models use link-mounted units. Either way the test is identical, so the hood tells you about the front struts and the trunk tells you about the rear shocks. If your car has electronically controlled dampers, a healthy result is a firmer, flatter response than an adjustable one, and your manual will say which mode you should be in before you test.
What a bounce test cannot do is measure damping force, isolate a fault to a specific component, or clear a car with a clunk over bumps and uneven tire wear. Treat the result as a pointer to one corner, then confirm with the checks in step six.
Step-by-Step
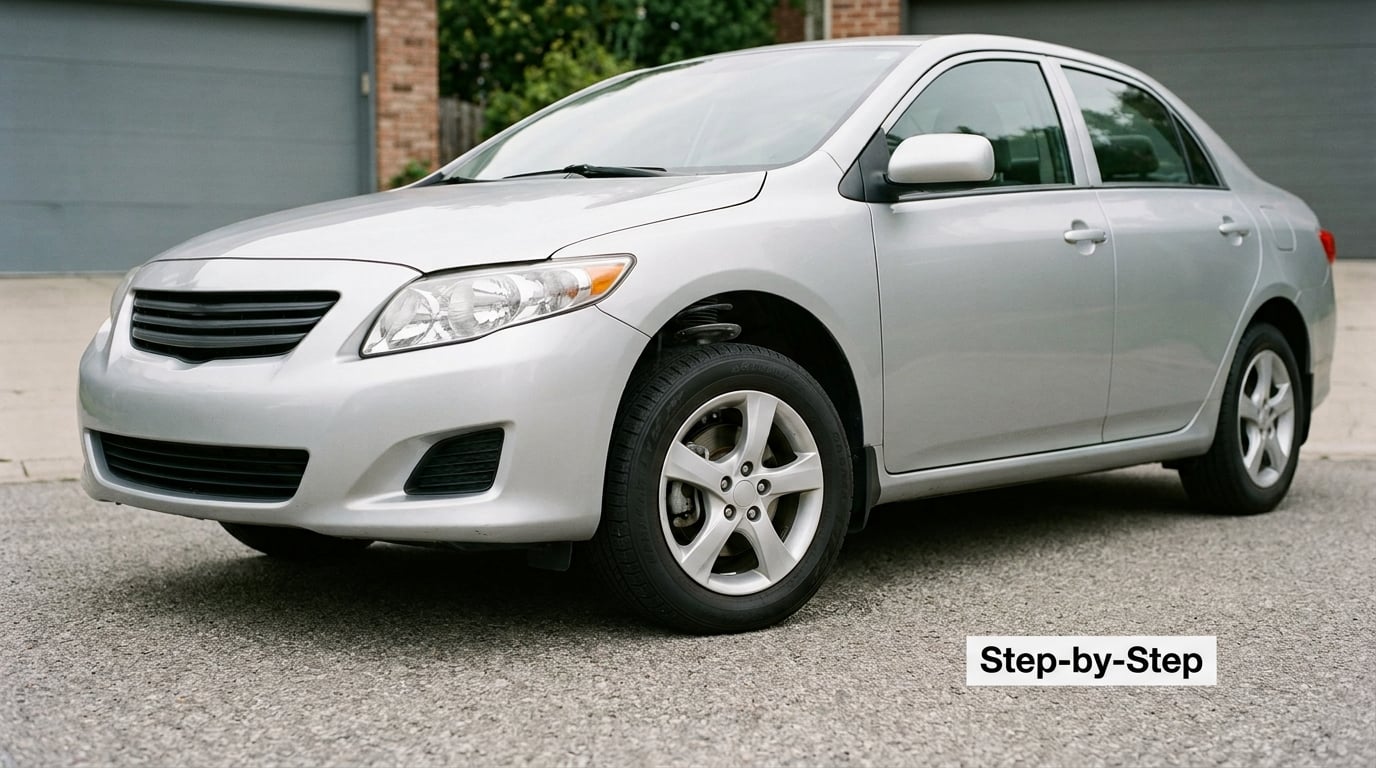
Step 1: Check the Tires and Suspension First
A bounce test run on a car with a flat or underinflated tire tells you nothing useful. The tire is part of the spring system, and a tire that has lost pressure changes the ride height, the damping feel and the way the car settles. Inflate to the door-jamb pressure, then look at all four tires for uneven wear across the tread, cupping, or a shoulder worn to the cords.
With the car still on the ground, look for anything obvious: a wheel sitting proud of its neighbours, a tire sidewall bulged or cut, a wheel nut you can shift, a visible oil film on a shock or strut body, a dented damper housing, or rust pitting on the shiny piston rod. If the car sits visibly nose-high, tail-high or lopsided, find out why before you push anything.
Step 2: Park on Level Ground and Position the Car
Park on the flat spot, engine off, transmission in park or in neutral for a manual. Set the parking brake hard, and if you are on a slope, put a chock or a couple of solid bricks behind the wheels you are not standing near. The car can and does creep on a worn parking brake, especially with the suspension already moving.
Leave the vehicle’s load alone for the test. A full trunk, a roof box, or a bed of gravel all push the springs closer to full compression, and a car sitting on its bump stops has no travel left to show you. If you must test a loaded car, know that the result is not comparable to an empty one.
Step 3: Push and Release Each Corner
Stand at the corner above the wheel you are testing, not in front of the car. Press down on the bodywork over that corner, or the fender, and push until the suspension has moved a few centimetres, which is roughly the amount of movement you would get rolling over a decent bump.
Release cleanly and watch the wheel and the body directly above it, not the far end of the car. Let the car settle fully before you look at your phone, because a healthy car is finished moving in about a second.
Do not try to force it. Shoving hard enough to rock the whole car on its tires adds energy the springs have to absorb and can make a healthy corner look nervous. The test is a firm push and a clean release, not a workout.
Step 4: Compare Side to Side, Front, and Rear
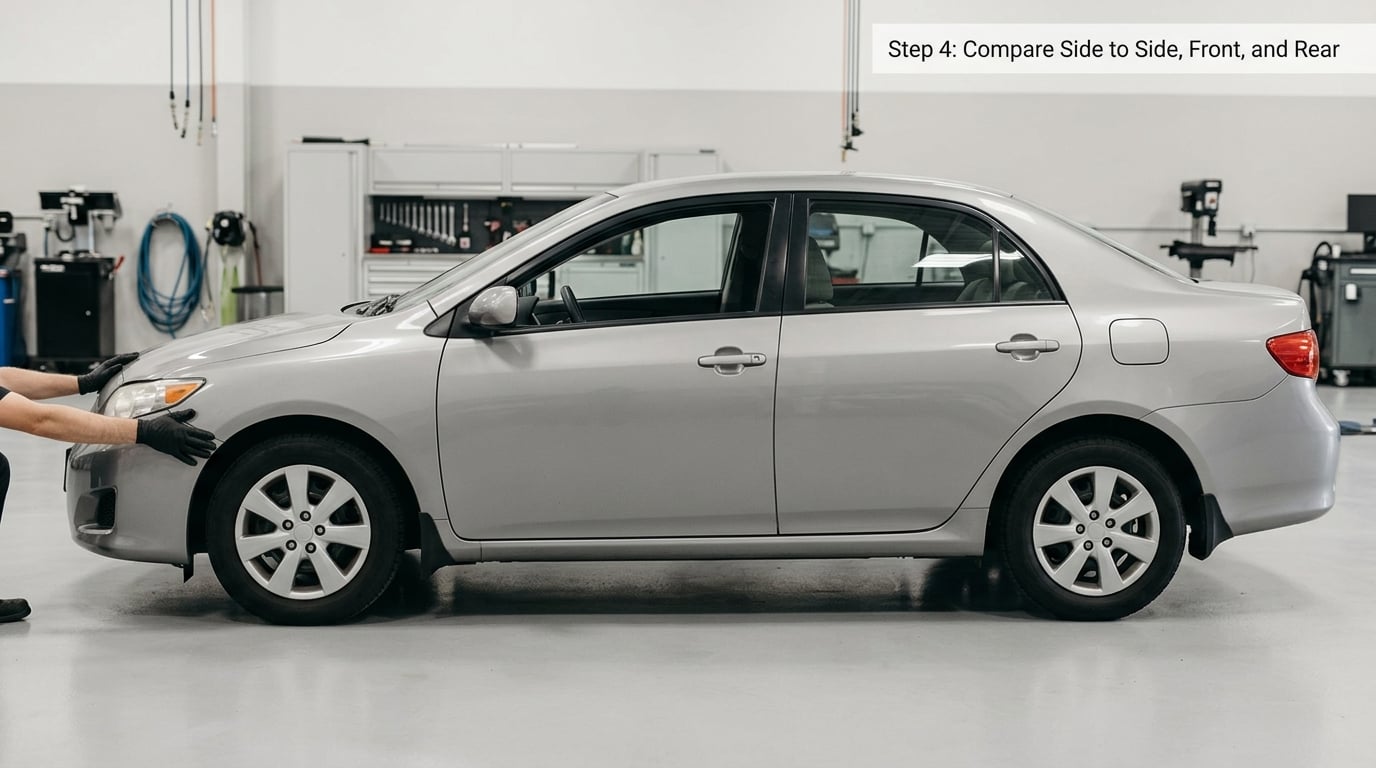
Run all four corners and compare them against each other, not against some remembered standard. This is the step that turns a vague feeling into a diagnosis: identical behaviour on all four corners means the car is behaving as one system, while any single corner that behaves differently is where your problem lives.
Watch four things on each corner: how far the car rises past its resting height, how many times it crosses that height, how long it takes to stop moving, and whether the tire stays planted on the ground. One corner that stays down after the push, or that rebounds faster and higher than the other three, is a fault in that corner’s damper or in the mounting around it.
Front and rear will not feel identical even on a healthy car, since the front carries more of the car’s weight and usually has stiffer damping. Compare like with like: driver side to passenger side, rear to rear.
Step 5: Repeat the Test After the Car Has Settled
Wait a minute, then push the same corner again. The second pass is where uneven behaviour shows up, because a damper that is dry, sticking or worn on one valve can behave differently depending on how much oil is where in the stroke.
If two passes on the same corner disagree with each other, you have found something real, and no shop will argue with it. Note the times in your phone and compare them later. A corner that is inconsistent, or that needs a different amount of force to stop, deserves a hands-on inspection.
Step 6: Interpret the Results
Here is the scale that matters, and it is the same one most shops use. Count the number of times the body rises back past its resting height after you let go.
| What you see after you let go | What it usually means | What to do next |
|---|---|---|
| Settles immediately, at most a hint of one movement | Damping is working as intended | Note the date and move on to the next corner |
| One visible bounce, then stops | Beginning to go; damping is inconsistent but not gone | Watch for the symptoms and retest in a few thousand miles |
| Two or more bounces, or the car keeps rocking | Failed or nearly failed damper on that corner | Book an inspection of that corner |
| Tire lifts or skips off the ground on rebound | Damping is effectively gone | Drive gently and arrange service promptly |
| Corner behaves differently on repeat passes | Sticking valve, partial seal failure, or a mounting problem | Have the unit removed and tested by hand |
| All four corners identical, but the car clunks over bumps | Not a shock fault; look elsewhere | Check sway bar links, bushings, and strut mounts |
That last row is where most forum troubleshooting gets stuck. If the bounce test passes on every corner and the clunk is still there, the answer is in the parts the bounce test barely touches: sway bar end links, sway bar bushings, control arm bushings, bump stops that have collapsed, and strut mounts that have separated from their rubber. A short drive over a speed bump or a washboard road with the radio off will often localize the noise faster than any driveway test.
Common Mistakes
- Testing on a sloped street. The car leans against the slope and the comparison is meaningless. Move to a flat surface and repeat everything.
- Testing with a loaded car. A full trunk, roof box or heavy bed compresses the springs so the travel is used up before you start. Empty the car, or accept that you cannot compare it to an empty one.
- Ignoring tire pressure. Two tires at different pressures on the same axle will feel different under your hand. Set all four to the door-jamb pressure first.
- Shoving instead of pushing. A hard shove rocks the car on its tires and reads as a failed damper when nothing is wrong. Firm, controlled, and comparable on every corner.
- Judging one corner in isolation. Every car bounces a little. A result only means something when it differs from the other three.
- Treating the bounce test as a diagnosis. It screens for lost damping. It does not name the failed part, and it will not find a bushing or a mount.
One more habit worth avoiding: standing on the bumper or having someone jump on a corner to get a bigger reaction. You will get more movement, more noise and a worse reading, plus a compressed disc or back for your trouble. A firm push with an open palm tells you everything you need.
Safety and When to Replace Shocks or Struts
The safety rules are short. Work on level ground, away from traffic. Parking brake on, transmission in park or neutral, wheels chocked if the slope is even slightly downhill. Keep your hands, fingers and loose clothing clear of the wheel arch, the control arms and anything else that moves when the suspension is loaded. Never reach between the tire and the fender liner while the car is moving. And if you remove a wheel to take a shock off, support the car on rated jack stands before you go underneath it.
Stop the driveway test and get the car inspected if you notice any of these. They matter more than what the bounce test showed.
- The car keeps bouncing over every small bump, and holds onto the motion for more than a second.
- Heavy nose-dive under firm braking, or the rear squats hard off the line.
- The body sways and takes two or three movements to settle after a lane change.
- Fluid weeping down a shock body, or a wet ring around the piston rod seal.
- Visible rust pitting, a bent or dented housing, or a shock that has been pushed down and will not come back up.
- One edge of a tire worn to the cords, or a steering wheel that shivers above a certain speed.
- Extra tire wear, a clunk over bumps, or the car tracking or pulling to one side.
Worn dampers also make every bushing, ball joint and control arm in the suspension wear faster, and they add distance to every stop. Front struts and rear shocks on a BMW are usually replaced in pairs on the same axle, because a matched pair keeps the ride height and damping even. A rough guide for expected life is somewhere around 40,000 to 50,000 miles, but potholes, salt and heavy loads take that out much sooner, which is why testing by hand and by eye matters more than the odometer.
Frequently Asked Questions
How many times should a car bounce after pushing it?
A healthy car rises back and settles within about a second, with at most a hint of one movement. One clear bounce before it stops suggests a damper that is wearing out. Two or more bounces, or a car that keeps rocking, means damping is gone on that corner and it needs an inspection. Count the number of times the body passes back through its resting height, not the number of wiggles you can see in the tire.
What is considered normal body movement in a bounce test?
Some movement is expected, because the springs are designed to move. What a healthy car does is resist your push, then return once and stop, and it should be doing roughly the same thing on all four corners. A car that settles in a different way on one side has told you something. Comparing corners against each other is far more reliable than judging any single movement against a fixed standard.
Does a bounce test tell me if my shocks are bad?
It tells you if a corner is damping badly, which is a reliable screening result. It does not tell you which part failed, and it will not find worn bushings, sway bar links, collapsed bump stops or a separated strut mount. If all four corners pass but the car clunks, sways or wears tires unevenly, the problem is elsewhere and a hands-on inspection is the next step.
Should I bounce test the front and rear suspension separately?
Yes, and test all four corners rather than just the two ends of the car. The hood tells you about the front struts and the trunk about the rear shocks. Front and rear will not feel identical on a healthy car, since the front carries more weight and normally has firmer damping, so compare like with like: side to side on each axle. A single corner behaving differently from its partner is the useful finding.
Why does one side of my BMW bounce more than the other?
Uneven behaviour on one corner usually points to that corner’s damper, but check the simpler causes first: tire pressure, a wheel sitting proud, or a broken spring losing its end clearance. If the wheel, tire and ride height all check out, suspect the damper on that side or a leaking, sticking or internally damaged unit. Damper trouble on one side is common on cars that have carried a kerbed wheel or a full load on one side of the car.
What other tests should I do if the bounce test looks uneven?
Re-run the test twice on the same corner and record the times, since inconsistent passes point to a valve that is sticking or a partial seal failure. Then do a visual check for oil weeping, rust pitting on the piston rod, and a dented housing. If a unit is coming out, support the car on rated jack stands and compress it by hand: it should resist through the stroke and spring back immediately when released.
Start by putting the car on level ground with an empty load and four tires at the right pressure, then test all four corners and record them. Judge the result by comparison, not by feel, and treat any single corner that behaves differently as a pointer to that corner rather than a verdict on the whole car. If the test passes but the clunks and tire wear continue, take the car to a shop and ask them to check the links, bushings and mounts, because the bounce test will never find those.