
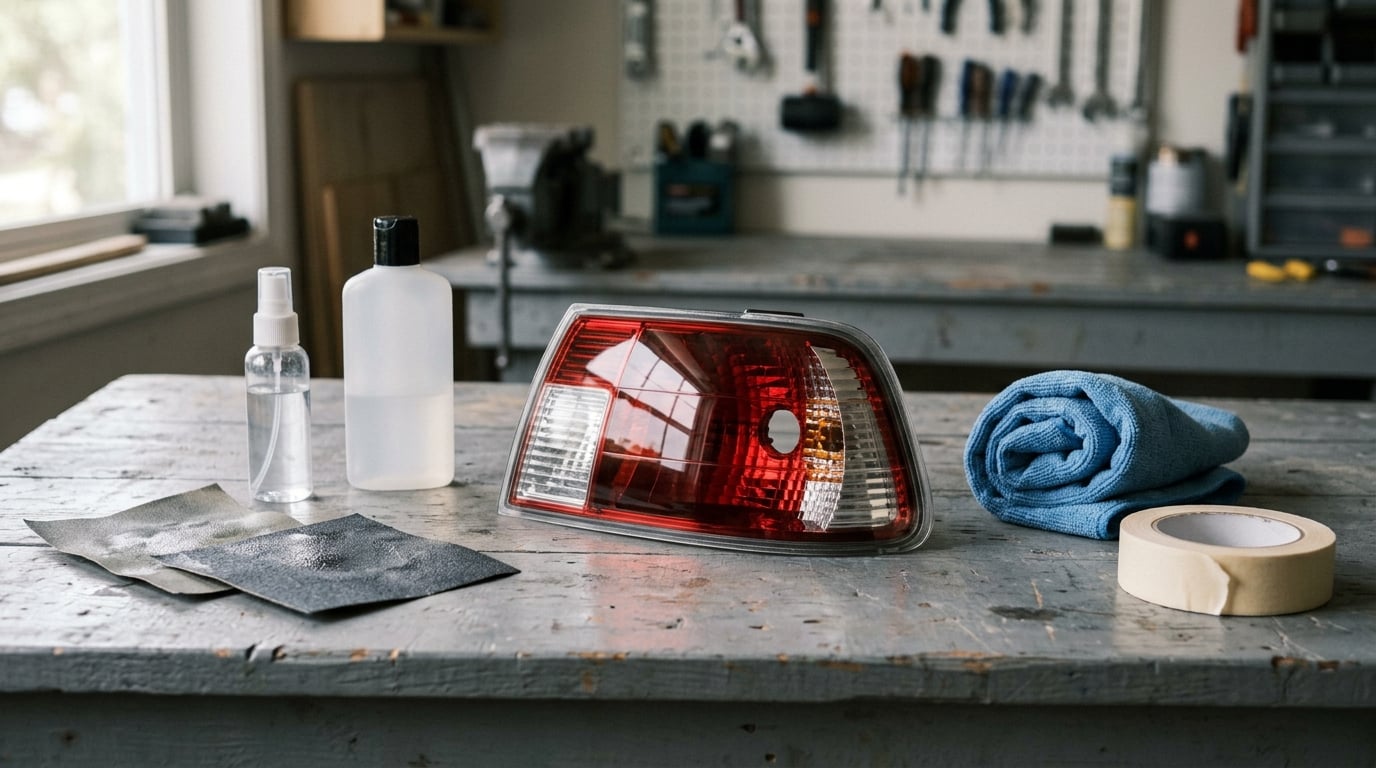
You fix cloudy plastic on tail lights by sanding the yellowed surface off with wet sandpaper, working from coarse grit to fine, then polishing the plastic and sealing it with a UV-resistant clear coat. The whole job takes three to five hours for one lamp, and the tools are ordinary automotive ones. If the lens is crazed, cracked or peeling, stop there and replace it instead.
Tail light lenses are almost always polycarbonate, a hard plastic that turns hazy when ultraviolet light breaks down the hard clear coat baked onto its surface at the factory. Once that sacrificial coating is gone, the plastic underneath oxidizes and the lamp throws less light down the road.
On cars I have worked on, tail lights fade long before headlights do. They sit lower, get road grime and bug wash thrown at them, and plenty of owners park in the sun with the lamps in plain view. Red lenses hide yellowing better than clear ones, so a bad red lamp can look acceptable while the reverse and turn signal sections next to it look terrible.
One thing worth knowing before you start: a cloudy lens and a foggy lens are different problems. If the haze is inside the housing, over the reflector, no amount of polishing will touch it. That is a failed seal, and it is a separate repair.
Table of Contents
What You Need
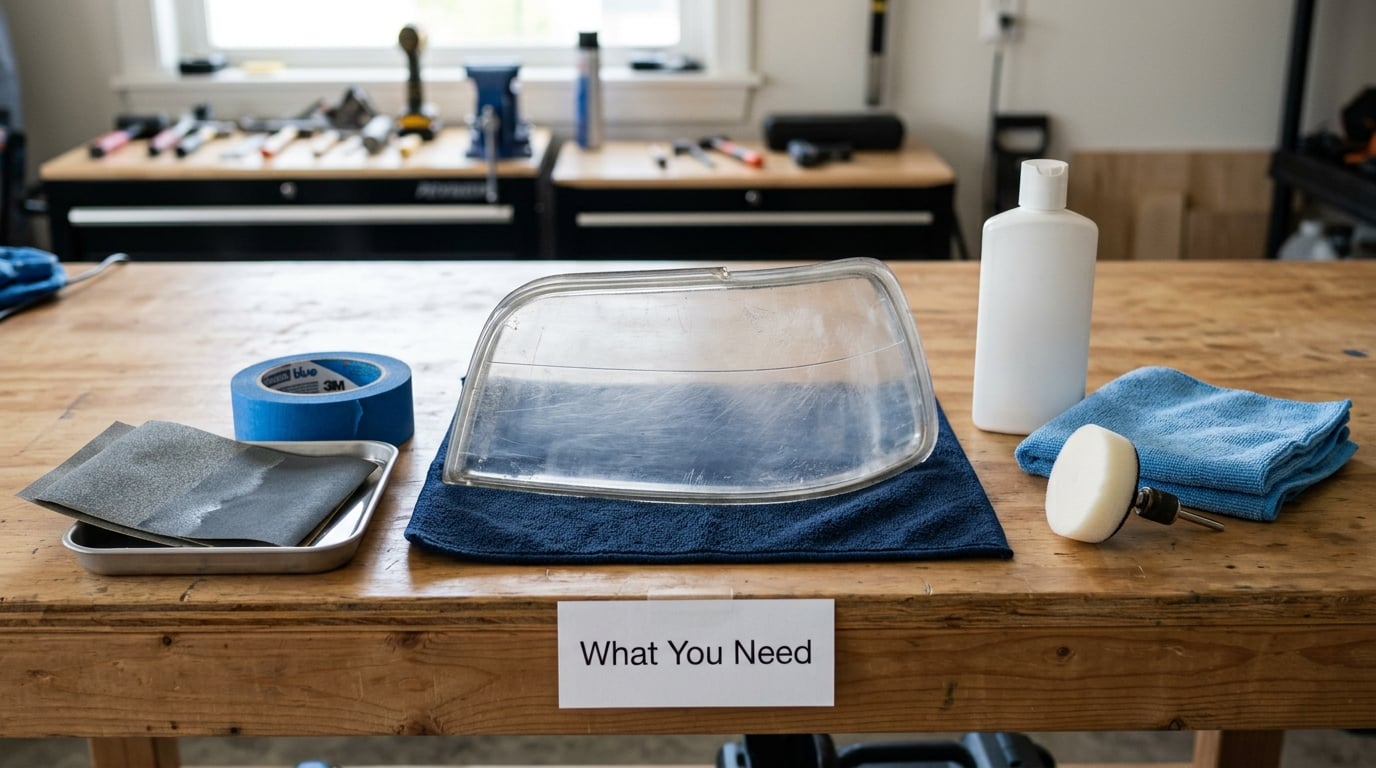
Most of this list is cheap and a few items are optional. Gather everything before the lens comes off, because stopping halfway to find a grit you skipped is how projects get ruined.
- Wet/dry sandpaper in a grit progression. Start around 600 grit for heavy haze and go up through 1000, 1500, 2000, 2500 and 3000. Cheap sheets are fine, buy a mixed pack.
- Automotive shampoo or dish soap and a bucket of clean water for lubrication while sanding.
- Plastic polish, the type made for polycarbonate and not for chrome or glass.
- Microfiber towels, at least two, plus a clean sponge sanding block.
- Masking tape to protect the body panel, chrome bezel and rubber seal behind the lens.
- UV-resistant clear coat or lens sealant for the final protection stage.
Optional: a dual action polisher speeds up bigger lenses, a heat gun or plastic trim removal tool makes taking the lamp off easier, and a paint-safe adhesion promoter helps the sealant grip if the surface still feels waxy after polishing.
Check the lens supplier’s guidance before sealing. Some lenses are coated with a hard chemical layer that a coating will not bond to properly, and the supplier’s instructions beat any general guide.
How to Fix Cloudy Plastic on Tail Lights Step by Step
1. Identify the Plastic and Check for Damage
Press a fingernail or a key lightly against the cloudy area. Polycarbonate feels hard and slightly waxy, glass feels cold and hard with no give. A tap test helps too: plastic sounds dull, glass rings.
Now look at the surface under a bright light. Fine haze that wipes off with polish is a restoration job. Deep scratches you can catch a fingernail in, webbed crazing, a crack that reaches the edge of the housing, or a clear coat that is already peeling in sheets are not. Peeling from an old restoration is the worst case, because that coating has to come off before the new work starts.
You also want to know whether the lens is a separate part. On many cars you can pop the outer lens off a two-piece assembly and restore it on a towel, which is far easier than working in a tight corner of the body.
2. Clean the Lens Thoroughly
Wash the lens with automotive soap and a sponge, then rinse and dry completely. Every bit of grit left behind becomes a scratch you create in the next step.
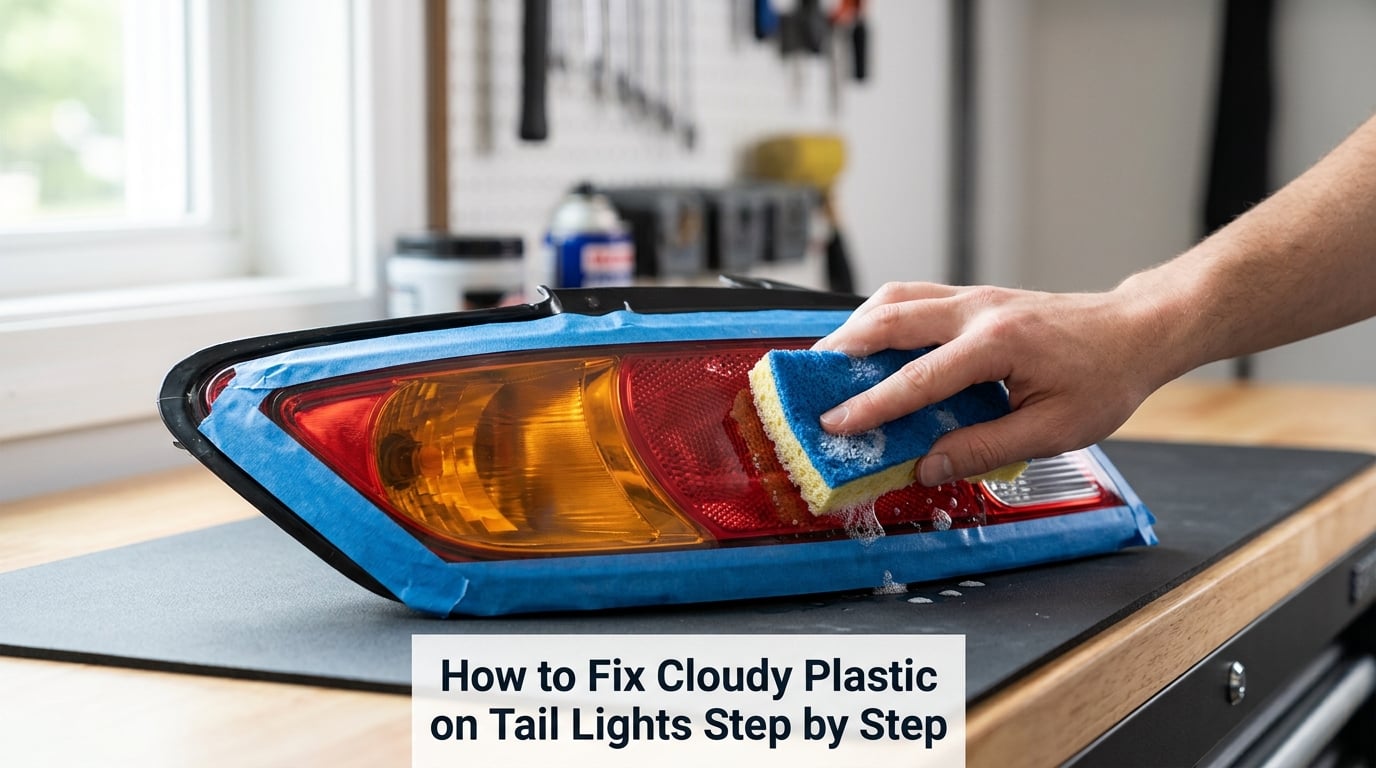
Mask the surrounding bodywork and any chrome bezel with tape, leaving only the lens exposed. Do not spray cleaner or water into the housing, and unplug the lamp or at least keep the connector away from wet work. If you work in place, the same rule applies: one damp sponge, no soaking the body seam.
Wipe it down with a paint-safe prep wipe or a little isopropyl alcohol on a microfiber towel to lift oils. You will know the surface is clean when the water sheets off evenly instead of beading in patches.
3. Wet Sand the Cloudy Surface to Remove the Haze
Soak a sponge block in soapy water and sand with steady, light pressure. The water is doing the work, carrying grit away so it does not scratch the same spot over and over.
Work through the grits in order and do not skip ahead. 600 grit takes off the dead oxidation, 1000 and 1500 erase the coarse scratches, and 2000 to 3000 leaves a surface fine enough to polish. Rinse the lens and change the water whenever it turns milky.
Stop sanding the moment you expose even, uniformly clear plastic. A sign you went too far is a lens that looks worse than when you started, with visible scratches and not much haze removed. Deep haze that survives 1500 grit sometimes needs a second pass at 600 rather than more pressure, and a machine polisher with a pad makes short work of that.
Between grits, run your hand over the surface. It should feel smooth with a faint satin finish, never gritty.
4. Polish the Plastic Until the Cloudy Finish Is Gone
Dry the lens, then apply plastic polish to a foam pad or a clean microfiber towel. Work in small sections, about the size of your palm, with slow overlapping strokes.
The haze turns into a milky film as you go. Let it break down for a minute, then wipe off with a clean section of towel before it hardens. A second pass usually gives you the depth you want.
Hold the lamp up to a window or a bright garage light. Clarity is even and you can read text through it, with no gray cast around the edges. If it still looks flat from an angle, polish again rather than reaching for a coarser grit, because you have already removed enough material.
Finish with a clean towel and a light coating of plastic protectant if you plan to wait before sealing.
5. Protect and Reassemble the Tail Light
Only seal the outer lens. Never coat an inner housing, a chrome reflector or the lens of a sealed LED assembly, because those surfaces are designed to stay optically clear and a coating on the inside of a lens cuts brightness and traps heat.
Wipe the polished surface one more time with a clean prep wipe, then apply the UV-resistant clear coat in thin, even coats. Two or three light passes are plenty. Thick coats and rushed passes are how people end up peeling off a new clear coat a year later.
Let it cure per the product instructions, which usually means a day before water and a week before a car wash or a high-pressure rinse. Then reinstall the lamp, tighten the fasteners, and confirm the brake, turn and reverse lights all work.
Test the lens at night from behind the car. The color should be even, and the pattern should be bright and crisp. That is the moment the whole afternoon was for.
Common Mistakes
Dry sanding. This is the single most common error and it will leave a permanently hazed surface. Keep the lens wet the whole time, and if you cannot keep it wet, polish instead of sanding.
Skipping grits. Jumping from 600 to 2000 leaves scratches that no amount of polish removes. Follow the progression.
Pressing too hard. Pressure does not speed up plastic removal, it just gouges. Let the abrasive and the water do the work, and count passes instead of leaning on it.
Using household cleaners. Magic eraser, toothpaste and oven cleaner are all too abrasive for anything past the mildest haze. WD-40 and silicone sprays leave an oily film that traps dust and blocks the sealant from bonding. Use a polish made for plastic.
Coating the wrong surface. Seal the outer lens only, and keep overspray off the body, the seal and the chrome bezel. Tape generously, then pull the tape before the coat cures.
Ignoring cracks and crazing. Sanding a cracked lens just softens the edges and wastes an afternoon. A lens that leaks also lets moisture in, and moisture haze is a seal problem, not a polish problem.
No UV protection afterward. Restored plastic without a sealant will re-cloud, usually starting at the edges and working inward, often within a year or two. Reapply the sealant as its maker directs and re-wax or seal the lens every few months in sunny climates.
Frequently Asked Questions
Can cloudy tail lights be restored?
Yes, if the lens is structurally sound. Restoration works by wet sanding away the dead clear coat and the oxidised layer beneath it, then polishing the plastic back to clarity. Lenses with cracks, deep gouges you can catch a fingernail in, or webbed internal crazing will never look right no matter how long you work on them, so those are replacement candidates.
How long does tail light restoration last?
A few months without protection, and a few years with a UV-resistant clear coat applied properly. Re-clouding almost always starts at the edges and corners first, where the coat thins out. Waxing or sealing the lens every few months and parking in the shade when you can stretches the result further. Anyone promising permanent clarity is overselling it.
Should I restore the tail lights or replace the lens?
Restore when the plastic is intact and the problem is haze, yellowing or a failing clear coat. Replace when the lens is cracked, crazed, yellowed so deeply that the colour no longer matches the other side, or already coated in peeling clear from a previous attempt. A replacement lens also solves internal fogging and failed seals, which polishing cannot.
Do I have to remove the tail light to restore it?
Not always. Plenty of people sand and polish a lamp while it is still bolted to the car, masking the surrounding paint first. Removing it is easier, though, on a lens with a lot of surface area or a tight gap next to the body. If the lamp has an inner housing, take the outer lens off and work on it on a towel.
Does toothpaste or WD-40 fix cloudy plastic?
No. Toothpaste and magic eraser are mild abrasives that scratch the surface and leave a haze that is harder to fix than the one you started with. WD-40 and silicone sprays do not remove oxidation at all, and they leave an oily film that traps dust and stops clear coat from bonding. A plastic polish made for polycarbonate does the job properly.
Conclusion
Start by judging the lens honestly in bright light, because that decision decides everything. If the plastic is solid and only the coating has failed, wash it, mask it, wet sand from 600 grit up through 3000 in order, polish to clear, and seal it with two thin coats of UV-resistant clear coat.
If it is cracked, crazed or peeling, do not keep sanding. Replace the lens, and use the same sanding and polish routine on the new one only if you want to prep it for coating.