
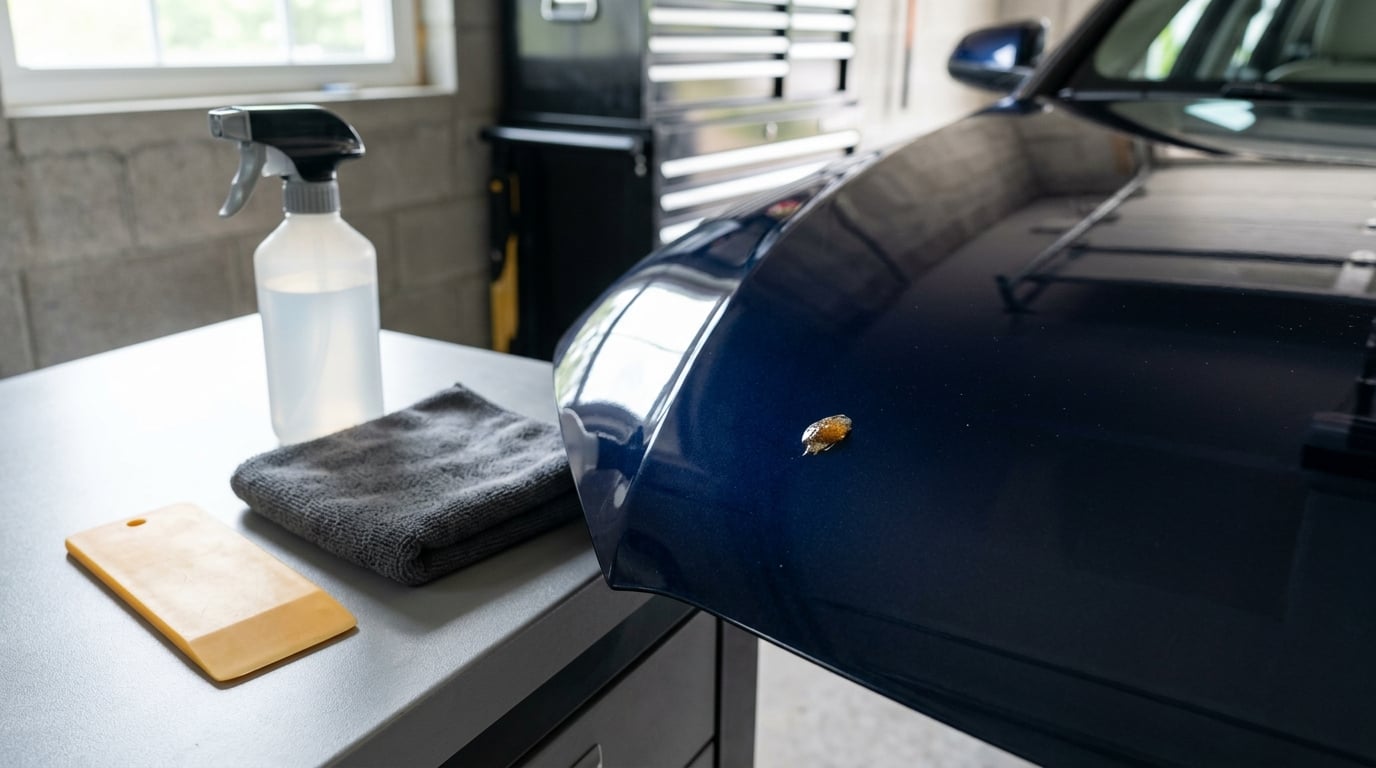
Knowing how to remove tree sap from a car is mostly about picking the right solvent for the surface and resisting the urge to scrub. Rubbing alcohol or a dedicated automotive bug and tar remover will dissolve most sap in 30 to 60 seconds, and a clean microfiber cloth lifts it off without touching the clear coat.
Timing matters more than product choice. Sap that is still soft wipes away with soap and water, while sap that has sat for a week has to be softened first and then coaxed up. A full job takes 15 minutes of work plus drying time, and the awkward part is parking spots: the hood and windshield are the worst offenders, and both are easy surfaces to work on.
What You Need
Sap removal takes very few tools. Most of what people reach for, plastic scrapers and metal blades included, causes more damage than the sap ever would.
- Clean microfiber cloths, at least two. One for the solvent, one for the final wipe. Never reuse a cloth that has touched sap; the sugars smear back onto the panel.
- 70 percent isopropyl alcohol or a dedicated automotive tree sap remover. Chemical Guys Tar and Sap Remover and Goo Gone Automotive are formulated for exactly this, and they are gentler on modern clear coats than a generic solvent.
- Detailing lubricant or a quick detail spray. This is the safest first option on intact sap, and it also does the final residue cleanup later.
- A plastic scraper, card, or popsicle stick. Optional, and only for hardened sap that has already been softened.
- Car shampoo and water. For washing the panel before and after, plus a rinsable bucket if you are working on a whole side of the car.
- Clean gloves. Sap gets into the small cracks in your hands and stays there.
- Wax or sealant. Every solvent in this article strips protection, so plan to put it back.
Before anything else, the panel needs to be cool, clean, and dry. Warm paint drinks solvents straight into the clear coat, and dirt under a scrub pad turns into a sanding effect. Wash the area first, dry it, and give it a few minutes in the shade.
Step-by-Step
The order below matters more than any single product. Each step tells you what success looks like, so you can stop as soon as the sap releases instead of pushing through into the paint.
How to remove tree sap from a car safely
Wash the affected area with warm water and a pH-balanced car shampoo, then dry it fully with a clean microfiber towel. This clears off the pollen and grit that would otherwise end up ground into the clear coat when you work on the spot.
Next, identify what the sap is sitting on. Paint, glass, chrome, plastic trim, a vinyl wrap, and a matte finish each tolerate a different product, and the same remover that works on glass can haze a wrap or soften a plastic bumper. Open the door jamb on the panel you plan to treat, put a small dab of your chosen product on a microfiber cloth, and wait a minute to see whether the finish changes. If it dulls or picks up color, pick a gentler option before you touch the visible side.
This is the step people skip, and it is the reason a car comes back from a detailer with a swirl mark. Work in the shade, out of direct sun, so the solvent does not flash off before it has done any work.
Loosen the sap with the right product
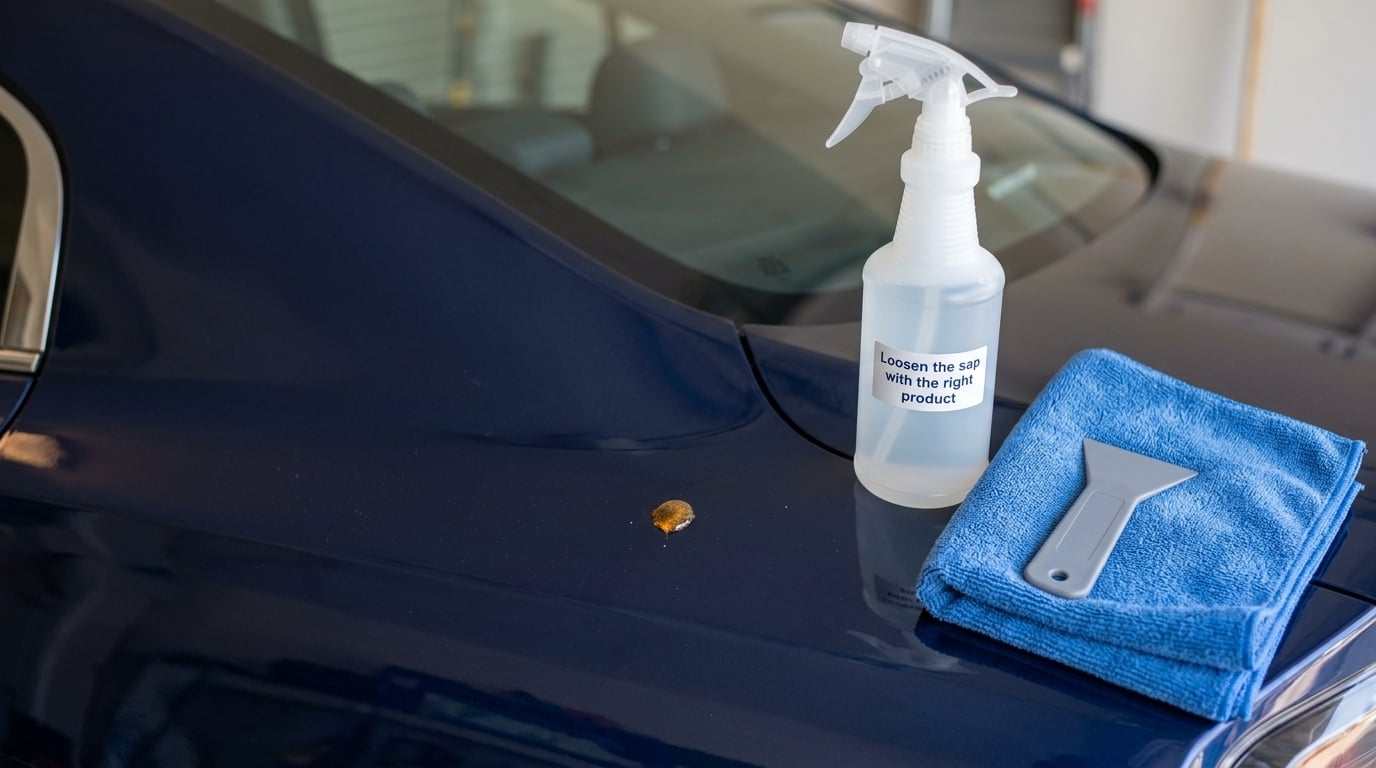
Work through the options in order of gentleness. For fresh sap that has not fully hardened, warm water with a few drops of dish soap and a wet microfiber cloth will often lift it in under a minute, and that is the least invasive option available.
For intact blobs, put detailing lubricant or an automotive tree sap remover directly on the spot, then lay a damp microfiber cloth over the top and press down. Let it sit 30 to 60 seconds. You will feel the sap go tacky and slightly soft, and the cloth will pick up a brown or amber stain when you peel it back. That stain is the signal that the bond has broken.
Isopropyl alcohol works well on painted and glass surfaces, but it is the harshest option in the list, so keep the dwell to 30 to 60 seconds rather than leaving a soaked cloth sitting for minutes. Hand sanitizer is a frequent suggestion in forums and it does dissolve sap because of its alcohol content, and its thickness is genuinely useful on a vertical door panel. Treat it as a stronger solvent than it looks and test it first.
Stronger products, including WD-40, paint thinner, and acetone, will strip wax and sealant and can attack wraps, decals, and some plastic trim. They have no place in this process unless you have already established the surface can take them.
Lift the softened sap without scratching the finish
Press a clean section of microfiber over the softened spot, hold it for a few seconds so it grips, then lift straight up slowly. Do not slide it across the panel. Peeling removes the sap in one piece and leaves the clear coat completely untouched.
If the sap resists, press again and wait a little longer rather than increasing pressure. Firm circular scrubbing is what creates swirl marks, and it also spreads a tacky film into the surrounding paint where it becomes harder to see and harder to remove.
For a hardened spot that will not budge, a plastic card at a shallow angle is a reasonable last resort, and the rules matter. Only use plastic, never a metal razor. Hold the card at roughly 30 degrees so the corner is doing the work rather than the full edge, and move it in one direction. Never use a card on glass, on matte trim, or on a wrap, and go slowly enough that you can feel resistance before paint gives.
Success at this stage looks like an unremarkable panel. No mark, no haze, no tack where your palm was. If you see a dull smear, that is residue and it has a fix.
Remove the remaining residue and protect the surface
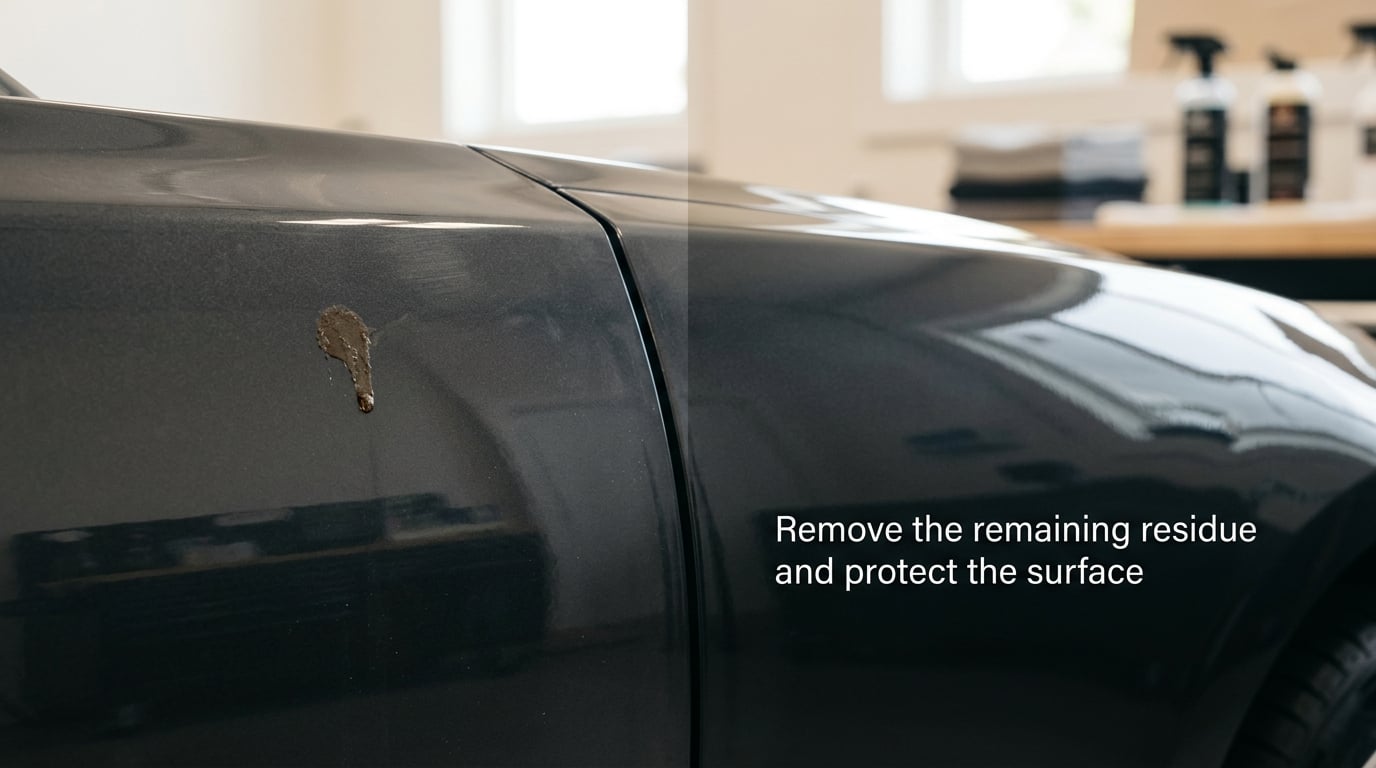
The most common complaint on detailing forums is a sticky shadow left in the spot after the sap itself has gone. That is almost always a combination of sap sugar and stripped wax, and it comes off with a clean microfiber and small amounts of detailing lubricant worked in by hand.
Use a fresh section of cloth, use light pressure, and keep reloading the lubricant rather than working one area until it hazes. When the tack is gone, rinse the panel and dry it properly. Look at the result under angled light, ideally with a bright light held close to the surface, because a hazy patch is nearly invisible in flat daylight.
If a faint mark remains, repeat the whole soften-and-lift cycle once more. A second pass usually clears what the first one missed, and stopping to re-dry the panel matters as much as the second application did.
Once the surface is clean and cool to the touch, put protection back. Alcohol and tar removers both strip wax and sealant, which leaves the clear coat more exposed to the next sap drip and to road grime. A coat of wax or sealant, or a polish if the panel feels dull, restores that layer. Waiting until the panel is fully dry avoids trapping moisture under fresh wax.
Common Mistakes
Every damaging approach to this job is a small variation on one of these. The corrections cost nothing.
- Scraping hardened sap straight off. Dry sap is harder than most clear coats in terms of grip, so a metal blade gouges before the sap moves. Soften it first, wait 30 to 60 seconds, and consider a plastic card at a shallow angle only after softening.
- Scrubbing while the spot is still sticky. This grinds dirt into the clear coat and leaves swirl marks. Lift and peel instead, and only wipe once the residue is loose.
- Soaking the whole car. Overspraying a solvent across a whole panel or the entire vehicle strips protection far beyond the spot and can haze plastic and trim you did not even notice. Treat the area and a small margin around it.
- Using household paint thinner or nail polish remover. Acetone-based products and mineral spirits are aggressive on clear coat, wraps, and decals. The right solvent for sap is one labelled for automotive paint.
- Not testing on wraps and decals first. A vinyl wrap has a film and an adhesive layer that a solvent can soften or bleach, and the damage does not come off. Hide the test spot inside the door jamb and give it a full minute.
- Leaving residue behind and calling it done. A tacky shadow attracts dust and re-forms into a spot. Check under angled light and repeat the detailing lubricant pass until the panel feels dry and uniform.
Two household products get asked about constantly, so here is the short version. Dawn dish soap will not remove tree sap on its own. It is a degreaser, and it helps with the oils around a fresh spot, but the sugars and resins in sap need a solvent, so you will end up soaking a wet panel for no gain. WD-40 does dissolve sap, and detailers do use it, but it is a petroleum product that leaves an oily film, strips wax, and can haze plastic trim and glass edges. Use it only as a last resort on bare paint, never on a wrap, and always follow it with a proper wash and wax.
A car wash is the same story. Fresh sap on a hand-wash bay may come off in the first rinse, but a tunnel wash with stiff brushes will grind hardened sap straight into the paint. That is the single most common way people turn a small cleanup job into a repaint.
A few habits make the job easier. Work indoors or in open shade, keep a second cloth ready before the first one is contaminated, and treat sap promptly rather than letting it season for months. Pine, maple, and sweetgum drip the most, so cars parked under those trees need a check after storms and high-wind days. For anything beyond a small area, a car cover kept in the trunk saves more paint than any solvent ever will.
Frequently Asked Questions
Does vinegar remove tree sap from a car?
No. Vinegar is mildly acidic, which is exactly the wrong property for a clear coat you are trying to protect, and it does not dissolve the sugars and resins that make sap sticky. It can leave a dull film on paint and can attack some plastics and seals. Use isopropyl alcohol, detailing lubricant, or an automotive tree sap remover instead, and test it in the door jamb first.
Is isopropyl alcohol safe for removing tree sap from car paint?
At 70 percent concentration, yes, and it is the most commonly recommended DIY solvent for sap. Apply it to a microfiber cloth rather than the paint, press the cloth on the spot, and wait 30 to 60 seconds before lifting. Longer soaking increases the chance of hazing the clear coat and stripping wax, so re-wax the panel afterwards and keep the alcohol away from wraps and matte trim.
How do you remove dried tree sap from a windshield?
Glass is the most forgiving surface you will work on. Wash the windshield, apply detailing lubricant or isopropyl alcohol with a damp microfiber cloth, and let it sit 30 to 60 seconds. The sap will go tacky and lift when you press the cloth down and peel it up. Never use a razor blade or plastic card on glass, since grit dragged across a windshield is what produces those permanent streaks.
Can I use tree-sap remover on plastic bumpers or vinyl wraps?
Bumpers usually tolerate a dedicated automotive tar and sap remover, but test first because textured black plastic can go shiny or hazy where the solvent has softened it. Vinyl wraps are the real risk: the film and adhesive can lift, discolor, or bleach, and a remover strong enough to work may be too strong for the wrap. Use detailing lubricant there and touch up the damaged film with a blade.
What if removing tree sap leaves scratches or a dull spot?
A dull or hazy patch after removal usually means the wax and sealant were stripped, not that the paint is gone. Wash, dry, and apply a wax or sealant, and a light one-step polish will often bring the gloss back. Actual scratches, or a patch that will not clear after a second pass, mean the clear coat was etched. That is a repaint or a professional correction, not a weekend job.
Conclusion
Start by identifying the surface, washing and drying the area, and testing a gentle product inside the door jamb for a full minute. Then soften the sap for 30 to 60 seconds, press a clean microfiber cloth over it, and lift slowly instead of rubbing. Check the panel under angled light for residue, and re-wax once it is clean and dry.
Prompt treatment is what keeps this a 15-minute job. If the product dulls the finish, if the sap has been there so long it looks like varnish, or if the panel is already scratched, a professional detailer with a machine polish is the cheaper answer than living with etched clear coat.