
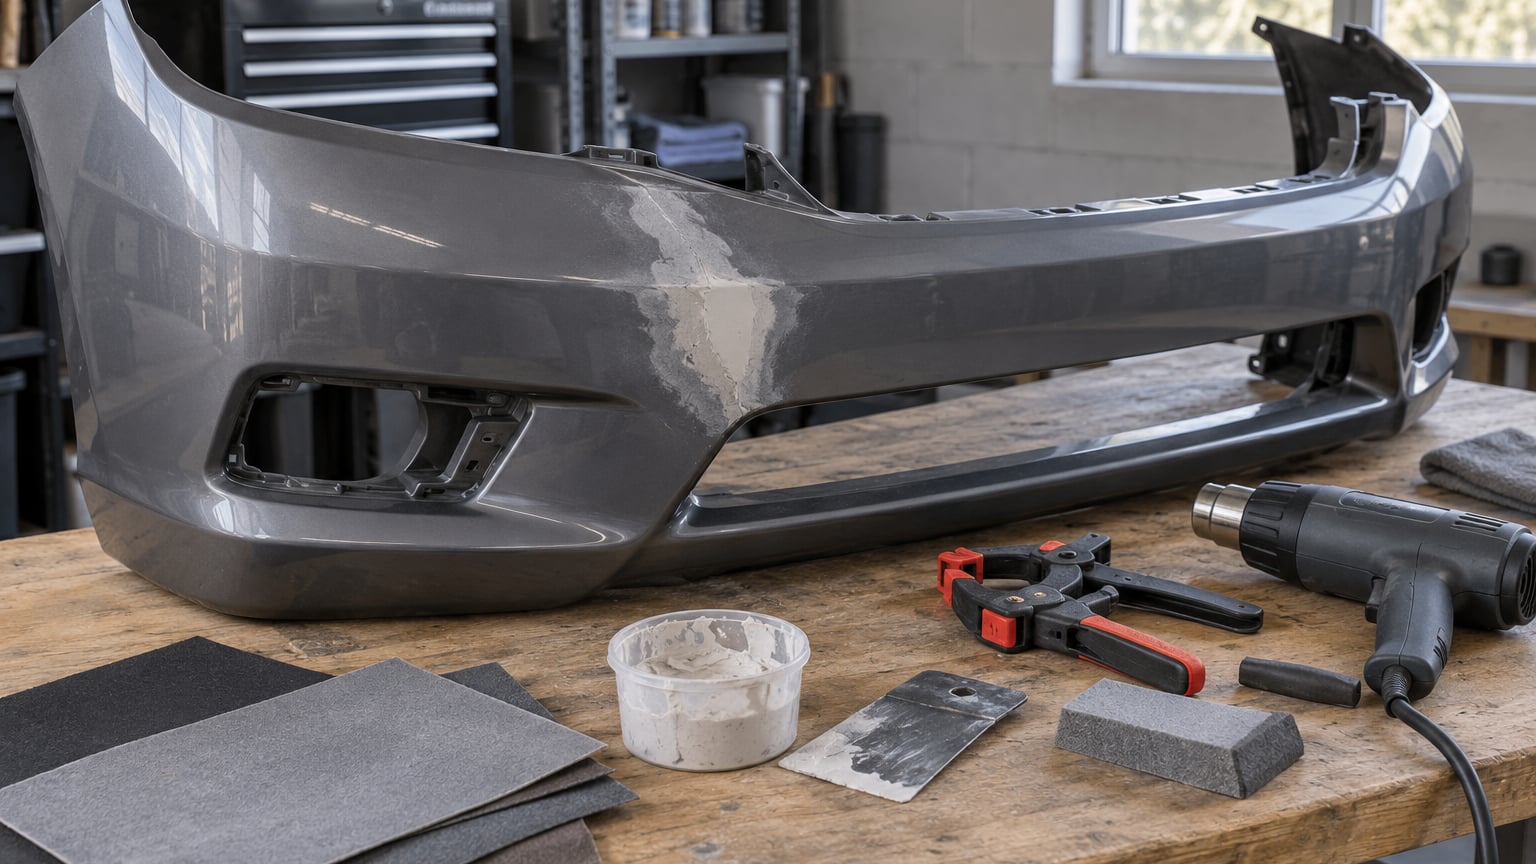
A cracked plastic bumper is fixable at home in most cases. Small to moderate cracks in the outer bumper cover can be bonded back together with plastic epoxy, hot staples or a plastic welding rod, then sanded and repainted, so you can skip the several-hundred-dollar body shop bill and keep driving the same cover.
There are three tiers of repair, and which one you need comes down to the damage. DIY plastic epoxy or plastic bonder is best for hairline to medium cracks and small missing chunks. Plastic welding with a hot stapler and welding rod is stronger and better for stress-bearing splits. Professional repair is for cracks that run into a mounting tab, near a parking sensor, or in the beam or crash absorber behind the cover.
Before you buy anything, measure the crack length and width and note where it sits on the bumper. A crack under about 4 inches (10 cm) that stays in the flat face of the cover is a straightforward job. A split that runs the full width, crosses a corner, or goes through the back of a tab is a different problem. Also check what is behind the cover, because a crack that is only cosmetic on the outside can be hiding a bent beam.
Table of Contents
What You Need
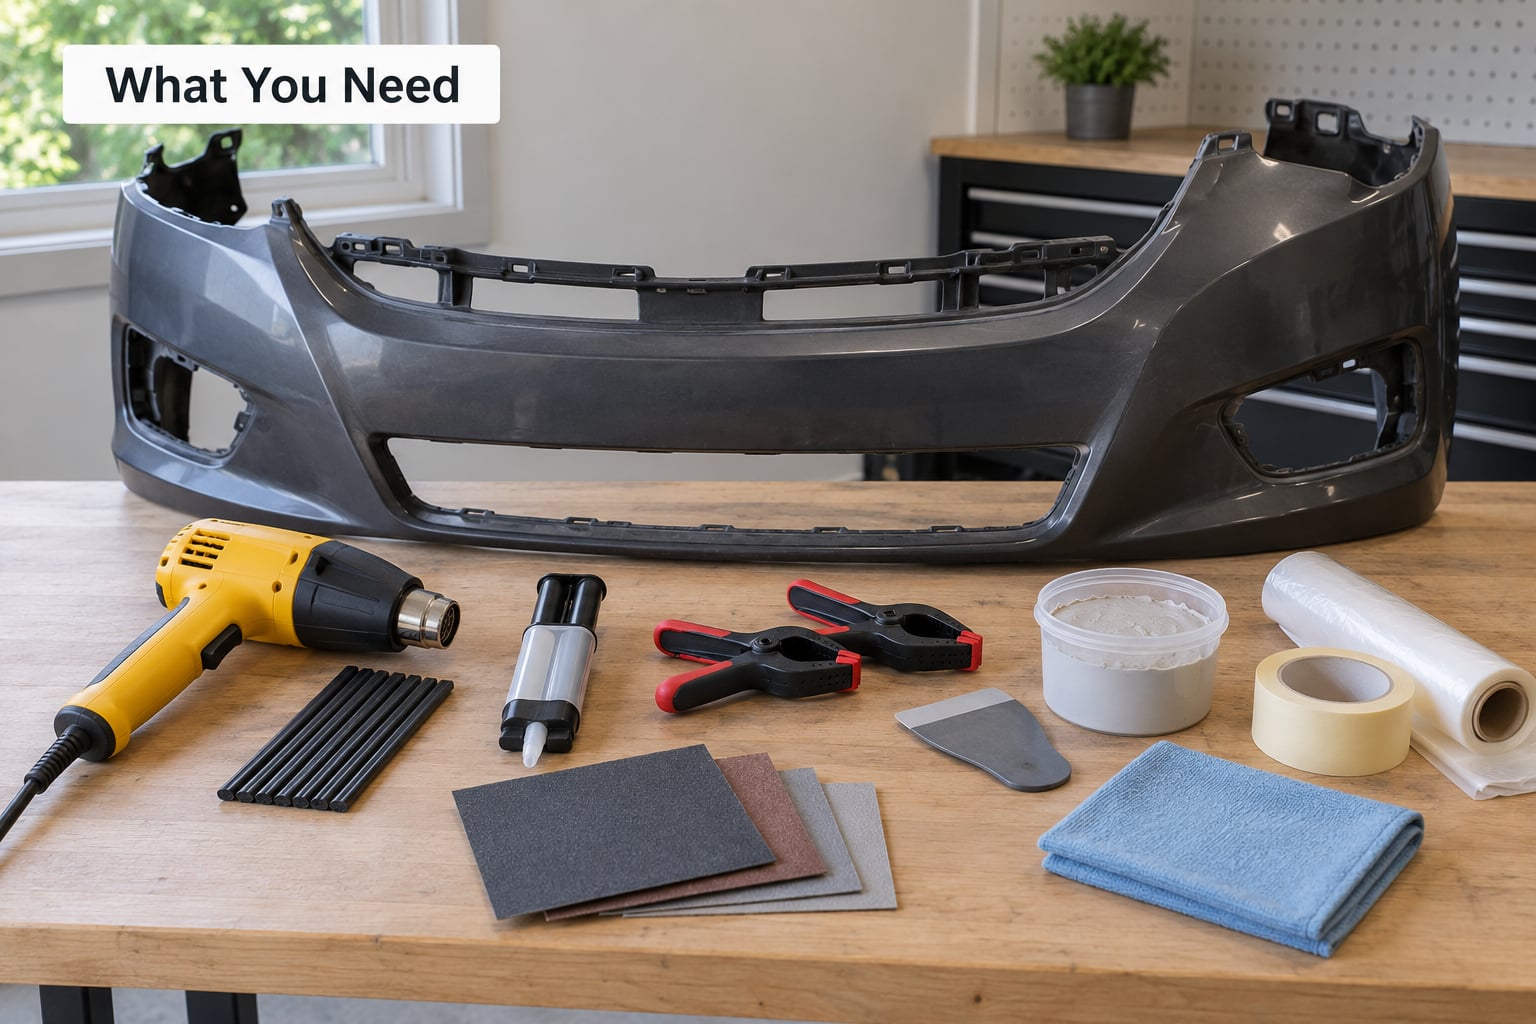
Gathering everything first saves you the annoyance of stripping a bumper down and then discovering the adhesive you bought will not stick to it. Start by working out which plastic you are dealing with.
Identify the plastic before you buy anything
Most bumper covers are polypropylene (PP), and ABS and TPO show up on plenty of models. OEM covers with a textured finish are sometimes a composite with a fibre-reinforced outer skin, which behaves differently from a moulded plastic.
Check the VIN sticker in the driver’s door jamb or the paint code plate, then look up the part number for your cover online. That tells you the material without guessing. Failing that, the burn test is decisive: PP melts and drips with a waxy smell, ABS burns with a strong sweet chemical odour and sooty smoke, and composite covers char rather than melt cleanly. Work on a scrap piece in a ventilated space, never on the bumper itself.
| Plastic | Where you see it | Adhesive that bonds to it | Welding rod to use |
|---|---|---|---|
| Polypropylene (PP) | Most modern bumper covers | Plastic epoxy or PP-compatible plastic bonder | PP rod |
| ABS | Older and some European models | ABS-compatible epoxy or general plastic epoxy | ABS rod |
| TPO | Common on older domestic trucks and SUVs | Flexible TPO-compatible repair adhesive | TPO or PP rod |
| Composite | Textured OEM covers with a fibre skin | Polyester resin with fiberglass mat | Not practical, resin and mat instead |
For adhesive, a two-part plastic epoxy designed for polypropylene beats a general-purpose epoxy every time. Products like the 3M 5887 flexible panel adhesive paired with the 3M 5907 spray adhesion promoter come up often in body forums, because the promoter is what makes the glue grip a low-energy plastic. Where a product says it works on PP, read that line carefully before buying.
Tools
- A rotary tool such as a Dremel with a cutting and grinding bit
- A heat gun or a hair dryer for softening tabs and shaping
- Pocket screwdriver and plastic trim removal tools
- Clamps, or zip ties and a strip of duct tape to act as them
- Sandpaper in 80, 180 and 320 grit, plus a sanding block
- Masking tape and paper for painting, and a respirator for sanding
- Isopropyl alcohol and clean shop towels
Materials
- Two-part plastic epoxy or plastic bonder, in a quantity matching the crack
- Adhesion promoter if the plastic is PP or TPO
- Plastic welding rod and a hot stapler, if you own or borrow one
- Polyester resin and fiberglass mat for missing material and for reinforcing the back
- Flexible seam sealer or plastic filler for building up shallow gaps
- Plastic-compatible primer and paint matched to your VIN paint code, plus clear coat
Mask before you mix anything. A plastic repair in a garage without airflow is a bad idea for you and a good one for your lungs.
How to Fix a Cracked Bumper Step by Step
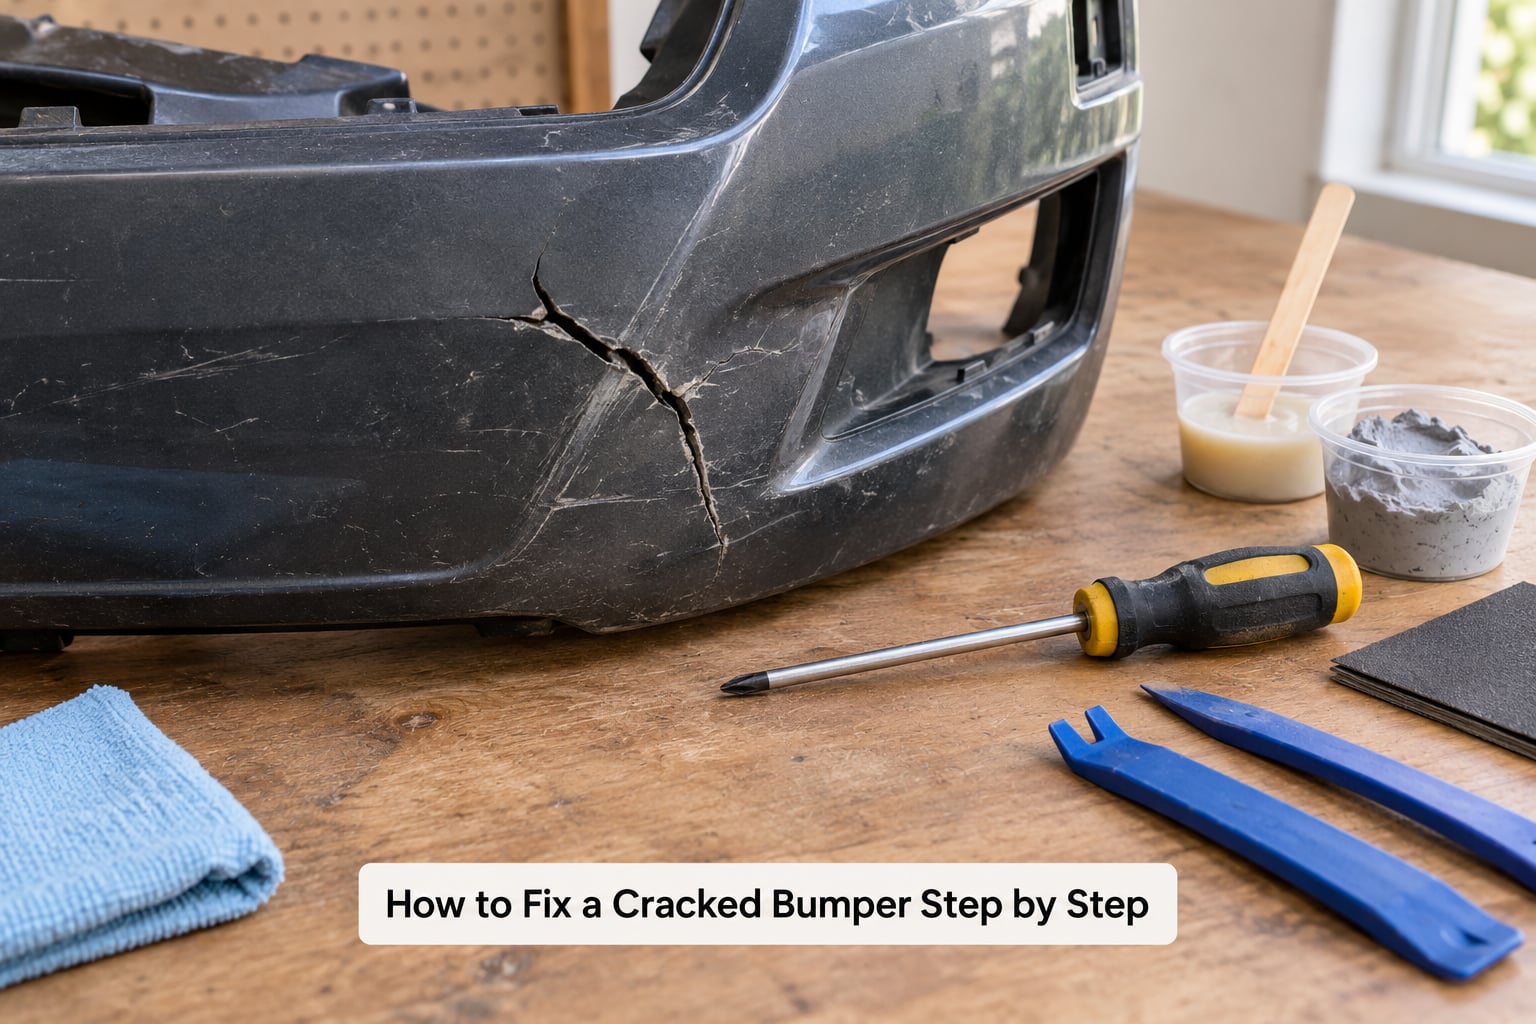
The sequence below works whether you are bonding with epoxy, stapling or welding. Get the surface right and most of the work takes an hour plus cure time.
Inspect the Crack and Decide How to Fix a Cracked Bumper
Start by cleaning the damage with isopropyl alcohol and a clean towel, then look at the back of the cover. Flex the crack gently by hand. If it opens up easily, feels soft, or the crack runs through a mounting tab, the plastic around it is already torn and a bond on the front face will only hold until the next bump.
Put the car on a drive stand or lift the front end and look at the back properly. Peeling back is worth it here, because knowing what the damage looks like from behind is how you decide. A through-crack in the plastic face with sound material around it is repairable. A crack in the crash absorber, a bent bumper beam, or a torn sensor bracket is a safety item and belongs with a shop.
Feeling under the bumper with a flashlight also tells you whether the clips and tabs around the crack are intact, which matters for reinstallation.
Prepare the Bumper Surface
Remove the bumper cover if the damage sits on the back face, near a sensor, or across a corner. On most cars that means popping the lower T clips, sliding the cover down and forward at the sides, then reversing the whole move. If the crack is on the upper face with clear access underneath, you can work in place instead.
Wash the whole cover with car soap and dry it properly. Then take the rotary tool with a cutting bit and V-groove along the crack, cutting a shallow channel about a quarter of the width of the crack. This step is where most people quit early and then wonder why the repair peeled off. The V-groove gives the adhesive somewhere to flow and stops you bridging the gap with a fat lump of glue.
Grind the edges of the groove smooth with a sanding drum, then roughen the plastic on both sides of the crack with 80 grit. Wipe it down with alcohol and let it dry fully.
While you are cleaning, this is a good moment to deal with any bug residue holding the lower edge on, and our how to remove bug splatter from a front bumper walkthrough covers that.
Bond and Reinforce Small or Medium Cracks
For a two-part epoxy job, spray the adhesion promoter over the prepared area and let it go tacky as the label directs. Mix the epoxy in the tray for the full cure time the tube specifies, usually 30 to 60 seconds. Working time is short, so do not mix more than you can place in about four minutes.
Push the epoxy into the V-groove with a plastic spreader so it slightly overfills, then tape or zip-tie the crack closed. Zip ties work well here because they apply even pressure along a curved seam without needing a clamp that will mark the face. Wipe the squeeze-out from the front while it is still soft, then let it cure for the full time listed, not the “handling” time.
Reinforcement on the back is the part that decides whether the repair survives a winter. Cut a piece of fiberglass mat slightly larger than the crack, wet it with polyester resin, and press it over the back of the joint. Alternatively, run a hot stapler with PP rod along the crack from the back, which melts plastic welding rod into the cover and makes a permanent structural bridge. Professional forums treat the hot stapler as the go-to DIY tool for exactly this reason.
For a plastic-welding-only approach, heat the iron to its plastic setting, melt rod into the groove at a 90-degree angle under firm pressure, and let it cool fully between passes rather than reheating the same spot. Overheating stresses the plastic and shrinks it, so go slowly.
A popped-out corner or bent tab is a different fix. Warm the area with a heat gun until it softens, push the tab back into place with a screwdriver handle, and hold it until it firms up again. Once cool, reinforce the tab from behind with resin and mat so it does not tear out at the next impact.
Fill Gaps and Sand the Repair
Where material is actually missing, use plastic filler or flexible seam sealer rather than piling on epoxy. Apply it in thin layers, each one curing before the next, so the filler never traps solvent inside the repair. Sand each layer back with 180 grit before adding the next one.
Blend the filled area into the original contour with 180 grit, then finish with 320. Sand with the grain of the surrounding plastic where you can see it, and check your work with a hand across the surface rather than by eye alone. A repair that looks flat from one angle but hollow from another will show up as a ripple in the clear coat.
Do not sand through the front skin of the cover. Once you hit the reinforcing mesh or the foam behind it, the repair is finished and further sanding makes things worse.
Prime, Paint, and Reinstall the Bumper
Mask off anything you are not painting, and stay a few inches back from the surface. A plastic-compatible primer seals the repair and gives the paint something to grip; an epoxy that is not fully cured will blush and the paint will peel off it within weeks.
Spray light coats of the colour matched to your VIN paint code, letting each flash off until it is tack-free before the next. Two thin coats look better than one heavy one and will not run. Clear coat over the top if your car was finished that way, and let the whole thing cure properly before you handle the bumper. Full cure for most two-part epoxies is around 24 hours; check the label for yours.
Reinstall in reverse, lining every clip hole up before pressing anything home. A forced clip usually snaps the tab you just repaired. If a tab took the full force of the impact, reinforce it from behind before the cover goes back on, then drive with the parking sensors on and check for rattles over the next few miles.
Common Mistakes
Nearly every failed DIY bumper repair comes down to one of these, and the fix is cheap the second time around.
- Repairing over dirt, wax or road film. Alcohol on a clean towel, then dry, then bond. Adhesive does not stick to the layer of wax you just applied.
- Using super glue alone. Cyanoacrylate turns the repair into a brittle lump that pops off on the first cold morning or freeze-thaw cycle. Use it at most to hold pieces in position, never as the structural repair.
- Skipping the V-groove. Without a channel you are bonding two rounded surfaces that only touch at one line. Grind the groove out.
- Leaving the back unreinforced. This is the number one reason first attempts fall apart later. Fiberglass mat and resin, or staples and rod, on the reverse face.
- Using Bondo straight on a stress-bearing crack. Body filler is for shaping missing material, not for carrying load. It bonds poorly to PP and will crack across later.
- Filling the whole gap in one thick pass. Thick filler cures from the outside in and stays soft in the middle. Build it up thin.
- Sanding too early or too hard. Respect cure times and stop before you break through the front skin.
- Painting before the epoxy is fully cured. Full cure only. Paint that goes on early peels with the repair.
- Forcing the cover onto a damaged clip. If the tab is stretched, heat it back into shape first, then reinstall with the alignment straight.
Two more things worth knowing. Duct tape holds a crack closed while you work and is fine as a temporary hold, but it is not a permanent repair. And repairing a plastic bumper in cold weather slows the cure dramatically, so work somewhere above about 50F if you can rather than trying to rush it with a heat gun, which softens the repair you just made.
Frequently Asked Questions
Can a crack in plastic be repaired?
Yes, if the crack is in the plastic bumper cover and the material around it is still sound. Clean it, V-groove it with a rotary tool, bond it with plastic epoxy or plastic welding, and reinforce the back with fiberglass mat or staples. Cracks in the bumper beam or crash absorber behind the cover are structural and belong with a shop.
What is the best filler for plastic bumpers?
For rebuilding missing material, use a flexible plastic filler or seam sealer made for PP bumpers, applied in thin layers and sanded between each one. For joining the two halves of a crack, a two-part plastic epoxy or plastic bonder with an adhesion promoter is stronger than filler. Fill shape the surface, epoxy carries the load.
Can Bondo fix a cracked bumper?
Body filler can shape a chip or fill a small gap after the crack has already been bonded, but it is not a structural repair on its own. It adheres poorly to polypropylene and TPO, and on a stress-bearing split it will crack across again. Treat Bondo as the finishing layer, never the first one.
Is a crack in the bumper bad?
A crack in the outer plastic cover is usually cosmetic. Water and dirt get behind it and the crack will keep growing, so it is worth fixing, but it is not a safety failure on its own. It becomes a safety issue when the bumper beam, crash absorber or a parking sensor bracket is cracked or bent, because those parts absorb impact.
Can I repair a cracked bumper without removing it?
Often, yes. A crack on the upper face with open access underneath can be cleaned, grooved, filled and painted with the cover still on the car. Damage on the back face, near a sensor, or across a corner usually means removing the cover, because you need to reinforce the reverse side properly. A heat gun on a low setting helps reshape popped-out corners in place.
What is the best glue for cracked plastic bumpers?
A two-part epoxy formulated for polypropylene, used with a spray adhesion promoter and a fiberglass reinforcement on the back, is the best DIY glue. For the strongest joint, a hot stapler with PP welding rod beats glue because it melts into the plastic itself. Ordinary super glue and general epoxy are the two that fail first.
What to Do First
Before you cut anything, flip the bumper over and look at the damage from the back. That one check tells you whether you are looking at a repairable cover or a structural problem, and it saves you from a failed attempt.
If the cover is sound, identify the plastic, grab a plastic epoxy made for it, and work through the prep properly. Clean, V-groove, roughen, bond, clamp, reinforce from behind and give it the full cure time. That is the whole method, and it holds up to weather and another parking-lot bump for years. Add thin filler layers for missing plastic, sand it back to the original contour, and match the paint to the code on your VIN plate.