
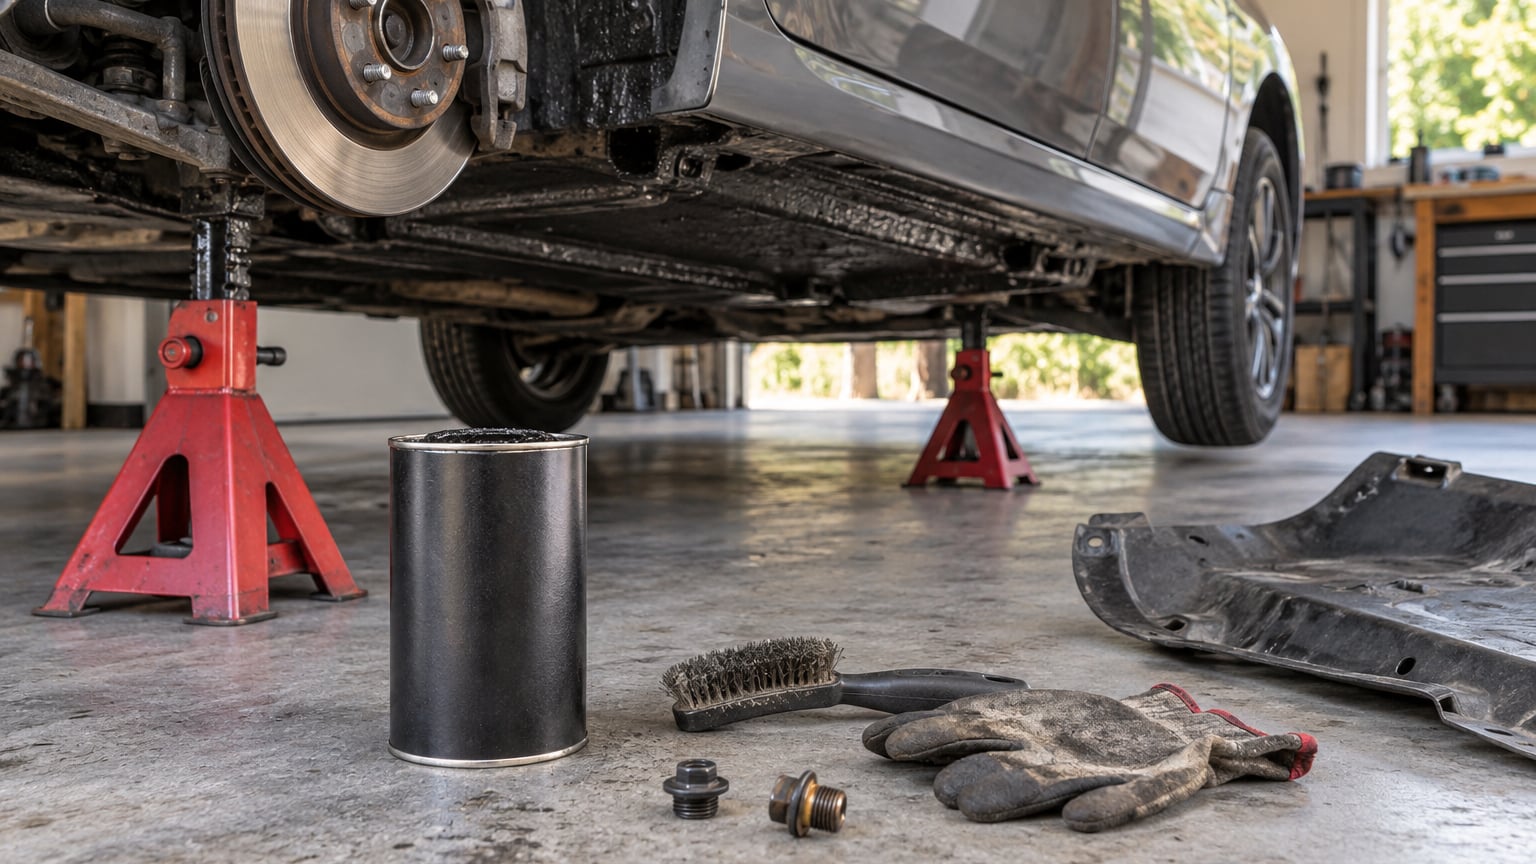
How to undercoat a car comes down to five things: support the vehicle properly, degrease and dry the undercarriage, scrape off loose rust scale, mask the brakes, belts, CV boots and exhaust, then spray a non-drying oil or cavity wax in thin, even passes. Budget a full day on a clean car, or a weekend if old factory undercoating has to come off.
What you are adding is corrosion protection, not sound deadening. It keeps road salt, water and grit off bare steel in the frame rails, floor pans, rocker panels and wheel wells, where corrosion does the real damage on a vehicle. It will not quiet a roaring road noise, and any shop selling you both is selling you the second one twice.
I will walk through the whole process below, including the two mistakes that ruin most DIY jobs: coating over loose rust scale, and sealing the drain holes with thick tar.
Table of Contents
What You Need
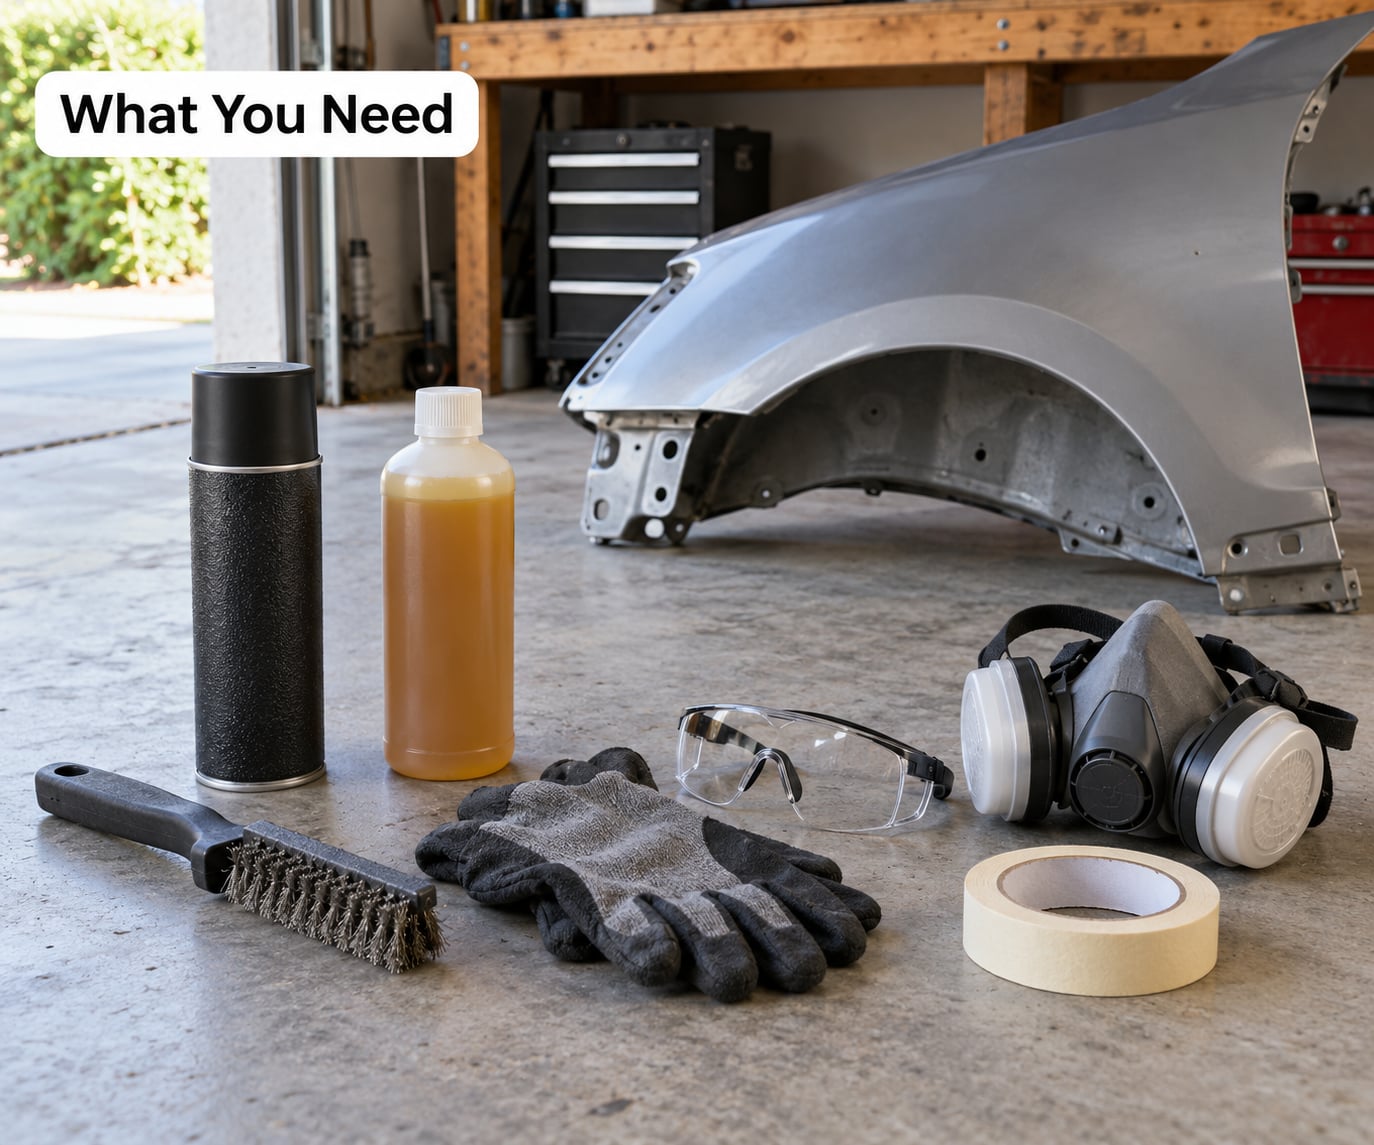
Start with the coating itself, then work backwards to everything that gets in the way of it. The list is not long, but skipping the prep gear is how people end up spraying rust into a driveway.
Coating and application
- A non-drying oil or lanolin-based undercoat for the frame and axles
- A wax-based cavity wax for closed body cavities and seams
- Aerosol cans, or a pressurized undercoating gun with a 360-degree wand if you own a compressor and want faster coverage
- Cardboard or a plastic shield to catch overspray on the driveway
Cleaning and surface prep
- Degreaser or automotive shampoo, plus a pressure washer or hose and scrub brush
- Brake cleaner or similar solvent for loosening old factory undercoating
- Wire brush, putty knife or scraper, and 80 to 120 grit sandpaper or a small wire wheel
- Rags, a plastic putty knife, and a shop vacuum for debris
- Jack stands rated above your vehicle weight, or drive-on ramps
Safety gear
- A respirator with organic vapor cartridges. Aerosol undercoat is not something to breathe
- Chemical-resistant nitrile gloves and safety glasses with side shields
- A creeper and a drop light, since half the job happens on your back looking up
- A fan or open garage door for airflow, plus a bucket to catch removed drain plugs
Temporary aerosol undercoat and long-lasting cavity wax are not the same product. A cheap seasonal aerosol gives you a thin film that lasts a few months and needs a can every year anyway, while an oil or wax-based coating creeps into seams, stays soft, and can be topped up in thin passes. Decide which one you want before you start, because switching halfway through a job leaves you with a patchy mess.
Step-by-Step: How to Undercoat a Car
1. Choose the Right Undercoat for the Job
Match the product to the surface, not to the marketing. Oil and lanolin formulas like Fluid Film, Krown, or Surface Shield wet the steel, seep into frame cavities, and never harden, so they do not trap moisture against the metal. Wax-based cavity waxes like WoolWax or a Wurth cavity product are thicker, hold up better through salt-belt winters, and are what German manufacturers use in body cavities at the factory.
Rubberized tar undercoat is the one most people pick up by mistake. It is a stone-chip and sound-deadening coating, it sits on the surface instead of creeping into seams, and it plugs drain holes so water has nowhere to go. That is how a coating meant to stop rust ends up making it worse.
| Undercoat type | Creeps into cavities | Traps moisture | Reapply | Best for |
|---|---|---|---|---|
| Lanolin or oil-based (Fluid Film, Krown, Surface Shield) | Yes, thin and runny | No | Annually | Frame rails, axles, suspension links, road salt |
| Wax cavity wax (WoolWax, Wurth cavity wax) | Yes, holds better in cold | No | Annually or every 2 years | Closed body cavities, inner fenders, seams |
| Rubberized tar undercoat | No, surface film only | Yes, if thick | Rarely | Stone chips on exposed frame rails, and drain holes need masking |
| Temporary aerosol undercoat | Limited | No | Every season | Budget protection on a budget car |
How much product you need depends on the vehicle, but people regularly finish a full frame and both axles with three to four aerosol cans. Trucks and anything going on thick will need more. A bucket with an undercoating gun covers the same ground far faster if you have a compressor and the nerve to run it.
2. Inspect and Clean the Areas You Will Protect
Put the car on stands or ramps before you look at anything. Never work under a car on a jack alone, and get the stands in the factory spots so the sill structure is doing the work.
Look up with a bright light and sort what you find into two buckets. Light surface rust, the orange-brown powder that wipes off with a finger, is fine. Rust scale, the thick flaky layer that comes off in sheets, is not. A lanolin coating can bridge minor surface rust and stop it, but scale left under the coating is exactly why people’s undercoat peels off in flakes six months later.
Deal with corrosion before anything else. If a frame rail or floor pan has thinned, blistered paint, or holes, that is structural rust and no coating will save it; the metal gets cut out and welded or the section gets replaced. Brushing away scale first costs an hour and is the difference between a coating that lasts a season and one that lasts years.
Then clean. Degrease everything, scrub the underside with a brush, and rinse. Brake cleaner works well on old rock-hard factory undercoating and the road grime that mixes with it. For heavy grease on a restoration, a media blaster with light silica sand is the fast path, and a cheap used portable blaster does the job if you keep the wand moving so it does not chew nearby rubber.
3. Dry the Vehicle and Mask Sensitive Parts
Coating over trapped moisture locks water in place, which is the whole problem you are trying to solve. Let the car dry fully after the wash, then push compressed air or a heat lamp into the frame cavities and wipe the seams dry. Coating goes on cold, dry metal, ideally on a mild day when the temperature matches the label minimum.
Now mask what must not be coated. This is the step that separates a job that lasts from a job that costs you brake rotors:
- Brake rotors, discs, drums, calipers and brake hoses
- Drive belts, pulleys and any tensioner hardware
- CV boots, axle seals and wheel bearings
- Exhaust manifold, exhaust pipes, catalytic converter and heat shields
- Suspension bushings, steering rack boots, and electrical connectors
- Painted exterior surfaces you do not want a film on, plus door jambs and weatherstrips
The exhaust warning is not folklore. A Volkswagen owner’s manual states it plainly: do not apply additional undercoating or rustproofing on or near the exhaust manifold, exhaust pipes, catalytic converter or heat shields, because during driving the substance used for undercoating could overheat and cause a fire. The same manual also reminds owners that all body cavities which could be affected by corrosion were given thorough protection at the factory.
Next, pull the rubber drain-hole plugs from the frame rails and the floor pans and drop them in a bucket. Those holes are how water escapes the factory cavity wax. Seal them with tar and water sits inside the rail all winter. Plug them back in once the coating has cured, coating the plug faces so they do not seize.
4. Apply the Undercoat in Controlled Passes
Shake the can hard for a full minute, then test the spray on cardboard. Work in light, even passes, keeping the label distance and overlapping about half of each previous pass. If it runs or pools, you are too close or too heavy, and that is where runs, drips and trapped bubbles come from.
Do the exposed frame first, because you will be standing rather than lying under the car: rails, crossmembers, axles, leaf spring hangers, and the outer edges of the floor pans. Rotate the wheels by hand to reach behind the brake assemblies instead of trying to spray around them.
Then get under it on the creeper. For closed cavities, insert the wand or straw and feed the cavity wax to the far end before the nozzle leaves the opening, otherwise you get a skin of coating at the entrance and nothing inside. Where the paint is chipped or a seam is open, the same thin film reaches bare steel; that is where oil-based coating earns its keep.
A shop-pressed gun and an aerosol can do the same job, but the gun is faster, wider, and easier to flood. With cans, keep the can moving in a steady rhythm and buy more than you think. Running out of product halfway through the rear axle is a common and avoidable annoyance.
5. Let the Coating Cure and Check the Result
Follow the drying and cure times printed on your product rather than guessing from touch. A film that feels dry to the fingers can still be soft underneath, and loading up a coat of oil-based undercoat too early means you drive it off the road in one winter.
Keep the garage open and ventilated while it cures, and do not park over oil-soaked cardboard on a driveway you care about. Most oil and wax coatings need a day or two before you drive on roads, and wax builds need longer.
Then check your work. Every cavity you coated should have a continuous film with no bare patches, no runs, and no exposed metal at seams. A missed rail end or the underside of a floor pan is where the next winter of salt gets in, so touch up thin spots with another light pass rather than building a thick layer.
Reapply every year or two, before the season that uses the salt. On cars that sit outside in a snow belt, a fresh annual pass in the fall is easier to plan for than a full strip-and-recoat in the spring.
Common Mistakes
Most ruined undercoat jobs come down to one of these. Each has a simple correction.
- Coating over loose rust scale. It holds the new coating off the metal, and the whole section peels away later. Scrape and brush it back to firm steel, then coat.
- Sealing the drain holes with tar or thick rubberized undercoat. Water gets trapped in the rail and the corrosion gets worse. Remove the plugs before spraying, reinstall them after.
- Coating the exhaust, heat shields or catalytic converter. The coating can overheat and start a fire. Mask generously and stay well clear.
- Coating brake rotors, calipers, drive belts or CV boots. It contaminates friction surfaces and ruins rubber and plastic parts. Mask first, spray second.
- Working on a hot, damp or freshly washed car. The coating will not bond or dry properly. Dry it out and work in the shade.
- Spraying one heavy coat. Runs sag, droplets fall on the driveway, and thick patches crack. Thin, overlapping passes dry better and last longer.
- Doing it in a closed garage with no airflow. You will be sitting in solvent fumes for hours. Ventilate and wear a respirator.
- Calling dry time the same as cure time. Touch-dry is not hardened. Give it the full label cure time before driving on it.
- Skipping the floor pans and rails because they are hard to reach. Those are the surfaces that matter most. Use ramps, a creeper, and drop lights rather than leaving them bare.
One more myth worth clearing up: undercoating does not meaningfully reduce road noise. If tire roar is the complaint, that is a separate job with a proper damping mat, and any shop charging you for both should be asked to explain what the second layer does.
Frequently Asked Questions
Can you undercoat a car yourself?
Yes, on a driveway or in a garage with the car on jack stands or ramps, a pressure washer, and a weekend. The process is cleaning, rust removal, masking, and spraying, all of which are ordinary DIY work. A shop does the same steps faster only because it has a lift and a blast booth. Watch the exhaust and brake warnings, and never work under a car supported by a jack alone.
Does undercoating stop existing rust?
It stops surface rust that has not yet become scale. A non-drying oil or lanolin coating wets light orange surface rust and holds it in place, which is why people get good results coating a car that has never been cleaned. Loose scale and structural rust are different: scale must be brushed off first, and thinned or holed metal has to be cut out and welded. No coating restores metal that is already gone.
What should you not coat when undercoating a car?
Stay away from brake rotors, discs, drums and calipers, drive belts and pulleys, CV boots, wheel bearings, suspension bushings, electrical connectors, and anything on the exhaust system including the manifold, pipes, catalytic converter and heat shields. Coating the exhaust can overheat and cause a fire, and coating brake and rubber parts contaminates or destroys them. Mask these areas before you start spraying.
How long does undercoating last on a car?
Oil and lanolin undercoats are non-drying films that get washed off gradually by road salt, rain and wash water, so most people refresh them every year. Thicker wax builds last two or three years and hold up better in salt-belt winters. A rubberized tar coating can last longer, but it is a stone-chip coating, it does not creep into cavities, and it blocks drain holes. Reapply before the season that uses the salt.
Can you undercoat any make of car, including a BMW or a modern vehicle?
You can coat any of them, but check what the factory already did first. Modern cars are typically galvanized, e-coated, painted, and given cavity wax in the body cavities at the factory, and many carry a corrosion warranty that extra coatings can complicate. Adding thick tar or an oil film over a sound factory coating can trap moisture where there was none. On a new vehicle, touch up scratches instead of blanket-coating the whole underside.
How long does it take to undercoat a car, and when is the best time?
Plan a full day for a clean car that has never been coated, and two or three days if old rock-hard factory undercoating has to be softened with solvent and wire-wheeled off. Timing is best in late summer or fall, after the summer salt has been washed off and before winter, or right after the salt season in spring once the underbody is clean and dry. Never coat a wet or hot car.
Conclusion
The first thing to do is get the car up on stands and look at it with a light. Find out whether you are dealing with sound steel, light surface rust, or scale that has to come off, because that single answer decides which path the rest of the job takes.
From there, pick a non-drying oil or wax coating for the frame and cavities, leave the rubberized tar and the exhaust alone, and pull those rubber drain plugs before you spray. Apply thin, even passes, give it the full cure time printed on the can, and put a fresh coat on every year or two before the salt arrives. That is the whole job, and doing it properly costs a weekend and a handful of cans.