
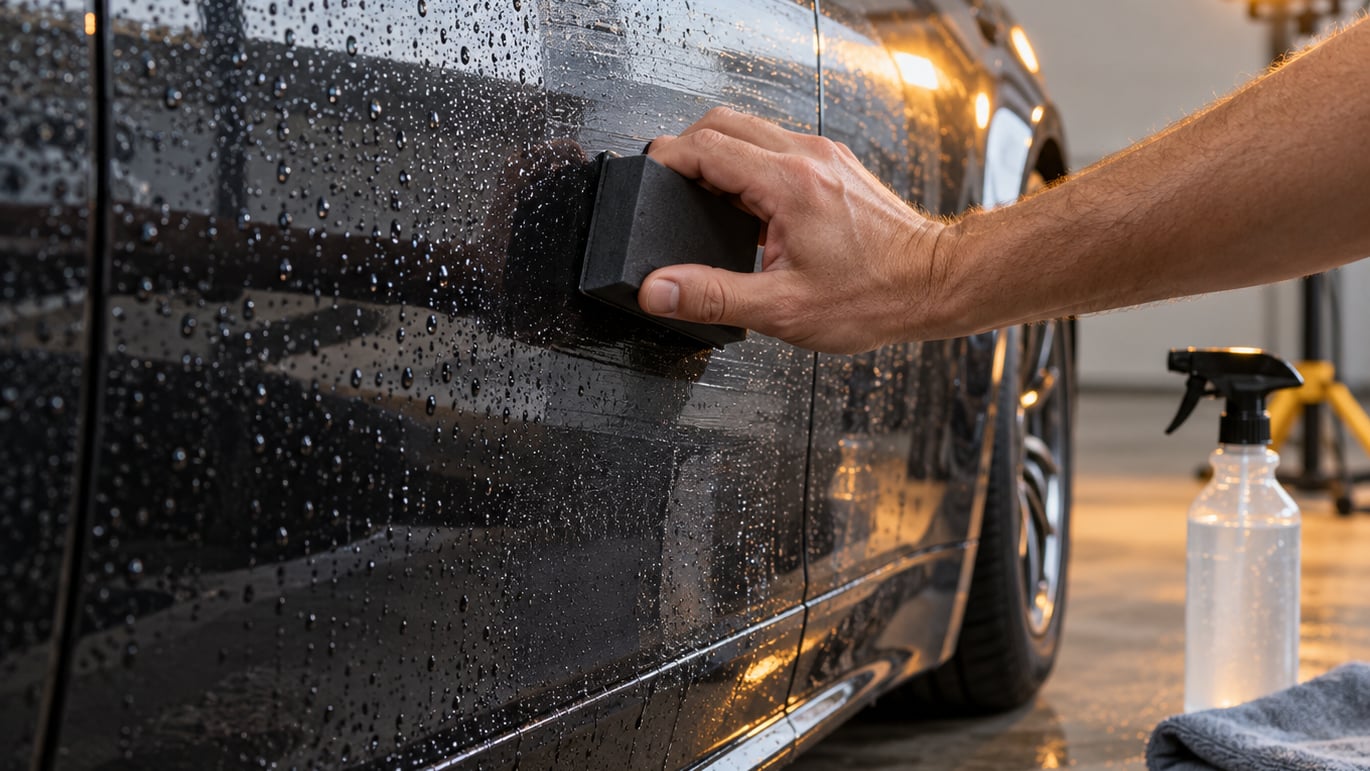
Wet sanding is levelling the clear coat on a car with wet/dry sandpaper kept lubricated by water and a drop of shampoo, and it is the only way to flatten texture that polishing alone cannot touch, like orange peel, dust nibs and shallow runs. A single panel takes 30 to 60 minutes by hand for a first-timer. The whole process is recoverable as long as you keep the paper moving, the panel wet, and the pressure light.
The catch is that clear coat is thin, sometimes only a couple of thousandths of an inch on a hood, and it is thinnest on edges, ridges and body lines. That is where most burn-throughs happen, not in the flat middle of the door. This guide walks through how to wet sand a car in the order that matters: figure out whether your defect is even a sanding job, measure what you have to work with, then start conservatively and verify at every step.
One more thing before you start. If the car wears single-stage paint, a solid colour sprayed straight over bare metal or old paint, there is no clear coat to protect you. On vintage and many older resprays, wet sanding is a job for a paint shop.
Table of Contents
What You Need
You can wet sand a car with very little, but each item below earns its place. Buying the wrong sandpaper is the number one reason the job goes sideways.
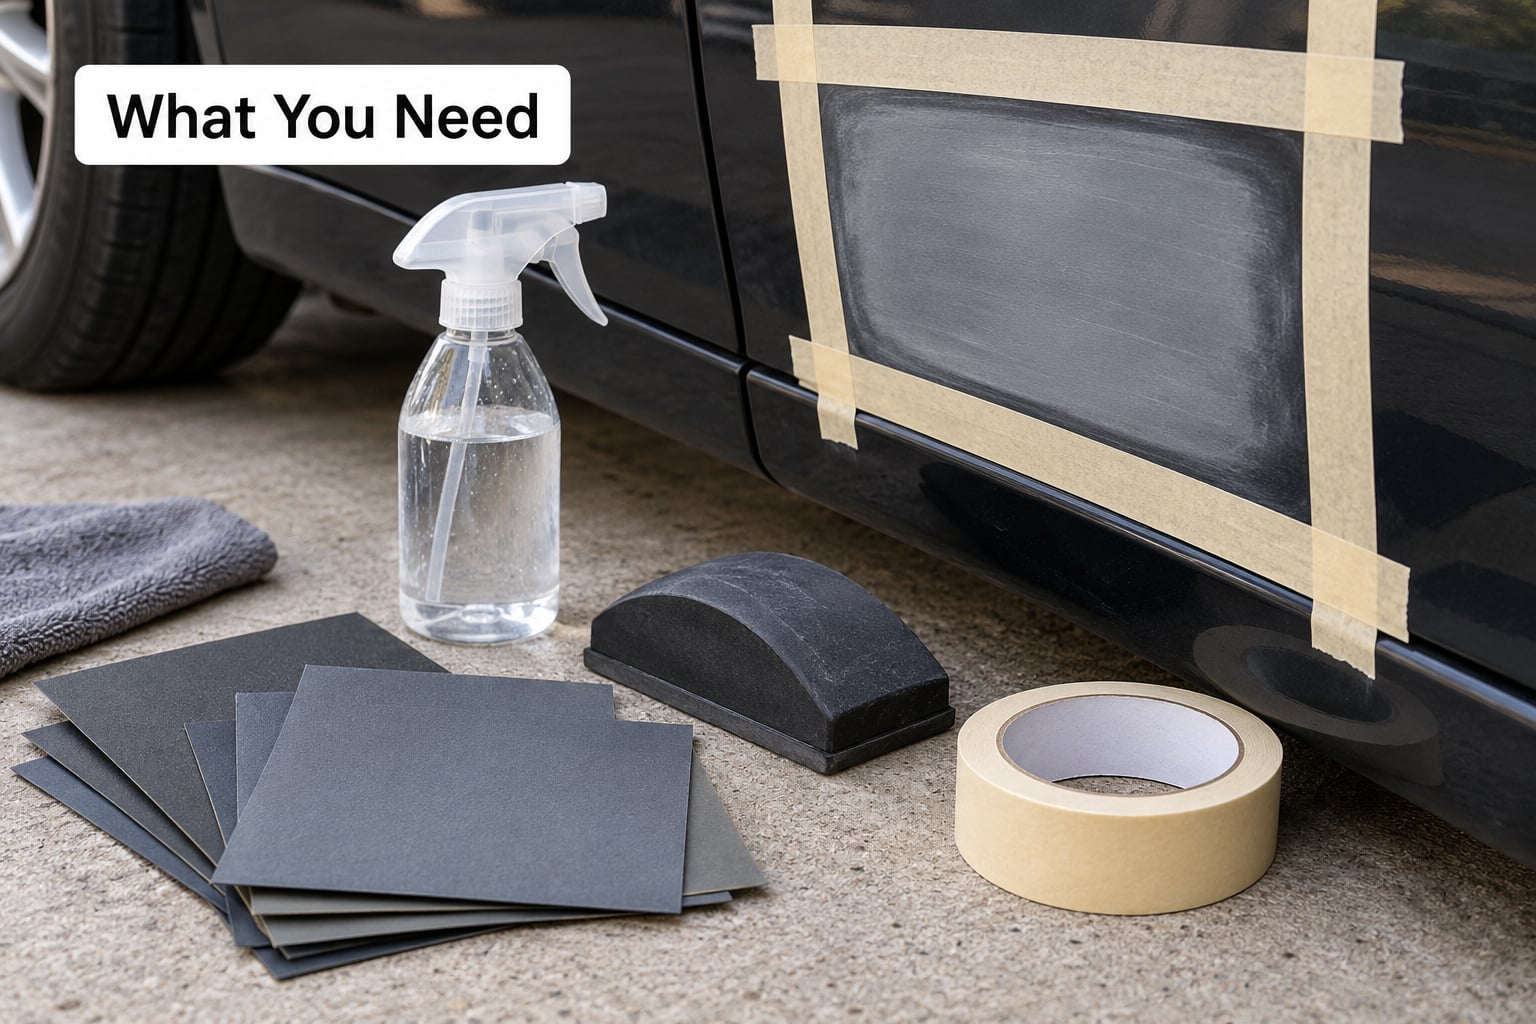
- Wet/dry silicon carbide sandpaper in 1500, 2000 and 3000 grit, in 9 by 11 inch sheets or half-sheet format. Regular drywall sandpaper disintegrates and gums up in water, which is what most first attempts use by mistake. Film-backed paper lasts longer and does not tear as easily when it loads.
- A rubber sanding block roughly the size of your palm, with a slightly convex face. Your fingers are the pressure source here, and bare-hand sanding is what creates the uneven low spots you end up chasing. A rigid block levels, a soft foam interface pad follows a curve gently.
- A spray bottle and a small container of water with a drop of pH-neutral car shampoo in it. The soap lowers surface tension so the water clings to the panel instead of sheeting off and leaving dry patches.
- Clean microfiber towels, one for rinsing slurry off and one dry for the progress check. A dirty towel scratches the very surface you just cleaned.
- Masking tape for trim, badges, door handles and panel gaps. Tape is cheap insurance against scuffing a black plastic moulding that never forgives.
- A paint thickness gauge if the finish is unknown, the car is older, or any panel has been resprayed before. This is the single most requested piece of advice in DIY detailing forums and the only tool that tells you your real safety margin before you cut.
- A good inspection light, ideally a raking LED work light or bright LED inspection lamp. A garage with a single overhead bulb hides everything you need to see.
For polish rather than paint correction, you also want a cutting compound, a finishing polish, and ideally a dual-action polisher. If you do not own a machine, a soft foam hand applicator and patience will get you there, just slower. If your only goal is to soften swirl marks or make a panel look better, a one-step polish and a hand applicator may be the safer answer than sanding at all.
How to Wet Sand a Car: Step by Step
Inspect and Prepare the Paint
Decide whether the defect is a sanding job before you soak anything. Orange peel on factory paint, dust nibs, dry spray, overspray, light swirl marks and a blended repair edge are all reasonable DIY wet-sanding work. A deep scratch that has already gone through the colour into the base coat, a crease or body-shape change, and flaking or delaminating clear coat are not.
Pull the trim and mouldings off where they come off with clips or screws. If they are glued on, tape instead. Then wash the panel properly and decontaminate it, because a single grain of dirt under the paper becomes a scratch you will spend hours removing later.
Measure the clear coat with the gauge in several spots on the panel, especially low on the door and up near the crease. Write the numbers down or mark them with tape. If you find somewhere that is already thin, that is a panel to leave alone or take to a shop.
Work in the shade on a cool panel. Direct sun heats the clear, softens it, and turns a light touch into a gouge. Never touch fresh clear coat until it has cured; most modern systems need at least 24 to 72 hours before light sanding, and full cure takes far longer. Read the technical data sheet on the product if you can find it.
What Grit to Wet Sand a Car With
Start at 1500 grit for clear coat, and go finer from there. Here is the progression that works, with the defect each step handles.
- 800-1000 grit: heavy runs, sags, dry spray and solvent pop. Only on thick, fresh clear coat, and only with a gauge in hand.
- 1200-1500 grit: runs, nibs and overspray on cured clear. This is the normal starting point for levelling clear coat.
- 2000 grit: the scratch pattern left by 1500. Never skip this step, because it is where most people go wrong.
- 2500-3000 grit: the 2000 pattern, final refinement. Stop here unless you are chasing a show-car finish.
- 3000-5000 grit or micro-mesh: final haze removal. Micro-mesh sheets from 3000 to 12000 are the gentlest option.
The conflicting advice you will find online is not really a conflict. Shops blending a repair edge drop to 600 or 800 grit because they are feathering two paint films together, which is a different job from levelling a finished panel. For clear coat on an intact panel, 1500 is the honest starting point, and a first-timer should not go coarser.
Change grit in steps, never in jumps. Going from 1200 straight to 3000 leaves scratches in the paint that no amount of polishing will fully remove, and you will be back where you started.
How to Wet Sand a Car Without Cutting Too Deep
Soak the sheet in water for 10 to 15 minutes before you use it. Wet/dry paper that is only damp at the surface tears, loads with paint dust, and drags.
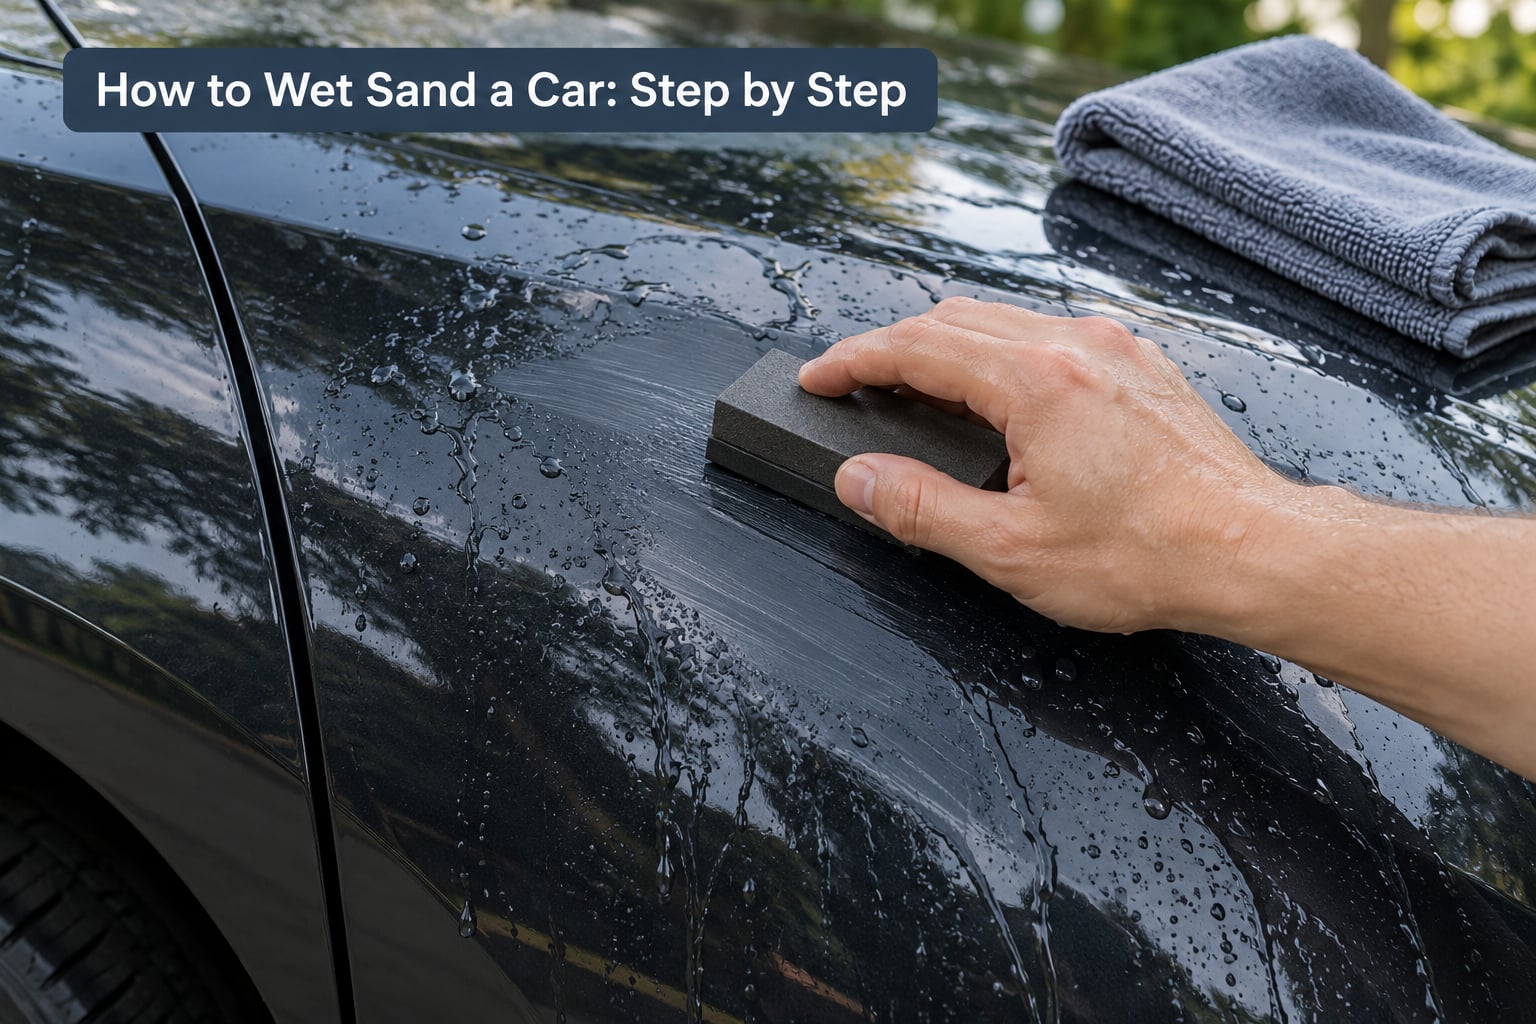
Wrap the sheet around the block with the grit facing out and the folded edges tucked in flat. If the edges are not flush, they dig a line into the clear. Start wetting the panel generously and keep re-wetting as you go, working in a section about the size of your hand.
Use enough pressure to feel the paper bite and nothing more. Too little and you waste an hour; too much and you cut clear coat you cannot grow back. The block should glide, not scrape, and the water should turn milky white as the paper cuts the clear evenly.
Move the block in straight back-and-forth strokes, overlapping each pass by about half. Occasionally rotate the direction 90 degrees so you can check for a cross-hatch pattern, which tells you your coverage is even.
On a curved panel, lay the block across the curve rather than following it, so the pressure spreads instead of digging into the tightest point. That is exactly where people burn through.
Check Progress and Change Grit
You cannot see progress by feel alone, so build the check into the process. Every few minutes, rinse the section and squeegee the water off with a clean plastic card or your thumb, then run a dry microfiber towel across it. You are looking for a uniform dull matte haze with no glossy high spots left.
Glossy patches mean the defect is still there and you keep the same grit. A consistent matte finish means this grit has done its job, so change paper and drop to the next finer grit. A wet paper is not scoring anything if the surface is uniformly dull, so you do not need to worry about scratching at that stage.
The slurry is your early warning. Wipe a fingertip through the water and look at the colour. Milky white means the clear is being levelled evenly. Water tinted with the colour of your car, or any base coat showing through, means you have cut through the clear into the colour or into the base coat. Stop immediately, dry the area, and reassess.
Also stop if the paper tears, gums up, or starts producing thick clumps of paint dust instead of fine white slurry. That is a loaded paper, and loaded paper cuts unevenly. Change it. Once clear starts to show a different colour under the raking light, that is your cue.
If you reach 3000 grit and the defect is still there, the defect is deeper than your remaining clear coat can spare. That is the moment to stop, not the moment to keep going.
Polish and Protect the Finish
Yes, you polish after wet sanding, and it is not optional. Sanding leaves a uniform matte surface with microscopic scratches, and polishing is what turns that into gloss. A panel that is only wet sanded looks worse than where it started.
Rinse and dry the panel completely, then do an IPA wipe-down to remove polish oils and residue before any protection goes on. Sanding residue left under a sealant or coating is what causes the hazy, blotchy finish people blame on the product.
Pick a pad and compound that match the grit you finished on. After 3000 grit, a light finishing polish on a soft foam pad does the job. Someone who stopped at 1500 needs a cutting compound on a firmer pad or a dual-action machine, and should expect more heat and more passes. A rotary buffer on a panel you have already thinned is a bad idea.
Work in small sections, keep the pad moving, and let the surface cool under your hand. Then check under the inspection light for a uniform finish before you move to the next section.
Once the paint is clean and completely dry, protect it. Wax or a sealant goes on first if you are still learning; a ceramic coating comes later, on a surface that is properly decontaminated and corrected. Either way, hand wash with a pH-neutral soap rather than running it through an automatic car wash with abrasive brushes.
Common Mistakes That Burn Through Clear Coat
Sanding a dirty or hot panel. Contamination under the paper becomes scratches, and a panel in direct sun softens so the same pressure cuts twice as deep. Wash it, decontaminate it, and work in the shade on a cool surface.
Pressing too hard. Pressure does not speed up cutting, it just generates heat and gouges. If the paper is not biting, wet the panel more rather than leaning on it.
Skipping grits. Every step exists to erase the previous one. Jumping 1200 to 3000 leaves a scratch pattern polish cannot reach.
Working edges, ridges and body lines. This is where clear coat is thinnest. Mask adjacent trim, stay off sharp creases, and use a light touch with the block laid across the contour.
Letting the panel dry out. Dry paper glazes and polishes instead of cutting, then tears and gouges when you re-wet it. Keep a spray bottle in your other hand.
Letting the paper load. Thick paint dust in the slurry means a fresh sheet. Clogged paper cuts unevenly and overheats.
Polishing before the residue is gone. Grit left in the clear will show as haze and fine swirl after polishing, and it will be blamed on the polish.
The safety tip that covers all of these: work in small sections, verify often, and stop the moment the surface goes uniformly matte. You can always sand finer. You cannot put clear coat back.
Frequently Asked Questions
Is it safe to wet sand a car?
Yes, on modern two-stage paint, if you work in the shade, keep the panel wet, use light pressure, and check your clear coat thickness first. It is far safer than most online advice implies because water carries debris away and keeps heat low. It is not safe on single-stage or vintage paint with no clear coat, on flaking or delaminating clear, or on a panel with a deep scratch already through the colour.
What grit should I use to wet sand a car?
Start at 1500 grit for clear coat, then move to 2000, then 2500 or 3000. Only drop to 800 or 1000 for heavy runs, dry spray or solvent pop, and only where you have measured the clear coat and found it thick. Change grit in steps rather than jumps, because every step is there to erase the scratch pattern left by the one before.
Can I wet sand a car in direct sunlight?
No. Direct sun heats the clear coat, and warm paint softens and cuts far faster than cool paint under the same pressure. Shade also gives you better inspection light and lets the water stay where you put it. Work on a panel that feels cool to the touch, ideally in a garage with good airflow, and take breaks if the surface starts warming under your hand.
How do I know if I have sanded through the clear coat?
Watch the slurry colour. Milky white water means the paper is levelling the clear evenly. Water tinted with your car colour, or any base coat or primer showing through, means you have cut through. Dry the area and look for a change in colour under a bright light. If you see it, stop immediately; a small spot can be recoated locally, a large one means the panel is going to a paint shop.
Can wet sanding remove scratches completely?
It can remove light surface scratches, swirl marks and texture, but only the ones sitting in or just under the clear coat. Anything through the colour into the base coat needs touch-up paint and a blend, not sanding. Wet sanding also cannot fix a crease or change a body shape, which is a filler and refinishing job. Judge the depth with your fingernail before you start: if the scratch catches visibly, stop.
Conclusion
The safest first move is to stop and inspect rather than start sanding. Wash and decontaminate the panel, measure the clear coat if you are not certain what you have, and test an inconspicuous corner with 1500 grit soaked for a good ten minutes.
If the panel is modern two-stage paint and the defect is surface-level, start conservatively, keep the water coming, work one small section at a time, and verify with a dry-wipe matte haze check before you step up in grit. Stop before you reach the basecoat, polish away the residue, then protect the finish.
Deep or wide damage, a panel with thin or flaking clear, and any attempt to reshape a body contour belong in a paint shop. Those are the cases where a weekend of sanding turns into a full respray.