
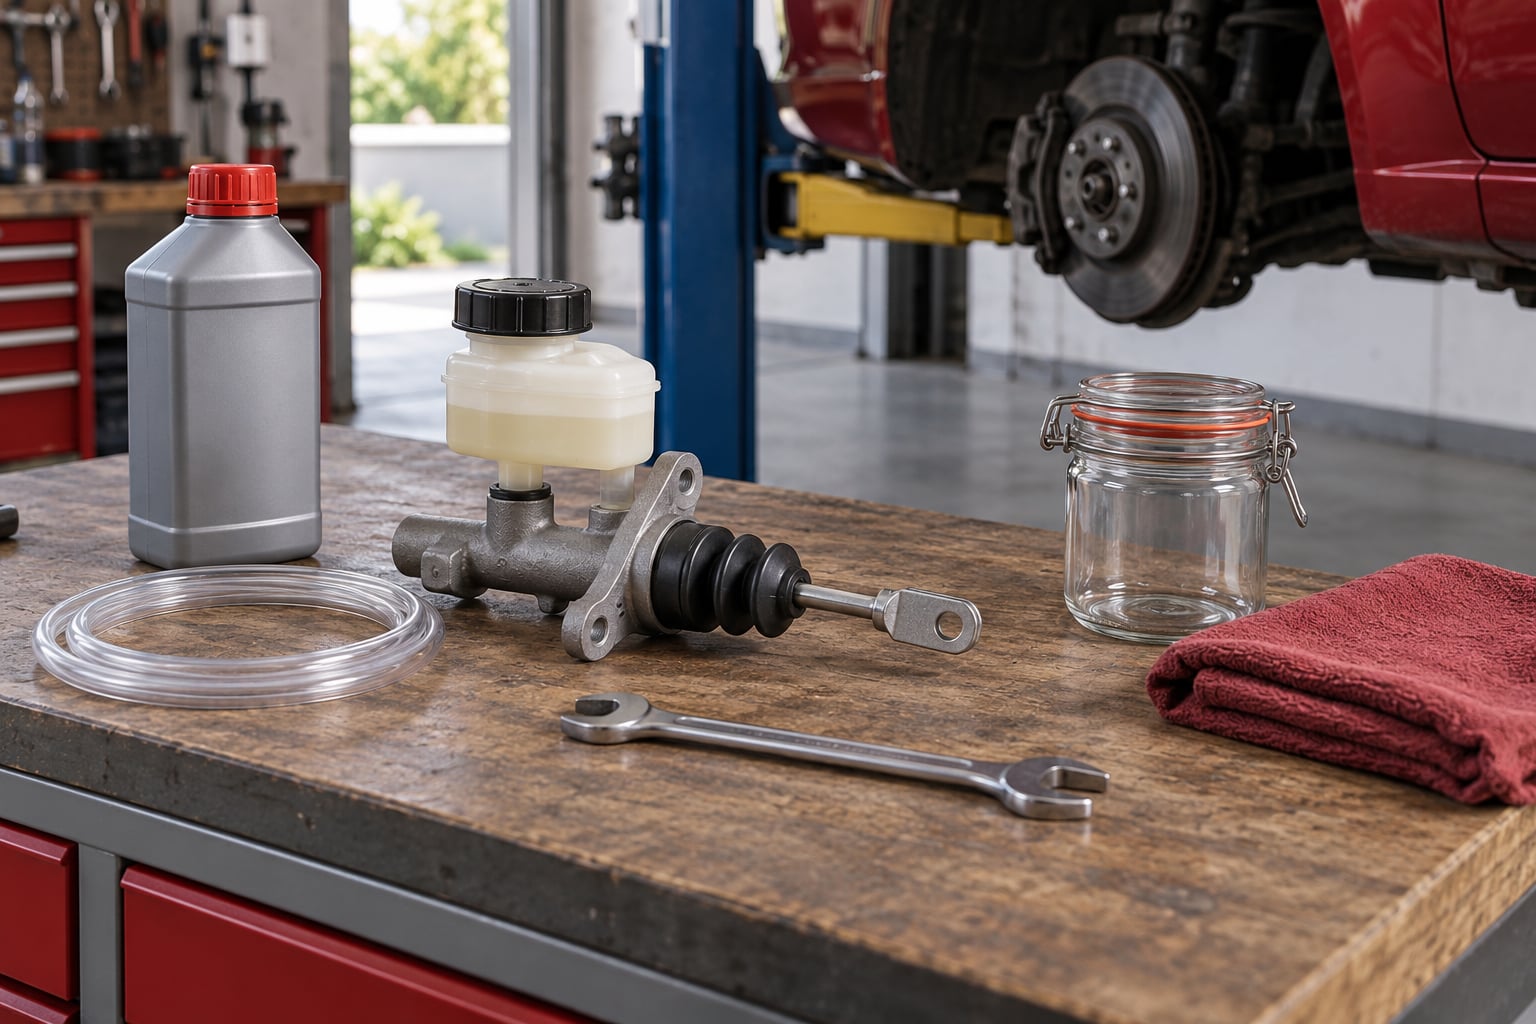
Bleeding a hydraulic clutch means pushing trapped air out of the master cylinder, the hard line and the clutch slave cylinder until only clean brake fluid remains inside. Fluid does not compress, so it carries pedal pressure straight through to the release fork, while air does compress and swallows most of your stroke, which is exactly why the pedal goes soft and the gears grind on the way in.
How to bleed a hydraulic clutch properly takes 30 minutes to two hours, costs nothing but a bottle of fluid, and most of it is the same ten steps repeated until no bubbles come out. The hard part is knowing when to stop and suspect a leak or a failed cylinder instead.
Table of Contents
- What You Need
- Step-by-Step: How to Bleed a Hydraulic Clutch
- 1. Check the Fluid Spec and Secure the Car First
- 2. Find the Bleeder Valve Before You Open Anything
- 3. Open the Bleeder and Let Trapped Air Out
- 4. Close the Valve and Watch the Pedal
- 5. Repeat Until the Pedal Stays Firm
- 6. Refill the Reservoir and Test the Bite Point
- How to Bleed a Hydraulic Clutch With No Helper
- If the Pedal Is Still Soft After Bleeding
- Common Mistakes
- Frequently Asked Questions
- Conclusion
What You Need
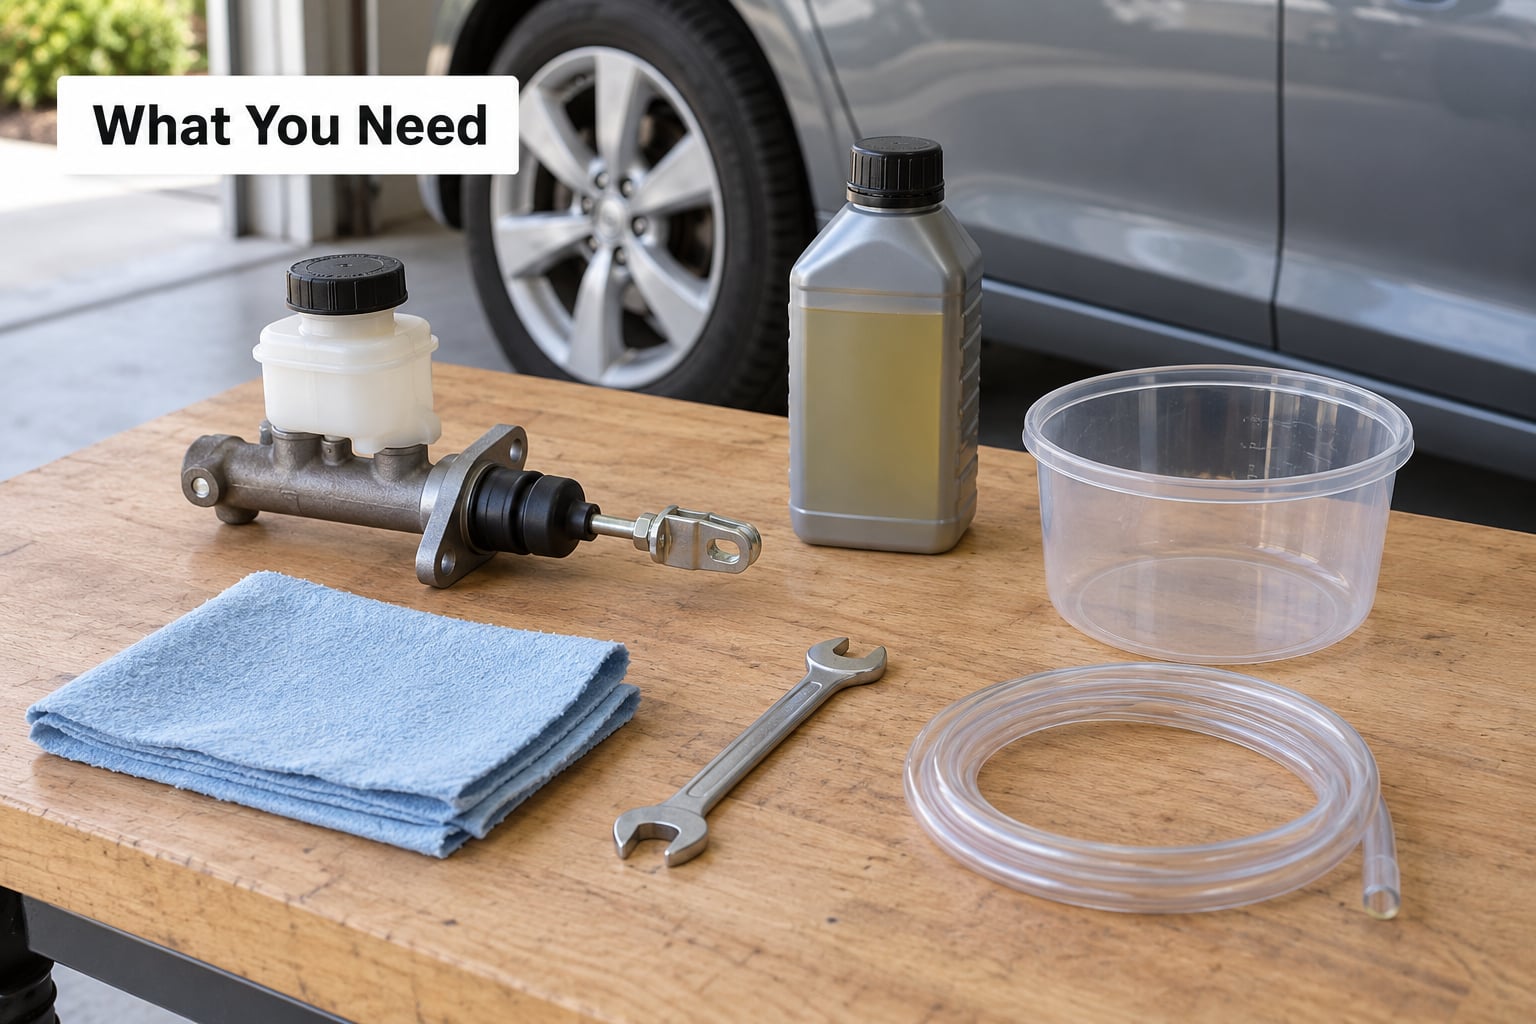
Almost every car with a hydraulic clutch uses glycol brake fluid rated DOT 3 or DOT 4. Read the reservoir cap or the manual before you open anything, because a siloxane-based fluid will destroy a rubber-sealed system and the wrong spec shows up as a soft pedal weeks later.
- Correct fluid — DOT 3 or DOT 4 as specified on the reservoir cap or in the owner’s manual. Never mix the two, and never use fluid from an open bottle of unknown age.
- Clear vinyl tubing — about 60 cm, sized to fit the bleeder nipple. Clear hose lets you see the bubbles, which is the whole point.
- Open-end or box wrench — commonly 7 mm or 8 mm, occasionally 9 mm or 10 mm. A six-point wrench that fits snugly matters more than brand.
- Sealed catch container — a clean jar or bottle with a lid. Brake fluid is corrosive and it will strip paint off a fender in a single spill.
- Clean shop rags plus a bottle of brake cleaner, for wiping the nipple and the pushrod area clean.
- Funnel and spare fluid — you will refill the reservoir more than once, and a paper funnel keeps the filler neck clean.
- Wheel chocks and jack stands if the pedal has to be held down while you are under the car.
- A second person is helpful but not required. There is a solo method further down.
- Nitrile gloves and eye protection. Fluid is hygroscopic, it draws moisture out of the air, and it eats paint and some plastics.
Spread a sheet of cardboard or newspaper under the work area, put a drain tray under the bleed nipple before you crack it, and have disposal in mind. Used brake fluid is regulated as hazardous waste in most places, so collect it in a sealed container rather than rinsing it away.
How long the job takes depends almost entirely on the method you pick:
| Method | Tools needed | Time | Best for |
|---|---|---|---|
| Manual bleed with a helper | Hose, wrench, catch container | 30–60 min | Any system, easiest to get right |
| Solo bleed with a pedal prop | Hose, wrench, clamp or weight | 45–90 min | Working alone, small air pocket |
| Gravity bleed | Hose, raised reservoir position | Several hours to overnight | Old systems, minimal air |
| Vacuum bleed | Vacuum pump with reservoir and shutoff | 20–40 min | Stubborn air the pedal will not push out |
| Pressure bleed | Pressure bleeder, usually 10–20 psi | 15–30 min | Master cylinders that hold a lot of air |
Step-by-Step: How to Bleed a Hydraulic Clutch
1. Check the Fluid Spec and Secure the Car First
Start with the fluid. Look at the reservoir cap or the sticker on the master cylinder and confirm DOT 3 or DOT 4, then check the level against the MIN and MAX marks on the reservoir.
Run your hand along the hard line and around both cylinders looking for wet spots or a crusty film. If fluid is already on the ground, you have a leak to deal with before a bleed will ever hold.
Wipe everything dry, disconnect the battery negative cable if the car needs it, and put the vehicle on stands with the wheels chocked if you will be underneath it. Never work under a car held up by the jack alone.
Finally, get the clutch pedal fully depressed and stay that way. Fluid cannot be pushed past a pocket of trapped air when the pressure side is not loaded, and every procedure below depends on that.
2. Find the Bleeder Valve Before You Open Anything
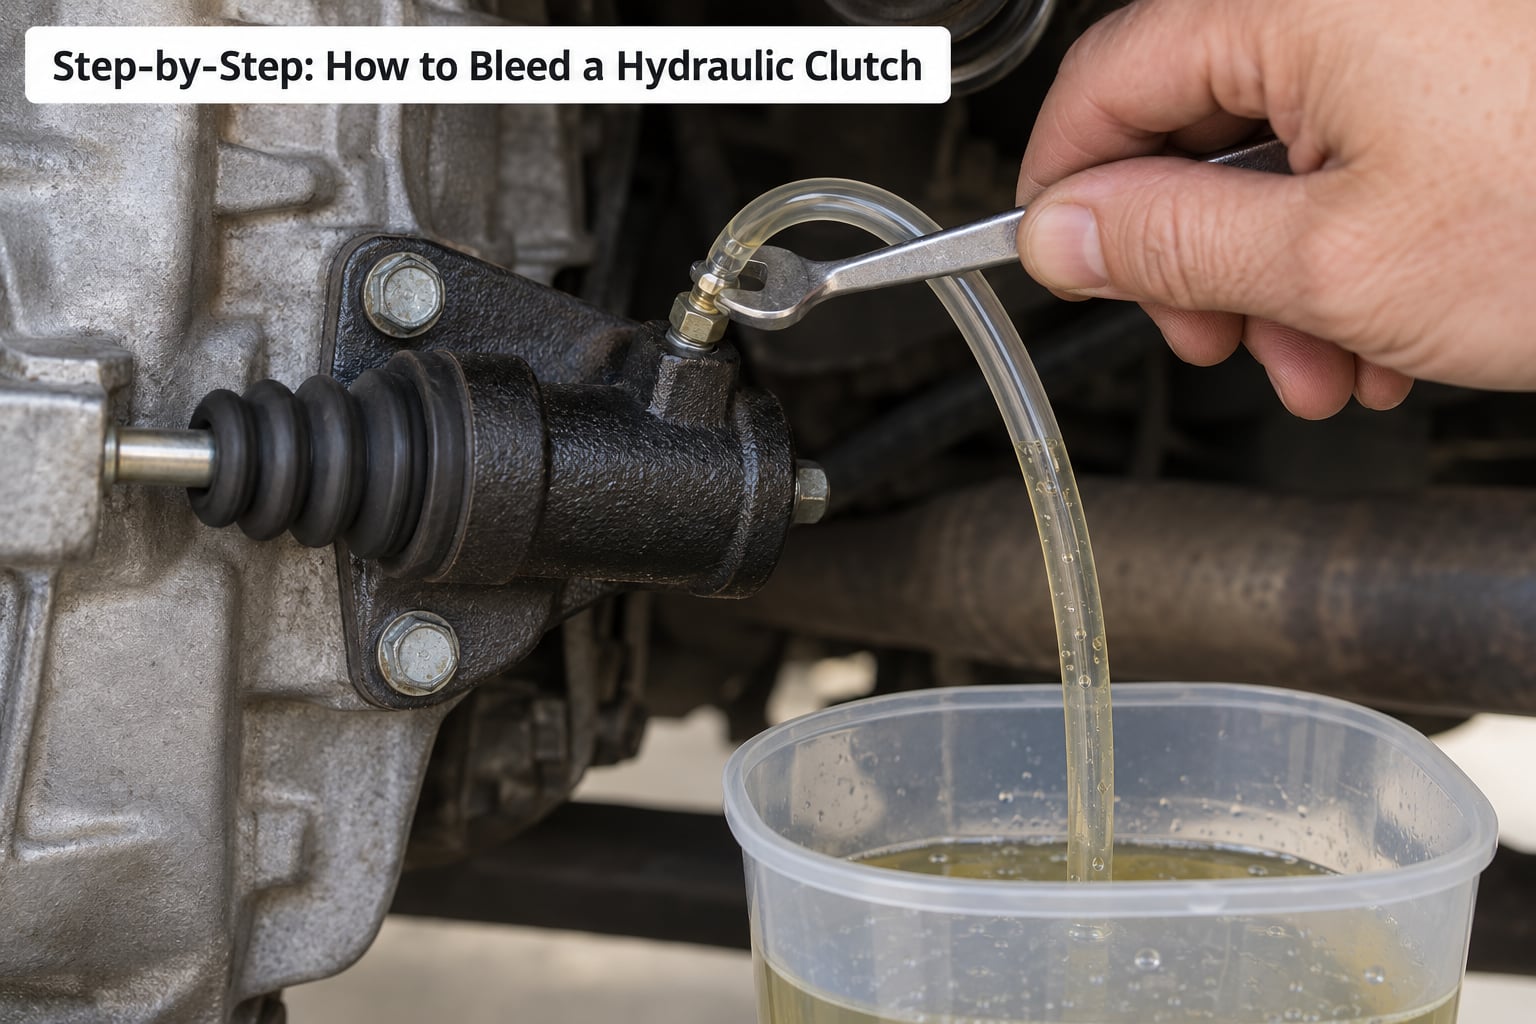
The bleeder valve is a small screw or nipple, usually on the body of the clutch slave cylinder, with a cap over it and a hex or square recess in the middle. Most cars use an external slave cylinder mounted on the transmission or bell housing, so the nipple faces sideways or upward and is easy to see once you are under the car with a light.
If your car uses an internal slave cylinder inside the bell housing, the bleed nipple sits in a plug in the transmission casing itself. You will need to remove that plug, and the nipple underneath it is much less accessible, so plan for extra time and a plug socket.
Do not confuse the bleeder with the line fitting or the inlet port where fluid enters the slave cylinder. Bleed the fitting with the hose on it, and if fluid does not flow or the pedal does not move, you have the wrong one. Check the owner’s manual for the exact position on your model, since access and routing vary widely between makes.
3. Open the Bleeder and Let Trapped Air Out
Fit the clear hose over the bleeder nipple and run it into the catch container. Have a rag around the base of the nipple, because the first fluid that comes out is often old, dark and full of metal swarf.
Loosen the bleeder by a quarter turn with the wrench while the pedal is held down. Only a small amount of fluid should leave the fitting, a trickle rather than a flow, and what you are watching for is bubbles arriving in the hose.
Now slowly release the pedal, watch the fluid move back up the hose, then push the pedal down again and repeat. Close the bleeder valve a quarter turn before the pedal reaches the top of its stroke, or you will simply suck air straight back into the system.
4. Close the Valve and Watch the Pedal
Close the bleeder gently. Snug is enough, and over-tightening a small nipple is the fastest way to strip it or crack the casting, which turns a small job into a slave cylinder replacement.
Release the pedal and then press it again slowly. On a system with air still in it the pedal will feel the same as before. As the air comes out, the pedal firms up, the travel shortens, and it starts to push back against your foot on the return.
Look for a small amount of fresh fluid weeping from the fitting as the pressure rises. A drip there is normal during the bleed. A steady stream means something downstream is passing fluid, which is a different problem.
5. Repeat Until the Pedal Stays Firm
Work in cycles of five to ten strokes, opening the valve just long enough to push fluid through. Between cycles, glance at the reservoir and keep it above the MIN mark, because an empty reservoir pulls fresh air in and undoes everything you just did.
Each checkpoint tells you something:
- Bubbles in the hose — air is still coming out, keep cycling.
- No bubbles, faint hiss — you are close, a few more strokes usually finish it.
- No bubbles, no flow at all — the nipple is blocked or the piston is seized, see the next section.
- Pedal firm and self-returning — you are done bleeding, go to step 6.
- Reservoir draining repeatedly — stop, something is drawing fluid out of the circuit.
On a healthy car the finish state is clear and specific: no bubbles in the hose, no fluid running when the valve is closed, a pedal that holds its position when you hold light pressure on it, and a pedal that returns to the resting position on its own with no slack. A little free play at the top of the stroke is normal on most cars. A pedal that rests on the floor is not.
6. Refill the Reservoir and Test the Bite Point
Top the reservoir up to between the MIN and MAX marks with the specified fluid only. Do not overfill, and do not leave the cap off, because the reservoir needs to breathe through its ports and a sealed or flooded reservoir will trap pressure and stop the master cylinder from returning fluid properly.
Wipe the filler neck and the outside of the master cylinder clean, refit the cap, and reconnect the battery if you disconnected it. Recheck the level a minute later, since the reservoir often drops as the fluid settles and air moves up out of the bore.
Then test it properly. On level ground, in a clear area, at walking pace, start in neutral and try first gear. You are looking for a consistent bite point, no grinding, and gears that engage cleanly in both directions. If the car stalls when you release the clutch too fast in first, the clutch is holding and the pedal is not fully releasing the pressure plate, which points straight back to air or a slave that is not moving.
How to Bleed a Hydraulic Clutch With No Helper
The pedal needs pressure while the valve is open and released while the valve is closed, which means you need something doing the pressing. Propping the pedal with a bar clamped under it works if the bleeder is reachable from the seat, but it locks you into one stroke, so the usual trick is to build pressure, open the valve for a second, close it, then release and repeat.
Cleaner options if you are alone:
- Weight on the pedal — a heavy bag of sand or a block of weight strapped to the pedal face gives steady pressure while you work the nipple from underneath.
- Gravity bleed — jack up the car so the master cylinder reservoir sits higher than the slave cylinder. Air rises, fluid falls, and the bubbles migrate up into the reservoir on their own. Open the nipple and top the reservoir up as it drains. It takes hours, sometimes overnight, but it needs no hands and no helper.
- Vacuum pump — a vacuum bleeder with a reservoir and a shutoff valve pulls air and old fluid out of the slave cylinder toward a tank while you keep the pedal pressed. Use a pump with a proper shutoff valve and its own reservoir, because cheap pumps without one produce false bubbles and give you a misleading result.
If the Pedal Is Still Soft After Bleeding
Fluid coming out of the slave bleeder with no bubbles while the pedal stays on the floor is the most common failure, and it almost always means the air is still sitting in the master cylinder.
Work down this list in order:
- The master cylinder was never bench bled. A brand-new master cylinder holds an air pocket and the piston keeps returning to the same place in the bore, so every stroke pushes the same bubble around. Pump the pedal by hand a hundred times before you try again. If it still will not bleed with the master removed, clamp it in a vise, cover the outlet port with a finger or a plug, pump the piston until you feel it become firm, then plug the port and install it.
- The pedal linkage is disconnected. Check that the clevis pin joining the pedal to the pushrod is actually in place before you buy parts. It is a free check and it causes the same symptom.
- Air is on the master side. Bleed in reverse: block the outlet port on the master cylinder, open the slave nipple, pump the pedal to push fluid and air from the slave back toward the master where it collects.
- Something is leaking. A slow external leak at the slave, a weeping line fitting or a weeping pushrod seal will drain the reservoir without a puddle under the car. A level that drops on its own is a leak until proven otherwise.
- The master or slave is failing internally. Past seals let fluid leak back across the piston, so pressure never holds. If the pedal is firm immediately after a bleed and soft again within days, that is what you are looking at.
- The fluid is wrong or water-contaminated. Fluid that has absorbed moisture loses its compressibility and gives a pedal that feels like it is going through sponge. Old fluid does this too, which is why a flush every couple of years matters.
- The nipple is blocked or the piston is seized. No fluid at the bleeder despite a full reservoir usually means a blocked nipple, an air lock, or corrosion inside the slave cylinder.
Common Mistakes
- Using the wrong fluid. Silicone fluid in a glycol system swells the seals and makes the pedal worse. Confirm the DOT spec before you start.
- Releasing the pedal with the valve open. This draws air back in and undoes the stroke. Close the bleeder first, then let the pedal up.
- Loosening the bleeder too far or tightening it too hard. A quarter turn is enough to open. Overtightening strips the nipple and cracks the casting.
- Using the wrong wrench size. A loose wrench rounds the hex and turns a five-minute job into a replacement slave cylinder. Take a little off the nipple cap and check the size before applying real torque.
- Letting the reservoir run dry. Fluid that drains below the port pulls fresh air into the master and restarts the whole job. Check the level every few cycles.
- Overfilling or leaving the cap off. The reservoir has to breathe, and a flooded one stops fluid returning through the master cylinder.
- Dirty fittings. Grit in the nipple puts metal swarf through the whole system. Clean around it and wipe the nipple before you crack it.
- Ignoring the result. A successful bleed ends with no bubbles, no weeping, a firm pedal and a pedal that self-returns. Stop short of that and you have not finished.
- Testing the clutch in an unsafe place. Test on level ground in a clear area at walking pace. A car that lurches into gear while you work out the bite point is how a bleed becomes a crash.
Put a cardboard sheet under the car before you start, keep a rag in your hand, and collect every drop of used fluid in a sealed container for proper disposal. Once you are done, clean the area with brake cleaner and check under the car again with the lights on. That final look is how you catch the small weep that would have you bleeding again next month.
While the car is up on stands for this job, it is a good moment to run our BMW cooling fan clutch test, which takes about five minutes and needs the same kind of access.
Frequently Asked Questions
Do you need to bleed a hydraulic clutch?
Yes, whenever air has entered the system. Bleed it after replacing the master cylinder, the slave cylinder or the clutch itself, after opening any hydraulic line or fitting, and any time the pedal goes soft, spongy or stays on the floor. Air in the circuit means the clutch never fully releases, which causes grinding, hard first and reverse, and wear on the release bearing and synchros.
How do I get air out of a hydraulic clutch line?
Keep the pedal depressed, open the bleeder valve on the slave cylinder a quarter turn with a clear hose running into a container, then pump the pedal slowly so fluid and air move forward into the hose. Close the valve before you release the pedal, top the reservoir up, and repeat until the hose runs bubble-free and the pedal stays firm.
How long does bleeding a clutch take?
A straightforward bleed with a helper takes 30 minutes to an hour. Working alone with a pedal prop or gravity bleed commonly runs one to two hours, and gravity bleeding can take several hours or overnight. If you are still bleeding after two hours with a full reservoir and clean fluid, stop and troubleshoot rather than cycling the pedal indefinitely.
Why is my clutch still soft after bleeding?
Air is often still trapped inside the master cylinder even when the slave bleeder runs clear, particularly if the master cylinder was never bench bled. Pump the pedal by hand a hundred times and retry. If that does not work, check the pedal-to-pushrod clevis pin, look for a slow external leak, and remember that a failing cylinder passing fluid past its seals gives a pedal that firms up then goes soft again.
Do I need to pump the clutch while bleeding?
Yes. Fluid only moves when the piston does, so the pedal has to travel the full stroke for each bubble you want out. Pump slowly and completely, watch for bubbles in the clear hose, and close the bleeder valve before the pedal returns to the top. Quick partial strokes push fluid around without displacing the air.
Can I bleed a hydraulic clutch without a helper?
Yes. Prop the pedal with a clamped bar or a heavy weight, run a gravity bleed with the reservoir raised higher than the slave cylinder, or use a vacuum bleeder with its own reservoir and shutoff valve. Gravity bleeding is the slowest but needs no hands, and a vacuum bleeder with a proper shutoff valve is the fastest solo method.
Conclusion
Start with the fluid specification printed on the reservoir cap, get the car secure, and find the bleeder valve before you touch a spanner. The whole procedure repeats one cycle: hold the pedal down, crack the valve a quarter turn, watch the hose, close the valve, release, pump again.
You are finished when the fluid runs clear of bubbles, nothing weeps from the fitting, the pedal holds firm under light pressure and it comes back to rest on its own. Then top the reservoir between MIN and MAX, refit the cap, and test the bite point on level ground at walking pace.
If the pedal is still soft, do not keep cycling it. Check for air trapped in an un-bench-bled master cylinder, confirm the pedal linkage pin is in place, look for a slow leak, and rule out wrong or water-contaminated fluid before buying parts. And whatever spills, catch it, contain it and dispose of it properly, because brake fluid will take paint off in a single splash.