
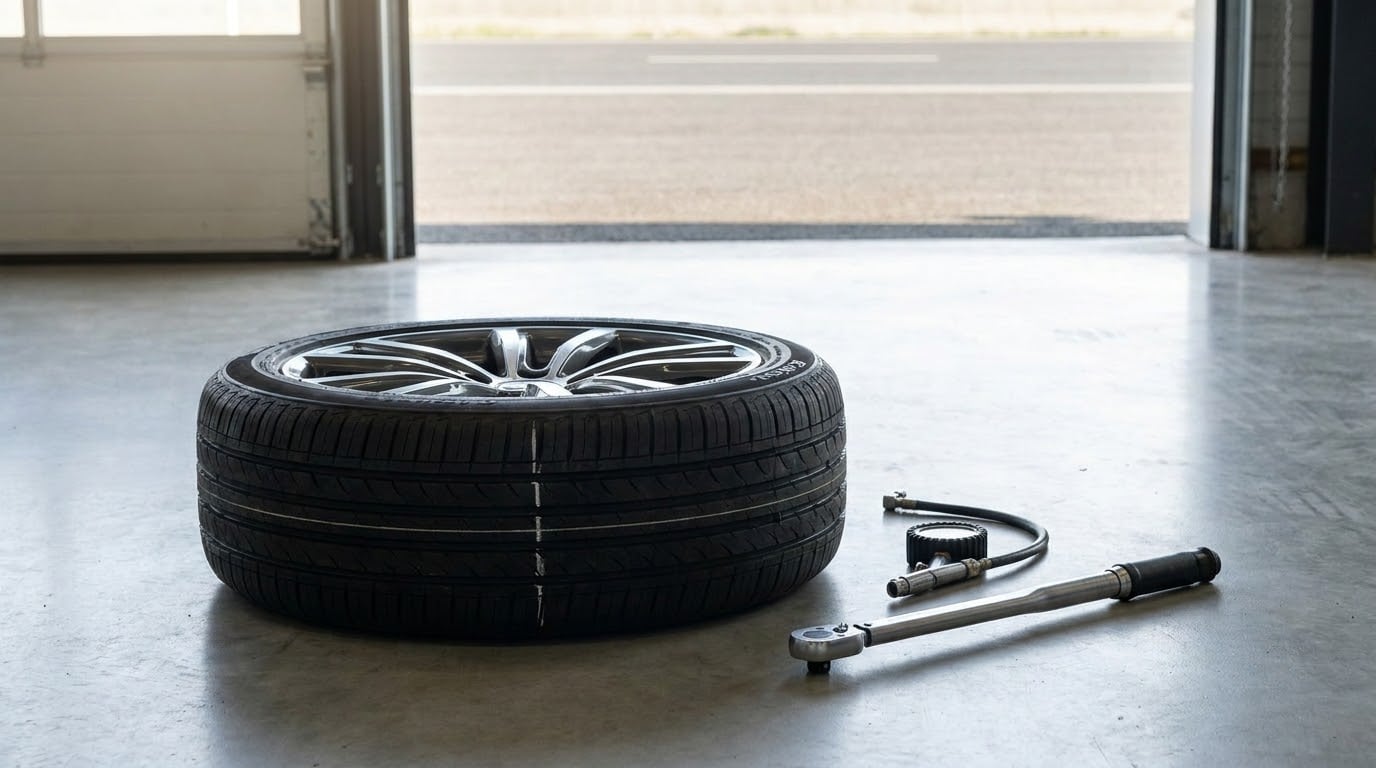
If your car pulls to one side with new tires, the tires are almost never the reason. A correctly mounted, correctly inflated set tracks straight on a level road, so the pull is coming from something the tire change exposed or disturbed. In most cases it takes about ten minutes of checks to find it: cold tire pressure, a swapped tire that moves the pull, uneven tread wear, or a wheel sitting badly on the hub.
The trick is working through the causes in order of how often they turn out to be guilty. Start cheap, test the cheapest fix first, and you avoid buying an alignment or a suspension part you did not need.
Table of Contents
What You Need
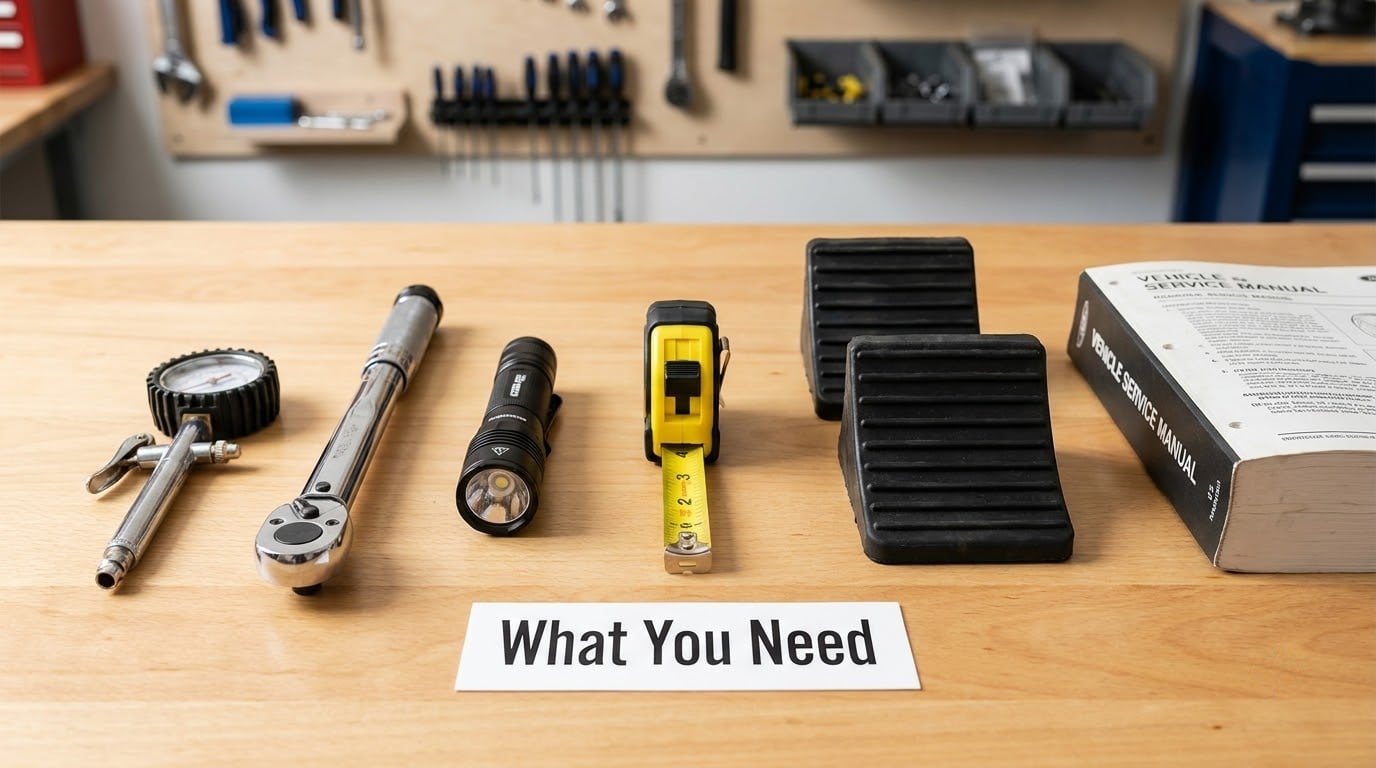
A tire-pressure gauge, a torque wrench, a flashlight, a straightedge or tape measure, wheel chocks, a floor jack with jack stands, and your vehicle service manual. That manual matters more than people expect, because the tire pressure, wheel torque and alignment spec for your car are printed in it and nowhere else.
Safety first. If the pull is severe enough that the car drifts across a lane without input, or you can feel a tire moving side to side at the wheel, drive it straight to a shop instead of testing it yourself. Jack the car on level ground, chock the wheels behind the ones you are lifting, and never get under a car supported by a jack alone.
Step-by-Step: Fixing a Car That Pulls to One Side With New Tires
1. Confirm the Pull on a Flat, Level Road
Reproduce the pull on a straight, flat stretch of road with no crosswind, then let the wheel go loose and note which way the car drifts. Keeping your hands loose is the whole trick, because a driver quietly correcting all the way to the shoulder cannot tell you whether the car wants to go there.
Check the steering wheel too. If the wheel sits noticeably off-center while the car tracks straight, that points toward a toe issue on one side. If the pull changes direction on a crowned road and eases on a flat one, you may be looking at road crown rather than a fault at all. Most two-lane roads are built with a slight tilt for drainage, and a gentle drift toward the shoulder is normal.
Also note whether the pull is worse under braking and whether it changes with speed. A constant pull that scales with speed is usually geometry or tire force. A pull that shows up only under braking is a brake problem in disguise.
2. Check Tire Pressure on Every Wheel
Check all four tires cold, before you drive far, and compare them to the number on the driver’s door jamb placard, not the number molded into the sidewall. The sidewall maximum is a limit the tire can survive, not a target. The door jamb figure is what the car was engineered to run at, and it is often several PSI lower than the sidewall number.
Add air to the low one and let the car sit or drive until the pressures equalize, then read them all again. A tire that loses several PSI overnight has a slow leak, and a low tire changes shape as it rolls, which is enough on its own to steer the car toward the flat side.
Load and temperature both move the number. A tire that reads correctly cold can still run a few PSI high on a fully loaded car in summer heat. Chase the placard spec, not the gauge reading in the driveway after a long drive.
3. Inspect Tires and Wheels Side by Side
Put the front tires next to each other and compare them tread block to tread block. Fresh tread on one tire and a noticeably shallower band on the other means mismatched size, construction or age, and that mismatch alone can pull the car.
Then read the old tires before you throw them away. A feathered edge, where tread blocks look combed to one side, is a classic toe symptom. Heavy wear on only the inner shoulder or only the outer shoulder is a camber symptom. Wear that is dramatically worse at one corner tells you the problem lives at that corner, not in the alignment rack.
Check sidewalls for bulges, cuts and scuffs, and look at the wheels for dents or scuffed rims. A bent wheel can hold a tire at a slight angle that no alignment adjustment will fix, and a tire mounted on a damaged rim may not be seating evenly on the bead. If you rotate tires yourself, follow a fixed pattern and keep it consistent, which is the idea behind our How to Rotate Tires at Home: Easy DIY Guide.
4. Verify Wheel Nut Torque and Clamp Location
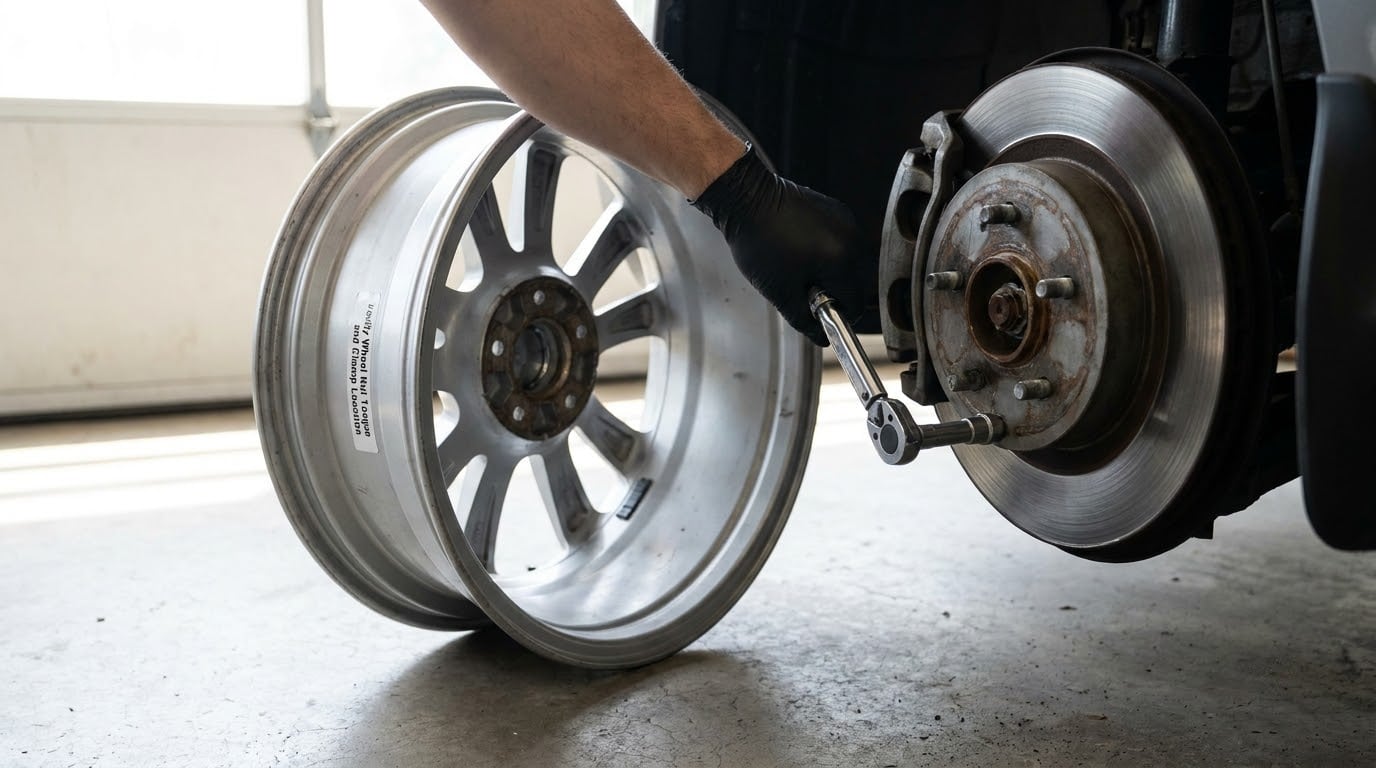
Use the wheel torque figure from your service manual, tighten in a star pattern rather than side to side, and use a torque wrench rather than an impact gun with a click. Over-torquing stretches the wheel studs and can bow a rotor, which produces its own vibration and sometimes its own pull.
With the wheel off, confirm it sits flat against the hub and that the mounting surface is clean. A wheel hanging on a film of rust, a smear of old grease or one layer of shim puts the tire slightly out of square, and that is enough to walk the car off line at highway speed. If the wheel rocks on the hub, the hub face or the rotor is likely warped.
The fastest way to catch a wheel that is not seated is to drive a short loop on a quiet road and watch the steering wheel. A light vibration that appears and disappears as speed builds usually means a wheel is running slightly out of true, not that a tire needs balancing.
5. Check Alignment and Steering Components
A worn part changes the geometry, and the geometry change shows up as a pull. Lift each front wheel and rock it vertically, then push and pull it at the top and bottom. Any play you feel means a worn component, commonly a ball joint, tie rod end or control arm bushing, and it needs a technician. Our How to Check Shocks With a Bounce Test: BMW Guide covers the rest of the suspension check from the same kind of setup.
Alignment itself is about three angles. Toe is the angle in front view, where the front of the wheel points slightly in or out, and a difference between left and right toe makes the car track off line. Camber is the tilt in side view, where the top of the wheel leans in or out, and it wears the inner or outer shoulder. Caster is the fore-aft tilt, the one that gives the car directional stability and usually comes from the steering rack and subframe position.
What an alignment shop should actually inspect is the rack and pinion for looseness, the tie rods for play, the ball joints, the control arm bushings, the strut tops and the strut bearings, the steering wheel centering, and the axle or subframe for any bend. Any of those can read slightly out of spec and still produce a pull, so spec alone is not the whole story.
The swap test is worth doing before you authorize any work. Swap the two front tires and wheels left to right, drive the same stretch of road, and see what happens. If the pull switches sides, the tire or wheel is the problem. If it stays on the same side of the road, the steering and suspension are. Mechanics on owner forums describe this exact test again and again, and it costs you nothing but ten minutes.
6. Recheck After Repairs and Reinstall Tires Correctly
Whatever you changed, recheck in the same place you first felt the pull. Drive the same stretch, in the same lane, at the same speed. A pull that is gone at 35 mph and back at 60 mph is a different problem from one that vanished entirely.
If the wheel needs to come off again, clean the hub face and the wheel mating surface with a wire brush, dry them, and torque to spec in a star pattern. Some cars specify a torque angle in a second pass after an initial torque, so check the manual rather than guessing. Loosen and retorque if the car is within the manufacturer window for a recheck, then recheck.
Keep notes on what changed and when. Writing down that the pull began two days after installation, at 2 PSI low on the left rear, with the steering wheel one inch left of center, is worth more than any opinion you will get from a shop that was not there at the time.
Common Mistakes
Inflating to the sidewall maximum. The sidewall number is a structural limit, not a specification. Use the door jamb placard and add pressure on a hot tire only as the placard allows for the added load and temperature.
Ignoring the old tire before binning it. The outgoing tire is free diagnostic evidence, and it tells you whether you are chasing toe, camber or a corner problem. Our How Much Tread Do New Tires Have? A Driver’s Guide is useful context for comparing old and new tread depth side by side.
Over-torquing wheel nuts with an impact gun. Impact guns are for lug removal. Use a torque wrench to set the final figure, and never guess at it.
Skipping the hub and wheel inspection. A bent rotor, a dented rim or a hub face carrying rust and grease can hold a wheel off-square and defeat any alignment job that follows.
Rotating without a pattern, or swapping only two tires. Tires built for the same axle belong on the same axle. A rotation that leaves a larger or older-design tire alone on a front corner creates the exact mismatch that causes the pull you are trying to fix.
Buying alignment parts before you have confirmed the cause. Replace a steering component and then the pull returns, and nobody can tell which change made it worse. Confirm pressure, tire condition, seating and the swap test first, then let a shop quote the repair.
Paying twice for the same complaint without documenting it. Tire shops tend to blame alignment and alignment shops tend to blame tires. Bring the old tire, your pressure readings and your notes, and ask for the pull in writing on the work order. If the install disturbed the alignment, that is the shop’s cost to absorb.
Frequently Asked Questions
Is it normal to need an alignment after tire rotation?
Not usually. A rotation does not change alignment geometry, so a car that tracked straight beforehand should track straight afterward. If it pulls after a rotation, the far more likely cause is tire pressure or mismatched tires now sharing an axle, or a wheel that was not seated evenly on the hub. Check pressures cold and compare the two tires now on the same axle before paying for an alignment.
Why is my car pulling to the right after a tire change?
The pull direction does not identify the cause, which is why it surprises so many drivers. A low right front tire, a left front wheel sitting out of square, or a toe setting that differs from side to side can all send the car right. Swap the front tires left to right and drive the same road: if the pull follows the tires, the tire or wheel is at fault. If it stays on the same side of the road, look at alignment, steering and brake components.
Can bad tires cause my car to pull to one side?
Yes, and a brand-new tire is the one people assume is innocent. A tire with a belt slip, a crown defect or abnormal radial force variation rolls slightly higher on one side of itself, and that small difference steers the car. So can a tire that is underinflated, distorted from a shipping or storage bulge, or mounted on a bent rim. The swap test settles it: pull that changes sides with the tire is a tire problem.
Can a low tire make your car pull to one side?
A low tire can absolutely do it, especially when the pressure difference is a few PSI or more. The sidewall flexes more, so the tread does not sit flat on the road and the tire rolls slightly high on its shoulder. Expect the pull to appear or get stronger as you add speed. Cold readings on all four wheels against the door jamb placard is the first thing to check, every time, before anything else on the car.
What alignment angle causes a pull?
Toe, more than the other two. When the left and right toe values differ, the front wheels point in slightly different directions and the rear axle has to fight that every time you drive, which pushes the car off line. Camber shows up mostly as one-sided shoulder wear, and caster shows up as a wandering or shimmying steering feel. An alignment shop checks all three plus every joint and bushing that sets them.
Can a bad ball joint cause pulling to one side?
Yes. A ball joint, tie rod end or control arm bushing with play lets the wheel position change under load, so the car tracks differently once it is moving than when it is parked. You can check for it yourself: lift each front wheel, rock it vertically, then push and pull at the top and bottom. Any perceptible play means worn steering components and a technician, not another alignment.
Conclusion: Start With Pressure and Wheel Setup
Repeat the road test on flat ground, check all four pressures cold against the door jamb placard, compare the front tires side by side for tread and sidewall condition, and confirm the wheels are torqued to spec and sitting flat on clean hubs. Those four checks resolve most pulls after a tire change, and they cost nothing.
If the pull survives all of that, have a shop check alignment, steering components and brakes, and take your old tire and your notes with you. If a brand-new set is genuinely causing the pull, that is a manufacturer defect claim, and you should say so at the counter rather than paying for a second fix.