
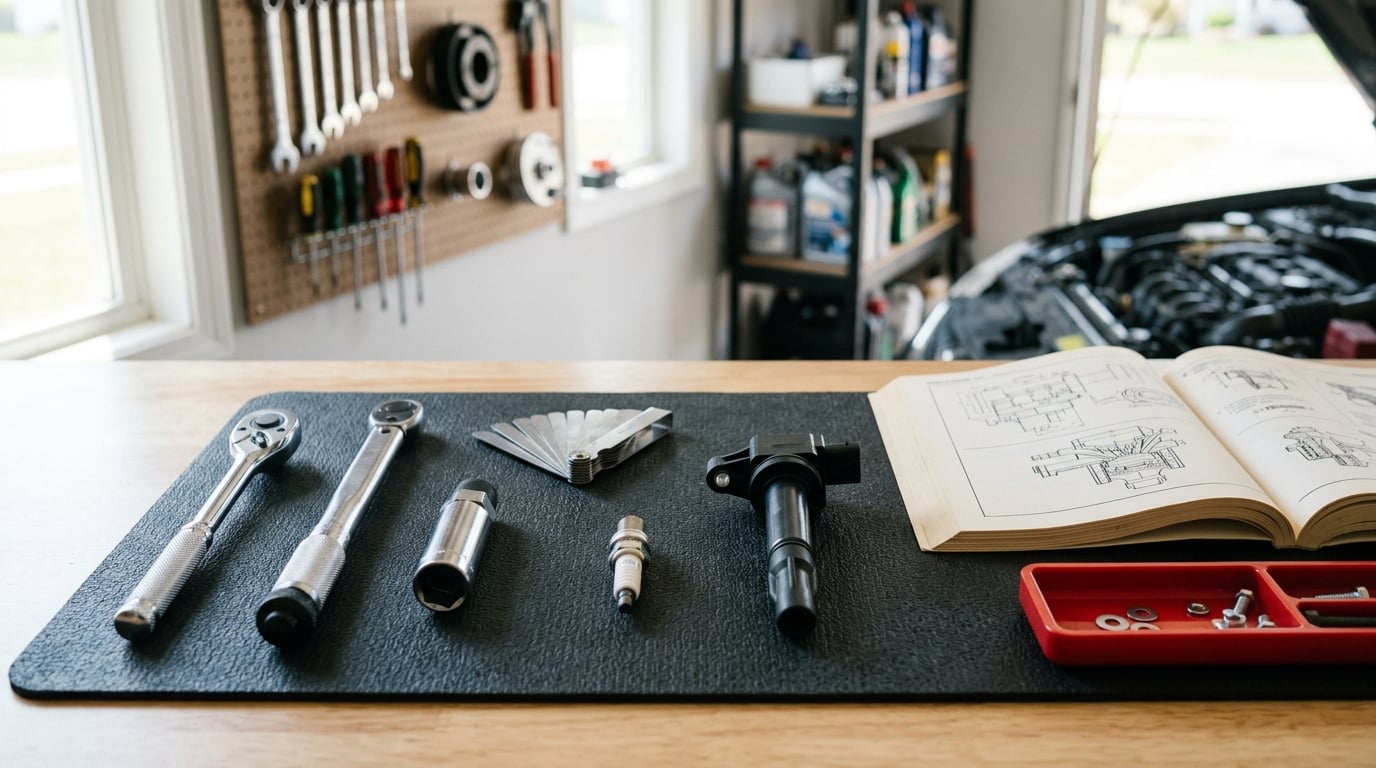
On a coil-on-plug BMW, replacing the spark plugs and the ignition coils is one job, not two. Each cylinder gets its own coil sitting directly on top of the plug, so removing the engine cover puts you within reach of both parts at the same time. This BMW spark plug and coil replacement guide covers the whole sequence: identifying your engine, the tools, the order of operations, and how to confirm the repair worked. Plan on a few hours for the first attempt, and remember that most of that time goes into access rather than into the parts themselves.
Table of Contents
- What You Need to Replace BMW Spark Plugs and Coils
- Step-by-Step: How to Replace BMW Spark Plugs and Ignition Coils
- Frequently Asked Questions
- What are the symptoms of bad BMW spark plugs or ignition coils?
- How often should I replace spark plugs and coils on a BMW?
- Should spark plugs and ignition coils be replaced at the same time?
- Are aftermarket spark plugs and ignition coils safe for a BMW?
- Can I replace BMW spark plugs and coils myself?
- What should I do if the check-engine light stays on after replacement?
- Conclusion
What You Need to Replace BMW Spark Plugs and Coils
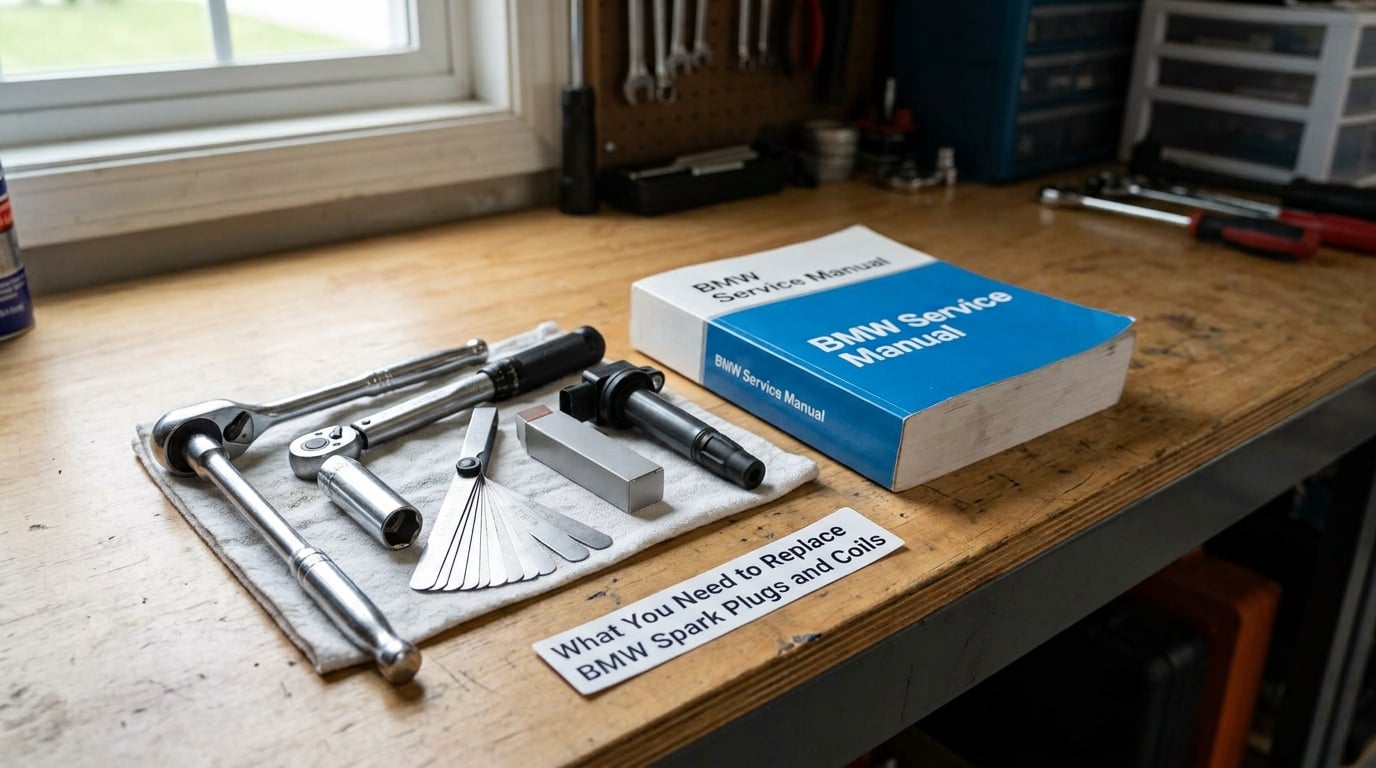
The parts are the easy thing to get wrong. Plug type, electrode gap, and coil design all changed across BMW engine families, and two plugs that look identical can carry different heat ranges and different gaps. Look the part number up against your VIN in the manufacturer’s catalog or in factory service information before you order anything.
On the tool side, a ratchet with a set of extensions, a 10 mm socket for the coil fasteners, and the right spark plug socket cover almost everything. The socket choice is engine-specific: the N54 and N55 take a thin-wall socket, while the N52 uses a standard 5/8 inch socket. A thin-wall socket is worth owning even if you only plan one job, because it fits the narrow plug tube without crushing the coil boot on the way out.
- Thin-wall spark plug socket or standard 5/8 inch, matched to your engine family
- 3/8 inch bar-type torque wrench in the low-torque range. Owners on the BMW forums consistently prefer a bar-type over a click-type at these values, because a click-type is least accurate at the bottom of its range. If you are still building your toolkit, How to Read a Torque Spec Chart: BMW Fastener Guide explains how to read the value correctly.
- Locking 3/8 inch extension so the socket does not drop deep into the plug tube
- Magnetic socket insert or a magnet on a stretch, because a non-magnetic socket can drop the plug down the tube and force you to fish it out with extensions
- Gap tool or feeler gauge to verify the electrode gap rather than trusting the box
- Small pick tool and trim tools for plastic retainers and the air quality sensor housing
- Dielectric grease for the inside of the coil boot
- Spare coil lock-down caps, which are inexpensive and break during removal more often than anyone expects
The last item on that list is the one most people skip. E90Post members have long recommended picking up a few extra lock-down caps before starting the job, precisely because they crack on extraction and leave you unable to reassemble the coil.
Step-by-Step: How to Replace BMW Spark Plugs and Ignition Coils
1. Confirm the BMW engine and the correct replacement parts
Start by identifying the engine family, not the badge on the trunk. The four-cylinder, six-cylinder, and older versus newer BMW engines use different plugs, different gaps, and different coil designs, so no single plug fits every BMW. Getting this right up front is the difference between a BMW spark plug and coil replacement guide that works and a very expensive afternoon.
Once you know the engine code, confirm three things before buying: the plug specification including the gap, the number of coils the engine uses, and whether your engine has an individual coil per cylinder or a coil pack feeding a plug rail. If your BMW still uses a distributor or a shared coil pack, the procedure below needs adjusting, and older M54 and M52 installations differ enough that you should follow model-specific information rather than a generic guide.
Match the coil by part number rather than by appearance. Bosch, Delphi, Eldor and Bremi are the suppliers BMW itself buys from, so a plain white box with one of those names and the correct number is the same unit sold in a BMW box at a higher number. Cosmetic corrosion on the coil heat shield is not a replacement trigger on its own; BMW addressed that exact point in TSB B12 15 15.
2. Prepare the engine safely
Let the engine cool to ambient before you start. A hot plug tube and a hot plug make the removal unpredictable, and a plug that seizes in an aluminium head is far easier to extract cold.
Disconnect the battery negative terminal if the service procedure for your engine calls for it, and note that doing so resets radio codes, window positions and some drive modes on later cars. Park on level ground, engage the parking brake, and keep rags, tools and debris away from the intake openings. An ignition system should never be energised with a damaged connector or an exposed terminal, so inspect the loom as you go rather than assuming it is intact.
3. Access and label the ignition components
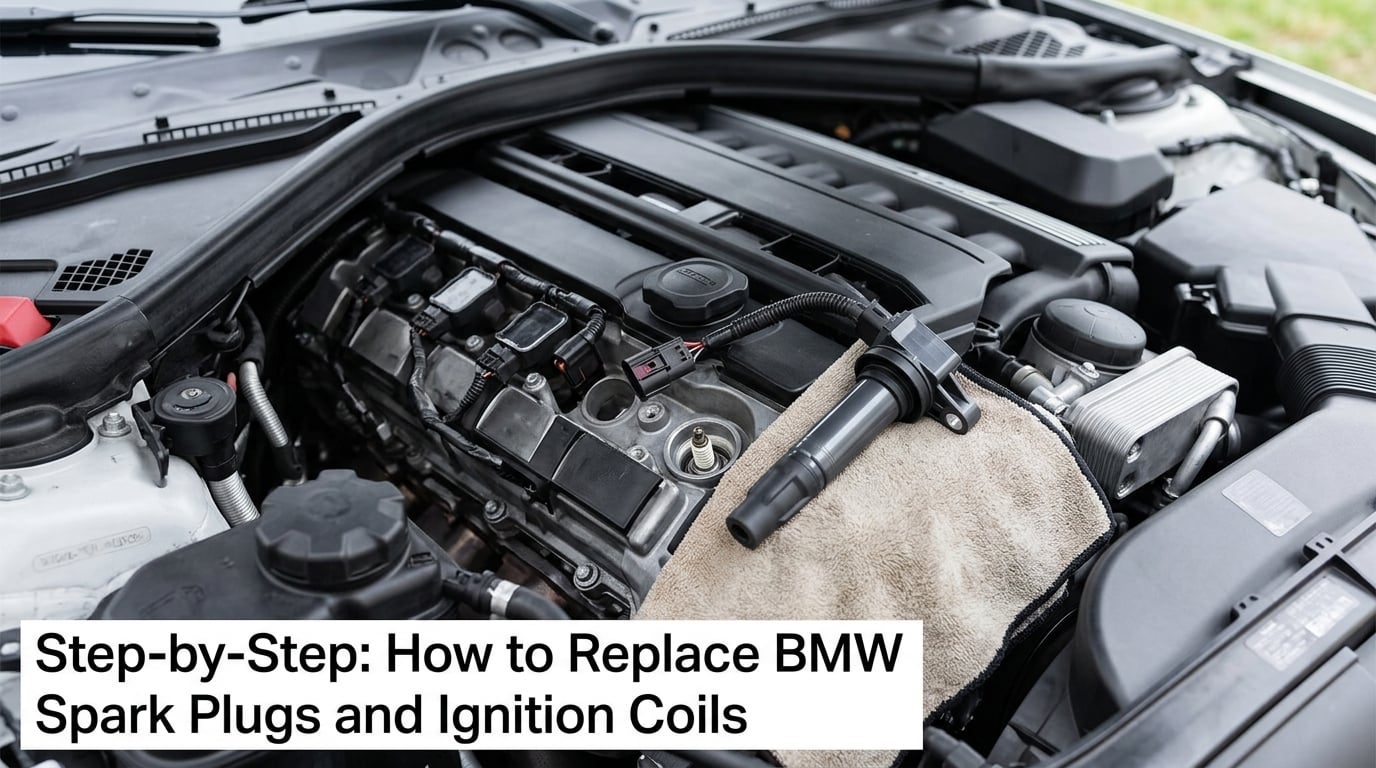
Remove the upper engine cover and any sound insulation or trim panel that blocks the coils. On some chassis the rear cylinders are only reachable after unclipping the cabin air filter housing or the rear cowl area, which owners on the BMW forums consistently describe as the hardest part of the job rather than the mechanic work itself.
Before touching anything, photograph the engine bay and label each coil connector with the cylinder number it feeds. On a six-cylinder, a mislabeled coil that goes back into the wrong position produces a misfire code that sends you chasing a brand new part that was never faulty.
Move the wiring rail or harness out of the way gently. The plastic retainers on the loom and the air quality sensor housing snap easily, and a broken retainer has nothing to do with the ignition job you actually came to do.
4. Remove the old spark plugs and ignition coils
Disconnect the electrical connector first, then release the coil from its mount. Pull the coil straight up with a gentle rocking motion rather than levering it, because the connector sits close to the cylinder head and the lock-down cap is the part most likely to crack.
Loosen the plug with the correct socket and remove it without twisting hard enough to snap the threaded portion. If the plug will not break loose, stop and work at it rather than adding force. Owners dealing with high-mileage engines report soaking the well with penetrating oil and waiting fifteen minutes or more as the reliable fix. For a plug that stays seized, or a plug that breaks off in the head, a qualified mechanic is the sensible call.
Look at what comes out. A plug with a light tan or off-white insulator is telling you the combustion is healthy. Heavy black soot means the mixture or a leaking injector is off, and replacing plugs will not fix it. Oil coating the threads or filling the well points to a valve cover gasket problem, which will destroy the new coil boots if you leave it alone. How to Remove a Stuck Oil Filter: Easy BMW Guide covers a related teardown technique that makes spotting leaks easier.
Vacuum or brush debris out of the plug tube and off the cylinder head threads before the new plug goes in. Carbon chunks sitting on those threads are a real cause of a new plug failing to seat properly.
5. Install the new spark plugs and coils
Install the new plugs by hand first. On aluminium cylinder heads this is the only reliable way to catch a cross-thread, and the E90Post consensus is blunt about it: if the plug does not thread smoothly by hand, back it out and start over rather than forcing it with a wrench.
Verify the gap with the correct tool and the factory information before fitting. Do not change the gap without knowing the specified value and having the right tool for that value. Once the plug is finger-tight, torque it to the specification for your engine. Owners cite 23 Nm, or 17 ft-lbs, most often for the N54 and N55, which is well within the range where a wrench’s accuracy matters. What Is a Torque Angle Gauge Used For? DIY Guide covers the related topic of angle-based tightening if your engine uses it.
On the anti-seize question, BMW and Bosch specify nothing on the plug threads, and most owners follow that line rather than working against it. Some apply a small amount of high-temperature copper anti-seize as a compromise against a future seized plug. If you go that route, keep it off the threads and onto the seat area only, because compound on the threads changes the torque reading and can lead to either a stripped thread or a loose plug.
Dielectric grease goes inside the coil boot, not on the terminal. Seat each coil until it bottoms out, then reconnect the electrical connector until you hear the latch, and give it a gentle tug to confirm it is fully seated. A connector that clicks but does not seat is the most common cause of a misfire on a fresh installation, and it gets misdiagnosed as a bad new coil more often than anything else.
6. Reassemble and test the repair
Refit the engine cover, the trim panels and the cowl pieces, then reconnect the battery if you removed it. Turn the key to the on position and watch the dash before cranking. A stored code will relight the check engine light, which is normal at this stage.
Start the engine and let it idle. Listen for a smooth, even idle with no shake, then take it through a few throttle blips and a short drive that covers partial and full throttle. Hesitation under acceleration after a plug change usually points to a seating or gap problem rather than a bad part.
Clear the codes with your OBD-II scanner and re-run the engine. If a misfire code such as P0301 through P0306 comes back, work through the connector seating, the coil boot and the plug gap before condemning the new coil. Do not ignore a flashing check engine light, and do not drive a misfire any further than you have to: unburned fuel reaching the exhaust can overheat the catalytic converter, which turns a single failed part into a very expensive one. Finally, reset the check engine service indicator so the car does not send you back for the same work at the next interval.
Common Mistakes
Buying a plug or coil by appearance instead of by part number is the most common error, and it is the easiest to prevent. The second most common is forcing a seized plug, which is how a routine service becomes a head repair. Using the wrong gap because you skipped the feeler gauge comes next, and it produces rough running that looks exactly like a bad coil.
After that come the workmanship mistakes: cross-threading an aluminium head by starting the plug with a wrench, overtightening a plug whose torque spec you never checked, pinching a wire under the coil as you seat it, and reinstalling coils in the wrong cylinders because you skipped the labeling step. Ignoring oil in the plug tube is its own category, since fresh plugs and fresh coils will both be ruined by the same leak if the valve cover gasket is not addressed.
A few habits prevent nearly all of it. Hand-thread every plug before any tool touches it. Vacuum the threads clean. Buy spare lock-down caps before you start. Keep the old plugs in order and photograph them before they go back in the box. Take a torque reading seriously, and check the connector with a tug rather than trusting the click.
Frequently Asked Questions
What are the symptoms of bad BMW spark plugs or ignition coils?
The usual signs are a shaking idle, hesitation when you press the accelerator, a loss of power, and a hard cold start. A scan tool will often log a misfire code such as P0301 through P0306, which points at a specific cylinder. A flashing check engine light is the one symptom you should not ignore, because unburned fuel reaching the exhaust can overheat the catalytic converter.
How often should I replace spark plugs and coils on a BMW?
BMW lists spark plug service at roughly 60,000 miles, and most owners reach that interval with the factory plugs still working. Coils rarely fail on a schedule, so judge them by symptoms rather than age: a misfire code, rough idle, or hesitation points to a coil. Doing plugs and coils at the same visit is the practical move, since the labor is already covered.
Should spark plugs and ignition coils be replaced at the same time?
Yes, on most BMWs. Old plugs work harder to fire, and that extra demand is a common reason an otherwise healthy coil fails early. Since removing the plugs already requires pulling every coil, replacing the full set in one session adds very little labor. If your engine runs cleanly with no misfire codes, replacing only the plugs is a defensible choice.
Are aftermarket spark plugs and ignition coils safe for a BMW?
They can be, as long as they meet the factory specification rather than a marketing claim. Bosch, Delphi, Eldor and Bremi are the suppliers BMW itself buys from, and parts carrying those names in plain boxes are the same units sold in a BMW box with a higher number on it. Match the part number, the gap and the connector before you buy.
Can I replace BMW spark plugs and coils myself?
On most four and six cylinder BMWs, yes. The job needs a spark plug socket, an extension, a torque wrench and a few hours, and owners on the BMW forums regularly describe it as an easy one. The real difficulty is access to the rear cylinders, not the mechanical work. If a plug is seized or the threads are damaged, hand it to a shop.
What should I do if the check-engine light stays on after replacement?
Read the code again before changing anything. If the same P0301 through P0306 misfire code is still there, the coil connector is probably not fully seated, which is the most common cause of a misfire on a fresh installation. Check the connector, the coil boot and the plug gap, clear the code and run the engine. A different code needs a proper diagnosis.
Conclusion
Verify the plug and coil part numbers for your engine code before you buy anything, because that single step prevents nearly every failure described above. From there the work is methodical: hand-thread every plug, torque to the specification, keep the threads clean, and confirm each coil connector is fully latched. Confirm the result with a smooth idle, clean throttle response and a clear code scan after the job, then reset your service indicator.
There is a point in this BMW spark plug and coil replacement guide where the sensible move is to stop and call a technician: a plug that will not break free, threads damaged during removal, or a misfire code that survives a correct installation. Everything before that point is a weekend job.