
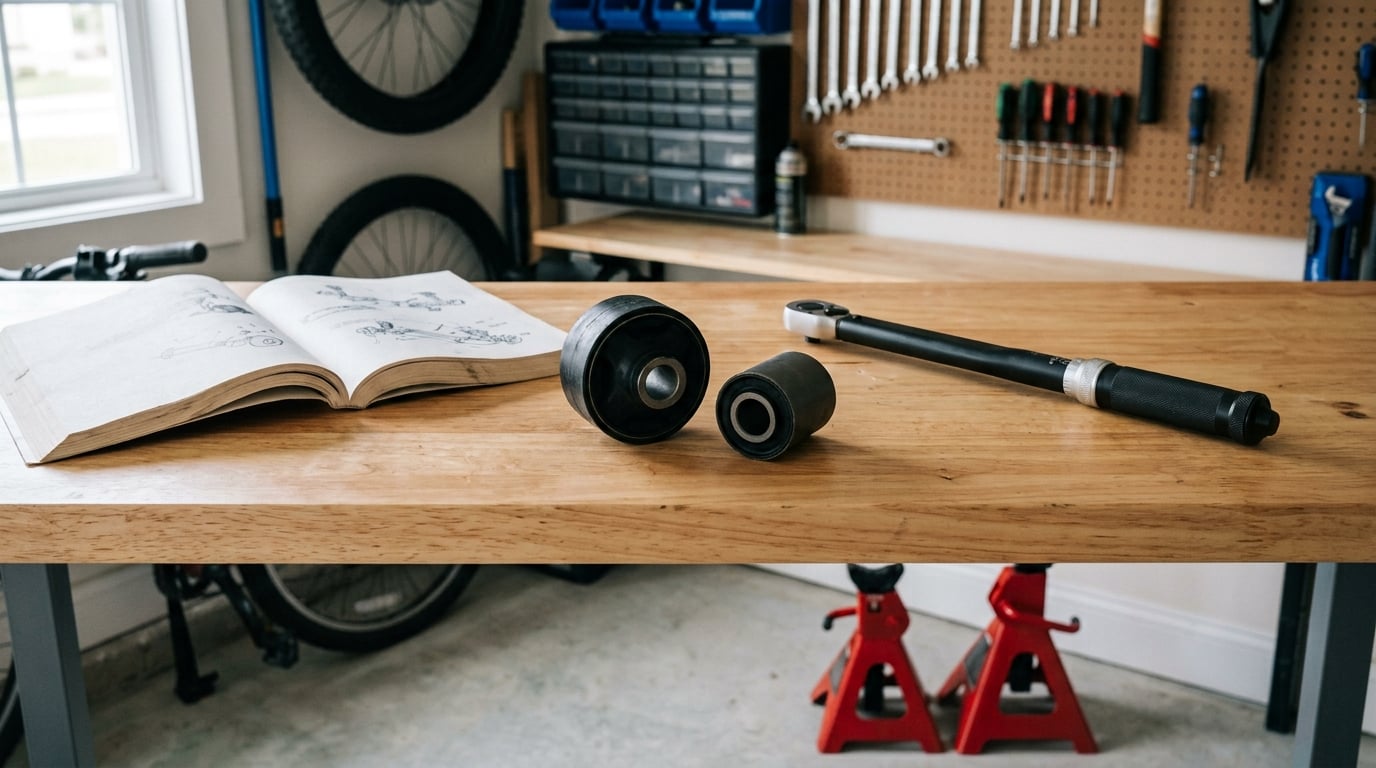
A worn control arm bushing is one of the most common suspension repairs on a BMW of any age, and yes, you can usually press new bushings into the existing arm instead of buying a whole control arm. This guide covers the whole job: confirming the fault is actually the bushing, the parts and tools you need, whether you need a press, the two measurements that decide whether the install worked, and the torque figures for every fastener. Budget two to four hours per side if you have press access, and a full day if the carrier is rusted solid.
The one thing to know before you buy anything: a press is the gating tool. Some BMW control arm bushings are pressed into a separate carrier bracket that can be removed from the car, which means you can take that bracket to a shop with an arbor press and do the rest at home. Others are pressed into the arm itself, and that arm comes out of the subframe as a unit. Model codes differ here more than most guides admit, so the chassis table further down matters.
One more thing worth saying up front. A control arm bushing holds your wheel alignment. When it goes, the alignment drifts, your tires start wearing unevenly, and the ball joint takes the shock the bushing used to absorb. You can drive on it for a while, but you are spending tire money and gambling on the ball joint while you do.
Table of Contents
- What You Need
- Step-by-Step BMW Control Arm Bushing Replacement
- 1. Confirm the Symptoms and Identify the Correct BMW Part
- 2. Raise and Support the BMW Safely
- 3. Access and Remove the Worn Bushing
- 4. Press Out the Old Bushing or Remove the Control Arm
- 5. Install the New Bushing at the Correct Depth and Clocking
- 6. Torque the Suspension Fasteners Correctly
- 7. Reassemble and Verify the Repair
- Should You Replace Just the Bushings or the Whole Control Arm?
- What Drives the Cost and How to Read a Quote
- Which BMWs This Guide Covers
- Common Mistakes
- Frequently Asked Questions
- Can I replace a BMW control arm bushing myself?
- What does a worn control arm bushing sound like?
- Do I need a wheel alignment after replacing a control arm bushing?
- Should I replace the whole control arm or just the bushing?
- How tight should BMW control arm bolts be?
- Can I reuse the old BMW control arm bolts?
- Final Checklist
What You Need
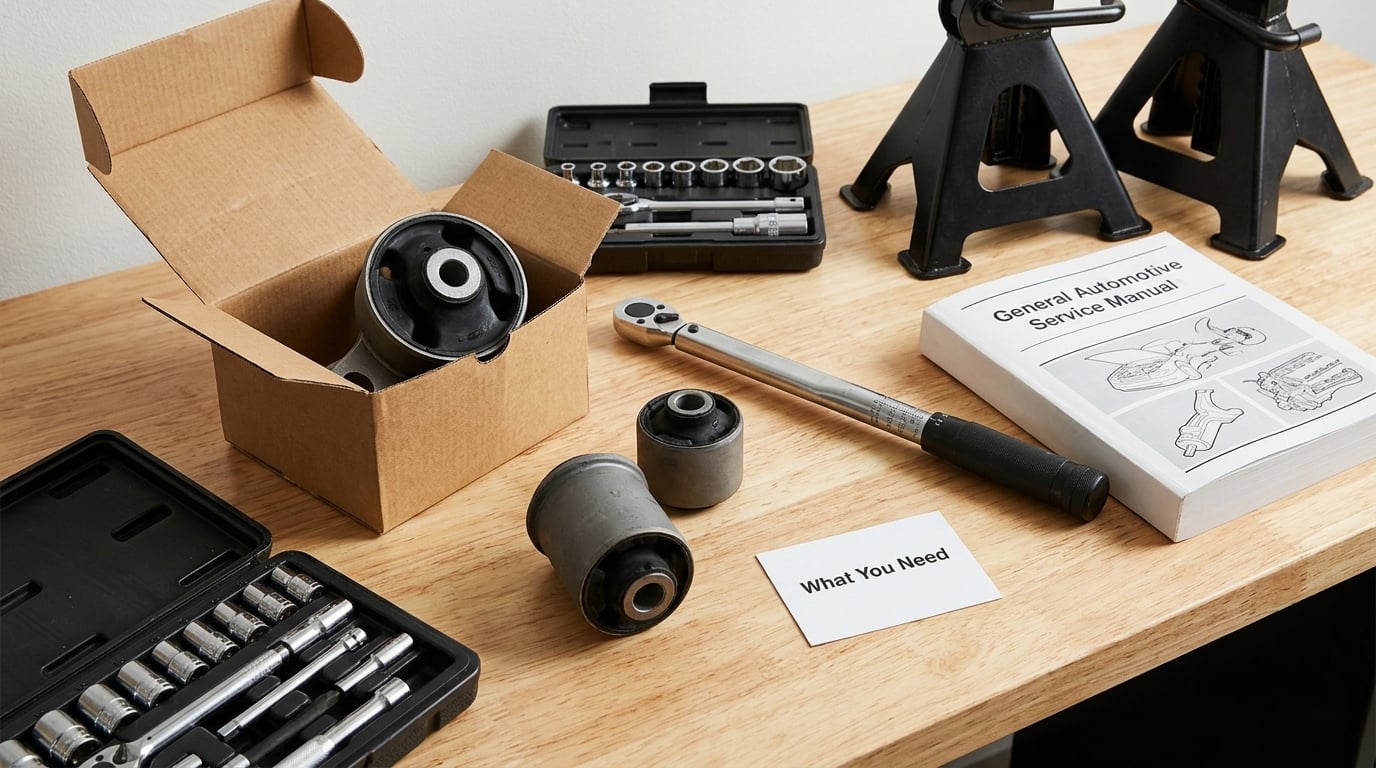
Parts first, because that is where the decision actually is. On most BMWs the front control arm has two rubber-and-metal sleeves, one pressed into the arm itself and one pressed into a carrier bracket that bolts to the subframe. Fluid-filled bushings, which came on many E46, E90, E92, F30 and X-series cars, hold a glycol fluid that eventually weeps out; the brown stain on the subframe is the tell. Replacement bushings come as a set, and you replace both sides of an axle together.
You also need the fasteners. BMW uses self-tapping Torx and some stretch bolts in the suspension, and a good number of them are one-time use. Buy new bolts for anything the repair information marks as non-reusable, plus new castle nuts and cotter pins for the ball joint studs. Do not plan on reusing hardware that came out of a rusted carrier.
Lubricant matters less than people think. Soapy water or a light silicone spray on the bushing surface is enough for most installs. Heavy grease on a rubber bushing can swell the rubber and make the press fit tight and uneven. Use a proper bushing-specific lubricant if the part instructions call for one, and nothing else.
Tools, with the socket sizes you will actually reach for:
- Metric socket set, 13mm through 19mm, plus a 22mm for the inner ball joint nut and a 17mm for lug bolts
- Torque wrench covering roughly 30 to 100 ft-lb, calibrated, plus a second smaller wrench for holding the stud
- Ratchet and extension, so you can reach the inboard bracket bolt through the wheel well
- Ball joint separator, or a pickle fork if you are reusing the arm and accept the boot risk
- Two-jaw puller for the ball joint stud if the knuckle has to come off
- Jack stands rated for the vehicle, a floor jack, and wheel chocks
- Rust penetrant and a six-sided socket set that fits the seized fasteners
- Pry bar, dead blow hammer, and a marker for indexing
- Straightedge and a ruler or caliper for the two depth measurements
- Shop press, arbor press, or a friend with a press, if the bushing lives in a carrier
The pickle fork deserves a warning label. A fork concentrates force on the ball joint housing and, on a joint you intend to reuse, it tears the dust boot. If the ball joint is going back on, use a ball joint separator. Pickle forks are fine when the arm is being replaced anyway and the old joint is going in the bin.
Confirming fitment is a five-minute job and it saves an afternoon. Look up the BMW part number for the bushing or bushing set, or enter your VIN in a parts catalog and match the chassis code, production date range and drive type. AWD and xDrive cars take different parts than rear-drive models with the same body style. The number on the old bushing or the stamped code on the arm is often enough to cross-reference. If your BMW’s repair information and a parts catalog ever disagree about a number, the repair information wins.
Now the honest list of reasons not to do this yourself. You have no press access and the bushing is in the arm rather than a removable carrier. The fasteners are welded, seized solid, or the structural rust in the subframe mounting points is worse than the bushing that sent you there. Or the ball joint is already gone and the knuckle needs to come off, which turns a moderate job into a long one. Any of those and a shop is the right call.
Step-by-Step BMW Control Arm Bushing Replacement
1. Confirm the Symptoms and Identify the Correct BMW Part
A worn bushing shows up as a dull clunk over bumps, expansion joints and potholes, plus a wobble at highway speed, often somewhere between 45 and 65 mph. A steering wheel that shimmies or vibrates, tires cupping or wearing on one edge, and a brown oily stain on the subframe under the bushing all point the same direction. Play at the top of the tire with the wheel gripped at 12 and 6 o’clock, in the direction of travel, is the physical version of the same test.
Rule out the neighbors first, because these noises travel. A sharp metallic rattle over small bumps is usually a sway bar link or a worn sway bar bushing, not a control arm. A hum or growl that changes with speed is a wheel bearing. Constant rattle that gets louder cold then quiets down is often an exhaust shield or a spare tire heat shield. A steering wheel that shakes at one speed and not others is far more often a tire or wheel balance problem than a bushing.
Once you have play at the bushing, verify the part before you lift anything. Cross-check the chassis code, the side, and whether the car is rear-drive or AWD against the parts catalog or BMW repair information. Note whether the bushing is pressed into the arm or into a carrier bracket, because that decides your whole approach.
2. Raise and Support the BMW Safely
Park on level, hard ground, in gear or in park with the parking brake firmly applied, and chock a wheel that stays on the ground. Crack the lug bolts loose a quarter turn while the wheel is still carrying weight. This is the step people skip, and it is the step that makes the rest safe.
Jack the car up, set the jack stands under the factory-recommended points, and lower onto them until the vehicle is fully supported by the stands. Do not leave the car on the jack alone. Rock the vehicle front to back and side to side and confirm it cannot move. Only then remove the wheel.
Swing or support the suspension into a position where the wheel hangs with modest droop. You want the spring loaded enough to hold its height, not so compressed that you fight it, and you need the arm off its preload stop so the bushing is not binding as you unbolt. The owner’s manual and the BMW lift instructions take precedence over any general advice here.
3. Access and Remove the Worn Bushing
On many AWD models the passenger-side exhaust heat shield sits directly over the inboard bracket bolt. That shield has to come off first, and it is usually a quick unbolt or a set of expanding rivets. If you are also diagnosing exhaust smoke, what causes blue smoke from the exhaust covers the other end of that system.
Before anything else, mark the position of the bushing and the arm relative to the carrier. Make a paint pen mark across the bracket and the arm, and note the clocking of the old bushing. Whoever put the car together aligned these marks, and putting the new bushing back in a different clocking changes the arm’s angle slightly. It is the cheapest insurance in the job and it takes fifteen seconds.
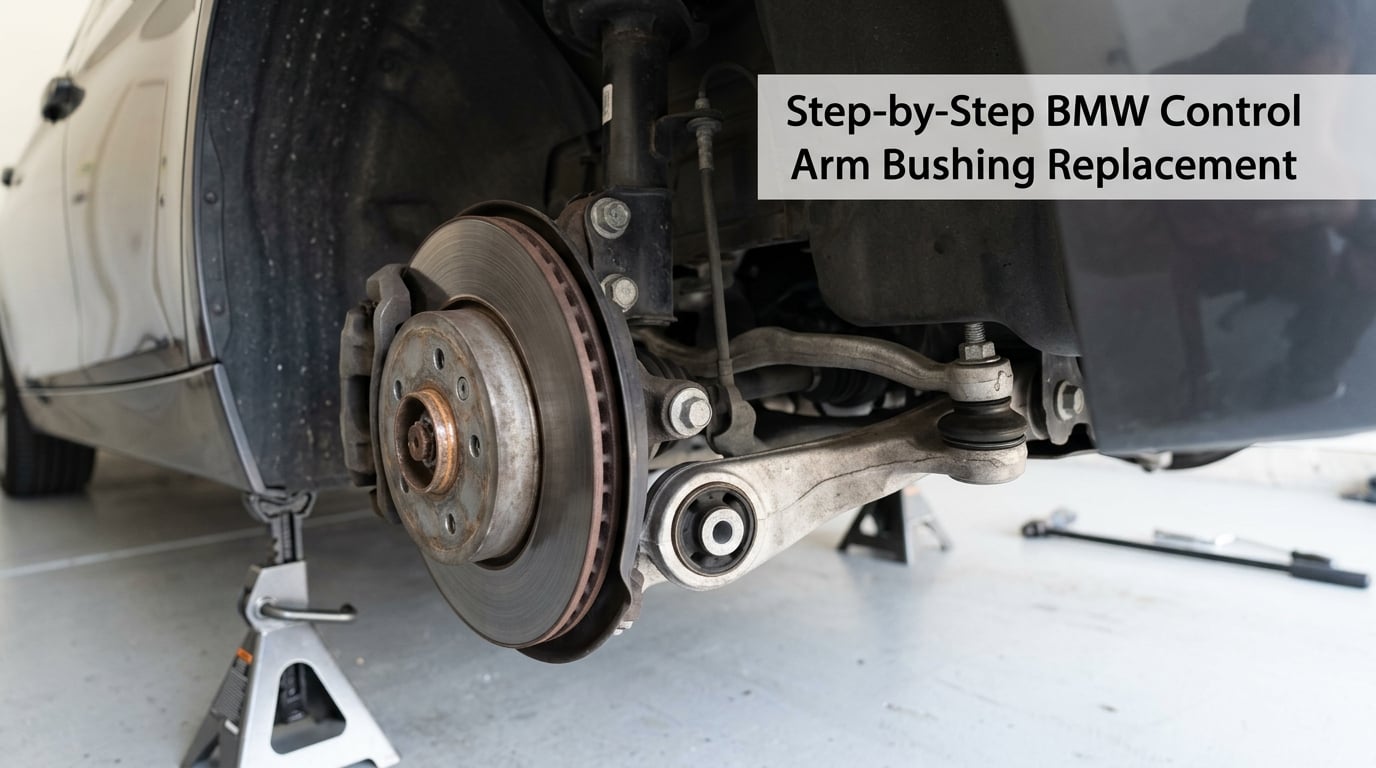
Take the arm off the car in this order: unbolt the outer ball joint nut, separate the ball joint from the steering knuckle, then unbolt the two inboard bushing bracket bolts and the pinch bolt where the arm’s inner bushing locates against the subframe. On carriers that come out as a unit, the whole bracket unbolts and the arm stays on the car. On arms that come out, the arm plus its inner bushing comes with it. The car tells you which one you have.
Watch what you move. The ABS sensor wire and its bracket are close, the brake hose and line run near the subframe on some models, and the CV joint and its boot hang right next to the inboard side. If you are working near the brake system, what causes a low brake fluid warning light explains what a puncture or a seep does to that circuit. Support the inner bushing bolt before you remove the last fastener so the arm does not drop onto the CV boot.
Old hardware on a car of this age is the main time sink. Spray penetrating oil on every fastener before you touch it, let it sit, then start with a six-sided socket that fits snugly. No chewed-up corners, no round-off. Heat is the old-school fallback for a seized carrier, and if you do use an open flame on old hardware, do it outdoors on a non-combustible surface and never near the fuel lines or the fuel filler area.
4. Press Out the Old Bushing or Remove the Control Arm
With the carrier on the bench, this is the clean part of the job. Support the carrier so the bushing bore is supported all the way around, line the press up dead center on the bushing flange, and push the old bushing straight out. Centered is the whole trick. A press that starts crooked will mushroom the new bushing or shear the carrier lip, and then you are starting over.
If you have no press at all, removal has options. A long lever and a stack of washers, or a two-jaw puller working against the outer lip, can get an old bushing out, and the oven heat-soak method for softening the old rubber before pulling it has a following on the E46 forums. The oven method is a removal aid only. You still cannot press the new bushing in without a press, and it comes with real safety problems: hot metal, fire risk in a home kitchen, and outgassing from old rubber. If you use it, do it outdoors with ventilation, and expect to replace the oven gasket.
The more sensible no-press path is to unbolt the carrier and take it to a machine shop or a shop with an arbor press. The press work is quick; the bill is small compared with a whole control arm. If the bushing is pressed into the arm itself and the arm has to come off, this is the point at which you have already made the decision that you need press access.
While the arm is off, check the ball joint. Move it through its range and look for slop, rust on the taper pin, or a torn or hardened boot. A ball joint that is tight with an intact boot can usually go back on. One with visible play or a split boot should be replaced now, because you have the arm off and redoing the job later is far more work.
5. Install the New Bushing at the Correct Depth and Clocking
Two measurements decide whether this install is right, and getting them wrong is the most common reason a new bushing fails within a few thousand miles.
| Measurement | Specification | How to check it |
|---|---|---|
| Bushing depth in the carrier | 18mm from the outer edge of the bushing to the bracket edge with the larger bolt holes | Measure from the bracket face to the bushing flange with a ruler or caliper |
| Bushing position on the arm | 170mm from the outer edge of the bushing to the nearest cutout in the control arm | Measure before you press, from the arm’s own features |
| Clocking | Index tab and index mark in their original alignment | Transfer the paint mark made at removal |
Press the new bushing in the same way you took the old one out, dead center, with even pressure on the flange. Stop when you hit the measured depth, do not guess. If the bushing is a press fit and you have to lean on the press, something is wrong: check for a square cut instead of a round one, a burr in the bore, or a bushing that is the wrong part. If it slides in by hand with no interference, you have the wrong bushing or you are missing a sleeve, and it will walk out on the road.
Put the arm and carrier back on in the same position, the same side and the same clocking you marked. Hand-start every bolt before you touch a wrench, thread the nut back on the ball joint stud loosely so the stud cannot spin, and only then snug things down in stages. Keeping the same component in the same position is what preserves the geometry the car was built with.
6. Torque the Suspension Fasteners Correctly
There is no universal number for a BMW control arm bolt. The figures below come from a published front lower control arm bushing procedure for a 2001 325Xi, and they are here so you can see the shape of the numbers and sanity-check a shop’s work, not as a substitute for your own model’s specification. Look up your chassis code in BMW repair information and use those values.
| Fastener | Socket | Torque | Notes |
|---|---|---|---|
| Bushing bracket bolts | 16mm | 44 ft-lb | Replace if specified as one-time use |
| Inner ball joint mounting bolts | 18mm | 57 ft-lb | Tighten with the suspension at ride height |
| Inner ball joint nut | 22mm | 57 ft-lb | Hold the stud with a second wrench |
| Outer ball joint nut | 19mm | 48 ft-lb | Install new cotter pin, do not reuse |
| Wheel lug bolts | 17mm | 95 ft-lb | Star pattern, vehicle weight on the wheels |
Torque values assume a specific suspension position. A control arm bolt torqued while the arm is hanging free does not equal the same bolt torqued at ride height, which is why some of these fasteners are called out for final torque with the suspension loaded. If your model calls for a two-stage or angle-plus-torque tightening, do the first stage, then the angle, then the final torque, and do not skip a stage because the bolt feels tight.
If you have never read a torque spec chart before, how to read a torque spec chart covers the units, the wrench setup and the common ways people get a value wrong. A torque wrench that has been dropped is a torque wrench you do not have.
7. Reassemble and Verify the Repair
Reinstall the ABS sensor bracket, reconnect any clips, reinstall the exhaust heat shield, and put the wheel back on with the lug bolts snugged by hand. Check that nothing is rubbing: the hose, the wiring, the ABS lead, and the boot all need real clearance through full steering lock and full suspension travel.
Lower the vehicle until the weight is on the suspension, then torque the lug bolts in a star pattern. Crossing to the diagonally opposite bolt is not the same as a proper star pattern, and loose lug bolts after suspension work cause warped discs and a vibration that gets blamed on the repair. Set the parking brake off, then take the car out.
On the road, drive slow over a straight road first and feel for a pull. Then find a smooth straight and check for steering wheel shimmy at highway speed. Any vibration that shows up immediately means something is not seated, not torqued, or a wheel is not seated on the hub. Do not live with it and assume alignment will fix it.
Book the alignment. Any control arm or bushing work requires the geometry checked afterward, because the arm was unbolted and the bushing was replaced with a new part that may sit marginally differently. Shops regularly refuse to align a car with worn bushings, which is exactly the situation you were in before the repair. If you do your own alignment, you need a four-wheel alignment with a printout before and after, not a quick caster-and-camber check on a driveway.
Should You Replace Just the Bushings or the Whole Control Arm?
Almost always the bushings, if the arm itself is sound. This is the most repeated question on the BMW forums and the most common place an owner gets upsold, so here is the decision in plain terms. The press-in bushing is the part that wears out by design. The arm, the ball joint and the subframe are not wear items on a healthy car.
| What you find | Verdict | Why |
|---|---|---|
| Play at the bushing only, ball joint tight, arm straight, no rust | Press new bushings | The failure is the designed wear item; the arm is a structure, not a consumable |
| Ball joint has slop, a torn boot, or a rusted taper pin | Replace the arm | A new bushing around a worn joint just moves the play to the joint |
| Arm is bent, cracked, or rusted through at a spring perch | Replace the arm | No bushing fixes structural damage; this is also a safety stop |
| Ball joint is fine but the arm bolts are seized or welded | Bushings if the carrier comes off, arm if it does not | Depends entirely on whether the bushing lives in a removable carrier |
| You cannot get press access either way | Replace the whole arm | It arrives assembled and goes back on with a wrench |
When a shop tells you the whole arm has to go, ask a narrow question: what specifically is wrong with the arm that cannot be fixed by pressing bushings? A straight answer names the ball joint, the bend, or the rust. If the answer is just that the arm is old, that is not a reason. It is also worth asking what the quote looks like with bushings only, itemized.
What Drives the Cost and How to Read a Quote
Prices move and vary by region, so treat any figure you find as a snapshot from the day you read it. What does not move is the structure of the quote, and the structure is what tells you whether a price is fair. A legitimate quote for this job has three separate lines: parts, labor, and alignment.
- Parts. A bushing set for one side, or a full arm, plus any one-time-use hardware. The bushing set alone is a small part of the bill; it is labor and the arm itself that move the number.
- Labor. Usually billed per side. The labour time for pressing bushings out and in is modest, but seized fasteners and the heat shield add time, and a shop may quote a flat hour figure that assumes nothing fights back.
- Alignment. A four-wheel alignment with a printout. It is a required part of this repair, not an optional extra, and a shop that does not mention it is either not planning to do it or saving it for the invoice.
Dealer pricing and independent shop pricing differ enormously for the same part, and the gap is much wider for suspension bushings than for filters. Owners on the BMW forums report dealer quotes for bushing work several times what an independent shop quotes for the identical job. That gap is why this repair attracts the “replace the whole arm” pitch, and why an itemized quote matters more here than on almost any other job.
There is a fourth option that the price question usually misses: you do the disassembly and reassembly yourself and pay only for the press work. Several owners do exactly this, taking the carrier to a machine shop, which is a small, fast, well-defined job, and handling the rest at home with a jack and a torque wrench. Compare that against a shop quote on the same three-line basis, and you will know quickly whether the quote is worth arguing about.
Which BMWs This Guide Covers
The procedure here applies broadly, but the access and the part strategy change by platform. This is the section the model-code search traffic lands on, so it is worth reading the row that matches your car.
| Chassis | Typical notes for bushing replacement |
|---|---|
| E30 | Simple by modern standards, minimal shields; a common first-timer project and the one most often described with a press |
| E36 | Front bushing is reachable; rusted subframe bolts are the usual sticking point |
| E46 | Very widely documented, including both a separate carrier and pressed-in bushing arrangements; fluid-filled bushings common on later cars |
| E90 / E92 | Fluid-filled bushings on many cars, so expect a stained subframe as a diagnostic; access is tight inboard |
| F30 | Fluid-filled bushings again, forward control arms on some variants; shop quotes are frequently higher on this generation |
| F48 / X1 | Forward control arms rather than the classic lower arm layout, and fluid-filled bushings are hard to find in the aftermarket |
| X3 / X5 | SUV suspension geometry, so tire wear symptoms show up faster; the same bushing logic applies with more access obstruction |
If your car is not on this list, the principles still hold. The variable that matters is whether the bushing sits in a carrier that unbolts from the subframe or is pressed into the arm, and the repair information for your chassis code will tell you which.
Common Mistakes
Working under a car supported only by the jack. There is no version of this job where that is acceptable. Jack stands, rated for the vehicle, under the factory lift points, every time.
Tightening the joint while the suspension is hanging. The bolt is torqued against a loaded or unloaded arm, and the value will not match the spec. Tighten with the suspension at ride height, and follow any two-stage or angle-plus-torque procedure in the repair information.
Skipping the alignment. The new bushing is a new wear surface. Even a small difference in how it seats shows up as a pull or uneven wear, and you end up replacing tires a second time.
Using generic torque values instead of the model’s. The table above is orientation, not instruction. Cross-reference the chassis code before you tighten anything, and if you have any doubt about the value, the repair information wins over this page and over a forum post.
Damaging the bushing or the carrier during removal. A press that starts crooked mushrooms the new bushing before it is even in the carrier. Support the carrier properly, keep the press centered, and if the carrier lip is damaged, replace the carrier rather than pressing into a scarred bore.
Forgetting the index mark and the depth. A bushing installed at the wrong clocking or pushed in too far changes the arm’s angle, and the symptom is vague: a pull, a vibration that never quite goes away, tire wear on one side.
Tearing the ball joint boot with a pickle fork. If the ball joint is going back on, use a separator. A boot torn on reassembly means a new ball joint you did not plan for.
Reusing one-time-use hardware. Stretch bolts, self-tapping fasteners and castle nuts do not get a second chance. Replace them as the repair information specifies.
Rushing seized fasteners. Round one head and the job stops. Penetrating oil, a snug six-sided socket, patience.
Frequently Asked Questions
Can I replace a BMW control arm bushing myself?
Yes, if you have press access for the new bushing. Many BMWs have the bushing in a carrier bracket that unbolts from the subframe, so you can remove that carrier, have it pressed at a machine shop, and do the rest at home. If the bushing is pressed into the arm itself, expect two to four hours per side with a shop press, plus alignment. Bail out and use a shop if the fasteners are welded or seized, or if the subframe has structural rust.
What does a worn control arm bushing sound like?
A dull clunk over bumps, expansion joints and potholes, sometimes changing pitch with the throttle, is the classic sign. You may also get a wobble at highway speed around 45 to 65 mph, steering wheel shimmy, uneven tire wear, or a brown stain on the subframe if the bushing is fluid-filled. A sharp metallic rattle usually points at a sway bar link or bushing instead, and a hum that changes with speed is more often a wheel bearing.
Do I need a wheel alignment after replacing a control arm bushing?
Yes, treat the alignment as required rather than optional. Removing the control arm and installing a new bushing changes the geometry slightly, and a misaligned car wears tires unevenly and faster. Get a four-wheel alignment with a printout before and after, and have it done after the suspension is back at ride height. Shops often decline to align a car with worn bushings, so the two jobs almost always go together.
Should I replace the whole control arm or just the bushing?
Replace just the bushings when the ball joint is tight, the boot is intact and the arm is straight and un-rusted. The bushing is the designed wear item, so pressing new ones is the correct repair. Replace the whole arm if the ball joint has play or a torn boot, if the arm is bent or rusted through, or if you have no press access at all. If a shop insists on the full arm, ask exactly what is wrong with the arm itself.
How tight should BMW control arm bolts be?
There is no single figure that covers every BMW. Values depend on the chassis code, the specific fastener, and whether the suspension is at ride height or hanging. For a 2001 325Xi front lower control arm bushing job, published figures run 44 ft-lb for the 16mm bracket bolts, 57 ft-lb for the 18mm inner ball joint bolts and the 22mm nut, 48 ft-lb for the 19mm outer nut, and 95 ft-lb for the wheel lug bolts in a star pattern.
Can I reuse the old BMW control arm bolts?
It depends on the fastener and on what the repair information says. Some BMW suspension bolts are stretch bolts or self-tapping fasteners that must be replaced after removal, and castle nuts and cotter pins on the ball joint studs are single-use. Others can go back in if they are undamaged and free of corrosion. Check the specification for your model, replace anything marked one-time use, and never reuse a bolt that has visible rust pitting or a rounded head.
Final Checklist
Before you drive it: the car is on rated stands or off them entirely, never on the jack alone. Correct bushings fitted to the measured 18mm depth and 170mm offset, index marks aligned. Bracket bolts, ball joint nuts and lug bolts torqued to your model’s specification, with the suspension at ride height. ABS leads, brake hoses and the heat shield reconnected with real clearance. Alignment done and documented with a printout.
On the test drive: no pull on a straight road, no shimmy at speed, no clunk over the same bumps that used to bother you, and no vibration that shows up the moment you roll out of the parking lot.
Then check again at roughly 50 miles and again at 500. A fresh bushing that was pressed in crooked, or an arm that was reinstalled at the wrong clocking, usually tells you early. If a shop quoted you the whole arm, ask for the itemized version with bushings only before you accept it.