
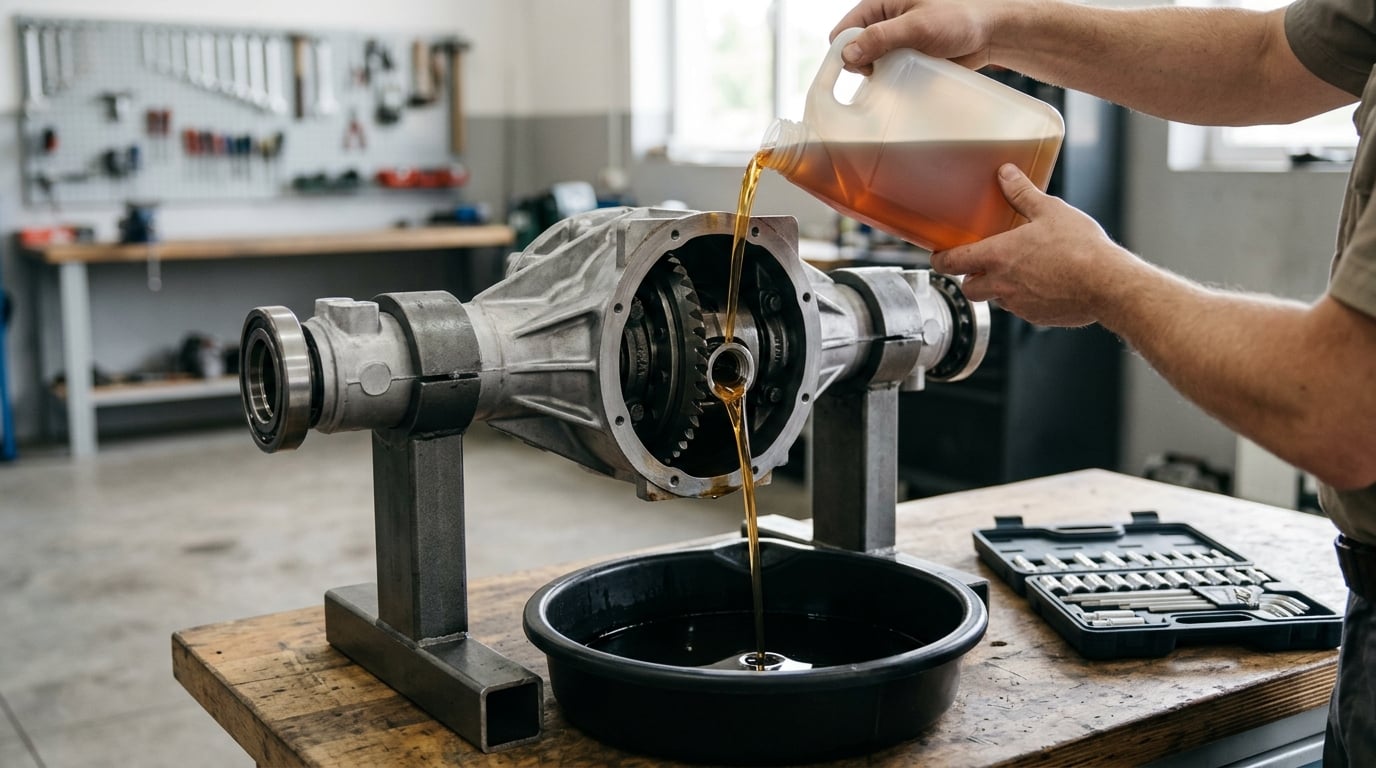
A BMW differential fluid change is a drain-or-pump job on the final drive: empty the housing, refill with the correct GL-5 hypoid gear oil, and torque the plug back to spec. On most models it takes about an hour per unit with basic hand tools, and it is the single most skipped service on a used xDrive. This bmw differential fluid change guide covers how to identify your unit, what fluid it takes, and how to refill it to the right level.
Two things cause most failures. The first is guessing the fluid weight, because 75W-85, 75W-90 and 75W-140 are not interchangeable in a final drive. The second is filling the housing with the car tilted, which leaves the ring and pinion short of oil no matter how much you poured in.
Last updated: October 2026
Never work under ramps alone. Support the car on jack stands placed at the approved lift points, and let hot exhaust and hot fluid cool before your hands go anywhere near them.
Table of Contents
- What You Need
- BMW Differential Fluid Change Guide: Step-by-Step
- Common Mistakes
- Frequently Asked Questions
- How often should I change differential fluid in my BMW?
- Do I really need to change rear differential fluid?
- Can I change BMW differential fluid myself?
- How much differential fluid does a BMW take?
- Do xDrive models need separate differential services?
- What should I do if there is metal in the differential fluid?
- Conclusion
What You Need
Start with documents, not fluid. The owner's manual for your exact model year and the factory service information tell you which unit to service, which fluid weight is approved, how much goes in, and what torque the plug needs. Every number in this guide is a common value, and the manual for your car overrides all of them.
- Owner's manual and factory service information for your model year and drivetrain
- BMW-approved GL-5 hypoid gear oil in the specified weight, plus about half a quart spare
- Low-profile floor jack and a pair of rated jack stands
- Socket set with a 14 mm hex socket and a half-inch drive ratchet
- Torque wrench covering the 40 to 70 Nm range
- Fluid transfer pump with a 90-degree adapter, plus a spare hose
- Low-profile drain pan large enough for a full axle if the plug opens
- New sealing washer or O-ring for the drain or fill plug, and a spare plug if yours looks worn
- Absorbent pads, cardboard or a tarp to protect the floor, and sealed containers for the old fluid
- Safety glasses, nitrile gloves, and a ratchet extension with a universal joint
What you will not find on every BMW is worth knowing before you buy anything. Some rear differentials have no magnetic drain plug, some have no exposed drain plug at all and must be pumped out through the fill opening, and some have no separate top-up port. Confirm your layout first, because that changes your tool list from a drain pan to a good transfer pump.
BMW Differential Fluid Change Guide: Step-by-Step
How to identify which BMW differential needs service
Identify the unit before you identify the fluid. A rear-wheel-drive BMW has one rear final drive. An xDrive car adds a front differential and a transfer case, and those three are separate oil baths with separate service points, even though the same weight often fills all of them.
Most rear differentials are open or electronically controlled limited-slip units that share one oil supply with the final drive. An electronic limited-slip unit still gets gear oil through the same housing, so the drain-and-fill procedure is identical. Where the fluid can differ is a clutch-type or viscous coupling unit, which can call for its own additive and a tighter weight window. A badge on the trunk is not a spec sheet, so check the manual.
Use three things to remove ambiguity: the VIN, which identifies the exact chassis and factory drivetrain, the service records, which show whether the unit has already been serviced and when, and the vehicle itself, which shows you whether there is a rear drain plug, a front reinforcement plate, or a transfer case service point. Manual transmission and hybrid models add their own gear oil services, and those are not the same oil or the same interval as the differential.
What gear oil your BMW takes, and how much
Differentials need hypoid GL-5 gear oil, not engine oil and not automatic transmission fluid. The weight is model-specific, and using a heavier oil than specified shows up as a driveline hum under load, which owners then spend weeks blaming on tyres.
| Model group | Common specified weight | Typical fill |
|---|---|---|
| E36, E39, E46, E90 rear drive | 75W-85 GL-5 | About 1.0 to 1.05 qt |
| Same generation with turbo engines | 75W-85 GL-5 | About 1.2 to 1.3 qt |
| E60, E65, F10, F30 3 Series and newer | 75W-90 GL-5, some earlier builds 75W-85 | About 1.0 to 1.3 qt |
| X5, X6 and X3 front differential and final drive | 75W-90 GL-5 | Per manual, front and outer sections differ |
| Transfer case oil | Weight listed separately in the manual | Typically under 1 qt |
BMW moved several models from 75W-85 to 75W-90 partway through a generation, so the model year matters as much as the chassis code. The part number printed on your fill plug or the oil label on the container beats any table on the internet, including this one. Buy a quart and a half so you have room to top up after the first check.
How to prepare the car safely
Work on level ground with the car in park, or in gear with the parking brake set, and let the exhaust and differential cool for thirty minutes after a drive. Support the vehicle at the factory lift points shown in your manual with jack stands, then back the jack off. A jack alone is not a support, and on a BMW the sill and pinch weld are not a stand location.
Pull the underbody shield, rear diffuser or reinforcement plate as required to reach the plug. Owners regularly damage fasteners forcing a shield off that was never meant to come off, so read the service information for your chassis before you touch a panel. Line the floor with absorbent material before anything comes out, and keep a sealed container ready, because used hypoid gear oil smells strong and stains concrete.
How to drain the old differential fluid
Remove only the plug the manual identifies as the drain or fill plug. With the vehicle level and the pan in place, back the plug out slowly and let the fluid run, then finish the last of it with the transfer pump through a 90-degree adapter so the hose reaches the bottom of the housing. Expect a smaller volume than the published fill, often under a litre, because a lot of the oil clings to the gears and never comes out.
Look at what comes out before you throw it away. Fresh-ish fluid is amber to light brown. Dark fluid that smells burnt usually means heat breakdown from long service intervals or towing loads. A plug with coarse metal on its magnet or chunks in the pan are a stop-and-think signal, and fine grey paste is often normal wear residue from hypoid contact, which is exactly what the pattern is designed to carry.
Wipe the plug sealing face clean and check it for flat spots or a rounded thread before it goes back in. If the manual specifies a sealing washer, treat that washer as single-use and fit a new one every time.
How to refill and set the differential level
Install the drain plug with its new sealing washer and tighten it to the specified torque, commonly 60 Nm or 44 ft-lb on many models, with reinforcement plate bolts on some front differentials specified lower at 54 Nm. Torque values only matter if you apply them correctly, and our guide on how to read a torque spec chart shows the difference between an estimate and a measurement.
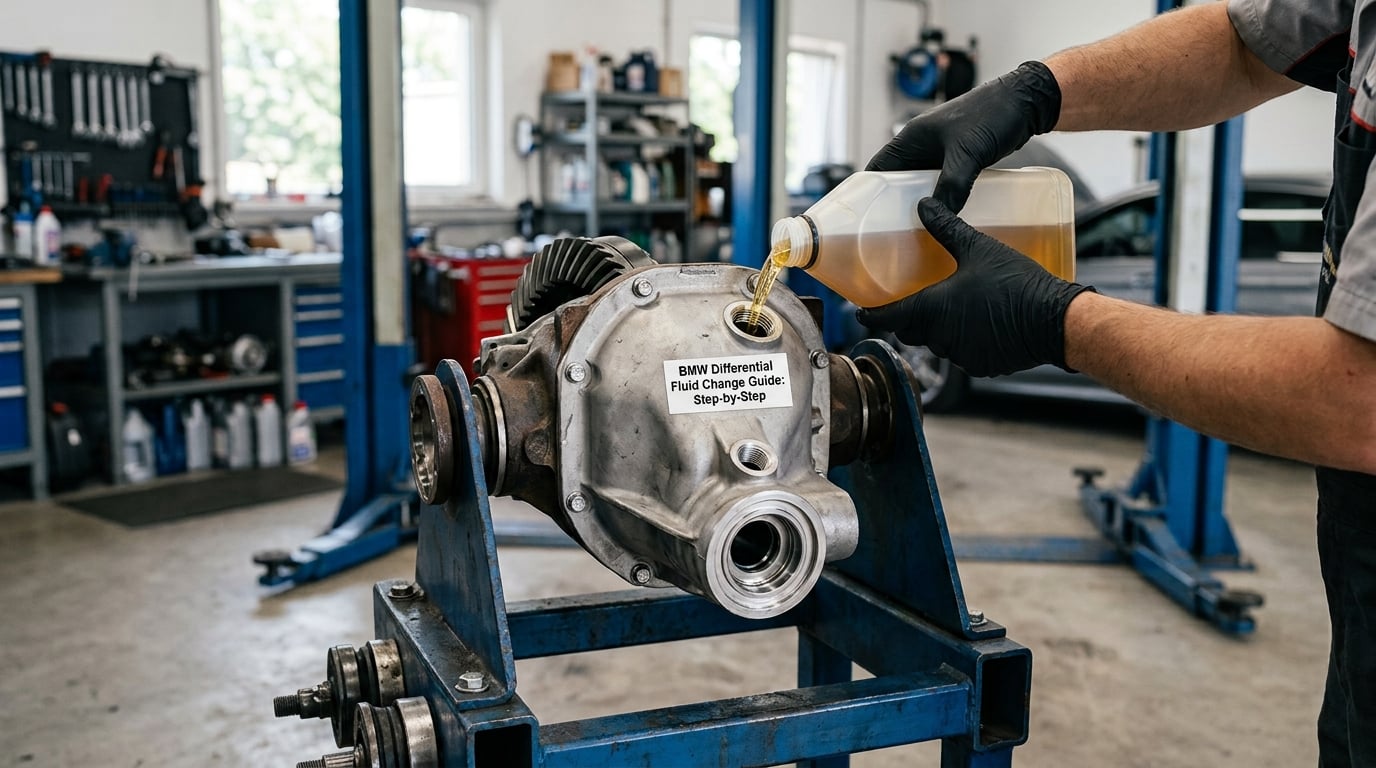
Fill through the actual fill opening in small amounts, letting the oil settle before checking. The vehicle attitude decides your level, which is why the car must sit in the exact attitude the manual specifies: level for most rear differentials, nose down or nose up for some front and transfer case units. Add fluid until it reaches the specified point or begins to overflow the fill opening, then let it drain back before the final check.
The published quantity is a starting point, not the answer. Two people following the same manual can end up with different levels because the housing was at a different angle. If your pump stalls before the fluid reaches the opening, the hose is at the bottom of the pan rather than in the oil, and that is a reason to stop and reposition rather than keep pumping air.
Our walkthrough on how to drain oil without making a mess covers the pan, drip and containment setup that keeps a fluid change off the garage floor.
How to confirm the fluid change worked
A good result looks ordinary, which is the point. The plug seals with no weeping at the sealing face, the level sits at the specified mark with the car in the specified attitude, and the fluid you drew off shows the condition you expected. Take a photo of the level before you lower the car so you have a reference for the recheck.
Then drive it for fifteen minutes and check again. Some designs trap air that rises out of the housing and takes fluid level with it, and some retain fluid differently as the casing cools, so a second level check warm is not optional. Also listen on a straight road at steady speed: a change in tone after the service is worth investigating, because a new hum under load usually points at the fluid weight or a wheel and tyre problem rather than the differential itself.
On a plug-less unit, the same logic applies with one difference. Recheck the level by topping up through the fill opening, and compare the amount you add against the amount you removed. If the second top-up needs more than a splash, the extraction did not clear the housing and a second extraction pass is the sensible move.
Common Mistakes
Overfilling is the most common error and the most expensive-looking one. Gear oil thrown at the ring gear aerates, heats and foams, and the resulting churn is what owners hear as a hum that appears after a service. Add in small amounts and trust the level, not the bottle.
Filling with the car tilted is the next one. A differential is a bath, and a tilted bath means a low spot that runs empty while the plug still reads full. Confirm the specified attitude every time you check the level.
Mixing weights or brands in the same housing defeats the point of the service. Whatever comes out goes back in as one consistent specification, so drain what is there before adding the new oil.
Confusing transfer case oil or transmission fluid with differential fluid is easy because they all live under the same car and the caps look identical. Three services, three fluids, three service points, and the manual tells you which is which.
Cross-threading the plug is a five-second mistake with a long tail. Start it by hand, run the thread the full length with clean fingers, then tighten. Skip the new sealing washer and the joint will weep even when the plug is torqued correctly.
Stripping the plug happens when someone starts it with the wrong hex size or with the socket off-axis. A stripped fill plug on a rear subframe cover is a much bigger job than the fluid change was.
Skipping required shield or reinforcement plate removal is how fasteners get rounded and how the plate ends up loose later. Open only the points the service information lists, and never pull a second drain plug because one feels handy.
Working on a jack alone is the one that can put someone in hospital. Stand placement at the factory lift points, load the stands, then unload the jack. If you cannot find a safe support point for your model, a shop with a lift is the cheaper option.
Pumping a plug-less housing too fast to reach the sludge wastes the effort. Slower suction with the hose on the bottom of the casing gets more oil out than a fast pump that draws air.
Two small habits make the next service easier. Run the car for ten minutes after the fill, park it level, and recheck the level so the unit is where you left it. Dispose of used hypoid oil through an oil collection point rather than a drain, and keep the container sealed until you get there.
Frequently Asked Questions
How often should I change differential fluid in my BMW?
Most maintenance schedules place rear differential fluid service around 50,000 miles, with a second check later in life. BMW also markets driveline fluid as lifetime fill, which in practice means for the life of the part under normal use, not the life of the car. Shorten the interval if the car tows, carries heavy loads, or runs a lot of highway miles, since heat is what breaks the oil down fastest.
Do I really need to change rear differential fluid?
On a low-mileage car, changing it early rarely fixes a noise and mostly gives you peace of mind. On a high-mileage car, one that tows, or one where nobody has ever touched it, the fluid is genuinely past its useful life and the drain-and-fill is cheap insurance. If the unit already whines loudly, changing the oil is still worth doing, but it will not reverse wear that has already happened to the gears.
Can I change BMW differential fluid myself?
Yes, on most models it is a straightforward job with a socket, a transfer pump and a drain pan. The complications are access, not skill: removing a shield or reinforcement plate, working at the correct torque, and holding the car at the specified attitude while you fill. If your differential has no drain plug, plan on pumping it out through the fill opening with a 90-degree adapter.
How much differential fluid does a BMW take?
Most rear differentials take between one and one and a half quarts, with turbo and xDrive applications at the higher end. Buy a quart and a half so you can top up after the first level check, because some of what you pour in stays in the housing. The published capacity is a starting figure, and the level at the plug in the specified attitude is what actually matters.
Do xDrive models need separate differential services?
Yes. An xDrive BMW has a front differential, a rear differential and a transfer case, and each is its own oil bath with its own service point and often its own weight. Servicing all three in one session is popular among owners because the car is already on stands, and the same GL-5 gear oil often covers the front and rear. Check the manual for the transfer case, which is often listed separately.
What should I do if there is metal in the differential fluid?
A light film of fine paste is normal for hypoid gears, but coarse chunks or a heavy collection on the plug magnet are not. Sponge the unit clean, refill it, and drive gently while you plan a proper assessment. A loud whine, a clunk on load, or metal that returns quickly after a fresh change all point to gear or bearing damage, and that is a workshop job, not another drain and fill.
Conclusion
A BMW differential fluid change comes down to five things: identify the exact unit, confirm the fluid weight and quantity in the manual for your model, drain or pump it out and look at what comes out, refill slowly and set the level in the specified vehicle attitude, then recheck for leaks and level after a short drive.
If the plug layout, the oil specification or the access procedure is not clear for your car, stop there and let a workshop handle it. An hour of research beats a stripped plug or a housing filled with the wrong oil.