
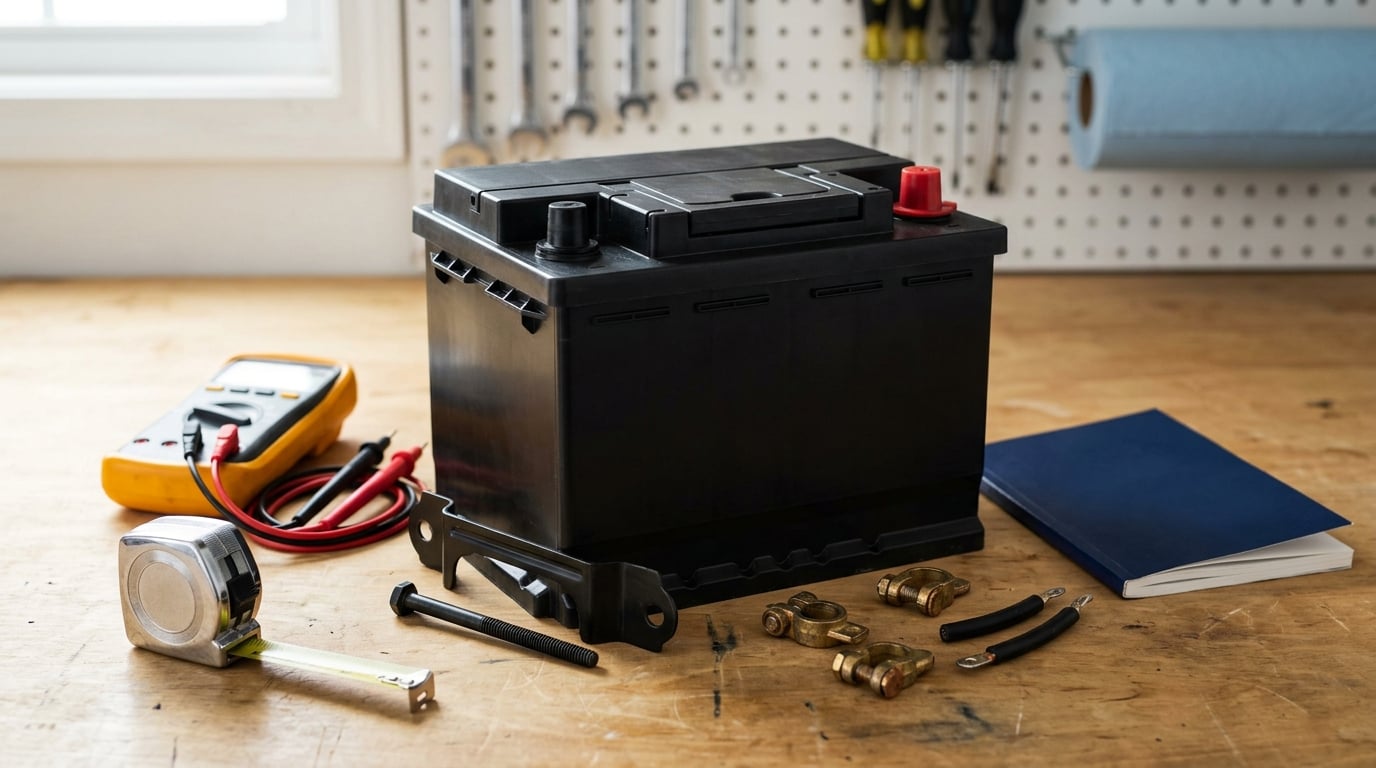
If you are working out how to choose the right battery group size for your car, the order you do things in matters more than the chart you use. A battery group size is a Battery Council International (BCI) standard number that defines a battery’s case dimensions — length, width and height — along with where the positive and negative posts sit on the case. Match the group first so the battery seats square and the hold-down clamp grips it, then check the electrical ratings.
The group number is a fitment key, not a performance score. It tells you nothing about cold cranking amps, amp-hour capacity, chemistry or age, so two batteries carrying the same group number can behave very differently.
Most of the failed battery swaps I have come across come down to one of three things: a case that would not sit square under the hold-down, cables that could not reach the posts, or a group chosen from an internet chart that ignored what the car actually has fitted. The order of operations below avoids all three, and the whole job is about twenty minutes of reading and measuring before anything is bought.
Table of Contents
- What You Need to Choose a Battery Group Size
- Step-by-Step: How to Choose the Right Battery Group Size
- 1. Find the Required Group Size in the Owner’s Manual
- 2. Check the Battery Tray and Case Dimensions
- 3. Compare CCA, Reserve Capacity, and Voltage
- 4. Match Terminal Posts, Polarity, and Cable Clearance
- 5. Confirm the Battery Fits the Manufacturer’s Approved Options
- 6. Test or Verify the Replacement Before Installation
- Common Mistakes That Ruin a Battery Swap
- Frequently Asked Questions
- Can I use a different battery group size if it fits?
- Does a higher CCA battery automatically mean a better battery?
- Why do BMW batteries with the same group size have different specifications?
- How do I know if my replacement battery has the correct terminal posts?
- Should I choose AGM or flooded battery for my car?
- What should I do if my owner’s manual does not list a battery group size?
- Conclusion: Three Things to Do Before You Buy a Battery
What You Need to Choose a Battery Group Size
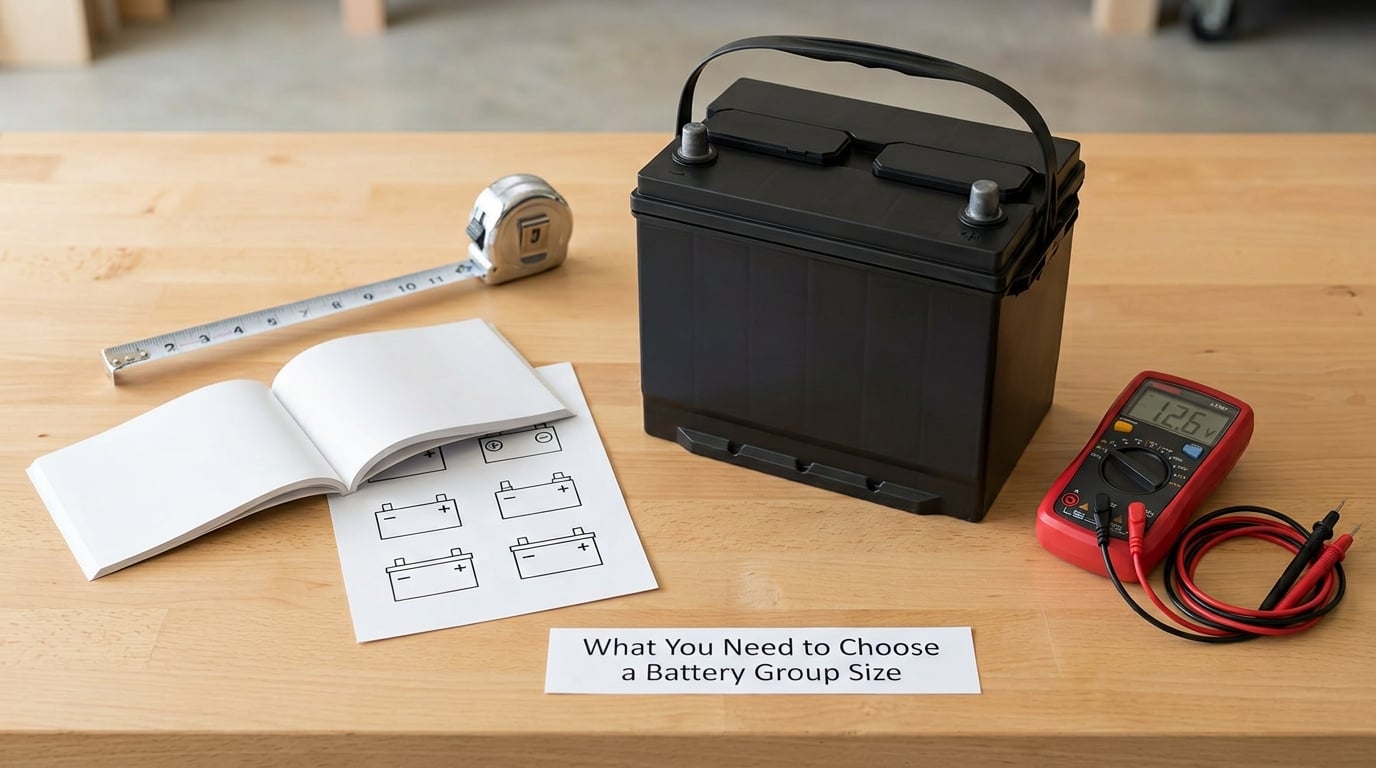
You need five things, and only the first one costs anything. None of them require special tools, and none of them replace the vehicle’s documentation.
- The owner’s manual or maintenance guide for your exact vehicle. This is the only document that is guaranteed correct for your car. Generic group charts come second at best.
- A reliable fitment chart. Either the published BCI group dimension table or a vehicle manufacturer’s replacement battery guide for your model year.
- A tape measure or a steel rule. You will measure the tray, the battery coming out, and the clearance above it.
- A terminal post identification guide. Any BCI chart shows post style and post position, which is what catches most people out.
- A multimeter or a battery tester. Optional for selection, useful once the battery is in hand.
If the manual lists a battery group size, that number ends the debate. Generic charts are useful when the documentation is thin, when you are working on a vehicle with no manual, or when the specified group has been discontinued.
Step-by-Step: How to Choose the Right Battery Group Size
Run these six steps in order. Skipping ahead to the CCA step is how people end up with a beautiful battery that does not fit the tray.
1. Find the Required Group Size in the Owner’s Manual
The owner’s manual is the only source that is authoritative for your specific car, and the group size is usually listed in the maintenance or electrical system section.
Look under headings like battery specification, battery care, jump starting or electrical specifications. Some manufacturers also stick a battery specification label inside the engine bay, on a door jamb, or on a sticker in the glove box, which is faster than digging through a manual. European manuals often list several numbers at once — a BCI group, a DIN code and a cold cranking figure — so make sure you are reading the group and not the model or part number.
Treat the figure as vehicle-specific rather than model-wide. The specified group can change with production year, engine choice, market, and battery supplier, and split-year builds are a classic trap. If the car has been modified with a winch, a larger alternator, an air conditioning upgrade or a second battery, the stock specification may no longer be the right target.
2. Check the Battery Tray and Case Dimensions
Measure the tray before you buy, because a battery even slightly too tall or too long will not seat properly under the hold-down.
Measure the length and width of the tray opening, then measure the clear space above it with the hold-down in place or removed. Note the position of the hold-down anchor points, the tray lip, any vent or drain tube, and the air intake or electronics box that sits close over the battery. On many cars the case is not the limiting factor — the clamp and the space above the tray are.
Most of the time you do not need to do any of this, because the group number already encodes the case footprint. The measuring matters in three situations: the label on the old battery is corroded or missing, the group number points to more than one case style, or you are deliberately considering a different group.
Here is the consolidated reference covering the groups most US drivers actually meet. Dimensions are published BCI reference figures, and individual battery makers vary by a few millimetres, so check the spec sheet on the specific battery and measure before committing.
| BCI Group | L x W x H (inches) | L x W x H (mm) | Post type | Positive post | Typical CCA | Typical application |
|---|---|---|---|---|---|---|
| 21 / 21R | 8.19 x 6.81 x 6.94 | 208 x 173 x 176 | Top | Right; mirrored on R | 350-500 | Smaller cars, older sedans |
| 22F | 9.06 x 6.81 x 8.94 | 230 x 173 x 227 | Top | Right (forward) | 350-500 | Compact and midsize cars |
| 24 / 24F | 10.25 x 7.00 x 8.94 | 260 x 178 x 227 | Top | Right (forward on F) | 350-500 | Cars, light trucks, marine |
| 25 | 10.25 x 7.00 x 8.75 | 260 x 178 x 222 | Top | Right | 300-450 | Selected GM and Chrysler sedans |
| 26 / 26R | 12.44 x 6.81 x 6.94 | 316 x 173 x 176 | Top | Right; mirrored on R | 400-500 | Long, older sedans |
| 27 | 12.00 x 6.81 x 8.94 | 305 x 173 x 227 | Top | Right | 400-600 | Marine and RV house banks |
| 28 | 12.06 x 6.81 x 8.94 | 306 x 173 x 227 | Top | Right | 300-450 | GM and Chrysler full-size cars |
| 31 | 12.94 x 6.81 x 9.94 | 329 x 173 x 252 | Top | Right | 450-700 | Diesel, commercial, trolling motor |
| 34 | 10.25 x 6.81 x 7.84 | 260 x 173 x 199 | Top | Right | 400-500 | Some GM sedans and SUVs |
| 35 | 9.06 x 6.81 x 8.88 | 230 x 173 x 225 | Top | Right | 400-500 | Honda and Toyota sedans, hybrids |
| 48 (H6) | 10.94 x 6.89 x 7.89 | 278 x 175 x 200 | Top or side | Right | 500-600 | BMW, Honda, many hybrids |
| 48 (H6) R | 10.94 x 6.89 x 7.89 | 278 x 175 x 200 | Top or side | Mirrored (R) | 500-600 | BMW, Honda, many hybrids |
| 65 | 9.06 x 7.00 x 7.25 | 230 x 178 x 184 | Top or side | Right | 500-750 | Commercial trucks and diesel |
| 75 / 75R | 9.06 x 6.81 x 7.25 | 230 x 173 x 184 | Top or side | Right; mirrored on R | 500-650 | GM trucks and commercial |
| 78 | 9.06 x 6.81 x 7.25 | 230 x 173 x 184 | Top or side | Right | 500-650 | GM trucks, classic cars |
| 94R (H7) | 12.13 x 7.00 x 7.25 | 308 x 178 x 184 | Top | Mirrored (R) | 600-800 | Japanese and Korean cars and trucks |
One caveat on that table: post style is not always fixed by the case. The 65, 75, 78 and 48 cases in particular are built with top posts on some applications and side posts on others, so confirm the post type against the battery listing and against the cable ends on your car.
3. Compare CCA, Reserve Capacity, and Voltage
Battery group size never tells you how much current the battery can deliver, so cold cranking amps has to be checked separately against the manufacturer’s minimum.
Cold cranking amps, or CCA, is the current a 12V battery can deliver for 30 seconds at 0°F (minus 18°C) while holding at least 7.2 volts. Reserve capacity is a different number: the minutes the battery can run at 25 amps before dropping below 10.5 volts, which matters far more to an RV or a boat with electronics than CCA does. Voltage is the simplest check of all — a fully charged, rested 12V battery should sit above about 12.6 volts on a meter.
The rule is simple: meet or exceed the manufacturer’s CCA minimum, never go below it. A battery with more CCA than specified will not harm the alternator, the regulator or any electronics in the car. The people who worry about this on forums are worrying about a non-issue; the real risk on any swap is a battery that does not clamp down or does not reach with the cables.
What the group number does not tell you: CCA, amp-hour capacity, chemistry, battery age, warranty length or anything at all about what is inside the case. A larger group usually means a larger case with more room for plates and electrolyte, which in practice means more amp-hours, but that is a consequence of the physical size rather than a promise encoded in the digits.
4. Match Terminal Posts, Polarity, and Cable Clearance
Post side and post style have to match your cables, or the swap simply does not go together.
Top posts sit on the top of the case and take a clamp-style terminal. Side posts sit on the side of the case and use a small threaded stud with a nut. Most passenger cars use top posts; many American trucks and a good number of GM sedans use side posts. You do not need to pull the battery to check this — just look at the cable ends in place and count the post position relative to the tray opening before you order.
Post position is the other half. On a standard group, the positive post sits at one consistent end of the case when you are looking at the battery the way it sits in the tray. Add the letter R to the group — 21R, 26R, 35R, 48R, 94R — and the posts are mirrored, so the positive is at the opposite end. R stands for reverse polarity, and it exists because some vehicles mount the battery with the opposite orientation. The F suffix (22F, 24F) means the same post position as the base group, with the terminals facing the front of the vehicle.
If you end up with the wrong post position, the field fix is to physically rotate the battery in the tray, which is fine as long as the case fits, the hold-down still grips, and the cables still reach. Check the polarity markings on the tray, the cable, or the fuse box before you connect anything. A battery fitted with reversed polarity can do real damage to electronics, so never force a connection to make it work.
5. Confirm the Battery Fits the Manufacturer’s Approved Options
Match your candidate battery against the owner’s manual and the manufacturer’s replacement battery list before you pay for it.
Retailer lookup pages are convenient and occasionally wrong. They work from year, make and model, which does not handle split-year production runs, market differences, or a truck that someone has modified since the factory. Where the manual and a lookup page disagree, the manual wins.
BMW owners need to be especially careful here. Do not assume every BMW takes one group size. Verify the exact vehicle, the production year, the engine, and where the battery physically sits. A 12V battery in the boot needs the factory vent hose routed correctly, and many BMWs also use the group 48 case for flooded, AGM and lithium versions with very different amp-hour figures, so the group number alone will not tell you whether the charging system and battery monitoring will be happy. A lithium replacement in a car expecting a lead-acid battery is exactly the kind of substitution that causes warning lights and premature failures.
If you work on anything European, remember the cross-references. Group 78 is the JIS equivalent of BCI group 34, group 48 is sold as H6 in Europe, group 94R is sold as H7, and DIN codes such as 096 and 098 cross-reference to the 48 or 35 cases respectively. The same physical battery wears a different number in each market, which is the usual reason a chart search fails.
For marine, RV and trolling motor work, groups 24, 27 and 31 are the usual three. The 24 is the general-purpose case, the 27 is slightly longer and commonly used for house banks, and the 31 is the tall heavy-duty case for diesel and commercial use. For a house bank you are choosing on amp-hours and reserve capacity, not on CCA, and depth-of-discharge tolerance matters more than the digits on the case.
Finally, if the specified group has been discontinued or is hard to source, you have three options: a universal battery hold-down that clamps a slightly different case, an adapter tray, or longer cables with new terminals. All three are legitimate workshop fixes for older vehicles, provided the battery is properly secured and the polarity is unchanged.
6. Test or Verify the Replacement Before Installation
Check the new battery before it goes in the tray, because a replacement can arrive damaged or already aged.
Look at the case first. Cracks, bulging, a waxy stain around a post, or a swollen lid all mean return it. Then check the date code, which is stamped on the case or printed near the serial number; most manufacturers use a letter for the month and a digit for the year, and some print a shipping date instead of a build date. A battery that has been sitting for a year before you buy it has already lost some of its useful life, which is one of the few places where paying more genuinely buys you something.
Test the resting voltage with your meter before installing. Above about 12.6 volts means fully charged. Something around 12.4 volts means partially charged and fine, since the car will bring it up. Well below that, or a reading that drops fast, points to a faulty battery or a bad connection.
Before you connect anything, clean the tray and the terminal clamps, and confirm the hold-down bracket and both terminal connections can be installed properly. Disconnect order matters: negative first, and the negative last on the way back in, so a stray tool cannot short across the terminals. Wear eye protection, and take the old battery to a recycling point rather than leaving it in the driveway — most retailers take it back for a core credit.
Hire a technician when the battery is buried in a tight engine bay, when the car has two batteries in separate compartments, when it is a heavy AGM unit, or when your vehicle needs a battery registration step after replacement. The selection work is the same either way, and doing it yourself first means you are having the conversation with the shop from an informed position.
Common Mistakes That Ruin a Battery Swap
These are the errors that come up again and again, each with the correction that prevents it.
- Sorting on price before specification. The cheapest battery that meets your group, post configuration and CCA minimum is usually the right one. Filter on spec first, then compare warranty and date code.
- Assuming a bigger group number is always better. A larger case usually holds more amp-hours, but the number promises nothing, and a taller case may not clear the air intake, the hood or the hold-down.
- Matching the digits but ignoring post position. If the group you want is the mirrored version, either order the R group or plan to rotate the battery. Cable reach is the part people forget.
- Buying a case that overruns the tray. Measure length, width and the clear height above the tray before you order, and check the hold-down anchor points line up.
- Under-speccing CCA. Going over is fine. Going under leaves you stranded on the first genuinely cold morning.
- Confusing the model or part number with the group number. A part number identifies a specific battery from one maker. The group number is the industry standard, and it is what goes in the tray.
- Treating European or BMW numbering as identical to BCI. The same case carries a different number in each market. Cross-reference before you order, and verify the battery location and venting.
- Not securing the battery properly. Vibration is one of the fastest ways to crack internal plates. Tighten the hold-down to the specified torque, without overtightening the clamp.
- Trusting a retailer lookup page over the manual. Useful as a starting point, wrong for split-year and modified vehicles.
- Skipping the date code. Check it every time. Two batteries with the same group and the same CCA can differ by a whole season of shelf life.
Frequently Asked Questions
Can I use a different battery group size if it fits?
Sometimes, but only when four things line up: case dimensions, post style, post position, and the hold-down. A group 24 and a group 35 both work in a number of crossover trays, and plenty of swaps run fine with a properly clamped substitute. What is not negotiable is polarity, a solid clamp, and cables long enough to reach without stretching. Measure the tray and check the posts before you order anything.
Does a higher CCA battery automatically mean a better battery?
No. CCA measures starting performance in cold weather and says nothing about reserve capacity, amp-hours, or how long the battery will last. A higher-CCA battery is never harmful to the alternator or the electronics, and it will start the car more reliably on a cold morning. Choose on group size first, CCA second, and then chemistry, warranty, and date code.
Why do BMW batteries with the same group size have different specifications?
Because the same case covers several battery types across model years and engines. Flooded, AGM, and lithium 12V batteries have been sold in the same group number with very different amp-hour and cold cranking figures. Always confirm the exact vehicle, production year, engine, and battery location. A battery in the boot also needs the factory vent hose, and some models need a registration step after replacement.
How do I know if my replacement battery has the correct terminal posts?
Look at the battery coming out. Top posts sit on the case top and take a clamp-style terminal; side posts sit on the case side and use a small threaded stud. The positive post carries a plus sign and usually a coloured cover. Confirm it sits at the same end of the case as the factory battery, and check that the cable reaches the clamp bolt without being stretched.
Should I choose AGM or flooded battery for my car?
Match what the vehicle was designed around. A flooded battery needs a vent tube and occasional water checks, so a sealed AGM in that tray needs the factory venting kept in place. AGM holds a charge better and tolerates vibration, and it usually costs more. Do not fit AGM where the charging system expects a flooded battery without checking the manual, because charging voltage differs.
What should I do if my owner’s manual does not list a battery group size?
Work down a short list instead. Read the group number off the old battery, normally on the top or side label, and confirm it by measuring the case against a BCI dimension chart. If the label is unreadable, measure both the old battery and the tray, then match the footprint. Confirm post style and post position, and check the manual for the required cold cranking amps.
Conclusion: Three Things to Do Before You Buy a Battery
Choosing the right battery group size comes down to three actions, in this order. First, identify the exact specification for your vehicle from the owner’s manual or the label on the battery coming out. Second, measure the tray and check the clearance above it, along with post style and post position. Third, confirm the electrical ratings, meeting or exceeding the manufacturer’s cold cranking minimum.
Do the reading before the buying, not after. Twenty minutes with the manual and a tape measure will save you a return trip, a dead battery on a cold morning, or a hold-down bracket that does not quite reach.