
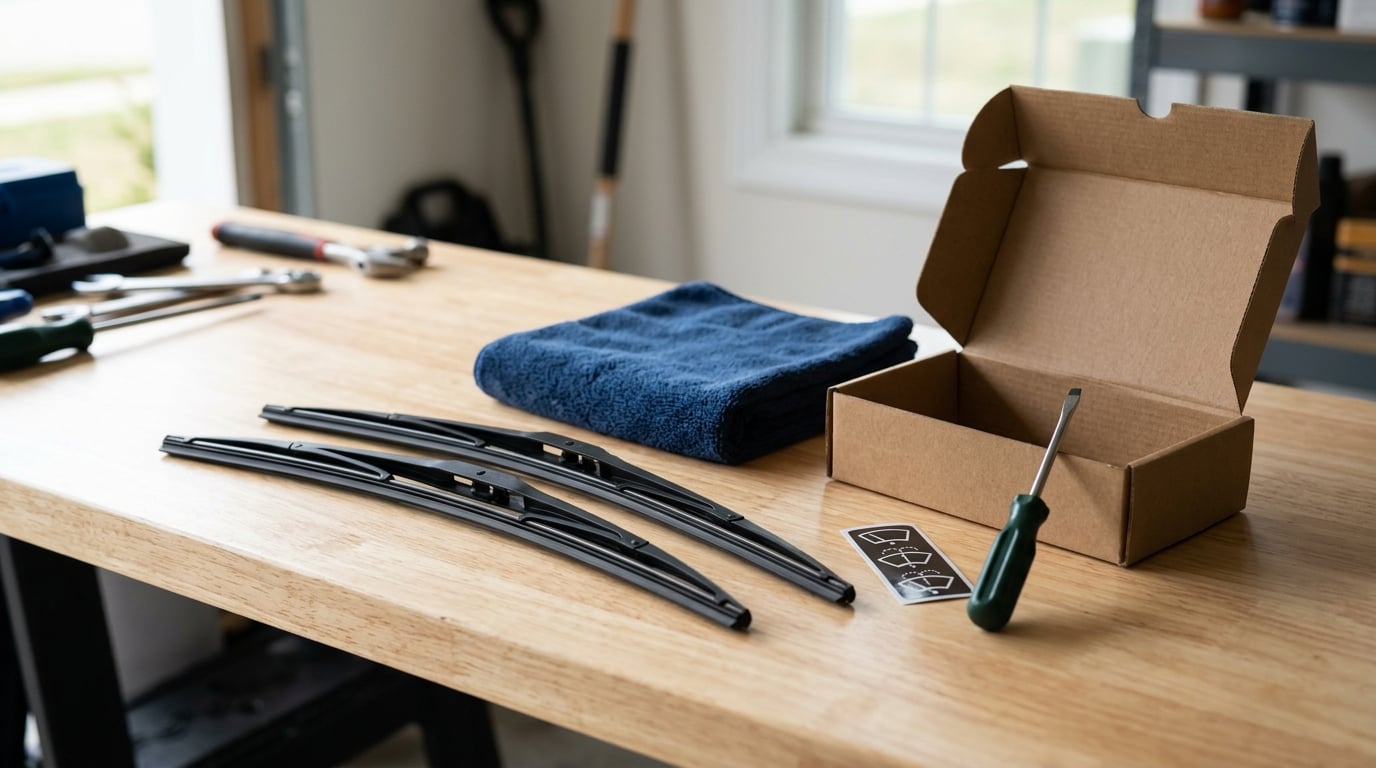
Replacing windshield wiper blades takes about 5 to 10 minutes per pair and needs no special tools, just your hands and the correct blade for each side. Here is how to replace windshield wipers safely: lift the arm off the glass, press the release tab, slide the old blade off, slide the new one on until it clicks, and lower the arm gently. The one rule that matters most: never let the spring-loaded arm drop onto bare glass.
Most people find the job harder than advertised for one reason, and it is almost never the fitting. They bought one blade size when the driver side and passenger side are almost never the same length. Everything else in this guide assumes you have checked both sides first.
Table of Contents
What You Need
Gather everything before you touch an arm, because a half-finished swap with an arm up is how windshields get cracked.
- A pair of replacement blades in the correct length for each side. Confirm the sizes before ordering anything.
- Your owner’s manual or the door-jamb sticker, which usually carries a wiper spec with both blade sizes and the type of connector your car uses.
- A small flathead screwdriver or plastic trim tool. Several connector styles use a pinch-tab or a locking clip that a fingernail cannot lift cleanly.
- A clean microfiber towel to lay on the glass before an arm comes down. This is the cheapest insurance in the whole job.
- A pair of gloves, optional but useful. Bare hands leave oils on the rubber lip, and oils cause streaking.
- Washer fluid for the final test. Never test a new blade on a dry screen.
How to Replace Windshield Wipers Step by Step
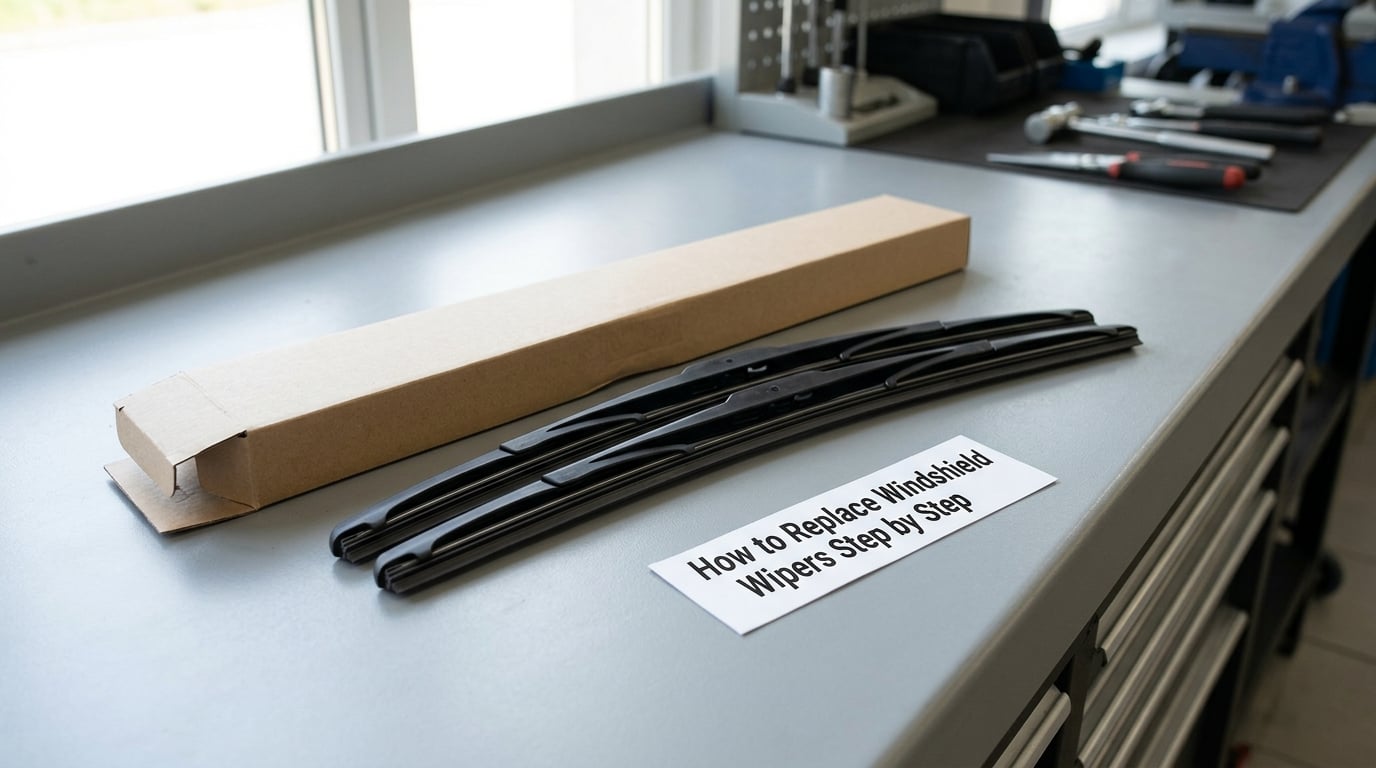
Work through both sides one at a time, completing the passenger side before you start on the driver side. It feels slower and it means you are never juggling two loose blades at once.
1. Park safely and inspect the current blades
Park on level ground, engine off, key out of the ignition. Let the arms settle fully into their parked position at the base of the windshield before you touch anything, since the arm is under spring tension and will move when you let go.
Look at the rubber before you remove it. Streaks that never clear, a juddering chatter through part of the sweep, a skipped band in the middle of the glass, or a rubber lip split or torn away from its frame all mean the blade is finished. So does a hard rubber edge that no longer lays flat, or a metal spine visible through a gap in the strip.
2. Lift and secure the wiper arm
Spread the towel flat on the windshield under the arm you are about to raise. Then lift the arm away from the glass, straight up and close to the center of the vehicle, until it stands on its own. On most cars the arm locks upright at roughly 60 to 90 degrees and stays there.
If it will not hold, turn the ignition to the accessory position and let the wipers run one full cycle, then switch them off at the moment the arms reach the bottom. That parks them hard against their mechanical stop and holds them there while you work.
If the arm has a hinged section above the blade, the hinge is meant to collapse so the blade can flip. Let it fold rather than forcing it.
3. Release the old wiper blade
Every blade attaches through a connector where the blade meets the arm, and each type releases differently. Grip the blade frame, not the arm, then use the motion that matches your connector.
| Connector type | What it looks like | How to release the blade |
|---|---|---|
| Hook (J-hook) | The arm ends in a J-shaped or bayonet hook with a locking pin | Slide the blade toward the hood until the locking pin clears the hook, pinch the tab, then slide the blade off the hook end |
| Top pin | A stud pointing straight up out of the arm, older pin-arm designs | Lift the blade straight up off the stud, then turn it to clear the pin from the slot |
| Side pin | A stud poking through the side of the arm head | Depress the plastic release tab, pull the blade upward, and slide the slot off the pin |
| Bayonet | A stub with a flat or rounded head and a catch near the base | Press or squeeze the arm’s locking clip, rotate the blade a quarter turn, then pull it off |
| Push-button (top-lock) | A small button on the connector cover you press with a thumb | Press the button until the side claws release, then slide the blade out along the arm channel |
European and older vehicles use the less common arms, which is why generic instructions sometimes fail on them. If the motions above do not match what you see, do not pull harder. Photograph the connector, note the arm shape, and match it to a fitment chart before buying anything.
4. Check blade size, type, and how to replace windshield wipers correctly
Do this before ordering blades, not after removing the old one. There are three reliable ways to find the size.
- Read the owner’s manual or door sticker. The driver’s door jamb often carries a wiper chart listing driver and passenger lengths and the connector type.
- Measure the old blade from end to end along the frame, in inches or millimetres, and note which side you measured.
- Look the vehicle up by year, make, model and trim at a parts retailer or manufacturer fitment guide.
Sizes do not need to be identical to what came off, but there is a real tolerance. A blade one size longer than the factory length usually fits the connector fine and leaves no unswept gap, though it can crowd the A-pillar trim and chatter at the very edge of the sweep. A blade one size shorter always leaves a crescent of glass unswept along one side, which is a visibility problem you will notice in heavy rain. Going further than one size in either direction usually means the blade no longer sits square, and juddering follows.
Match the frame style too. A conventional framed blade has visible plastic or metal rails and a replaceable rubber insert. A hybrid blade is framed but lighter, with a hybrid beam spine. A frameless beam blade is one piece of rubber over a beam spine with no visible rails, and it needs an adapter that fits your exact connector. An adapter bridges one connector style to another blade design, so confirm it matches your arm and not just the brand.
5. Install the new wiper blade
With the arm still upright and the towel underneath, slide the new blade into the connector. The channel in the adapter has to sit on the arm or hook first, then the blade slides along until it locks.
Push until you hear it. Most connectors give an audible click or a firm stop, and that is the signal you are after. Then pull gently on the blade with a decent tug: it should feel solid with no wobble at the connection and no visible gap between blade and arm. If it rotates freely or the gap is more than a finger’s width, press the tab and re-seat it.
Never force a blade onto an arm that does not match. The plastic clip and the arm’s plastic head are the parts that snap under pressure, and a stripped clip turns a five-minute job into a trip to a parts counter.
6. Lower and test the wipers
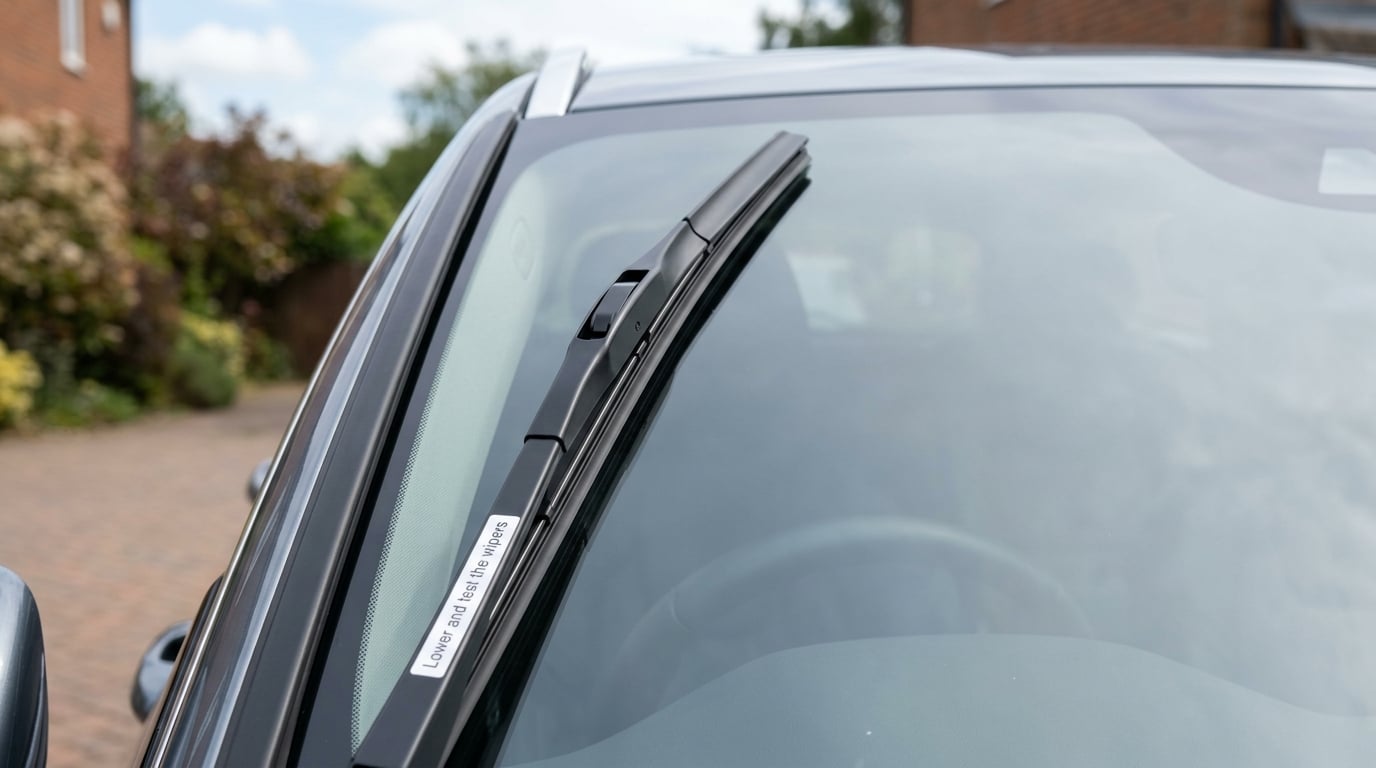
Pull the towel out from under the arm, then lower the arm to the glass by hand, guiding it the whole way down. Let it rest rather than dropping it. A gentle pull back on the arm also takes load off the spring so the park position holds when you start the car.
Run the rubber strip between your thumb and forefinger once to remove any folded edge left by the packaging. Then spray washer fluid, start the wipers on low speed, and watch the contact line.
A good fit wipes a full arc with no chatter, no skipped band, and no leftover strip at either end. If it judders on one pass and settles on the next, that usually means the arm or the rubber is bent rather than worn. If it leaves a clean arc on one pass and a smeared one on the return, the glass is usually the problem.
Common Mistakes
Almost every frustrating wiper job traces back to one of these, and most take under two minutes to sort out.
- Letting the arm snap onto the glass. Lay the towel down first. A spring arm released from a raised position can crack a windshield, and that turns a cheap blade swap into an expensive repair.
- Buying one size for both sides. Driver side and passenger side almost never match. A blade that is too short leaves an unswept crescent.
- Pulling on the arm instead of the connector. The release tab is at the junction. Grabbing the arm twists the head and can break the plastic you were about to release.
- Forcing a connector that does not match. A bayonet does not slide onto a side pin, and a push-button style will not latch onto a hook. Wrong fitting, no amount of pressure.
- Handling the rubber with bare, oily fingers. Skin oils on the wiping edge cause smearing that looks like a bad blade. Gloves or a clean cloth.
- Leaving the protective plastic strip in the channel. New beam blades ship with a sleeve or tab inside the groove. It makes the first sweep look terrible.
- Testing on a dry windshield. Dry glass drags the rubber and leaves marks. Use washer fluid.
- Replacing only the torn side. Blades that have run on the same glass for months wear at similar rates. A new blade next to an old one also leaves the screen visibly uneven.
If you replaced both blades and they still streak, work through this order.
- Clean the glass. Old rubber leaves a film that new blades smear across. Wash the inside of the windshield too, where road film builds up faster than most people expect.
- Check the rubber edge. Run a clean cloth along it. A film on the leading edge is enough on its own to make a good blade look faulty.
- Re-seat the connector. A blade sitting a fraction high in the channel wipes at an angle and smears.
- Look at the sweep pattern. Judder that appears and disappears points at a bent arm or a bowed blade spine.
- Suspect the motor or linkage if blades move slowly, stop short of the glass, or make a grinding noise. Replacing blades will never fix that.
Two more honest limits. If the arm does not stay raised, the arm spring or pivot is worn and needs a shop. And if the glass is chipped or crazed in the wiper path, blades cannot fix that either. A quick note on the rear blade: the procedure is the same, but rear arms hide under the trunk lip or spoiler, and many use a different connector than the front, so check the arm type before you buy.
Frequently Asked Questions
What size windshield wiper blades do I need?
Check three places in order: the wiper spec on your door-jamb sticker, the chart in the owner manual, or the old blade measured end to end. The driver side and passenger side are almost always different lengths, so record each one separately before you buy. If the sticker is missing or unreadable, the vehicle year, make, model and trim on a parts retailer fitment guide will confirm both sizes and the connector type.
Are hybrid and beam-style windshield wiper blades better?
Beam-style blades are frameless, with the rubber stretched over a beam spine, and they usually give the cleanest, quietest sweep with less wind lift at highway speed. Hybrid blades add a light frame and are the easier compromise if you want the look but expect to swap parts. Traditional framed blades cost the least and let you replace just the rubber insert later. All three fit the same car through an adapter matched to your arm type.
Why are my new windshield wipers leaving streaks?
New blades rarely streak because they are faulty. It is nearly always the glass. Old rubber leaves an oily film that a fresh blade smears across, and that film is inside the windshield too. Wash both sides, wipe the rubber edge with a clean cloth, and re-seat the blade so it sits flat in the channel. If streaking remains on one pass only, look at arm alignment instead of the blade.
How often should I replace windshield wiper blades?
Roughly every 6 to 12 months, or twice a year for most drivers. Rubber hardens from UV exposure, grit and temperature cycling long before it looks terrible, so a blade that still wipes can still smear. Many people set a reminder for late autumn and again in spring. Replacing on a schedule also means you never drive a storm with a torn blade and no spare on hand.
Can I replace just one windshield wiper blade?
You can, and it keeps you driving while the pair is on order. It is not ideal, though. Two blades that have run on the same glass wear at similar rates, so you get an uneven sweep, and a mismatched pair of styles can judder on one pass and settle on the next. A mismatched pair is also a common reason drivers think the new blade is the problem when the old one is actually at fault.
Do windshield wipers work in freezing temperatures?
They work, but frozen or semi-frozen rubber is what cracks blades and chips glass. Keep the washer fluid rated for freezing conditions, and clear the screen and the wiper park area of snow and ice before the first sweep of the day. Avoid hot water, which can crack the glass, and use only products rated for automotive glass. Lift the arms upright overnight in freezing weather, then lower them gently in the morning.
Final Wiper Check
Before you buy anything, confirm both blade sizes and the connector type on your arm. Those two answers decide whether the swap takes ten minutes or turns into a trip back to the store.
Then lower the arm gently, spray washer fluid, and watch the sweep across a damp screen. A clean arc with no chatter and no skipped band is the whole test. Do it in the driveway rather than halfway down a motorway in the rain.