
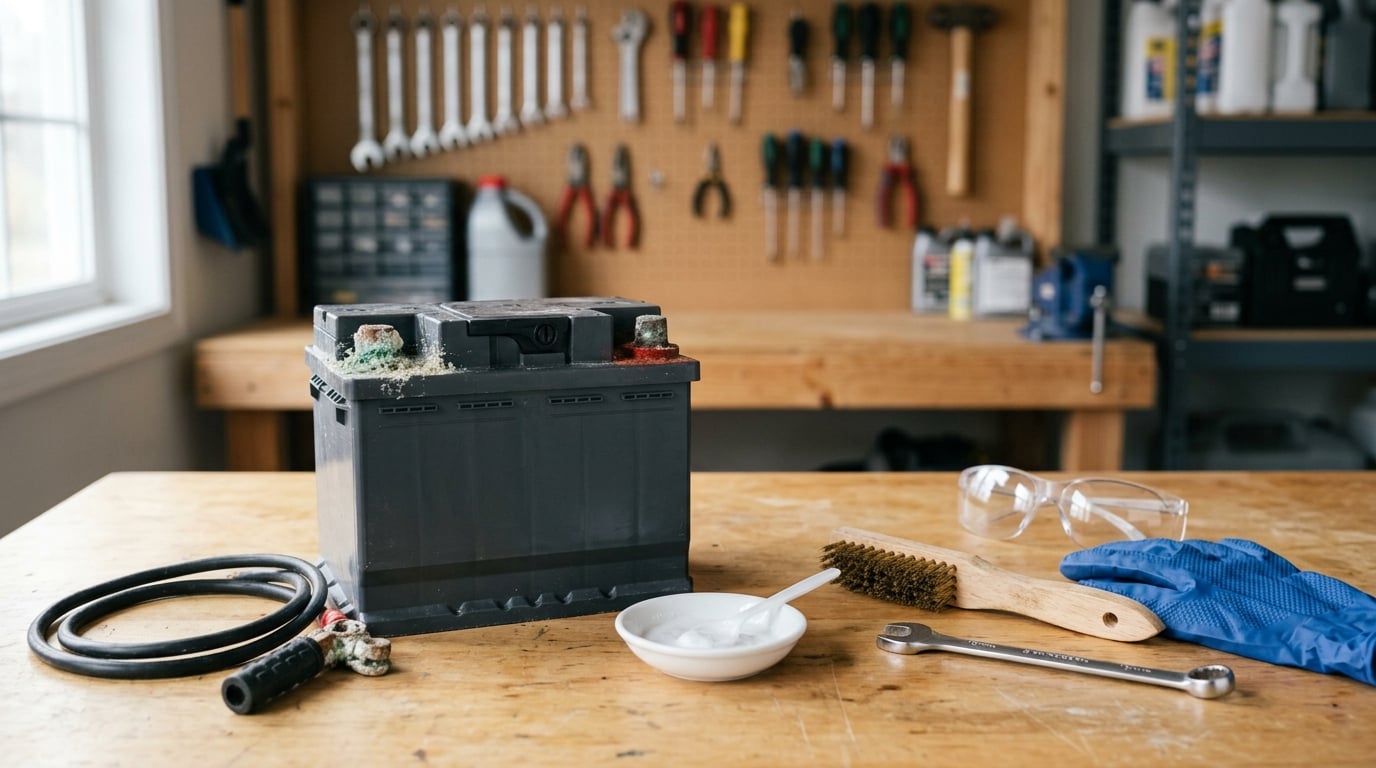
How to clean battery terminal corrosion is simpler than most people think: mix one tablespoon of baking soda with one cup of warm water, scrub the post and the clamp with a wire brush until bare metal shows, wipe it clean, and coat it in protectant. The whole job takes about 20 minutes and costs almost nothing.
The reason people get it wrong is usually the disconnect order or the drying step, not the scrubbing. Get those two right and a terminal that has been green for two years comes back to bare lead in one sitting.
A little context first, because “corrosion” covers more than one problem. The white, grey or blue-green crust on a battery post is acid residue reacting with copper and lead, and it is a poor conductor of electricity. That crust is enough to stop a healthy battery from starting a car, which is why so many people replace a battery that was never actually dead.
Table of Contents
- What You Need
- Step-by-Step: How to Clean Battery Terminal Corrosion
- Common Mistakes
- Frequently Asked Questions
- Can I use baking soda to clean battery terminal corrosion?
- Is vinegar safe for cleaning battery terminals?
- How do I know whether corrosion means I need a new battery?
- Do maintenance-free batteries need their terminals cleaned?
- How often should I inspect and protect battery terminals?
- What should I do if my battery is swollen, leaking, or damaged?
- Conclusion
What You Need
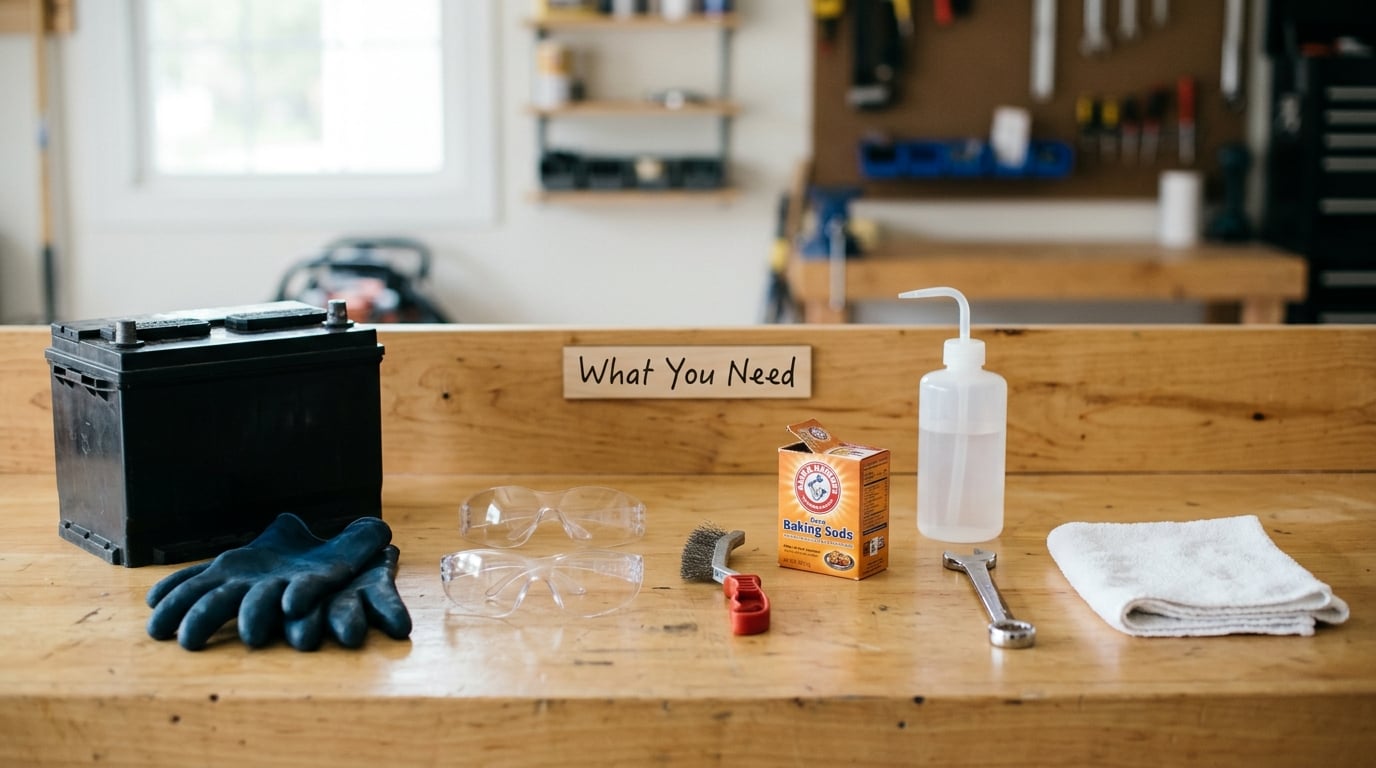
Gather everything before you touch the battery, because half of a messy job is putting a rag down to find the wrench. Most of the list lives in a kitchen drawer or a garage bin already.
- Your vehicle owner’s manual, or the battery maker’s service sheet, for terminal layout and any battery-sensor removal steps
- Baking soda, or a manufacturer-approved battery terminal cleaner
- Safety glasses and chemical-resistant gloves
- A wire brush, a small nylon scrub pad, or an old toothbrush for light buildup
- A 10mm wrench or the socket size your battery clamp uses
- Warm water, a cup, and a spoon for the paste
- Clean rags or paper towels, plus a bucket if you plan to rinse
- Dielectric grease, petroleum jelly, or an anti-corrosion spray for protection
Short on a dedicated terminal cleaning tool? A brass or nylon brush from the hardware store does the same job, and on a modern battery post a nylon pad is gentler on the lead than a steel wire wheel.
Wear gloves and eye protection, work outside or in a ventilated space, and take off rings, watches and any metal wrist jewelry. Lead-acid batteries vent hydrogen gas, and a wrench bridging both posts is the classic way to get a crack in a battery case or a burn on your hand.
What to use and what to leave on the shelf
Home remedy debates get heated because people swear by whatever worked for them. The chemistry is more forgiving than the forum arguments suggest.
- Baking soda and water: use it. It neutralizes the acid into a harmless salt you can rinse away.
- Commercial terminal cleaner: fine. It works, but the fumes are unpleasant and it costs more.
- Vinegar: rinse only. It is an acid and can etch the lead post if it sits.
- WD-40: skip it. It leaves an oily film that traps moisture; it is not a corrosion remover.
- Rubbing alcohol: skip it. Useful for drying electronics, useless on sulfate crust.
- Cola or tea: skip it. Phosphoric acid and tannin do lift crust, then you rinse sugar into the cable.
Step-by-Step: How to Clean Battery Terminal Corrosion
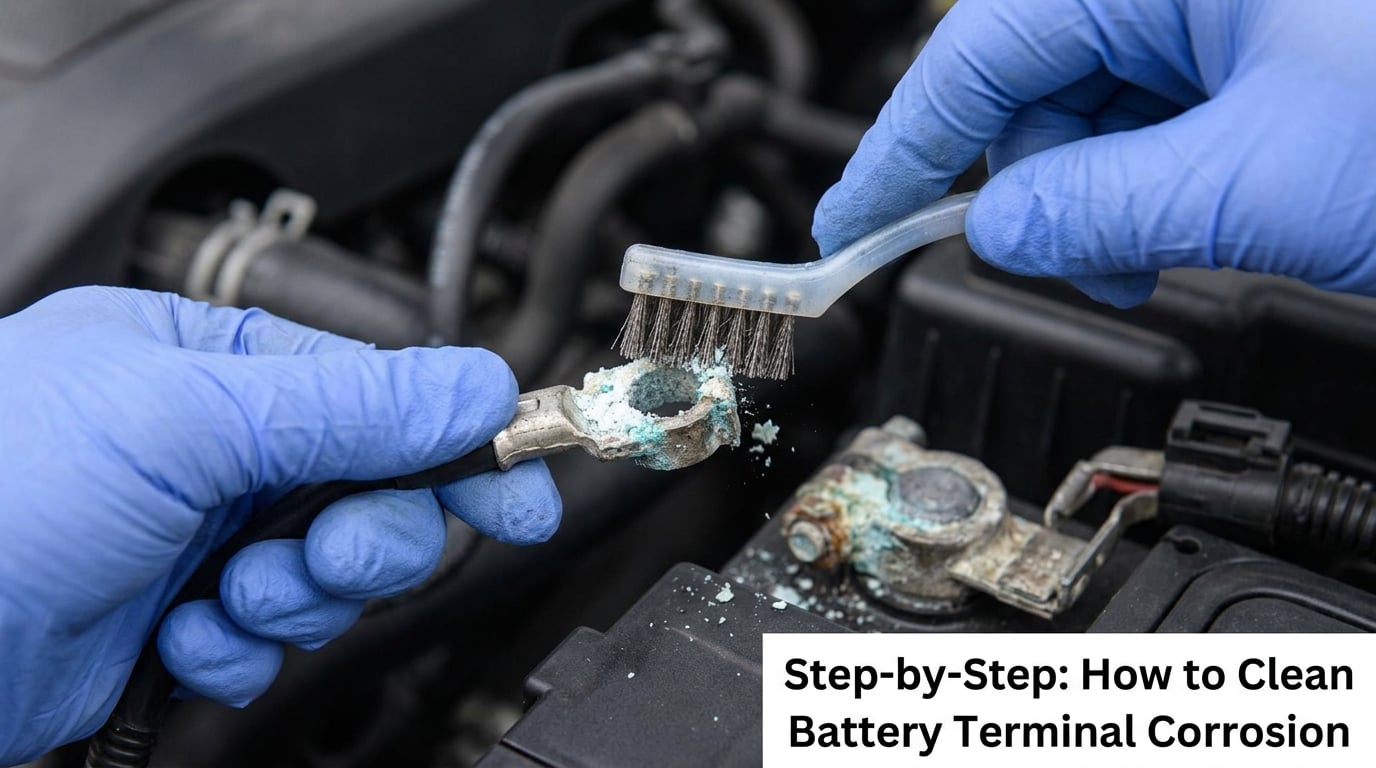
The order below works the same on a car, a motorcycle, a boat, an RV house bank or a cordless tool battery. Only the bolt size changes.
Identify the Battery and Inspect the Corrosion
Scratch the buildup with a coin or a screwdriver tip. If it crumbles to powder, it is corrosion and it will scrub off. If it is hard, glossy or the post is eaten away underneath, the clamp is going to stay damaged and the terminal is a replacement part, not a cleaning job.
Find the negative terminal before you touch anything. It is usually marked with a minus sign and a thin black or dark cable; the positive is marked with a plus and often red. On some cars the battery sits under a hood liner or in the trunk, and a few hybrids have a 12-volt auxiliary battery behind a panel.
Stop and do not clean if the case is swollen, cracked, or seeping. That is a failed battery, and a brush is not the fix.
Turn Off the Vehicle and Disconnect the Battery
Switch the ignition off, remove the key, and open the doors so the electronics fully power down. Then loosen the negative clamp first and lift it off, followed by the positive clamp.
Negative first, positive second, every time. The reason is simple: the negative clamp is the path to the car’s body and frame, so taking it off first means a dropped wrench is not bridging live current to metal. On reconnect, the order reverses. Positive first, negative last.
If the clamp will not come loose, do not lever it against the battery case. Tap the bolt sideways with a rubber mallet or the handle of a wrench, soak the clamp with penetrating oil, and wait a few minutes. Forcing it is how people crack a case.
Neutralize Corrosion and Clean the Battery Terminals
Mix one tablespoon of baking soda into one cup of warm water and stir it into a thin paste. The warmth speeds up the reaction and the alkalinity neutralizes the sulfuric acid residue into a salt that rinses clean, which is exactly why baking soda beats vinegar even though vinegar is the more famous household acid.
Paint the paste onto the post and into the inside of the clamp, then scrub with a wire brush or nylon pad. Rotate the clamp against the brush if you removed it completely, and work until the metal is dull bare silver-lead rather than crusted white.
Heavy buildup responds better to a soak. Leave the paste on for about 20 minutes, wipe it off, then apply a fresh batch and scrub again. Two cycles beat one long soak, and the second solution carries away what the first lifted.
Some owners boil black tea or cola and soak the terminal instead. The tannin and phosphoric acid genuinely do dissolve sulfate crust, but you are then rinsing sticky sugar residue into the cable, and the baking soda paste does the same job without the cleanup.
Rinse, Dry, and Reconnect the Battery
Wipe the neutralized residue away with a damp rag, then a dry one. If the battery is outside the vehicle you can rinse the terminal area with clean water, keeping the stream off the vent caps, the wiring harness and anything else electrical, then dry it completely.
Full dry matters more than people expect. Water trapped under a clamp causes the same conductivity problem as the crust, and a wet terminal will corrode again within weeks.
Reconnect the positive clamp first and the negative clamp last, then tighten until the clamp is snug on the post. Over-tightening crushes the lead and creates a gap that corrodes fast, so snug is the target, not torque-spec tight.
Before you close the hood, know what just reset. The clock, radio presets, alarm codes, window auto-up and the ECU’s learned idle and throttle settings often come back wrong or at default. On cars with a battery-sensor, some also show a charging fault until the battery is registered again.
Protect the Terminals From Future Corrosion
Once the metal is clean and dry, coat the outside of the post and clamp with a thin layer of dielectric grease, petroleum jelly or an anti-corrosion spray. Friction paste made from baking soda and petroleum jelly is a long-standing favorite, and owners on the MGB and Patrol forums report decades of service with felt washers and grease on top.
Anti-corrosion felt washers that sit between the post and the clamp are worth adding on a terminal that has already been bad. RV owners often prefer anhydrous lanolin over wax-and-clay sprays for the same job.
Keep the coating on the outside surfaces only. Never cover the vent openings on top of the case, and remember that grease protects metal; it does not clean it, so a coated terminal still gets a look every six months or before every long storage.
Common Mistakes
Almost every failed attempt traces back to one of these.
- Reconnecting with the engine running or the ignition on. Turn everything off first; a live system can arc across the terminal as you slide the clamp back on. Fix: keys out, doors open, then reconnect.
- Letting the wrench touch the opposite terminal. A 10mm bridge across both posts is a serious short. Fix: remove one clamp completely before working on the other, and keep hand tools off the battery case.
- Mixing cleaners. Never combine baking soda with vinegar, bleach or an acidic commercial cleaner. Fix: one method per session, and rinse the surface before switching products.
- Soaking the whole battery. Water going into the vent holes or down the vent tubes acidifies the inside of the case. Fix: paste on the terminal, then a controlled rinse that stays clear of the caps.
- Reconnecting while damp. Fix: dry every surface, including under the clamp, before the wrench comes out.
- Using too much baking soda. A thick dried paste is harder to rinse out than a thin one and leaves a conductive salt film behind. Fix: one tablespoon per cup, and keep it thin.
- Sealing the terminals in. A terminal boot or sealant that traps moisture makes the problem worse, and covering the vents is unsafe. Fix: protective coat on the outside, vents clear.
- Ignoring a damaged battery. A swollen, leaking or crumbling post will not be saved by a clean clamp. Fix: test the battery, then replace it.
Two more worth knowing. The corrosion is often hidden under the clamp and inside the rubber boot, so a terminal that looks clean on the outside can still be the reason the car will not crank, which is why removing the clamp to scrub the inside matters. And if the terminal is clean and the car still will not start, the problem is probably not corrosion at all, so stop chasing it and test the battery, the alternator and the starter instead.
Frequently Asked Questions
Can I use baking soda to clean battery terminal corrosion?
Yes, and it is the method most experienced owners prefer. Mix one tablespoon of baking soda with one cup of warm water into a thin paste, spread it over the post and inside the clamp, and scrub with a wire brush or nylon pad. The baking soda neutralizes the sulfuric acid residue into a salt that rinses away with water, which is why it works better on sulfate crust than a spray cleaner.
Is vinegar safe for cleaning battery terminals?
Vinegar dissolves copper sulfate crust, but it is an acid, and lead dissolves in acid too. If you use it, keep the contact short, neutralize immediately with a baking soda rinse, and dry thoroughly. Baking soda is the safer single choice because it works from the other end of the pH scale and leaves a residue you can simply rinse off.
How do I know whether corrosion means I need a new battery?
Clean the terminals first, then test. If the battery is more than about five years old, the case is swollen or leaking, the post is crumbling rather than powdery, or it will not hold a charge after a full charge, replace it. A battery that cranks normally once the connections are clean was never dead, and a load or conductance test at an auto parts counter takes a few minutes.
Do maintenance-free batteries need their terminals cleaned?
Yes. Maintenance-free refers to the electrolyte inside the sealed case, not the metal connection outside it. A corroded clamp insulates the post just as badly on a sealed battery as on a flooded one, and the same baking soda paste, wire brush and protective coating apply. Check them every six months and before any long period of storage.
How often should I inspect and protect battery terminals?
Twice a year is a good rhythm, and more often if you drive mostly short trips, live near salt or surf spray, or store the vehicle for months. Lift the boot or glance at the post each time you check tire pressure. Reapply the protective coat whenever you see bare metal, and never leave a freshly cleaned terminal unprotected, because an uncoated post will start building residue again quickly.
What should I do if my battery is swollen, leaking, or damaged?
Do not clean it and do not drive the car. Move the vehicle away from anything combustible, keep metal tools and metal jewelry away from the case, and avoid sparks, since a venting battery releases hydrogen gas. A swollen or leaking lead-acid battery is replaced, not serviced, and the old one should be taken to a recycling point rather than put in household waste.
Conclusion
Start with the battery: ignition off, negative terminal first, positive second, and the terminals on the bench in front of you. Scrub with a baking soda paste until bare metal shows, dry it completely, coat it, and reconnect positive first and negative last.
If the crust was powdery and the battery cranks fine afterward, nothing else was wrong. If it still will not start, or the case is swollen, leaking or more than five years old, get the battery tested and stop cleaning it.