
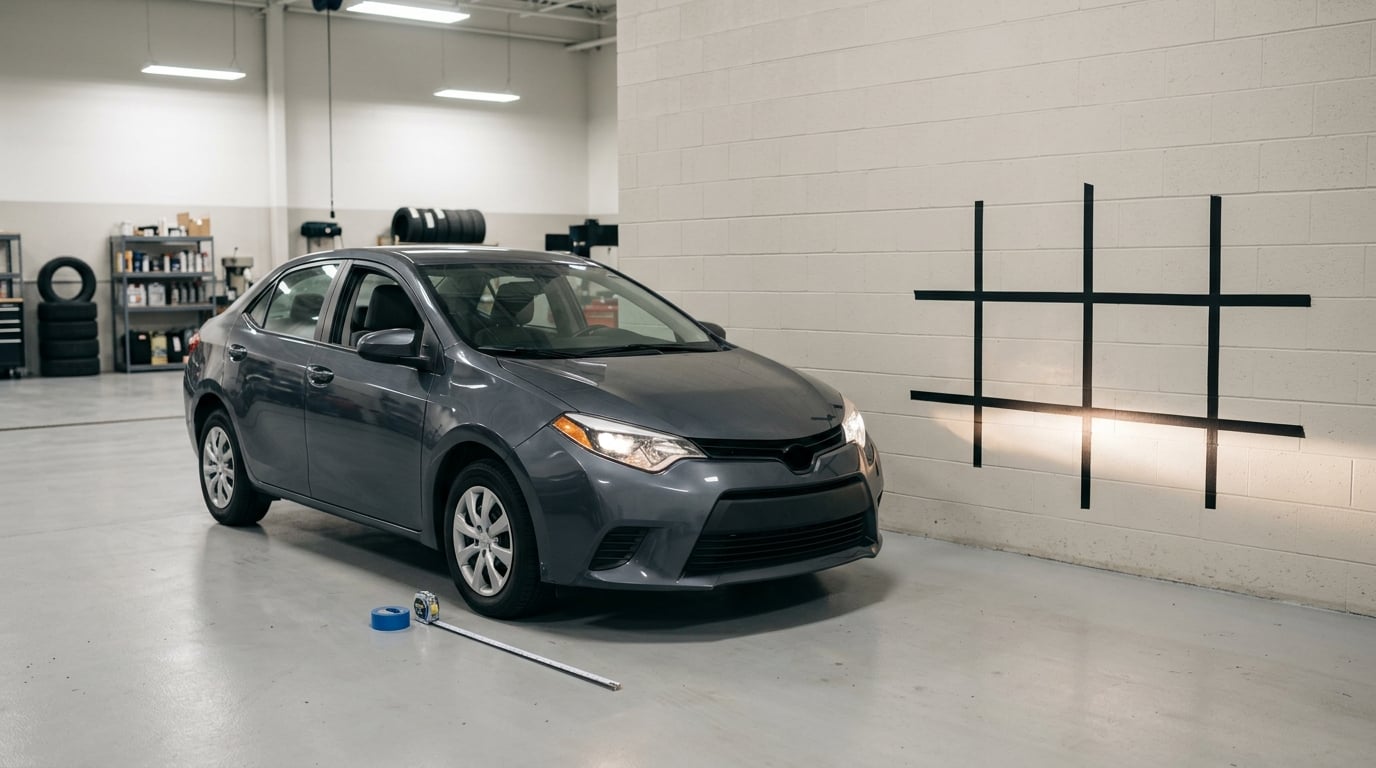
To aim headlights correctly, park the car on level ground about 25 feet from a flat wall, tape the centre of each headlamp’s beam height onto that wall, then turn the vertical and horizontal adjustment screws under the hood until the cutoff lines sit where the manufacturer says they should. It takes half an hour with a tape measure and a driver, and you never touch the lens or the wiring.
Knowing how to aim headlights correctly is less about the turning than about the target, because the numbers people quote online often come from a different vehicle than the one in the driveway. Your owner’s manual sets the beam pattern and the aiming limits for your car, and that manual beats anything else you read, including this guide.
Here is the whole process, the way I would do it in my own garage.
Table of Contents
- What You Need
- Step-by-Step: How to Aim Headlights Correctly on a Wall
- Common Mistakes
- Frequently Asked Questions
- Can I aim headlights myself at home?
- Why are my headlights pointing too high after I replaced a bulb?
- Do I need a wheel alignment before adjusting headlights?
- How often should headlights be checked for correct aim?
- Where are the headlight adjustment screws on my car?
- How do I aim LED or projector headlights when the adjusters do nothing?
- Conclusion
What You Need
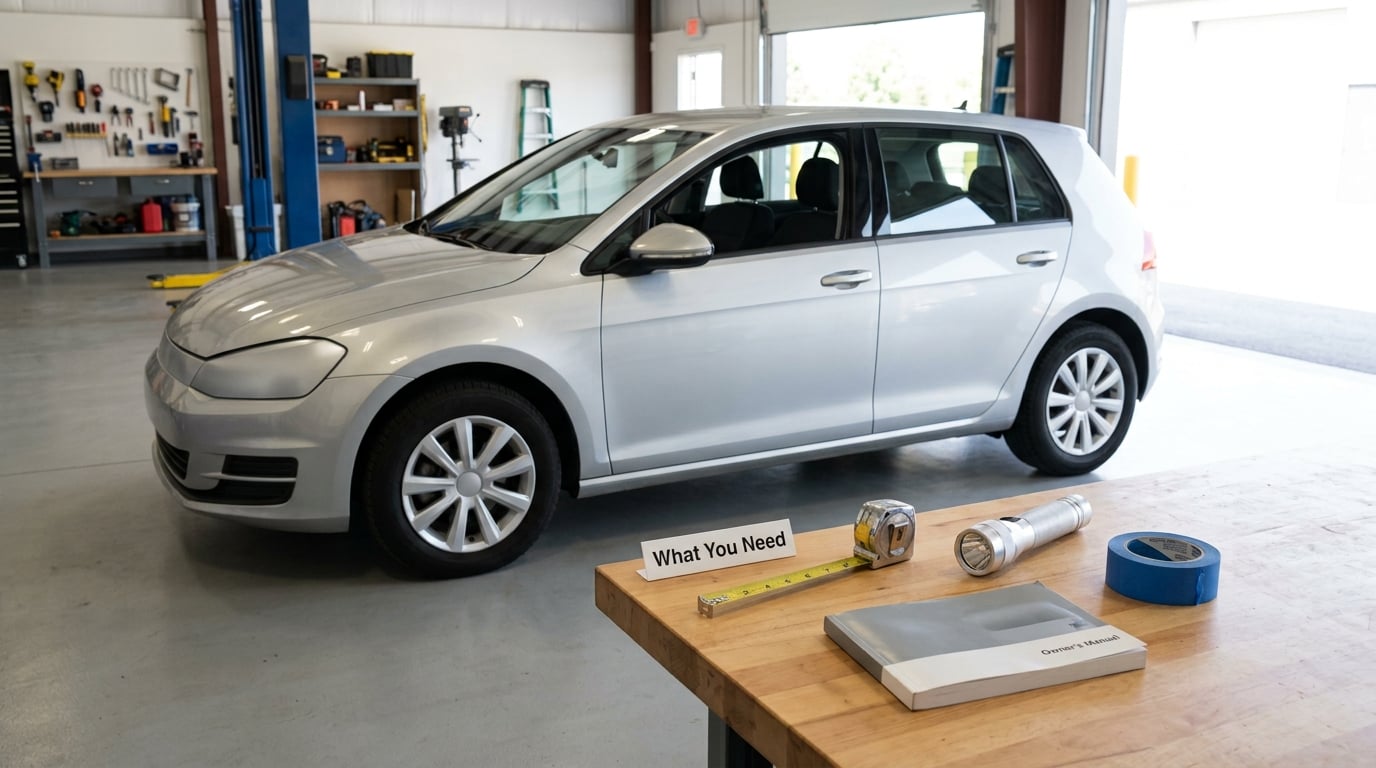
Gather these before you open the hood, because half an hour lost hunting for a driver is the usual reason a job drags on.
- The owner’s manual. This is the item that matters most. Look for the headlight aim specification, the beam pattern, and the required wall distance.
- A flat wall or garage door at least as wide as the car, and long enough for you to back up 25 feet from it. A sloped driveway or a shared lot wall with a crown in the middle will give you a false reading.
- A tape measure, painter’s tape and a marker. Masking tape holds on paint and drywall far better than scotch tape.
- A level surface to park on, ideally a garage floor or a flat stretch of pavement. Check with a spirit level or a phone inclinometer if you are unsure.
- The right driver. Most adjustment screws are Phillips or Torx, and many are long recessed ones. A stubby bit will slip. Bring a Phillips #2 and a Torx T15 and T20, plus an extension or a long-handled driver.
- A towel, a jacket or a sheet of cardboard to block the headlamp you are not aiming.
- Safety glasses and gloves. Low beams are bright, and the reflector housings have sharp edges on the back side.
One person makes this a two-handed job with a lot of walking back and forth. If a helper is available, one turns the screw while the other calls the movement on the wall.
Step-by-Step: How to Aim Headlights Correctly on a Wall
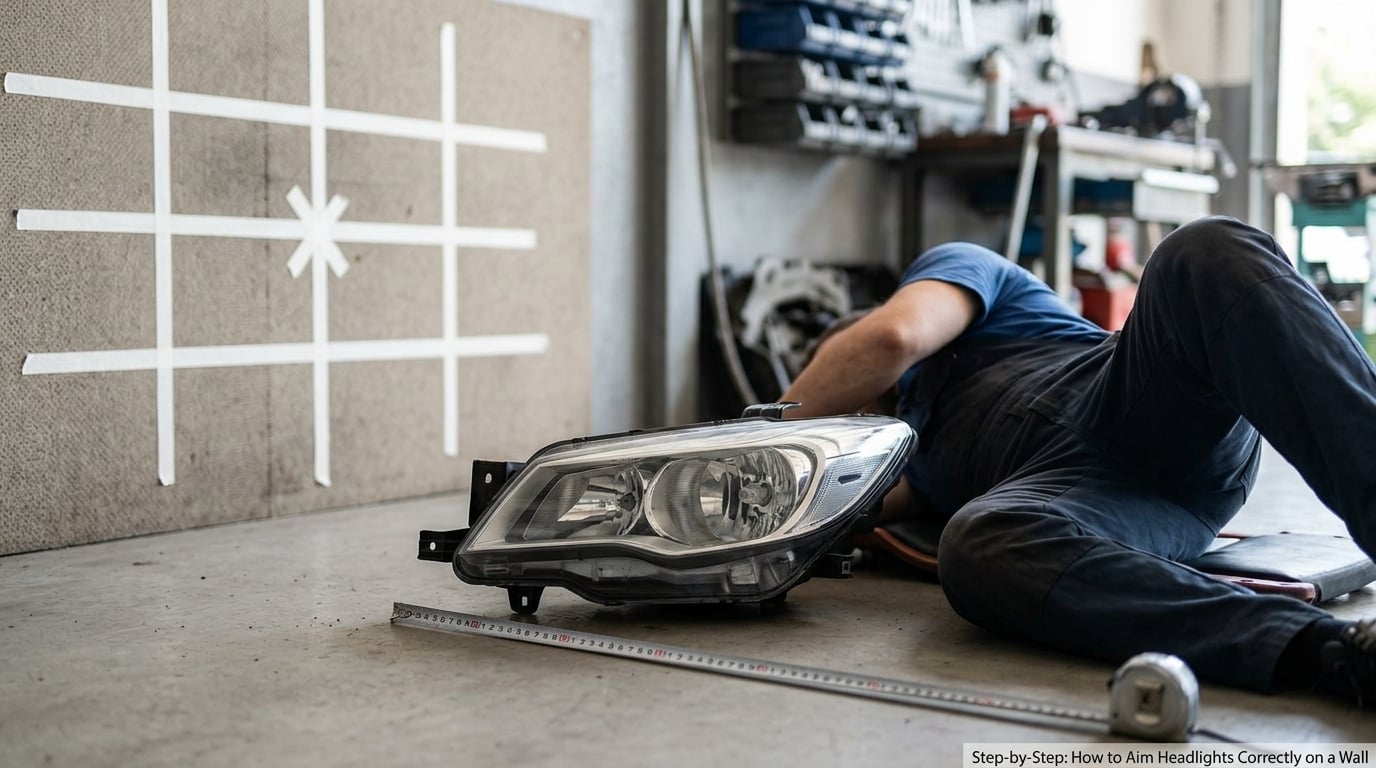
Prepare the Vehicle and Work Area
Park the car square to the wall, about 25 feet from the front bumper to the wall surface, on genuinely level ground. Then set the car up the way the manufacturer expects: tire pressure at the door-jamb placard value, suspension at its normal ride height, nothing in the cargo area, and the fuel tank at least half full.
That last one is not a superstition. Aim is specified for a loaded vehicle, and an empty tank sitting on soft springs puts the lamps a centimetre or two higher than the spec allows. If you skip it, everything you measure afterwards is off before you turn a single screw.
Clean the lenses with a damp microfibre cloth and glass cleaner while they are still cold. Yellowed or dirty lenses shift what you see on the wall and are the reason plenty of people chase a beam that was never out of alignment. While you are there, confirm the bulb type matches what the housing was designed for.
Check the Manufacturer’s Headlight-Aim Specification
Open the manual and find the headlight aim page. You are looking for four things: the wall distance, the headlamp centreline height or the vertical reference, the required cutoff position for low beam, and any loading condition the car must be in.
Federal lighting standard FMVSS 108 sets the baseline, and the common low-beam target is a cutoff 0.4 to 1.0 degrees below horizontal. Over a 25-foot wall that works out to roughly 2 to 5 inches of drop, measured down from the horizontal line passing through the centre of the headlamp. High beams get more room, usually 0.4 to 2.4 degrees of drop, because they are meant to throw further down the road.
Use this only as a sanity check. The table below converts the angle into inches of drop at four common wall distances, so you can see at a glance whether the beam is anywhere near the ballpark.
| Wall distance | Drop at 0.4° below horizontal | Drop at 1.0° below horizontal | Drop at 1.5° below horizontal |
|---|---|---|---|
| 10 ft | 0.8 in | 2.1 in | 3.1 in |
| 16 ft | 1.3 in | 3.4 in | 5.0 in |
| 25 ft | 2.1 in | 5.2 in | 7.9 in |
| 33 ft | 2.8 in | 6.9 in | 10.4 in |
Drop is measured from the horizontal line at the lamp centre, not from the ground, and it grows with distance, so the same beam looks steeper the further back you stand. If your manual quotes a different distance, such as 10 feet or 3 metres, use the manual’s numbers and ignore this table.
Establish the Beam Pattern and Reference Point
Turn on the low beams. Stand back and look at the pattern before touching anything, and mark where the cutoff sits on the wall with tape and a marker. That mark is your before-picture, and it is worth taking even if the aim is nowhere near right.
Now make the fixed reference marks. Tape a vertical line for the centre of the car, then a vertical line at the horizontal centre of each headlamp, and a horizontal line across both at the height of the lamp centre. Those three lines are the grid you aim to, and they should be right or within a few millimetres before you start.
No flat wall? You can build the grid yourself. Tape a sheet of plywood or a foam board to the garage door, or tape a grid of 6-inch squares directly on the door panel with a level as the ruler, and use the car’s own measurement to scale it. It takes a few minutes and it is more accurate than a crooked wall in a parking lot, which is a problem people hit constantly when they go looking for somewhere to work.
Adjust the Headlight Vertically to Aim the Beam Correctly
Cover one headlamp with the towel or cardboard, close enough that no light escapes around the edge. The beam you are aiming must be the only pattern on the wall, otherwise the two overlap and you cannot read either one.
Find the vertical adjustment screw. On most cars it sits at the rear of the headlamp housing, reachable from the engine bay, and it is usually the lower of the two screws when you are looking at the back of the lamp. Some models bury it behind the bumper cover or at the top of the housing, and a few trucks need the inner fender liner moved aside. A Torx T15 or T20 is common.
Back the screw out a quarter turn or so first, then turn it in small increments. On most vehicles clockwise drops the beam and counterclockwise raises it, but this is not universal, so test the direction before you trust it. Watch the wall, not the screw. The beam on the wall moves in the same direction the lamp tilts, and because the throw is long, a quarter turn of the screw often shows only a few millimetres of movement at 25 feet.
Stop at the manufacturer’s cutoff height, tighten the screw, walk to the wall and look again. A loose screw that creeps under its own spring tension is the reason a good aim turns bad by morning.
Aim Headlight Horizontally Without Ruining the Vertical Set
With the first lamp blocked, aim the second one, then swap the towel and return to the first. Both lamps get the same treatment, and doing them one at a time is the only way to get a clean pattern to read.
Horizontal aim means the beam sits centred on its own vertical reference line so the two lamps throw an even wash down the road. The horizontal adjuster is usually the second screw, sitting inboard of the vertical one on the housing. Turn it a few degrees at a time and watch the beam slide on the wall.
Be conservative here. On many vehicles the two screws are close together, and over-correcting sideways can tilt the lamp in the vertical plane as well. If the car does not have separate horizontal access, or your manual says horizontal aim is fixed, leave it alone. A beam that sits a few centimetres further out on each side still lights the road; a beam pointing into oncoming traffic is the problem you are trying to fix.
Verify the Adjustment and Test at Dusk
Turn both low beams on and step back ten feet or so. A correct low-beam pattern has a sharp horizontal cutoff across both lamps at the same height, a bright hotspot sitting just below that line and centred on the vehicle’s centreline, and matching left-to-right brightness. If one lamp’s cutoff sits noticeably higher than the other, that one is still out.
Switch to high beams and confirm they throw further down the road without the pattern breaking up. Then take the car to a flat, straight road away from traffic and drive at dusk. You are watching for a pool of light on the road surface about 20 to 30 feet ahead, and no washed-out brightness in the windscreen or on the bonnet.
Finally, think about oncoming traffic. Glare is the reason the specification exists, and a beam that is even half a degree too high will flash back at you from oncoming cars, which is both unpleasant for them and a common cause of roadside complaints.
Common Mistakes
Aiming on a slope. Every inch of slope changes the measurement, and a crowned parking lot wall or a driveway tilted a couple of degrees will push the beam off target. Move to genuinely flat ground before you start.
Working without the manufacturer’s target. Going in with a random number from a forum post is guessing, and the disagreement you will get in the comments is proof of it. Look up the spec for your year and model first. If no spec exists anywhere in the manual or under the driver’s seat sticker, you have nothing to aim at, and the job stops there until a shop looks it up.
Judging brightness instead of position. A cloudier or dirtier lens can fool you into thinking the beam is high when the cutoff is exactly where it should be. Read the cutoff line, not how bright the wall looks.
Turning the screw too far. Cranking on a buried adjuster can strip the head or spin the housing in its mount. Small movements, then re-measure, beats one heroic turn.
Leaving the fastener loose. Many adjustment screws are spring-loaded. If the aim held for ten minutes and drifted by the next morning, the screw needed tightening, not more turning.
Skipping the condition check. A soft tire, a sagging spring, a broken shock or a bent strut all move the beam. Re-aiming without fixing those is re-aiming twice.
Forgetting to re-check after the work that changes the aim. Replacing a headlamp assembly, fitting a suspension lift or leveling kit, repairing a front end after a collision, or adding a light bar or fog lights all put the aim out again. Lift kits are the worst of it, because raising the body without moving the lamps sends light straight up into trees and into the eyes of drivers coming the other way. Owners posting on r/Jeep about headlights that light nothing but treetops are describing exactly this.
Trusting a stock adjuster after an LED or projector retrofit. LED bulbs emit in a wide, often 360-degree pattern and flood the housing, so the screw turns and nothing meaningful happens on the wall. That dead-adjuster complaint comes up constantly in r/Jeep and r/MechanicAdvice threads. A retrofit assembly needs the housing shimmed to bring the bulb back to its designed height, or a projector unit built for the beam pattern instead of a bulb in a reflector designed for a different one.
One more: on some vehicles turning a single adjuster moves both lamps. The towel method still works, but re-check the first lamp after you finish the second rather than assuming it stayed put.
A shop with a proper optical aiming machine is worth it when the car has an uneven suspension, when the beam pattern is blotchy or has hard edges in the wrong places, when the housing has been modified and the geometry no longer matches the original design, or when the adjustment screws will not move without force. Those situations are where the wall method stops being a shortcut and starts being a guess.
Frequently Asked Questions
Can I aim headlights myself at home?
Usually yes, if your vehicle has accessible adjustment screws and the manufacturer publishes an aiming specification. Park on level ground 25 feet from a flat wall, mark the lamp centreline, and turn the vertical screw first. If the screws are buried behind a bumper cover, the pattern looks blotchy, or you cannot find the spec in the manual, a shop machine will get a more repeatable result.
Why are my headlights pointing too high after I replaced a bulb?
A replacement bulb often sits at a different height or angle than the original, and the beam moves with it. Confirm you fitted the approved bulb type, that it is seated correctly, and that no dust cap or shield is blocking the lamp. Then re-aim the vertical screw to the manufacturer cutoff. Retrofit LED bulbs flood the housing and may need shimming to bring the light source back to its designed position.
Do I need a wheel alignment before adjusting headlights?
Not usually, but serious wheel alignment or suspension problems do change headlight aim and make a wall reading meaningless. Check tire pressure, ride height, and whether the car sits level on its springs before you measure. If the vehicle is pulling, one side sits lower, or the body has been repaired, fix that first, then aim the lamps.
How often should headlights be checked for correct aim?
Check after any work that changes the beam: replacing a headlamp assembly, fitting a lift or leveling kit, repairing a collision, or installing fog lights or a light bar. Also check whenever you notice glare from oncoming drivers, a beam that lights little more than a few feet, or a noticeably uneven pattern. A quick wall check twice a year catches slow drift early.
Where are the headlight adjustment screws on my car?
On most vehicles the screws sit at the rear of the headlamp housing, reached from the engine bay, usually with a Phillips or Torx driver. Plenty of models bury them behind the bumper cover, the inner fender liner, or deep in a long recess, which is why an extended Torx driver saves so much frustration. Search your model and year for the adjuster location before pulling a bumper apart.
How do I aim LED or projector headlights when the adjusters do nothing?
If turning the screw barely changes the pattern, the light source is flooding the housing rather than producing a shaped beam, which is common with LED retrofits in a reflector designed for halogen. The fix is mechanical, not a screwdriver technique: shim the housing so the bulb sits at its designed height, or fit a projector unit designed for the beam pattern. A shop can do this quickly.
Conclusion
Start with the owner’s manual, because the beam pattern and aiming limits for your car live there and nowhere else. Set the car up on level ground with correct tire pressure and at least half a tank, measure 25 feet from a flat wall, mark the lamp centrelines with tape, and adjust one lamp at a time in small turns.
How to aim headlights correctly is a half hour of measuring, and doing it once properly beats re-guessing it every few months. Verify against the cutoff line and the hotspot rather than against brightness, then finish with a short drive at dusk. Call a technician when you cannot find the specification, when the fasteners will not move without force, or when the beam stays uneven no matter what the screw does.