
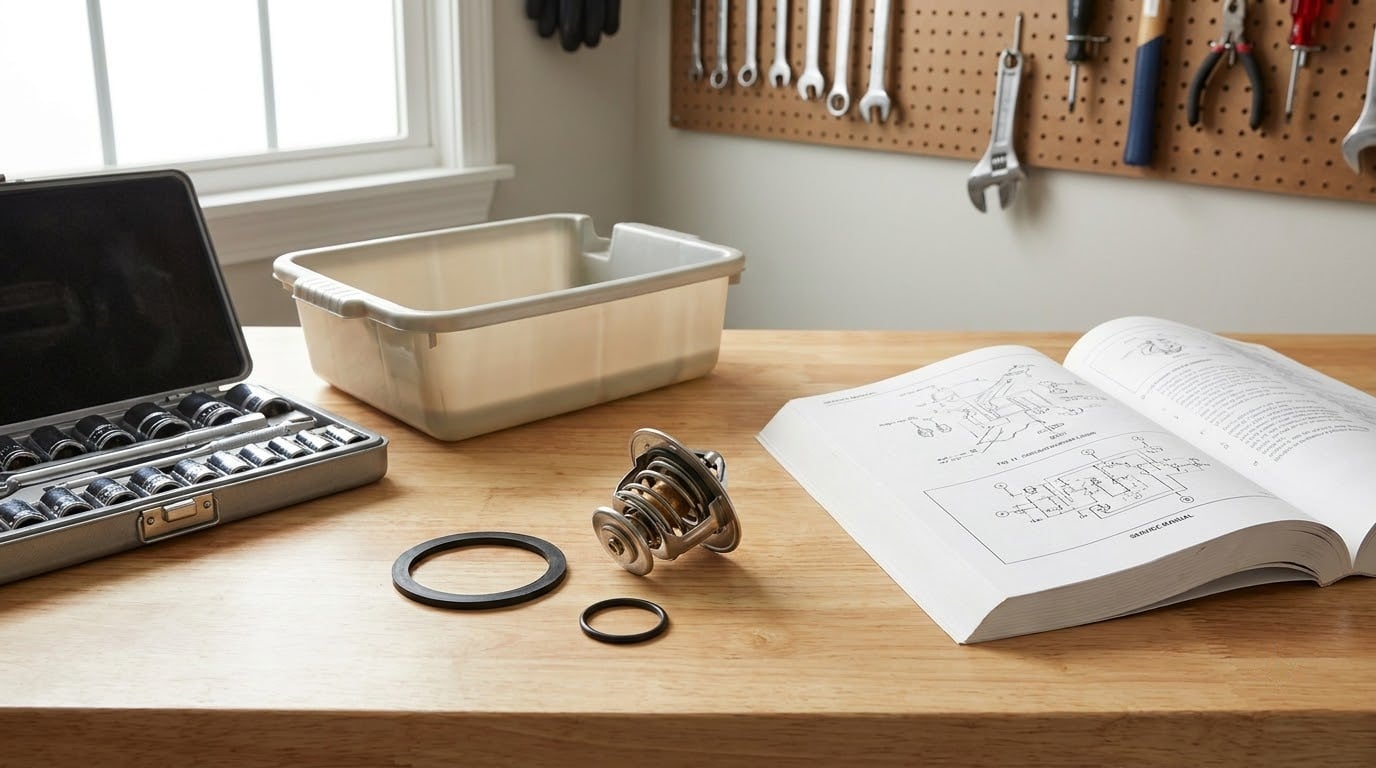
Yes, most owners can swap an engine thermostat in a driveway with a socket set, a drain pan, and the correct coolant. Learning how to replace a thermostat step by step takes about an hour to an hour and a half on most four-cylinder cars, and the hardest part is usually a stubborn housing bolt rather than the new part itself.
Before you turn a wrench, confirm the thermostat is actually the fault, match the part number to your engine, and work only on a cold cooling system. Access, torque values, coolant type, and bleed procedure change from one model to the next, so treat your owner’s manual as the authority and this guide as the sequence.
Table of Contents
- What You Need
- Step-by-Step: How to Replace a Thermostat
- 1. Confirm the Thermostat Is the Problem Before You Buy Parts
- 2. Let the Engine Cool and Prepare the Vehicle
- 3. Drain Coolant From the Cooling System
- 4. Remove the Thermostat Housing
- 5. Remove the Old Thermostat and Inspect It
- 6. Install the New Thermostat Step by Step
- 7. Refill, Bleed, and Test the Cooling System
- Common Mistakes That Cause Leaks or Overheating
- Frequently Asked Questions
- How long does it take to replace a thermostat?
- Do I need to replace the coolant when changing a thermostat?
- Can I replace a thermostat on a BMW at home?
- What temperature should the engine reach after a thermostat replacement?
- Why does my car still overheat after replacing the thermostat?
- What tools are needed to replace a car thermostat?
- Conclusion
What You Need
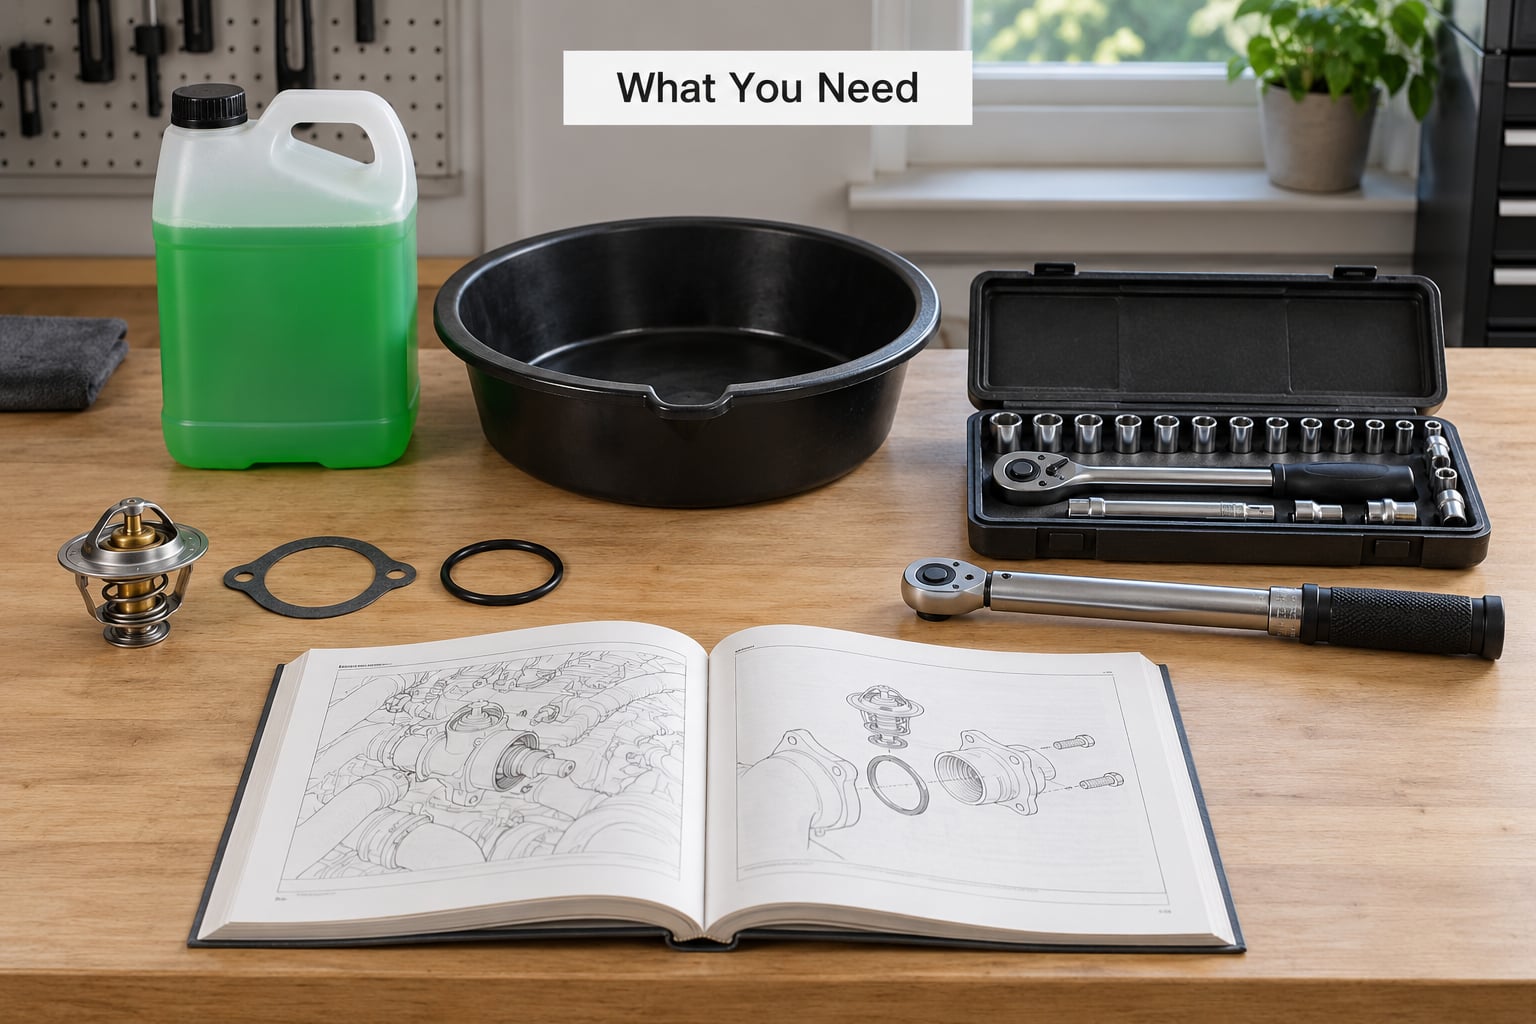
Start with the part itself. The replacement thermostat has to match your engine by part number, not by shape, and the opening temperature rating commonly seen is 180°F or 195°F.
- Thermostat for your exact engine, plus the housing gasket or O-ring if the housing uses one
- Manufacturer-specified coolant in the correct pre-mixed concentration, plus enough for a refill
- Socket set, ratchet, and a torque wrench
- Coolant drain pan or large container, plus rags and a plastic scraper
- Penetrating oil and a heat gun or hair dryer for seized bolts
- Owner’s manual or service manual for torque and bleed procedure
A fresh gasket goes in every time. Reusing a paper gasket or an old rubber O-ring is the most common reason a completed job starts dripping a week later.
Coolant is toxic to pets and children and it attacks paint, so catch every drop and store the drained coolant in sealed containers until you can take it to a household hazardous waste site or an automotive recycler that accepts it.
Step-by-Step: How to Replace a Thermostat
1. Confirm the Thermostat Is the Problem Before You Buy Parts
A cold gauge that climbs slowly, a gauge that jumps high and drops back, or a puddle of coolant under the front of the car all point in the same direction, and they are not proof.
Touch the upper radiator hose and the lower radiator hose with the engine fully warm. A healthy system has both hoses warm and similar in temperature, so a hot upper hose and a cool lower one usually means a thermostat that never opened, while both hoses cool points more toward a coolant circulation problem such as a water pump or radiator issue.
Scan the module for stored codes as well. A coolant temperature sensor fault looks nearly identical to a stuck thermostat on the gauge, and swapping parts when the sensor is the real problem wastes an afternoon. Our guide to replacing a coolant temperature sensor on a BMW covers that distinction in detail.
If the temperature readings are erratic on a BMW, check the common signs a BMW thermostat is failing before ordering anything.
| Symptom | Likely cause | What to check |
|---|---|---|
| Temperature gauge stays low, heater blows cold | Thermostat stuck open | Hose temps, idle warm-up time, stored codes |
| Gauge climbs high, overheat warning | Thermostat stuck closed or trapped air | Upper hot and lower cool, coolant level, airlock after recent fill |
| Puddle under the front of the car | Coolant leak at housing or outlet flange | Inspect the housing gasket surface and nearby hoses |
| Check engine light with no overheating | Coolant temperature sensor or signal | Scan codes and live sensor data |
| Runs cold only at highway speed | Coolant flow restriction | Radiator condition, fan operation |
If the diagnosis is not clear, stop and get a second opinion before draining anything.
2. Let the Engine Cool and Prepare the Vehicle
Park on level ground and let the engine cool completely, then touch the radiator cap before touching the wrench. A hot cooling system is pressurized, and opening it sends scalding coolant across your hands and your driveway.
Disconnect the negative battery terminal when the manufacturer’s procedure calls for it, which also stops the cooling fan from firing while you have your head in the engine bay. Remove any undertray, splash shield, or intake duct that blocks access to the thermostat housing.
Clear a working area and move anything that coolant could ruin out of the way.
3. Drain Coolant From the Cooling System
You do not always need to drain the whole system. For most engine-bay layouts, draining enough to bring the level below the thermostat housing is enough, so find the radiator drain petcock, the radiator lower hose, or the manufacturer-approved drain point that suits your vehicle.
Put your drain pan in position first, then open the drain point slowly and let the coolant run out. Once the level is below the housing, close the drain point and move the pan under the work area to catch what comes out when hoses come off.
The radiator cap comes off only when the system is cold. If the engine ran within the last hour or two, give it more time.
4. Remove the Thermostat Housing
Take photos before anything comes apart and label every hose, connector, and bracket so it goes back where it came from. Disconnect the upper radiator hose and any coolant temperature sensor wiring or bracket that sits in the way.
Remove the housing bolts in the order your manual lists, working across the housing in a crisscross pattern rather than spiraling out from one corner. Support the housing as the final bolts come out so it does not drop and load the connected lines.
On some engines the thermostat lives in a housing bolted to the block, and on others it sits inside the upper radiator neck or under the intake manifold. Access differs sharply across BMW models and other vehicles, so the manual’s layout beats any generic photo.
5. Remove the Old Thermostat and Inspect It
Lift the old thermostat straight out and look at it. Hold it in your palm and you will usually feel a valve that never closed or never opened, since the wax pellet spring should give slightly and a failed valve usually does not move.
If the thermostat is seized in the bore, work it out with a flat plastic tool that matches the bore, and never pry against the sealing surface with a screwdriver.
Replace the housing, gasket, O-rings, and any adjacent seals that look cracked, hard, or brittle. A hairline crack in an aluminum housing often only shows itself after the part is off and cleaned, and that is the moment to replace it.
6. Install the New Thermostat Step by Step
Clean the sealing surface with a plastic scraper and a rag until both the housing and the block face are bright and free of old gasket material. Metal tools scratch the surface and the scratch becomes a leak path later.
Fit the new gasket or O-ring dry unless your manual specifies sealant, and follow the manual on sealant rather than guessing with silicone. A bead of RTV on a paper gasket is a slow coolant leak you will chase for months.
Orient the thermostat as specified. On most engines the bleed hole, jiggle valve, or vent faces the engine block, and installing it backwards leaves the engine unable to fill the water jacket properly. Some thermostats are marked or shaped so that only one position fits, but many look identical from above, so check before you lower it in.
Set the housing down and tighten the bolts in the manufacturer’s order and torque range, working in a star or crisscross pattern so the gasket seats evenly. If you do not have a torque figure, many shops use roughly 20 to 25 ft-lbs on an aluminum housing and closer to 10 to 15 ft-lbs on a plastic or composite one, and a torque wrench protects the housing from cracking or stripping the threads in the block.
Never use an impact gun on housing bolts, and never lean on the wrench with your body weight. Aluminum threads strip, and a stripped housing bolt turns a two-hour job into a weekend.
7. Refill, Bleed, and Test the Cooling System
Reconnect every hose, connector, and bracket, then refill with the exact coolant concentration your manual specifies. Most engines want a 50/50 pre-mixed coolant, and mixing incompatible chemistries can gel into sludge that clogs the radiator and heater core.
Bleed the system using the method your engine uses.
- If the thermostat housing or radiator has a bleeder screw, open it and let coolant run until it flows without air, then close it
- If the engine has no bleeder screw, fill through the radiator or the expansion tank to the cold mark and run the engine with the radiator cap off until the upper hose hardens and the gauge settles
- Fill the heater circuit too, so expect to top up once more after the first full heat cycle
Watch for leaks with the engine running and again after it shuts down, since pressure only builds once the system is hot. Close the radiator cap, then check the coolant level when the engine is cold again.
Drive the car until the gauge reads normal operating temperature, shut it off, and let it cool fully. Recheck the level and look underneath once more, because a slow leak at the housing gasket shows up in the first twenty minutes of heat. A second check after a normal week of driving is worth the effort, since a small loss that keeps repeating points at a sealing problem rather than a bad part.
If you want to see what a leak around this area actually looks like before you start, our photo guide to what a thermostat housing leak is shows the usual signs.
Common Mistakes That Cause Leaks or Overheating
Opening a hot cooling system. Pressurized coolant erupces at boiling point and causes severe burns. Work only when everything is cold to the touch.
Installing the thermostat backwards. The bleed hole or jiggle valve must face the engine block, otherwise the water jacket traps air and the engine overheats with a brand new part installed. Remove and flip it, then bleed the system again.
Reusing the old gasket. Paper gaskets and rubber O-rings take a set and compress unevenly after removal. Fit a new one every time.
Overtightening the housing bolts. Aluminum cracks and threads strip long before the fastener feels tight enough by feel. Use a torque wrench and the manual value.
Failing to bleed trapped air. An airlock in the water jacket mimics a failed thermostat exactly, so the gauge climbs and drops and the car still overheats. Bleed properly before blaming the part.
Misreading warm-up as failure. A cold engine idling until it reaches full temperature, then holding steady, is normal behavior. Watch what the gauge does after full warm-up, not during it.
Ignoring a leak or an unrelated fault. A puddle under the car may come from a radiator cap, a hose, or a cracked outlet flange rather than the thermostat, and a failing fan or radiator will not be fixed by a new valve.
Two habits prevent most repeat failures. Keep seized bolts from ever happening by soaking the housing bolts with penetrating oil and working the engine from cold to warm a few cycles before you touch them, and never force an aluminum housing to free a bolt that has not moved.
Frequently Asked Questions
How long does it take to replace a thermostat?
Most four-cylinder cars take 60 to 90 minutes with the right tools, and the drain and refill account for much of that. Engines with the thermostat buried under the intake manifold can take several hours because access, not the swap itself, is the problem. Add time if a housing bolt is seized, since penetrating oil and thermal cycling can stretch a short job into a whole afternoon.
Do I need to replace the coolant when changing a thermostat?
Not always. If you drained only enough to clear the housing and the coolant is clean and at the correct level, refill with the same specification you used. Replace it fully if it looks dark and gritty, if it has been overused, if the system has airlock trouble, or if the manual calls for it. Never mix incompatible coolant types, and dispose of old antifreeze properly because it is toxic.
Can I replace a thermostat on a BMW at home?
On many BMW four-cylinder and six-cylinder engines, yes, once the housing is accessible. Some models place the thermostat where the intake manifold or coolant crossover has to come off first, and the housing bolts are known to corrode and strip. Check the model-specific procedure before buying the part, and budget shop time if access means removing major components or if a bolt breaks.
What temperature should the engine reach after a thermostat replacement?
A healthy engine settles at its design operating temperature, commonly between 180 and 195 degrees Fahrenheit, and holds there steadily. The needle may climb a little higher than usual for the first drive while the new thermostat is bedding in, but it should not climb past the gauge’s normal full-heat mark or trigger a warning light. Anything above that means airlock, low coolant, or another fault.
Why does my car still overheat after replacing the thermostat?
Trapped air in the water jacket is the usual cause, and it behaves exactly like a failed thermostat. Other possibilities are a low coolant level, a coolant temperature sensor reporting wrongly, a radiator cap that will not hold pressure, or a water pump and radiator that cannot move enough coolant. Bleed the system correctly first, confirm the level cold, and then look at the rest of the cooling system.
What tools are needed to replace a car thermostat?
You need a socket and ratchet set, a torque wrench, a coolant drain pan, rags, a plastic gasket scraper, penetrating oil, and the correct coolant for your engine. A coolant bleed funnel makes the refill cleaner, and a heat gun or hair dryer helps with stubborn housing bolts. The right thermostat, gasket, and manual for your engine matter more than any special tool.
Conclusion
Verify the part number and confirm the cooling system diagnosis before anything comes off, then work only on a cold engine. Follow the vehicle’s torque and coolant specifications, orient the thermostat correctly, bleed the system, and finish with a full heat cycle plus a cold recheck.
Seized or stripped housing bolts, a cracked sealing face, or an engine that still runs hot after a correct install are the point to hand the job to a qualified technician.