
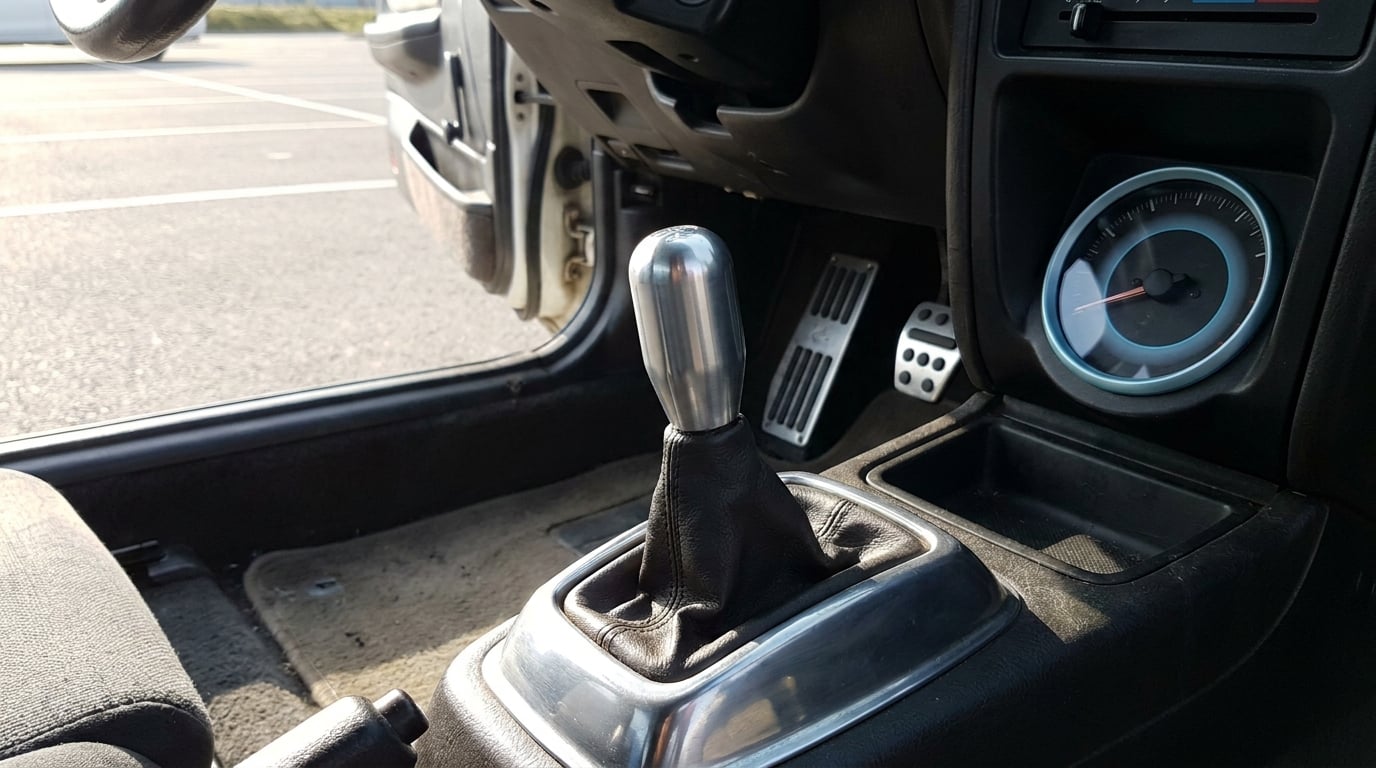
Learning how to rev match downshift step by step is mostly about coordinating three things: your left foot on the clutch, your right foot on the throttle, and the gear lever. Blip the throttle while the clutch is in so engine speed rises to roughly what the lower gear will pull at, then feed the clutch out and the downshift lands without a jolt. Most drivers get it in an afternoon of practice on a quiet road.
The reason it matters is simple. A lower gear turns the engine faster for the same road speed, so dropping into it with the engine still turning slowly makes the clutch fight the difference. That fight shows up as a lurch, a bang, wear on the clutch lining and synchromesh, and a car that moves around under you exactly when you want it settled.
Table of Contents
What You Need
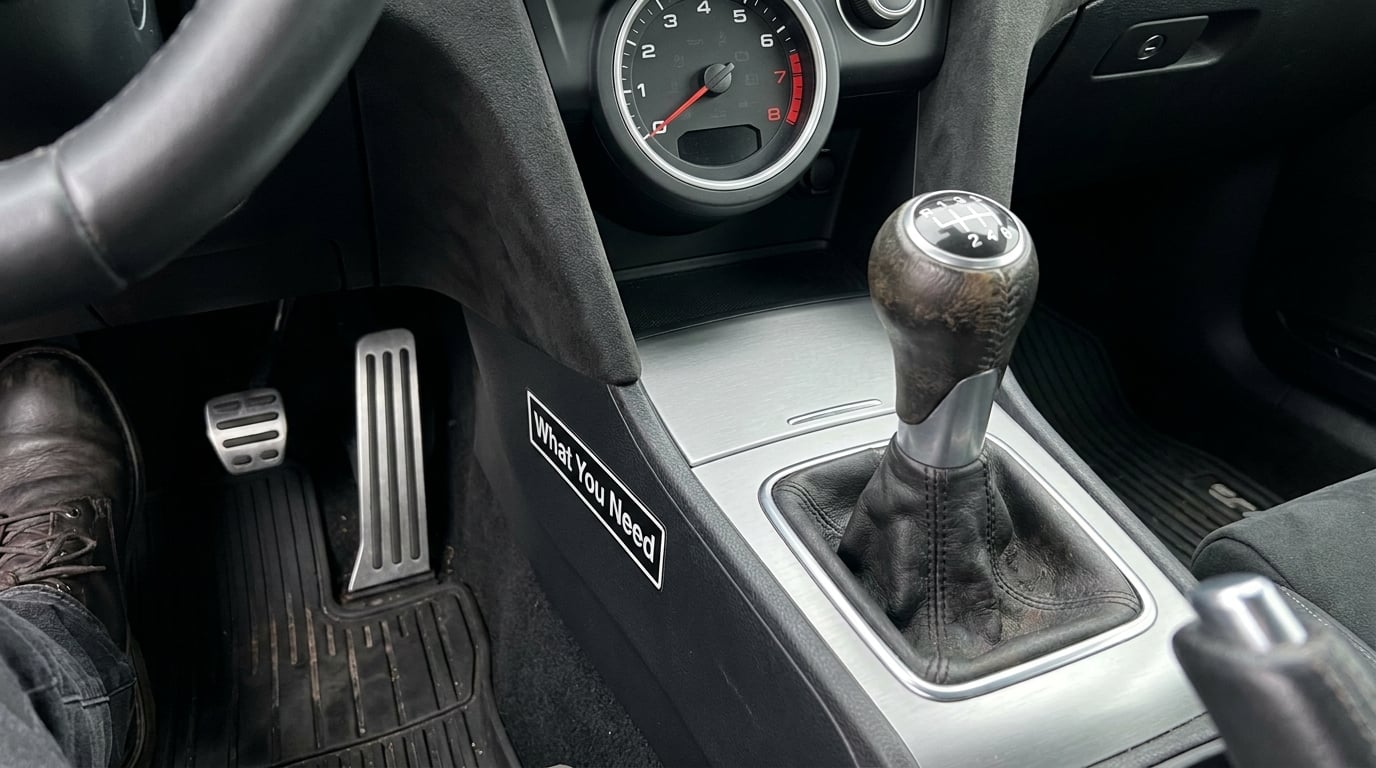
Rev matching needs a manual transmission and a safe, empty place to practise. That is the whole equipment list. The technique is a coordination skill, not a tool job, and you can learn it in a rental hatchback on a Sunday morning.
Before you start, check the car is in good operating condition. A clutch that already slips, a throttle pedal with a sticky return spring, or a throttle cable with slack will make the blip feel nothing like it should. Confirm the clutch bites cleanly and holds, and that the accelerator returns to the closed position when you let go.
You need a tachometer. Without one you are matching by sound alone, which most beginners find close to impossible. If your car has one, learn where the needle sits at idle and where the redline begins, because those two numbers anchor everything else.
Practise somewhere with no traffic, no pedestrians and no pressure. An empty parking lot or a long straight residential street at low speed works. Wear sensible shoes so you can feel the pedal travel, and expect to spend the first few tries going slowly on purpose.
Know the manual’s limits. Rev match on dry, warm pavement in good conditions. Skip it on ice, in heavy rain, on loose gravel, with a cold engine, or when a panic stop is in progress. If you are braking hard to avoid something, just get the gear in and drive the car.
Step-by-Step: How to Rev Match Downshift
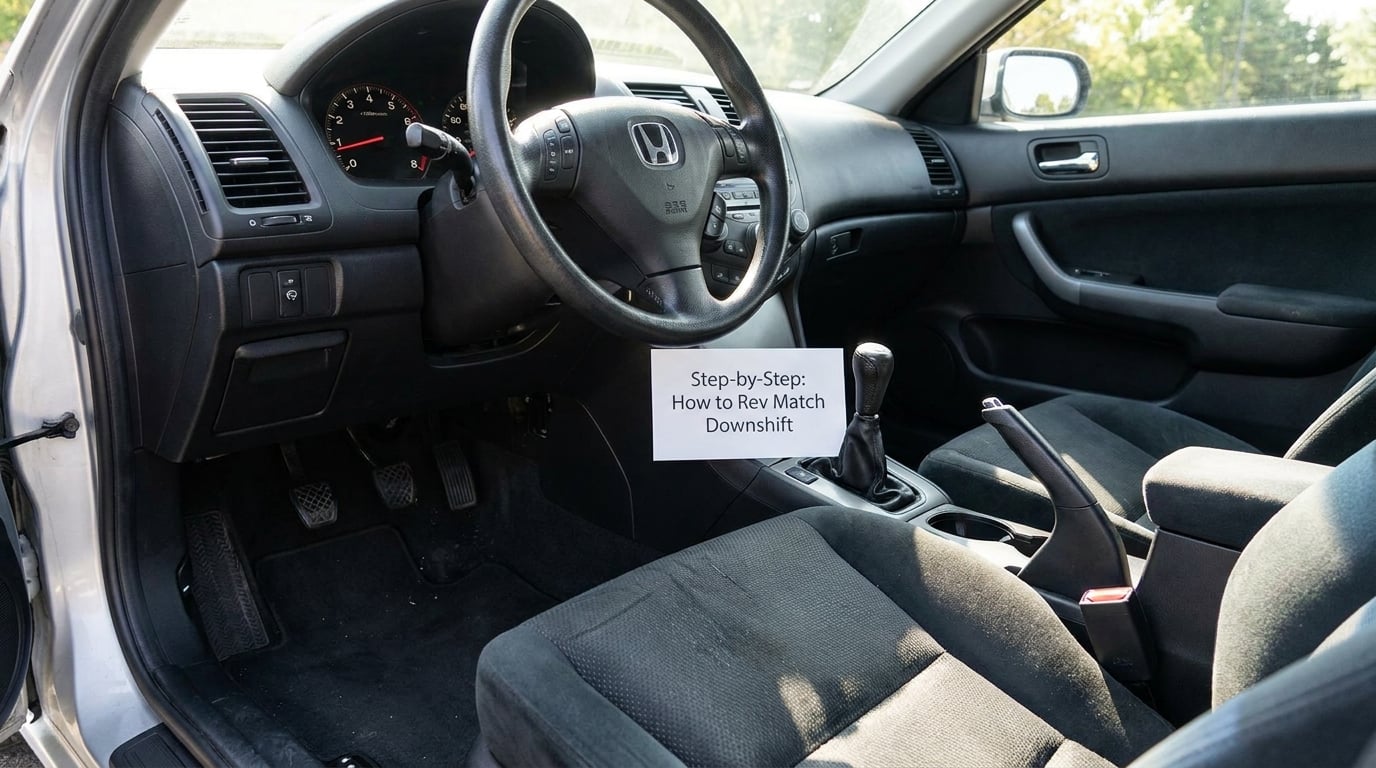
The sequence below is the clutch-in method, which is the one to learn first. It is more repeatable than the alternatives and works in almost any manual car.
1. Prepare the Vehicle and Choose a Safe Place
Get rolling in a low gear at a steady, modest speed before you do anything else. On a typical six-speed that means around 30 mph in third gear. You want a speed where the downshift is a real downshift but there is plenty of road left afterwards.
The result of this step is a stable speed with the tachometer settled. If the needle is drifting, finish your braking first. Rev matching works from a known speed, not a changing one.
2. Disengage the Clutch Fully
Press the clutch straight down until you feel the gearbox go quiet and the shift lever moves freely in neutral. Fully in means the clutch is unloaded and the transmission is disconnected from the engine, not partly depressed with the plates still touching.
How you know it worked: with the clutch fully down, you can move the lever into the next lower gear without any resistance from the dog teeth. That free movement is your confirmation, and it is also what tells you the synchronizer has a fighting chance.
3. Blip the Throttle to Match the Next Gear
Now raise engine speed. Press the accelerator down far enough to bring the tachometer up to roughly the revs the lower gear will be turning at, hold it for a fraction of a second, then come back to a light throttle. Think of it as a short, controlled tap rather than a stab at full throttle.
The reference point most beginners are missing: the revs you need are the revs the lower gear would show at the current road speed. Double-clutching is the same idea without the blip. If you want the number rather than the feel, the formula is target RPM = current RPM multiplied by the current gear ratio, divided by the lower gear ratio.
That formula works out neatly because most manual gearboxes are spaced in roughly equal steps. A 3.55 first, 2.05 second and 1.39 third will put second gear roughly 35 percent above third, and first roughly 48 percent above second, at the same speed. Multi-gear downshifts stack the same math, so skipping from fifth to third is the same principle applied twice.
| Downshift | Approximate ratio | Blip to roughly | Why |
|---|---|---|---|
| 5th to 4th | 0.85 to 1.00 | about 18 percent above current | smallest jump, easiest to feel first |
| 4th to 3rd | 1.00 to 1.35 | about 35 percent above current | the shift you will make most often |
| 3rd to 2nd | 1.35 to 1.90 | about 40 percent above current | watch for over-blip into the limiter |
| 2nd to 1st | 1.90 to 3.20 | about 65 percent above current | low gears jump the most |
Ratios and percentages are typical for a six-speed manual and are an illustration, not your car. Read the real numbers off your own gearshift pattern or owner’s manual.
Your result at this stage is a tachometer needle sitting at the number you expect the lower gear to pull at, engine note audible but not shouting, and your right foot back to a light position. The Acura TSX forum’s version of the canonical sequence is exactly this: clutch in, blip, select the gear, then let the clutch out.
4. Feed the Clutch Back in Gradually
Move the lever into the lower gear, then bring the clutch back up slowly until you feel the bite point, where the engine note changes and the car starts to pull. From there, continue releasing in a controlled way while holding the throttle steady.
A matched downshift has almost no slip phase, so this part should feel quicker than a standing-start gear change. A useful trick: a driver who keeps the left foot resting on the pedal rather than floating it gets a much clearer read on the bite point. You are listening for the moment the engine load comes back on.
5. Finish the Shift and Settle the Throttle
Once the clutch is fully out, settle the throttle to whatever the situation needs and stay in the new gear. On a corner entry or a downhill you may hold the gear rather than shifting up again straight away, which is a separate skill called holding a gear.
How you know the shift was good: you felt no jolt through the seat, no bang from the gearbox, and the revs after engagement are similar to the revs before it. If the revs dropped noticeably the moment the clutch met, you under-blipped. If the car snapped or the revs spiked, you over-blipped or released too fast.
6. Practice With a Simple Speed-and-RPM Check
Turn this into a measurable drill. Pick one speed, for example 30 mph in third, and repeat the same 3rd to 2nd downshift ten times. Write down the revs before, the revs you blip to, and the revs after engagement. The three numbers should land close together.
Progress the way most driving schools do it: empty parking lot, then a quiet road at low speed, then steady traffic where you downshift to match flow, then faster roads and corner entries. The technique is only useful in traffic once it is automatic, and it becomes automatic through repetition, not theory.
Common Mistakes
Blipping too much. A big stab at the throttle bounces the needle off the rev limiter, and the recovery that follows is worse than the jolt you were avoiding. On many cars the ECU cuts fuel, which sounds alarming and leaves the revs falling away. Blip to the number, not past it.
Blipping too little. If the revs dip when the clutch engages, you did not reach the target. Most people under-blip in 3rd to 2nd because the jump is bigger than it looks. Go slightly higher and come back down sooner.
Moving the lever with the clutch still partly in. Pushing the gear lever while the clutch still drags forces the synchronizer to do work it was not designed to do. You will feel the lever fight, and you will grind on every downshift until it stops.
Dumping the clutch. Dropping the pedal the moment the gear is in converts a rev-matched shift into a shock load. The blip is wasted. Feed the clutch to the bite point and let it come out over a second or two.
Blipping in the wrong order. Blip with the clutch in, or blip with the lever held just below the bite point. The clutch-out or pivoted method is faster and smoother once you are skilled, but it is a second-stage technique, not a starting one.
Practising where it is risky. Rev matching in the wet, on ice, or in dense traffic is not worth the jolt you are trying to remove. On low-grip surfaces, smooth throttle inputs matter far more than matched revs, and a sudden rev spike can unsettle the car.
One reassurance worth having: the fear that rev matching wears out clutches and blows engines is the most common thing that stops people learning it. A properly done blip is a brief, part-throttle event at a lower gear ratio. On a top-ranking thread in r/ManualTransmissions, an owner whose engine failed wondered whether rev matching caused it, and the consensus was that done anywhere near properly it should not cause real harm. Cars with high mileage and several previous owners are far more likely to have worn out for ordinary reasons.
That said, the technique is not magic. Double clutching achieves the same match by waiting for the revs to fall on their own, and on very steep descents or at very low speeds it is the easier option. Rev hang, where the rev limiter lets revs sit above the redline, changes the blip on some cars, and a throttle with a pedal-position switch may respond differently to a quick tap than a cable car. Check how yours behaves before you assume a difference in feel is a fault.
Frequently Asked Questions
Does rev matching hurt the clutch?
No, not when you do it properly. A rev-matched blip is a short part-throttle tap at a lower gear, which is far gentler on the clutch than dumping the pedal on a mismatched downshift. Undersized blips, grabbing the clutch and grinding the gear lever are what wear synchronizers, not the technique itself. If your clutch already slips, get it checked before practising.
Do I blip the throttle before or after downshifting?
Either can work, and the order depends on which method you use. In the clutch-in method, press the clutch fully in, blip the throttle to the target revs, then select the lower gear. In the clutch-out method, you hold the clutch just below the bite point, blip, and move the lever without fully depressing the pedal. Clutch-in is slower but far easier to learn.
What RPM should I downshift to?
Aim for the revs the lower gear would pull at the same road speed. Use target RPM = current RPM times the current gear ratio, divided by the lower gear ratio. For typical six-speed ratios that means roughly 18 percent more revs going from fifth to fourth, 35 percent from fourth to third, 40 percent from third to second, and 65 percent from second to first. Your own ratios are on the gearshift pattern.
Should you rev match every downshift?
No. It matters most where a jolt disturbs the car: corner entry, overtaking slower traffic, settling into a steady speed after a slowdown, and long descents where you are choosing a gear. In stop-and-go traffic at walking pace, or when the road is wet, icy or loose, a smooth throttle input matters more than matched revs. On a cold engine, leave the blip alone too.
What is heel-and-toe downshifting?
Heel-and-toe, or left-foot braking, means keeping your right foot on the throttle while your left foot pivots on the clutch pedal to press it in. The heel stays planted on the brake while the toe presses the clutch, so you can downshift under braking. It keeps the car settled on corner entry. It is a later skill, and it needs a lot more practice than a standard clutch-in rev match.
Can you rev match with an automatic transmission?
You do not need to. Most modern automatics match revs on downshifts for you, and paddle-shift modes do it manually. If you drive an automatic, the same idea still helps in a manual rental or a borrowed car: the principle is that engine speed must rise to meet the lower gear’s natural revs. On a motorcycle, heel-and-toe is standard and rev matching on downshift is expected.
Conclusion
Start where the risk is zero: an empty parking lot, a low gear, and one gear down. Get the clutch fully in, listen for the free movement in the lever, blip to roughly 18 percent more revs, select the gear, and feed the clutch to the bite point. Repeat until the needle barely moves when the clutch comes out.
Then move up one stage at a time. A quiet road, then traffic, then faster corner entries, and only later the clutch-out method or heel-and-toe. If the revs dip on engagement you under-blipped, and if the car lurches you either released the clutch too fast or did not reach the target. Knowing which of those two went wrong is most of the skill, and it comes from paying attention to the tachometer rather than guessing.