
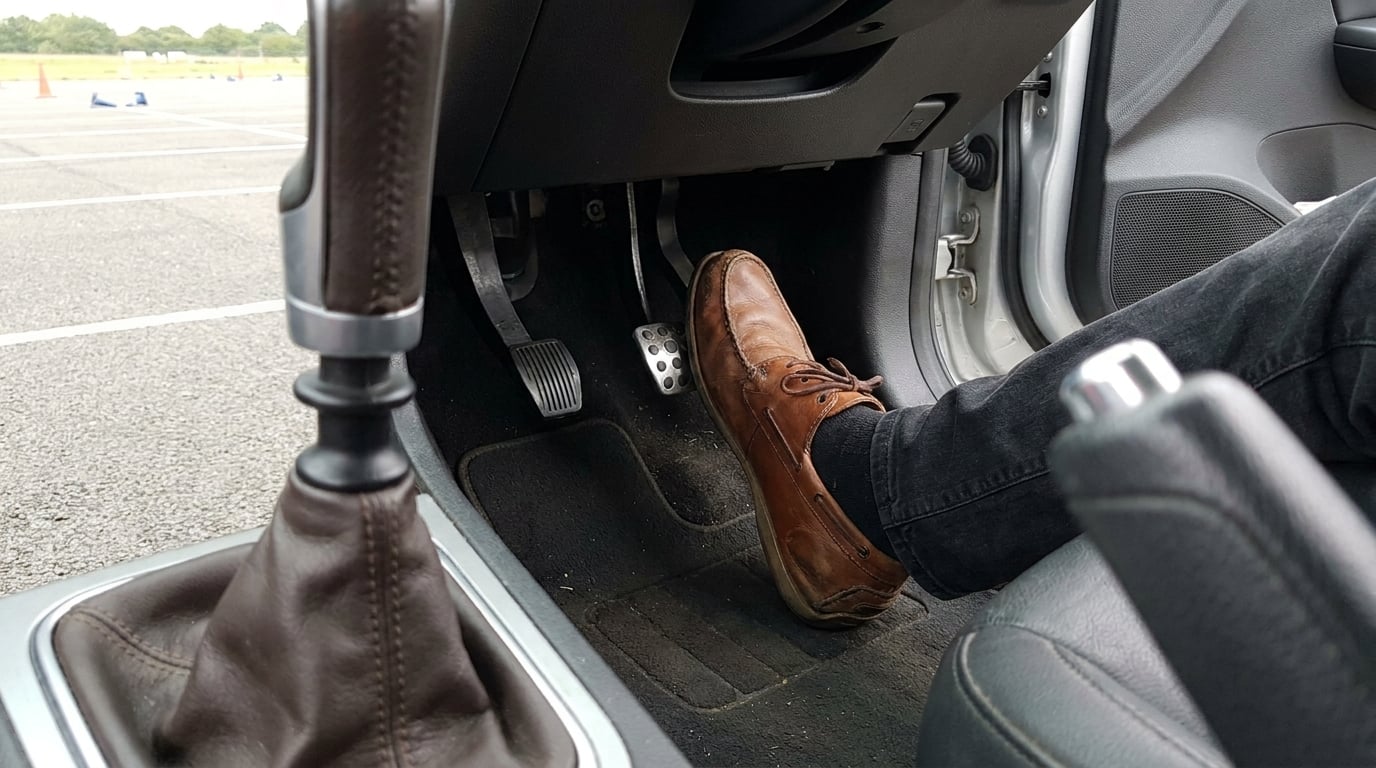
The short version of how to learn heel toe downshifting: your right foot stays on the brake while the heel or outer edge of that same foot blips the throttle, matching engine speed to the lower gear so the car settles into the lower ratio instead of lurching. Most drivers get comfortable with it in three to four weeks of short, deliberate practice sessions.
The hard part is not the blip. It is coordinating three things at once: brake pressure, clutch release, and a short throttle pulse, all while the car is still slowing down. Beginners usually stall, bounce the clutch, or give up when the engine doesn’t respond the way they expected.
What follows is the progression I would hand to a student driver: get the foot position right while parked, then crawl, then repeat it enough that it stops feeling like a decision. Updated for 2026, and written for a normal road car rather than a race car.
One note before you start. Whether heel-toe is physically possible depends on your car’s pedal geometry, not on your talent. A truck with a tall accelerator and a long-travel brake pedal can be genuinely hard, and that is a fact about the pedals, not a verdict on you.
Table of Contents
- What You Need
- Step-by-Step: How to Learn Heel Toe Downshifting
- Common Mistakes
- Frequently Asked Questions
- Should I put my heel on the gas pedal when downshifting?
- Can I learn heel-toe downshifting in an automatic car?
- What is the correct order for a heel-toe downshift?
- How do I stop bouncing the clutch during a downshift?
- Is heel-toe downshifting useful on a BMW with a manual transmission?
- How long does it take to learn heel-toe downshifting?
- Conclusion
What You Need
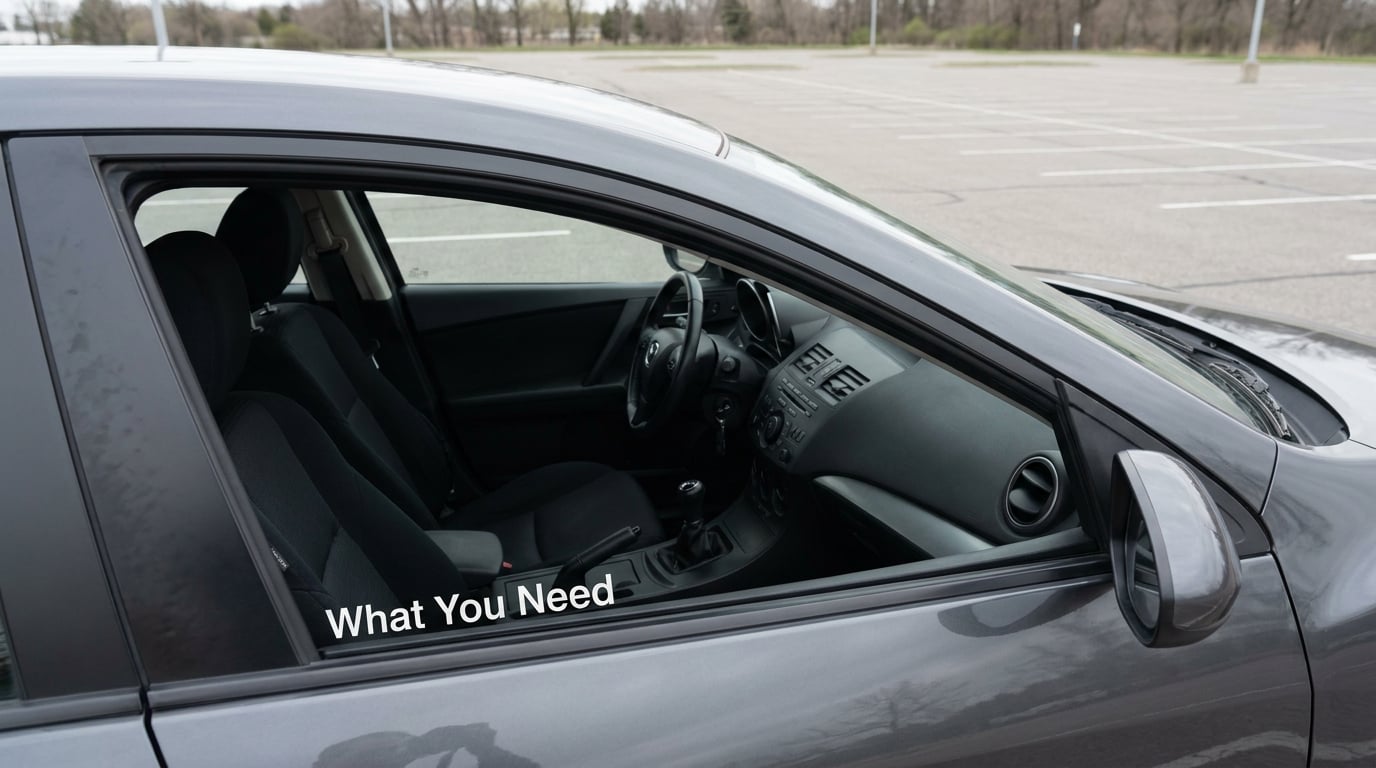
You need four things, and none of them are expensive. A manual-transmission car in good working order, somewhere flat and empty to practise, shoes you can feel the pedals through, and a way to watch yourself.
A manual car that is actually working
Start with a clutch that bites predictably and a throttle cable or linkage that responds instantly. A slipping clutch, a dragging clutch, or a throttle that returns slowly will teach you habits you have to unlearn later.
Handbrake aside, make sure the car is on level ground. You will be taking your foot off the brake and off the clutch at the same time, which is a fine way to roll a car downhill if the hill is steep enough.
A safe place to practise
An empty parking lot on a weekday morning is the best classroom there is. Broad open space, no pedestrians, no traffic, and nobody watching to be impressed by. A quiet industrial estate or a big flat yard works too.
What you must not do is practise this in moving traffic. Every experienced driver says the same thing: learn it in a lot first, then in live traffic the technique is already automatic and you are not thinking about it during a normal stop.
Shoes with a thin, flat sole and a wide toe box
Thick-soled sneakers insulate your foot from the pedals and make it impossible to feel the bite point. Flat, thin-soled shoes with room across the toes let you roll your foot without your big toe jamming into the pedal. Driving shoes are ideal, but any flat, flexible shoe works fine to learn in.
Your phone, mounted where it can film your feet
This is the cheapest improvement tool in the whole process, and almost nobody uses it. Prop the phone where it can see your right foot and the pedal box, record a session from the side, then watch it back in slow motion. You will see immediately whether your heel lifted off the floor or whether you twisted your ankle instead of rolling it.
Experts who coach this technique say the same thing about improvement: video of your own feet beats any amount of guessing about what you think you did. Self-measurement is the only way to know if you are actually getting better.
Step-by-Step: How to Learn Heel Toe Downshifting
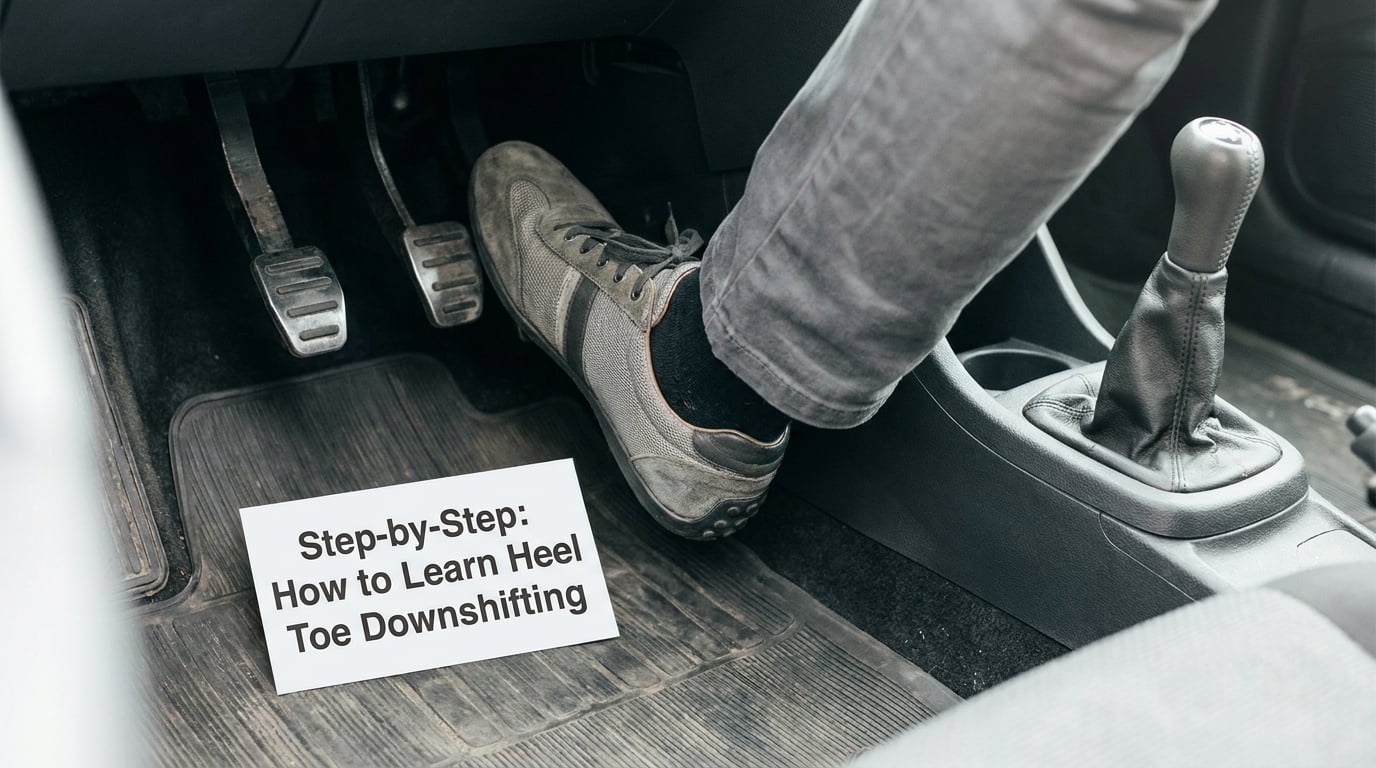
Work through these six steps in order and do not move to the next one until the current one feels ordinary. Rushing past step two is the single most common reason learners stall out at stage four.
1. Find Your Pedal Position and Neutral Point
Sit in the driver’s seat with the engine running and the car parked, then set your right foot on the brake. Put your heel on the floor at the base of the accelerator, like it is resting on a pedal you cannot see. The heel is your anchor, and it stays there for the entire technique.
From that anchor, swing the ball of the foot up and across so it lands on the brake under your big toe. Not your toe, not the arch. The ball of the foot under the big toe, with the toes curled slightly upward, is what gives you steady pressure and fine control.
Now check the reach. With your heel planted, can you roll the outer edge of that same foot forward to the throttle without the ball leaving the brake?
If you have to twist your ankle, lift your foot, or slide forward off the heel rest, the pedals are too far apart for your legs. That is how you know your car is not heel-toe friendly as it sits.
Finally, find the neutral point with your left foot. Put the clutch down slowly until the transmission stops turning the car over, then hold it there. That spot, felt rather than seen, is the reference for every step that follows.
2. Master Slow-Speed Downshifts
Nothing happens at a standstill until you are ready for it to. In a parking lot at walking pace, brake down to about 5 mph, press the clutch in, select the next lower gear, then feed the clutch out slowly while giving a little throttle.
The throttle at this stage is not a blip. It is a gentle, steady application, maybe a quarter of the pedal, held while the clutch comes through its bite point and until the car is moving again. Think of it as starting the car, not as a rev match.
You are trying to feel three things line up: the clutch starting to pull, the engine note rising slightly, and forward motion carrying the car forward on its own. Once you can do that in first and second without thinking about it, move to step three.
3. Link the Clutch and Accelerator
Linking means the clutch release and the throttle application happen at the same moment, not one after the other. Press the clutch, select the lower gear, and as the clutch goes down, feed the throttle in so the engine never drops into a stumble.
The failure mode is a gap. Clutch in, clutch out, nothing, then a jolt when you add power late. That gap is a lurch, and it is the whole thing you are trying to remove.
Practise the link at low speed over and over. A car owner on a manual-transmission forum described the plateau almost word for word: the driver is trying to shift, check mirrors, modulate the clutch, and blip all in one motion, and the technique collapses under that load. Splitting the sequence into clutch-and-throttle as a single linked movement, then adding mirrors back later, is how that load comes apart.
4. Match the Engine Speed Gradually
Rev matching is the actual heel-toe part, and you introduce it slowly. Coast down at a steady 25 to 30 mph in third gear, brake gently, press the clutch, drop to second gear, and now blip the throttle with the outer edge of your right foot until the revs climb to roughly where they were before you dropped the gear.
You do not need the revs to match exactly. Getting from 1,800 to about 2,400 is a big improvement over letting them crash to 1,200, and getting closer only comes later.
On the street, small blips at low revs are the whole job. A late downshift into a slower corner needs a smaller blip, which is another reason instructors push learners to shift late rather than early.
Watch the tachometer while you do it, and afterwards. If the needle jumped well past where it started, you over-blipped, which puts a shock through the driveline exactly when you wanted smoothness. If it dropped before you released the clutch, you under-blipped.
5. Practice Repeated Downshifts Without Added Load
This is the stage where the technique becomes a habit instead of a decision. Pick a straight, flat, closed road or the far end of a big lot. Steady and light on the throttle, no corner entry, no traffic, no passengers watching you.
One downshift at a time, then immediately accelerate gently, build speed again, and do another. Give yourself enough clear distance between attempts that a bad one costs nothing. The goal of this stage is repetition count, not quality of any single shift.
When the heel and toe movements start to feel linked without you planning them, film a session and check your own footage. By the time you are reviewing ten shifts in a row, you will see the specific flaw: a lifted heel, a twisted ankle, a blip that arrives too late, or a clutch release that is too fast.
6. Test the Technique at Realistic Speeds
Move up to moderate road speed on a quiet road with plenty of clear space, staying well below the limit. The technique should not change at all, only the amount of brake pressure you are applying, and the blip gets smaller as the revs you are matching get higher.
Keep clear space around you, avoid abrupt steering, and stop the exercise if traffic or road conditions start pulling your attention. If you are braking hard and negotiating the shift, that is too much for one session.
One rule holds at every stage, including here: never attempt heel-toe during a genuine emergency stop. Brake as hard as the situation requires, ignore the gear entirely, and let the ABS and the brakes do the work.
Smoothness is a refinement for when you have time. It is never worth a distracted foot in a real emergency.
Common Mistakes
Almost every heel-toe failure is one of six things, and each has a specific fix rather than a general instruction to try harder.
Lifting the left foot off the clutch pedal. Many drivers rest their left foot on the clutch pedal while coasting, which is where bouncing starts. The fix is to pick your left foot up and park it on the dead pedal or the floor.
Heel-toe requires the clutch to be doing something specific, and a resting foot cannot do it.
Braking and accelerating with the same part of the foot. This is the most common beginner error and the easiest to spot on video. Braking with the toe gives you weak, vague pressure and no control.
Move forward until the ball of the foot under your big toe is doing the braking, and use the outer edge of that same foot for the throttle.
Twisting the ankle instead of rolling the foot. This is the most repeated piece of advice across every enthusiast forum on the topic. If your ankle visibly rotates as you reach for the throttle, the blip will be slow, late, and imprecise.
Keep the heel planted and roll the whole foot, using ankle flexibility rather than rotation. If you cannot roll that far, you have a pedal-geometry problem, not a technique problem.
Bouncing the clutch. Resting weight on the clutch while braking makes it impossible to fully depress it on the downshift, so the gear does not engage cleanly and the driveline takes a hit. The fix is the same as the first mistake: left foot up, left foot parked.
Selecting the wrong gear. Guessing at the gear while your attention is on the blip leads to missing the gate or landing in a gear that is nowhere near the right ratio. Learn the pattern of which gear you want for which speed until it is automatic, and check the gear with your hand, not your eyes.
Adding throttle too early. Applying power before the clutch is meaningfully engaged spins the tyres and shakes the car. Feed the throttle in only as the clutch comes through its bite point, and ease both together.
One failure mode confuses more beginners than anything else: blipping the throttle with the clutch fully depressed and having nothing happen. A driver on a large older pickup with wide-spaced pedals described exactly this, a slow rev climb and a blip that did not seem to register.
With the clutch fully in, the engine is unloaded, so the tach response depends on throttle return, pedal travel, and whether the clutch is cable or hydraulic. Press the clutch only far enough to disengage the gear, keep some travel left, and use a firmer, faster roll of the foot rather than a slow lean.
If the revs genuinely will not move in your car, the honest answer is that its pedal geometry needs changing, not that you are doing it wrong.
Frequently Asked Questions
Should I put my heel on the gas pedal when downshifting?
No. Rest the heel of your right foot on the floor beside the accelerator so it has a fixed pivot, then roll the outer edge of that same foot forward to the throttle. The heel is the anchor that lets you blip without lifting the ball of the foot off the brake, which is where the pressure lives.
Can I learn heel-toe downshifting in an automatic car?
No, because there is no clutch to link and no tachometer to match, so there is nothing to practise. The technique only exists in a manual transmission. If you are learning to drive a manual for the first time, add heel-toe after you are comfortable with clutch control on its own, not at the same time.
What is the correct order for a heel-toe downshift?
Brake with the ball of the foot, press the clutch in, select the lower gear, blip the throttle with the outer edge of the foot to match engine speed, then feed the clutch out while keeping the throttle applied. If the gear is already in and you are matching on the way down, the sequence starts at the blip.
How do I stop bouncing the clutch during a downshift?
Pick your left foot up off the clutch pedal and park it on the floor or the dead pedal every time you are not actively pressing the clutch. Resting weight on the clutch pedal means you cannot fully depress it when you need to, which causes both missed engagement and driveline shock. It is a habit fix, not a technique fix.
Is heel-toe downshifting useful on a BMW with a manual transmission?
It can be, but it depends heavily on that specific car’s pedal layout. Owners of older E92 and E90 M cars report the accelerator sitting too far aft to roll onto comfortably, and fit pedal boxes or aftermarket aluminium pedals to bring the throttle into the same plane as the brake. Check your own reach before assuming the problem is your foot.
How long does it take to learn heel-toe downshifting?
Expect three to four weeks of short sessions for a competent street driver, with the footwork itself taking much less time than the coordination does. Structured professional schools compress this into two or three days using a cone course in a large lot, doing roughly one downshift every five seconds, which is why sim racers and track-day regulars tend to pick it up quickly.
Conclusion
Start with one action: find a manual car, an empty flat area, and set your right heel on the floor beside the accelerator. Feel for the clutch bite point with your left foot, then practise slow-speed downshifts where the clutch release and the throttle arrive together, at walking pace, with no corner to worry about.
Film your feet while you do it. The single thing that turns heel-toe from a thing you attempt into a thing you can do is knowing whether your heel stayed down and whether your blip arrived on time, and you cannot feel either one while it is happening.
Once ten shifts in a row look the same on video, add speed. Blip and clutch work the same way at 30 mph as at 15; only the brake pressure changes, and the technique never needs a rethink after that. Keep a genuine emergency stop as a pure braking event, and the whole thing becomes ordinary in about a month.