
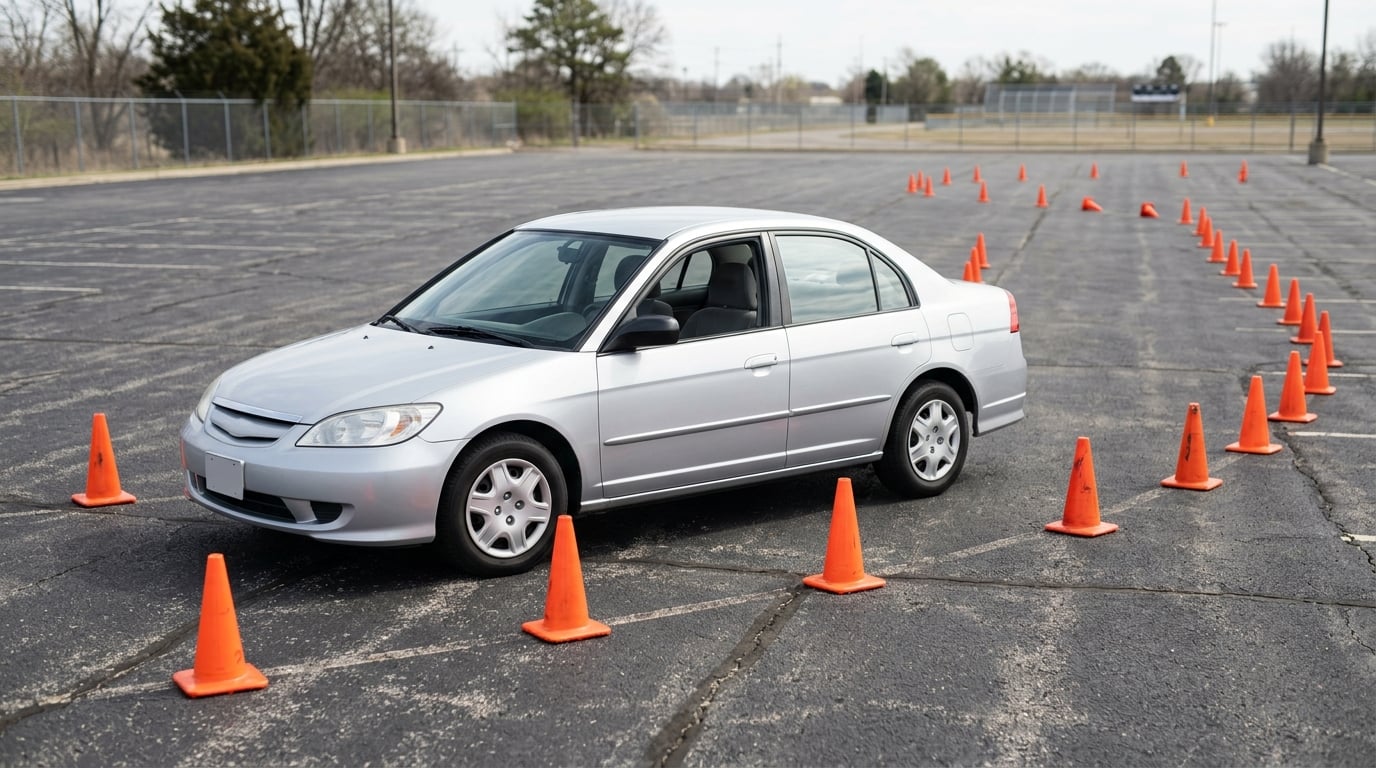
Learning how to teach a teenager to drive comes down to one habit: raise one skill at a time, in an easy place, and only move on when the last one is boring rather than exciting. Most families can work through the whole ladder — empty lot, quiet streets, busier roads, then highways and bad weather — in about six to eight weeks of short sessions.
Teen drivers carry the highest crash risk of any age group, and the habits formed in those first months tend to stick for years. Here is the sequence I would follow, the car checks worth doing beforehand, and the coaching approach that keeps both of you out of a shouting match.
Table of Contents
- What You Need
- Step-by-Step
- Common Mistakes
- Frequently Asked Questions
- At what age should I start teaching my teenager to drive?
- How long should practice driving sessions be?
- Can my parents teach me to drive instead of paying for an instructor?
- What not to do when teaching someone to drive?
- What should a new teen driver practise first?
- How do I stay calm when my teen is driving badly?
- Conclusion
What You Need
Start with the paperwork, because a session that ends with a traffic citation is a wasted afternoon. Your teen needs a valid learner’s permit, and you need to be a licensed adult who meets your state’s supervision rules. Most states also log supervised hours, and some require a minimum count before the road test.
- Permit and insurance. Confirm the permit is current and that your policy already covers a licensed driver operating your car. Tell your insurer before the first session, not after the first fender-bender.
- Road test rules. Pull up your state motor vehicle department’s page for the road test checklist so you know what the examiner will actually ask for.
- A practice car. A sedan with good visibility beats a sporty coupe every time. An automatic is easier for a first-timer; a manual teaches more but adds a second skill to every lesson.
- Safety equipment. Every tire inflated to the door-jamb pressure, a spare in the trunk, a working horn, all three brake lights, and a first-aid kit in the glovebox.
- A printed session plan. Write the three skills for the session on a card. Deciding mid-drive is how lessons turn into arguments.
- Rule sheets. A parent-teen driving agreement covering phones, passengers, seat belts and speed, signed by both of you, does more than any lecture.
Give the car a real walk-around before the first lesson. Walk the tire tread, check that every light and the horn work, make sure the wipers clear the glass, and look at the brake pad wear through the wheel spokes if you can. A car that pulls to one side or shudders under light braking is a lesson in itself, and not the kind you want. If a brake light is out, fix it first.
Insurance is also a factor in which car you pick. Teen drivers get added to a family policy rather than carrying their own, and the rate depends on the vehicle’s safety rating, its value and how much the insurer expects your teen to drive. A car with a strong crash-test rating and modest power is the cheapest kind of practice vehicle to insure.
Step-by-Step
Step 1: Prepare the Car and Practice Area
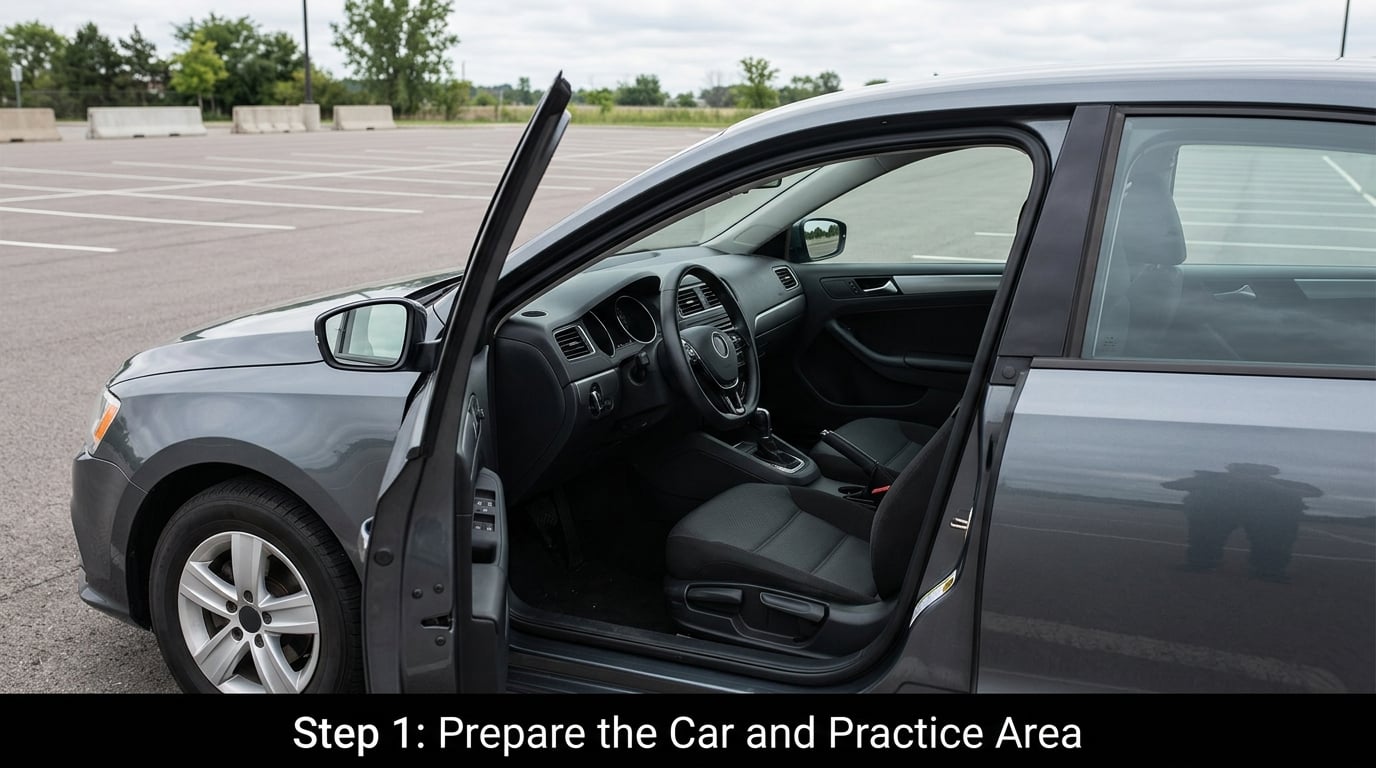
Pick a flat, empty, private lot. A big-box store lot before it opens, a school lot on a weekend, or a quiet industrial street on a Sunday all work, and parents on practice-sharing forums say the venue is the first thing they have to hunt down. Avoid it during business hours even if it looks empty.
Set the seat so the teen can see over the hood and reach the pedals with a slight knee bend. Adjust the interior and side mirrors before the engine starts, and check the blind spot over each shoulder by leaning. Then show them where the adjustable mirrors are, so they can re-set them themselves the first time they borrow the car.
Run the pre-drive routine out loud as a fixed sequence: walk around the car, check all four corners, then start. That habit alone prevents most low-speed bumps in parking lots.
Step 2: Teach the Controls Without Moving
With the parking brake on and the engine running, have the teen name every control before touching it. Pedals including the parking brake, the gear selector and how reverse engages, steering wheel, indicators, headlight and hazard switches, horn, wipers, defroster, door handles, and the fuel door and charge port.
Have them show you where the emergency equipment lives, and where the owner’s manual sits. Then explain the warning lights: which ones are normal at ignition, which ones mean stop, and what a tire-pressure light means.
Insist on the safety habit of buckling up before the key turns, every time, in every car. It is a small ritual, and rituals survive panic.
Step 3: Practice Starting, Stopping, and Steering
Keep the first moving exercises at walking pace on a straight line. Feet-to-floor driving first, then pressing the gas slowly, then a smooth stop at a cone or crack in the pavement. The point is control, not speed, and the American Safety Institute’s guidance is that a new driver should be able to steer and stop smoothly before speed is even on the table.
Hands at nine and three, not two and ten, and never resting in your lap. Teach the glance pattern next: mirror, blind spot, signal, then move. Run it dozens of times in the lot until the sequence happens without prompting.
Build lane control next — hold a consistent distance from the curb and the center line, and correct with small inputs rather than large ones. Slow down before the correction, not during it.
Add the three-second following distance, counting the fallen leaves or the seconds out loud in the car. A gap you can back into is a gap you can survive in.
Save the two hardest manoeuvres for this stage and drill them in the empty lot. A three-point turn teaches spatial awareness cheaply. For parallel parking, the trick parents and instructors agree on is small inputs in reverse: turn the wheel slightly, creep back, straighten, then adjust. Big inputs in reverse spin you around and teach the wrong instinct.
Finish with the skills that only appear under stress, but only in a controlled space. Parking-lot donuts to feel oversteer, a firm stop from about 30 mph to recognize the pulse of an antilock braking system, and a gentle steering correction if the car begins to skid. If the car breaks traction, ease off the gas and steer where you want it to go, not where it is already going.
Step 4: Add Traffic Awareness and Road Rules
Move to residential streets with a posted speed of 25 or 30 mph, ideally on a weekend morning. Teach the things a lot cannot show: yielding at four-way stops, right-of-way on unmarked intersections, school zones, and what a turn on red does and does not allow in your state.
Scanning is the big one. Teach the exit-point habit — look at the space you are about to enter, not the car in front of you — and make them call out what they see before each turn. The best test of a new driver’s awareness is whether they can describe a hazard out loud.
Add a fuel stop, a left-side pass on a two-lane road where the oncoming car is far away, and a turn out of a driveway. Keep sessions to 20 or 30 minutes; a teen’s attention runs out long before a parent’s patience does, and a tired driver rehearses bad habits.
Step 5: Practice Different Driving Conditions
Only after a run of boring, uneventful sessions. Start with hills and grades, then a slow residential parking maneuver, then dusk, then a wet road. A parent’s own cautious habits and the safety agencies’ advice both point the same direction: a new driver learns a condition when they’re ready for it, not when the calendar says so.
Night driving is a genuine skill — glare, unlit pedestrians, judging speed from taillights — and it deserves its own first session on a familiar route. Heavy rain, snow and ice are a different category again, and on most cars, wet and icy pavement is where the training should stay theoretical until the teen has real weather experience with an adult.
Highway on-ramps come last of the public-road skills. Work an empty on-ramp, then a quiet highway stretch with light traffic, focusing on acceleration, lane position, and getting up to highway speed before merging. Then, and only then, the test that scares everybody: driving the family to somewhere with a full load of passengers and nobody in the passenger seat holding the imaginary brake.
Step 6: Move Toward Independent Driving
Step back in stages rather than all at once. Ride along silently for the first solo drive. Move to a quiet route the following week, then a busier one, then the school run. Agree in advance that any sign of bad weather, darkness or fatigue means the drive goes back to being a lesson.
Before every independent drive, have the teen plan it out loud: route, exit, parking spot, and what they will do if the car starts making a noise or a warning light comes on. That last conversation is the one most families skip, and it is the difference between a fender-bender and a crash nobody walks away from.
Keep a return-to-instruction plan in writing. If the teen is speeding, texting, skipping seat belts or arguing with you, driving privileges pause — the same way they would for any other repeated rule break.
Common Mistakes
Teaching three new things in one session. Parallel parking, a four-way stop and highway merging in forty minutes guarantees the teen remembers none of them well. Fix: one new skill per session, two at most once the first few weeks are behind you.
Skipping the car check. Bad tread, a failing brake light or a low washer fluid tank teaches a new driver that maintenance is somebody else’s problem. Fix: a two-minute walk-around at the start of every session, the same as the drive-around they do before moving.
Starting on busy roads because the parking lot feels boring. The lot is not a warm-up; it is the classroom. Rushed practice on a road with 40 mph traffic teaches hesitation in the worst possible conditions.
Yelling, sarcasm, or constant back-seat driving. Every commenter in parent forums describes the same moment: the shouting, the gripping door handle, the lesson that ends early. The fix most instructors use is a flat, emotionless tone and one instruction at a time. A new driver cannot process two corrections at once.
Praising constantly, or treating a mistake as a catastrophe. Floods of praise get overread as permission to try something new, and a single sharp reaction after one bad brake turn can end a good session. Fix: specific, calm acknowledgement — “you checked the mirror before that turn, keep doing that” — and nothing else.
Confusing confidence with readiness. A teen who breezes through an empty lot has not earned solo highway driving. Fix: judge advancement on consistency across several uneventful sessions, not on one good hour.
Two parents, two rulebooks. One of you holds the speed limit, the other shrugs at it. Fix: the written agreement, agreed in advance and identical under both roofs.
A few smaller rules: no phone in the car, ever, including when parked in the driveway; the phone goes in the glovebox or the backseat, not a pocket; every passenger buckles up before the car moves; no eating, no headphones on both ears, and no passengers who aren’t there to help stay calm.
Frequently Asked Questions
At what age should I start teaching my teenager to drive?
Start when your state allows, which is usually around 15 or 16 with a learner’s permit, and judge readiness by attitude rather than birthday. A teen who is calm, curious and willing to be wrong learns faster than an older student who resents the process. Age gives you the paperwork; temperament gives you the progress.
How long should practice driving sessions be?
Twenty to thirty minutes is the sweet spot, most days of the week. Attention fades well before frustration sets in, and a tired driver rehearses sloppy habits. If your teen is still enjoying the session at 30 minutes, add a bonus five; if they are gripping the wheel at 20, call it.
Can my parents teach me to drive instead of paying for an instructor?
Yes, and most families combine the two. A driving school or a private instructor is genuinely useful for the items a parent cannot drill safely: highway merging, a full emergency stop from speed, and a road-test route. Parent practice adds hours, familiarity with the car your teen will actually use, and a bond the paid lesson cannot.
What not to do when teaching someone to drive?
Do not shout, give more than one instruction at a time, or practice three new skills in a single session. Do not begin on a busy road, do not skip the walk-around check of tires, brakes and lights, and do not confuse a fluke good hour with readiness for harder conditions. Write the rules down instead of repeating them.
What should a new teen driver practise first?
Control, not distance. Start with finding the pedals, hands at nine and three, a smooth start and stop at walking pace, and the mirror-blind-spot-signal sequence. Then add lane position and the three-second following distance. Parking and highway work come later, once the basics are boring.
How do I stay calm when my teen is driving badly?
Lower your voice and shorten your sentences. One instruction at a time, flat tone, no sarcasm, and silence when things go right. If you feel your own pulse rising, stop somewhere safe, swap seats, and drive home. Being the nervous one in the car is normal, and it is not a reason to stop practising.
Conclusion
The safest first step is small: pick a Saturday morning, an empty lot and a car you have already walked around, then teach one skill until it is unremarkable. Progress to quiet streets only when your teen can start, steer and stop smoothly without being reminded.
That is the unglamorous part. It takes a few months of short sessions rather than a few heroic weekends, and the payoff is a driver who checks mirrors without being told.